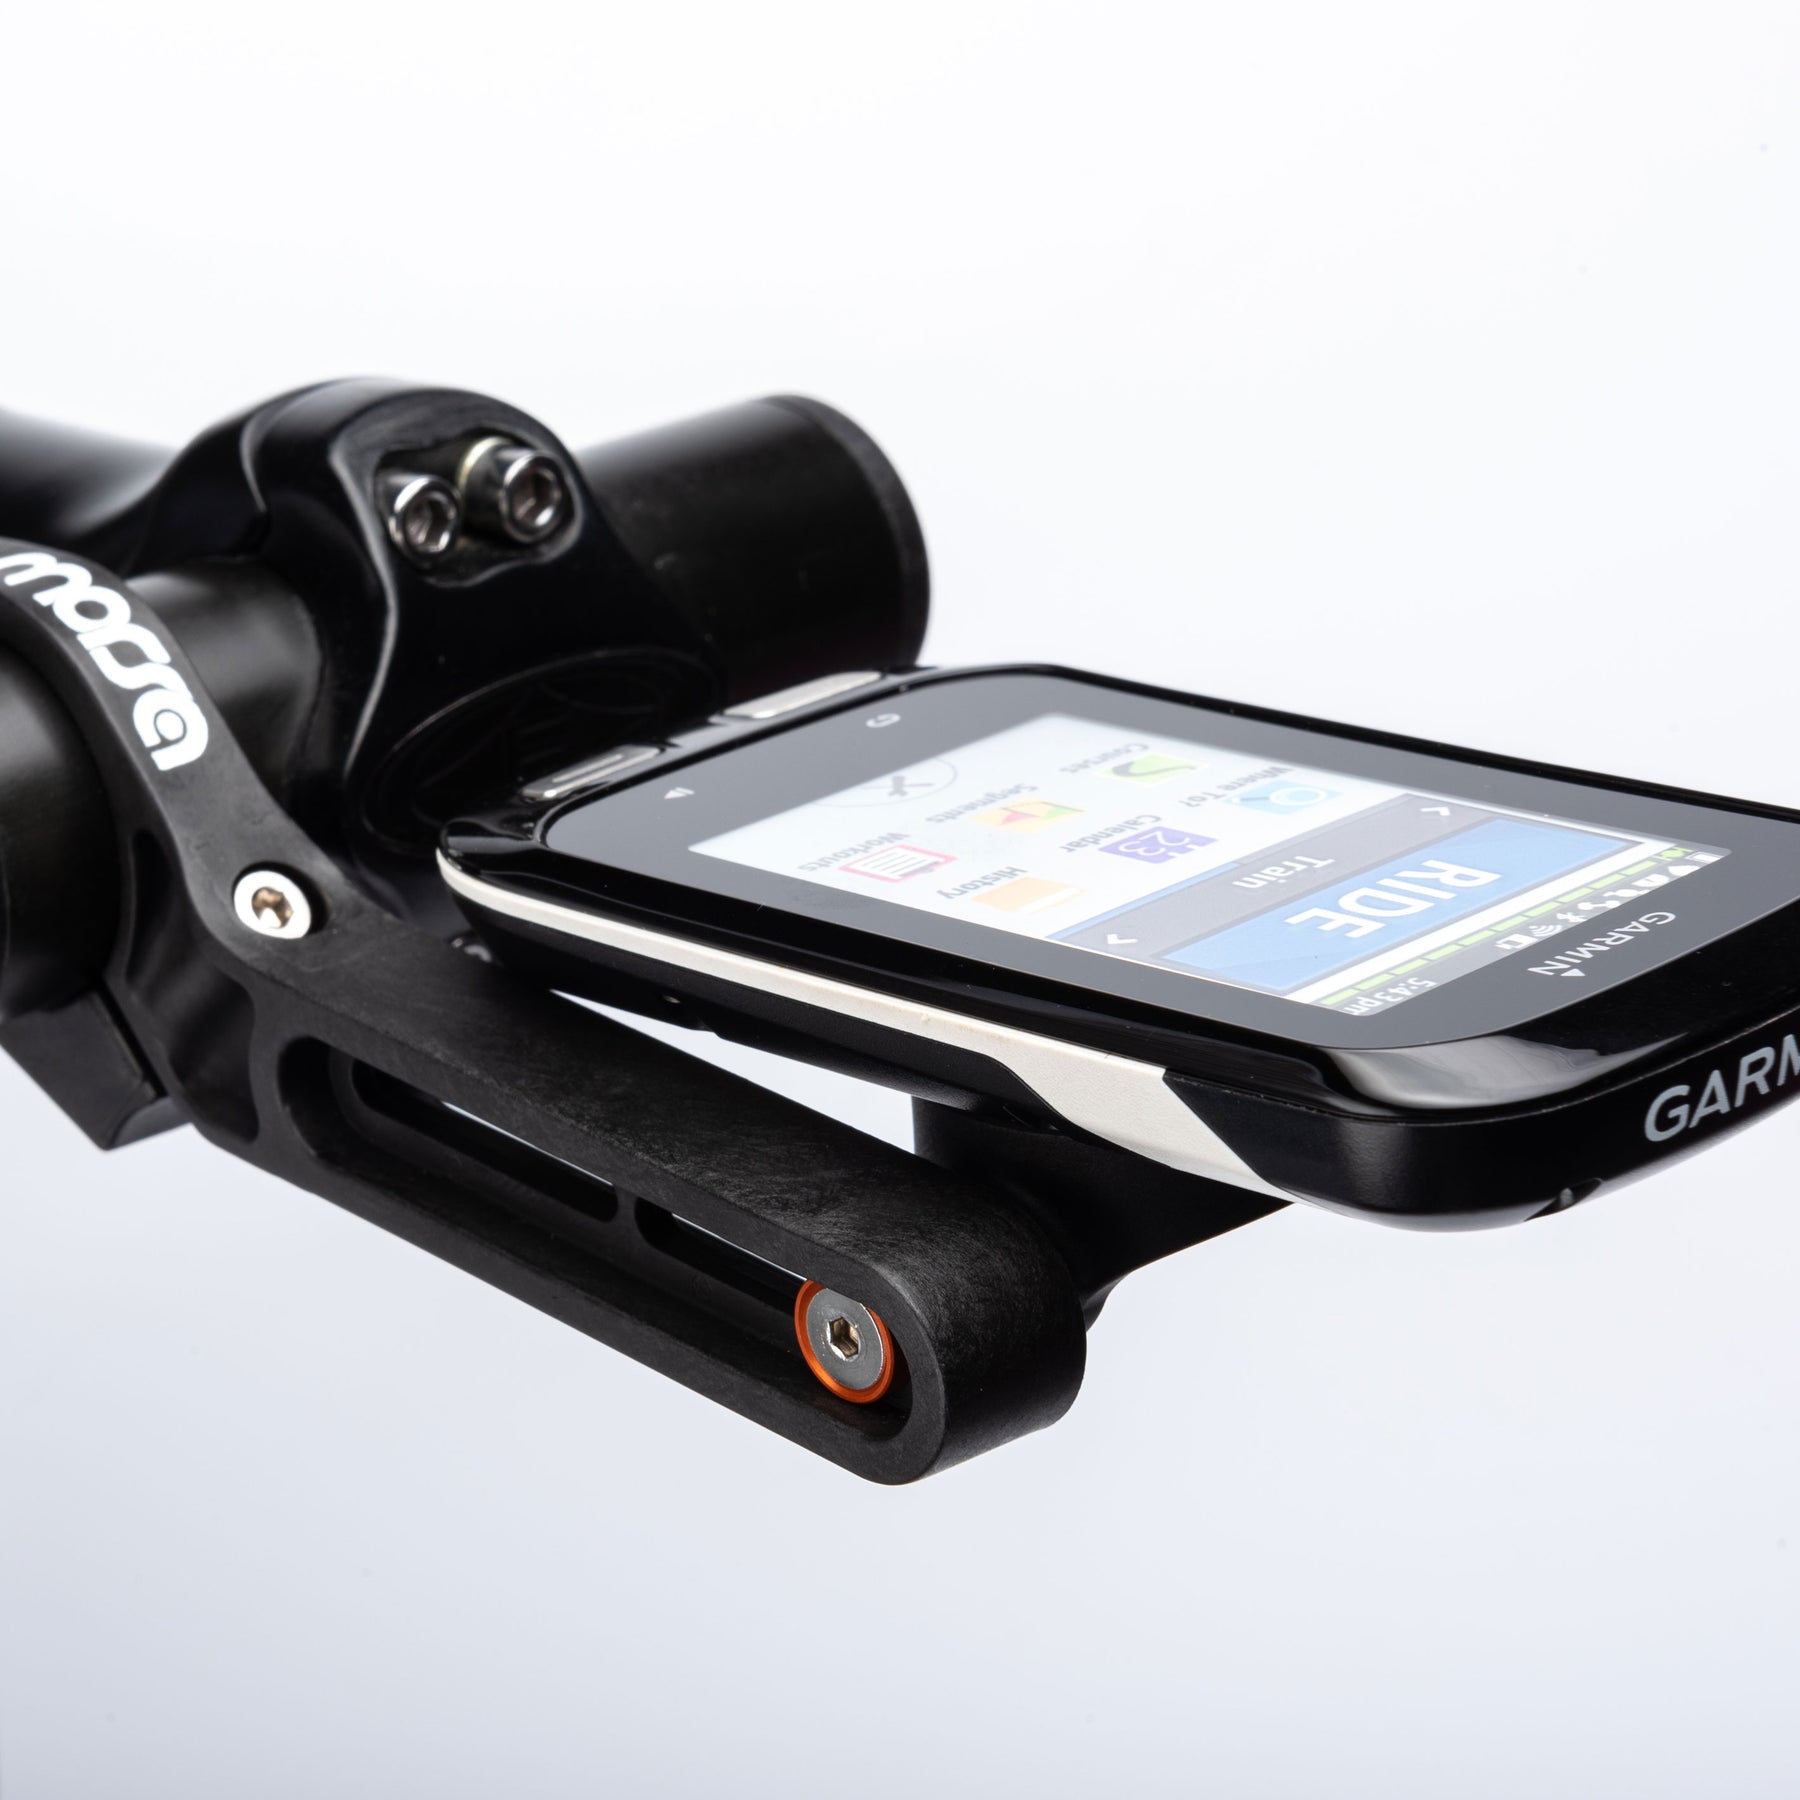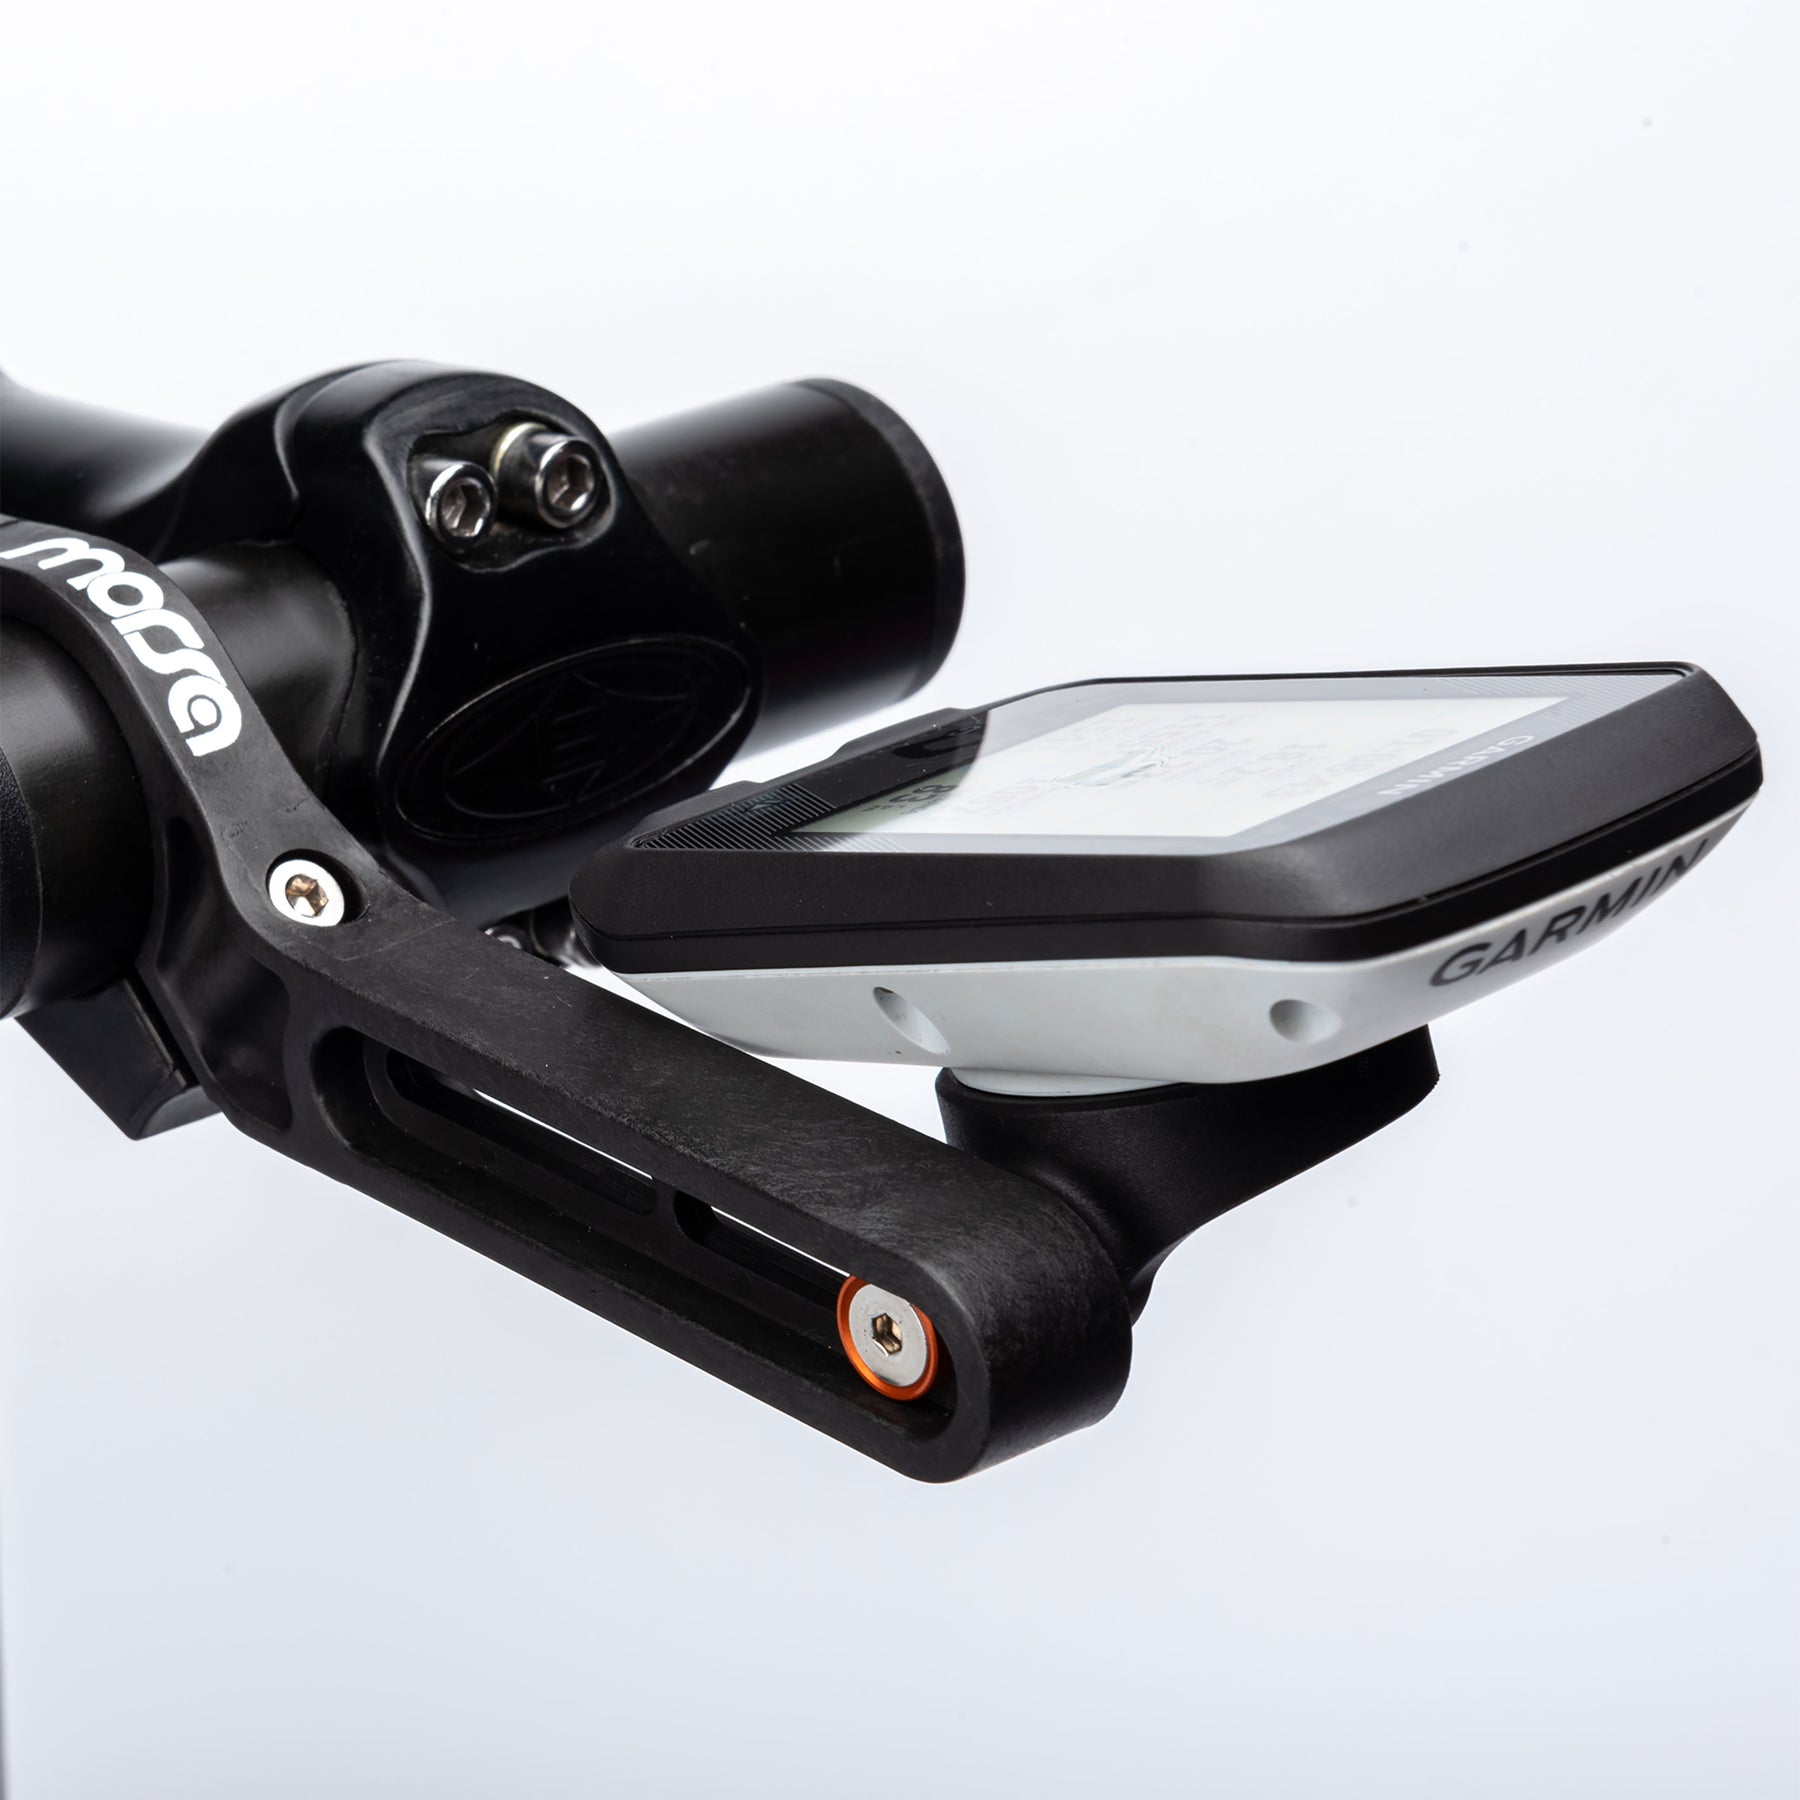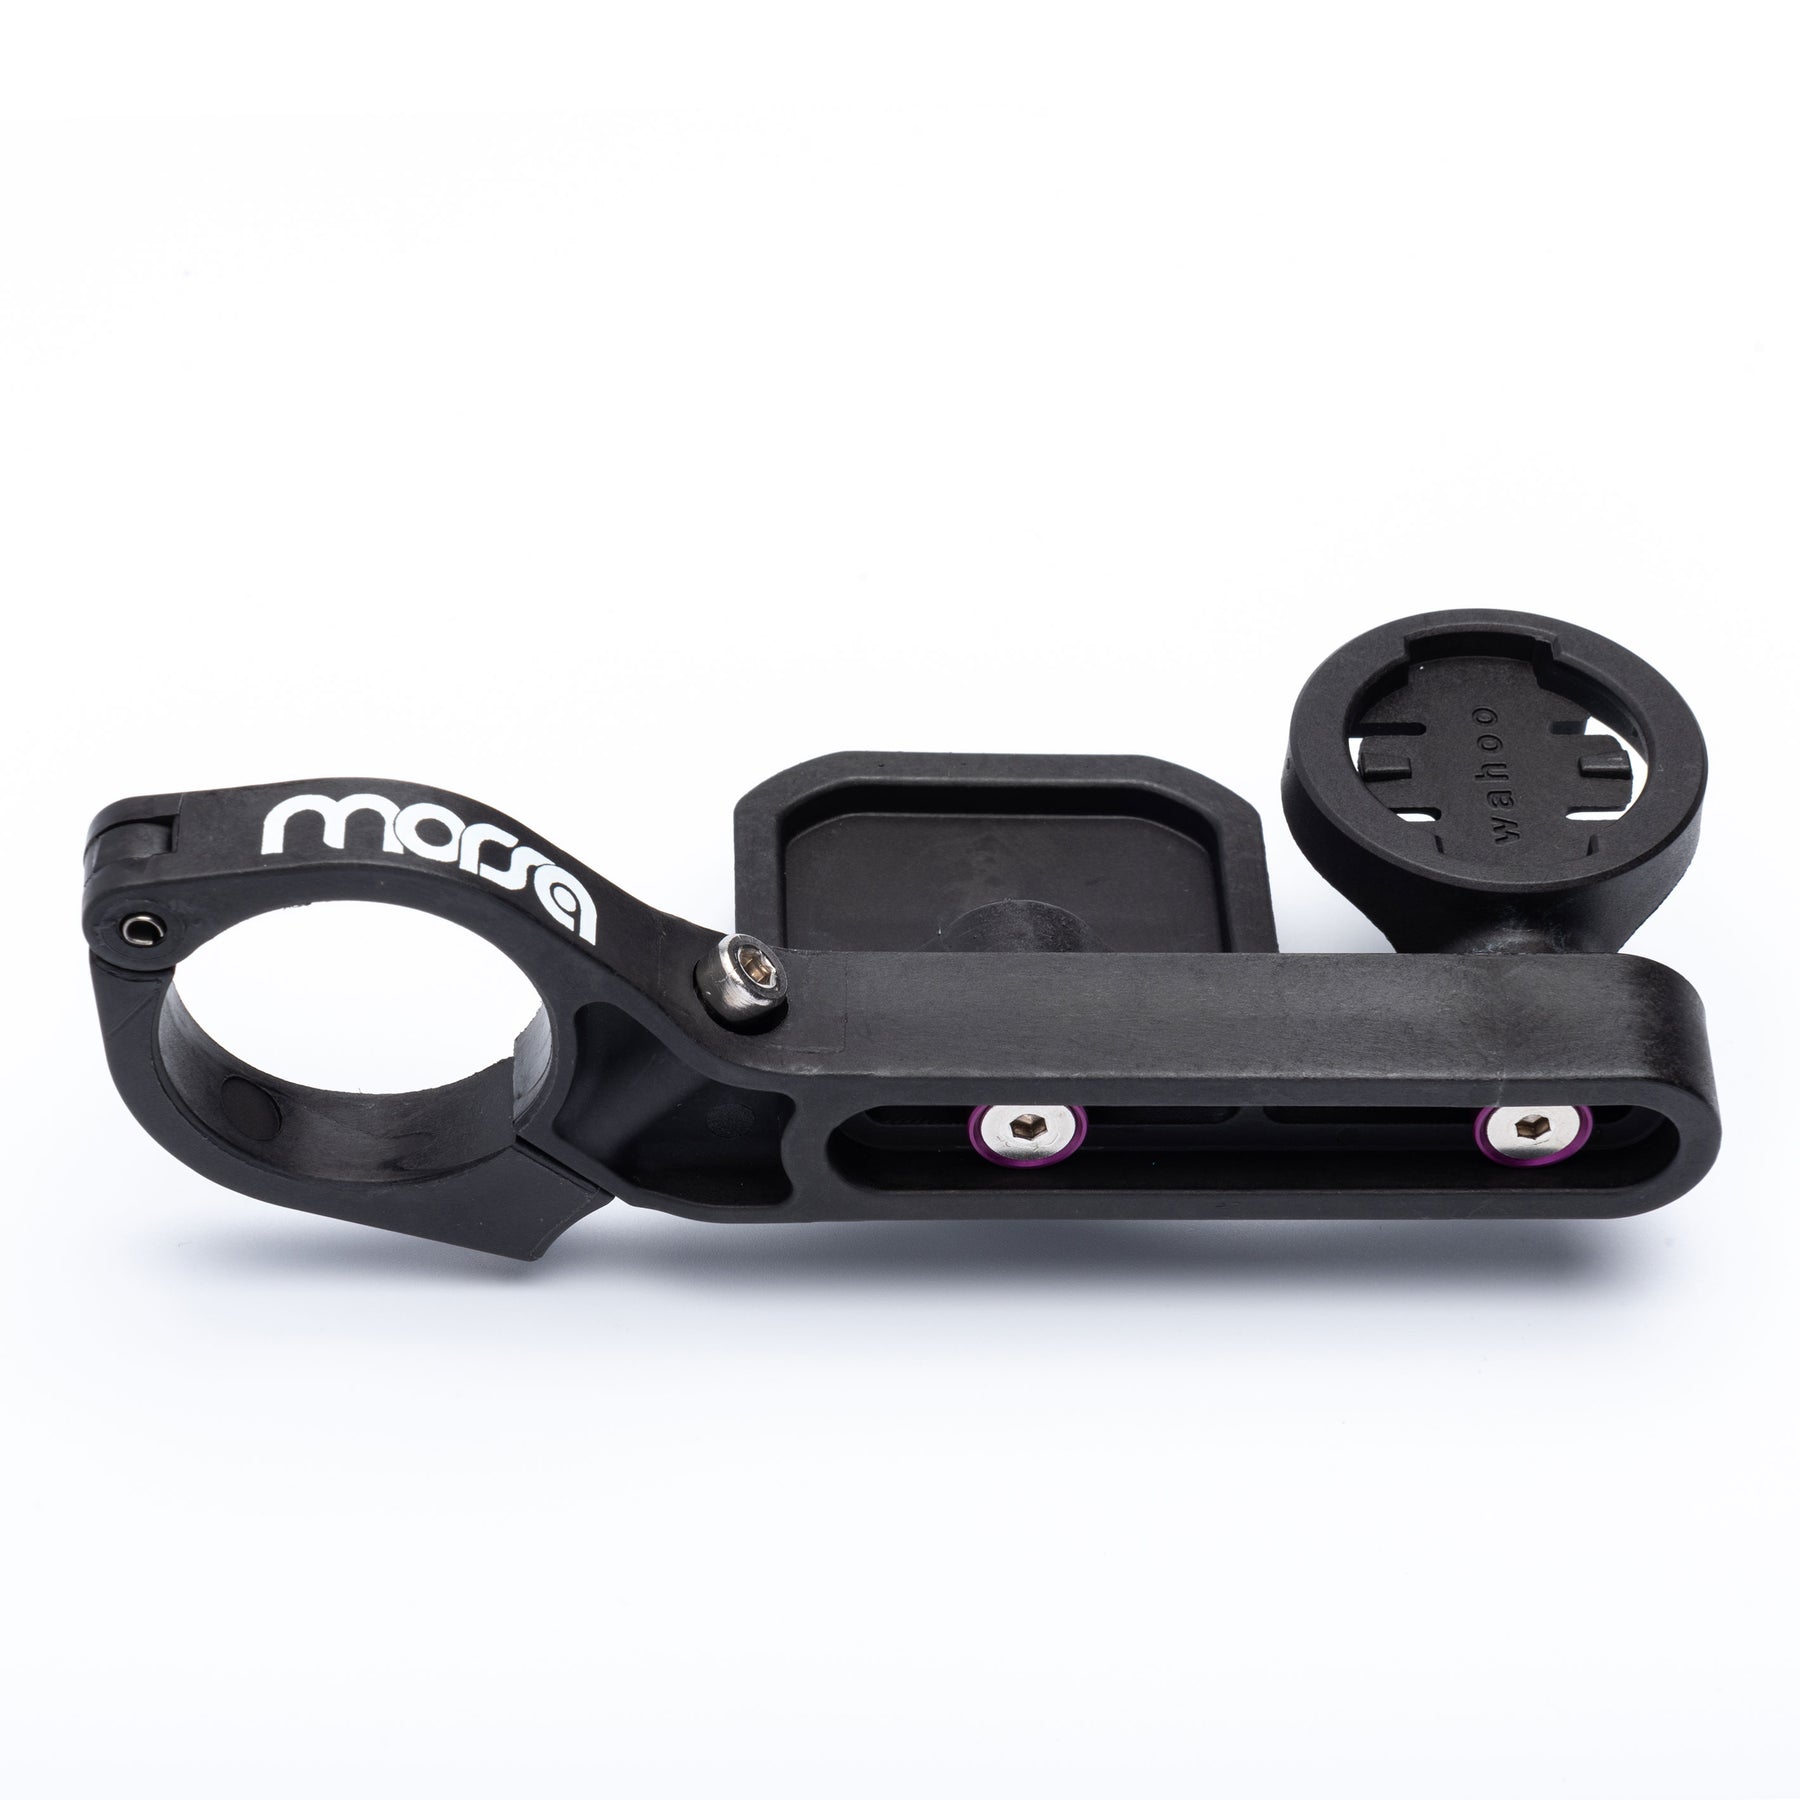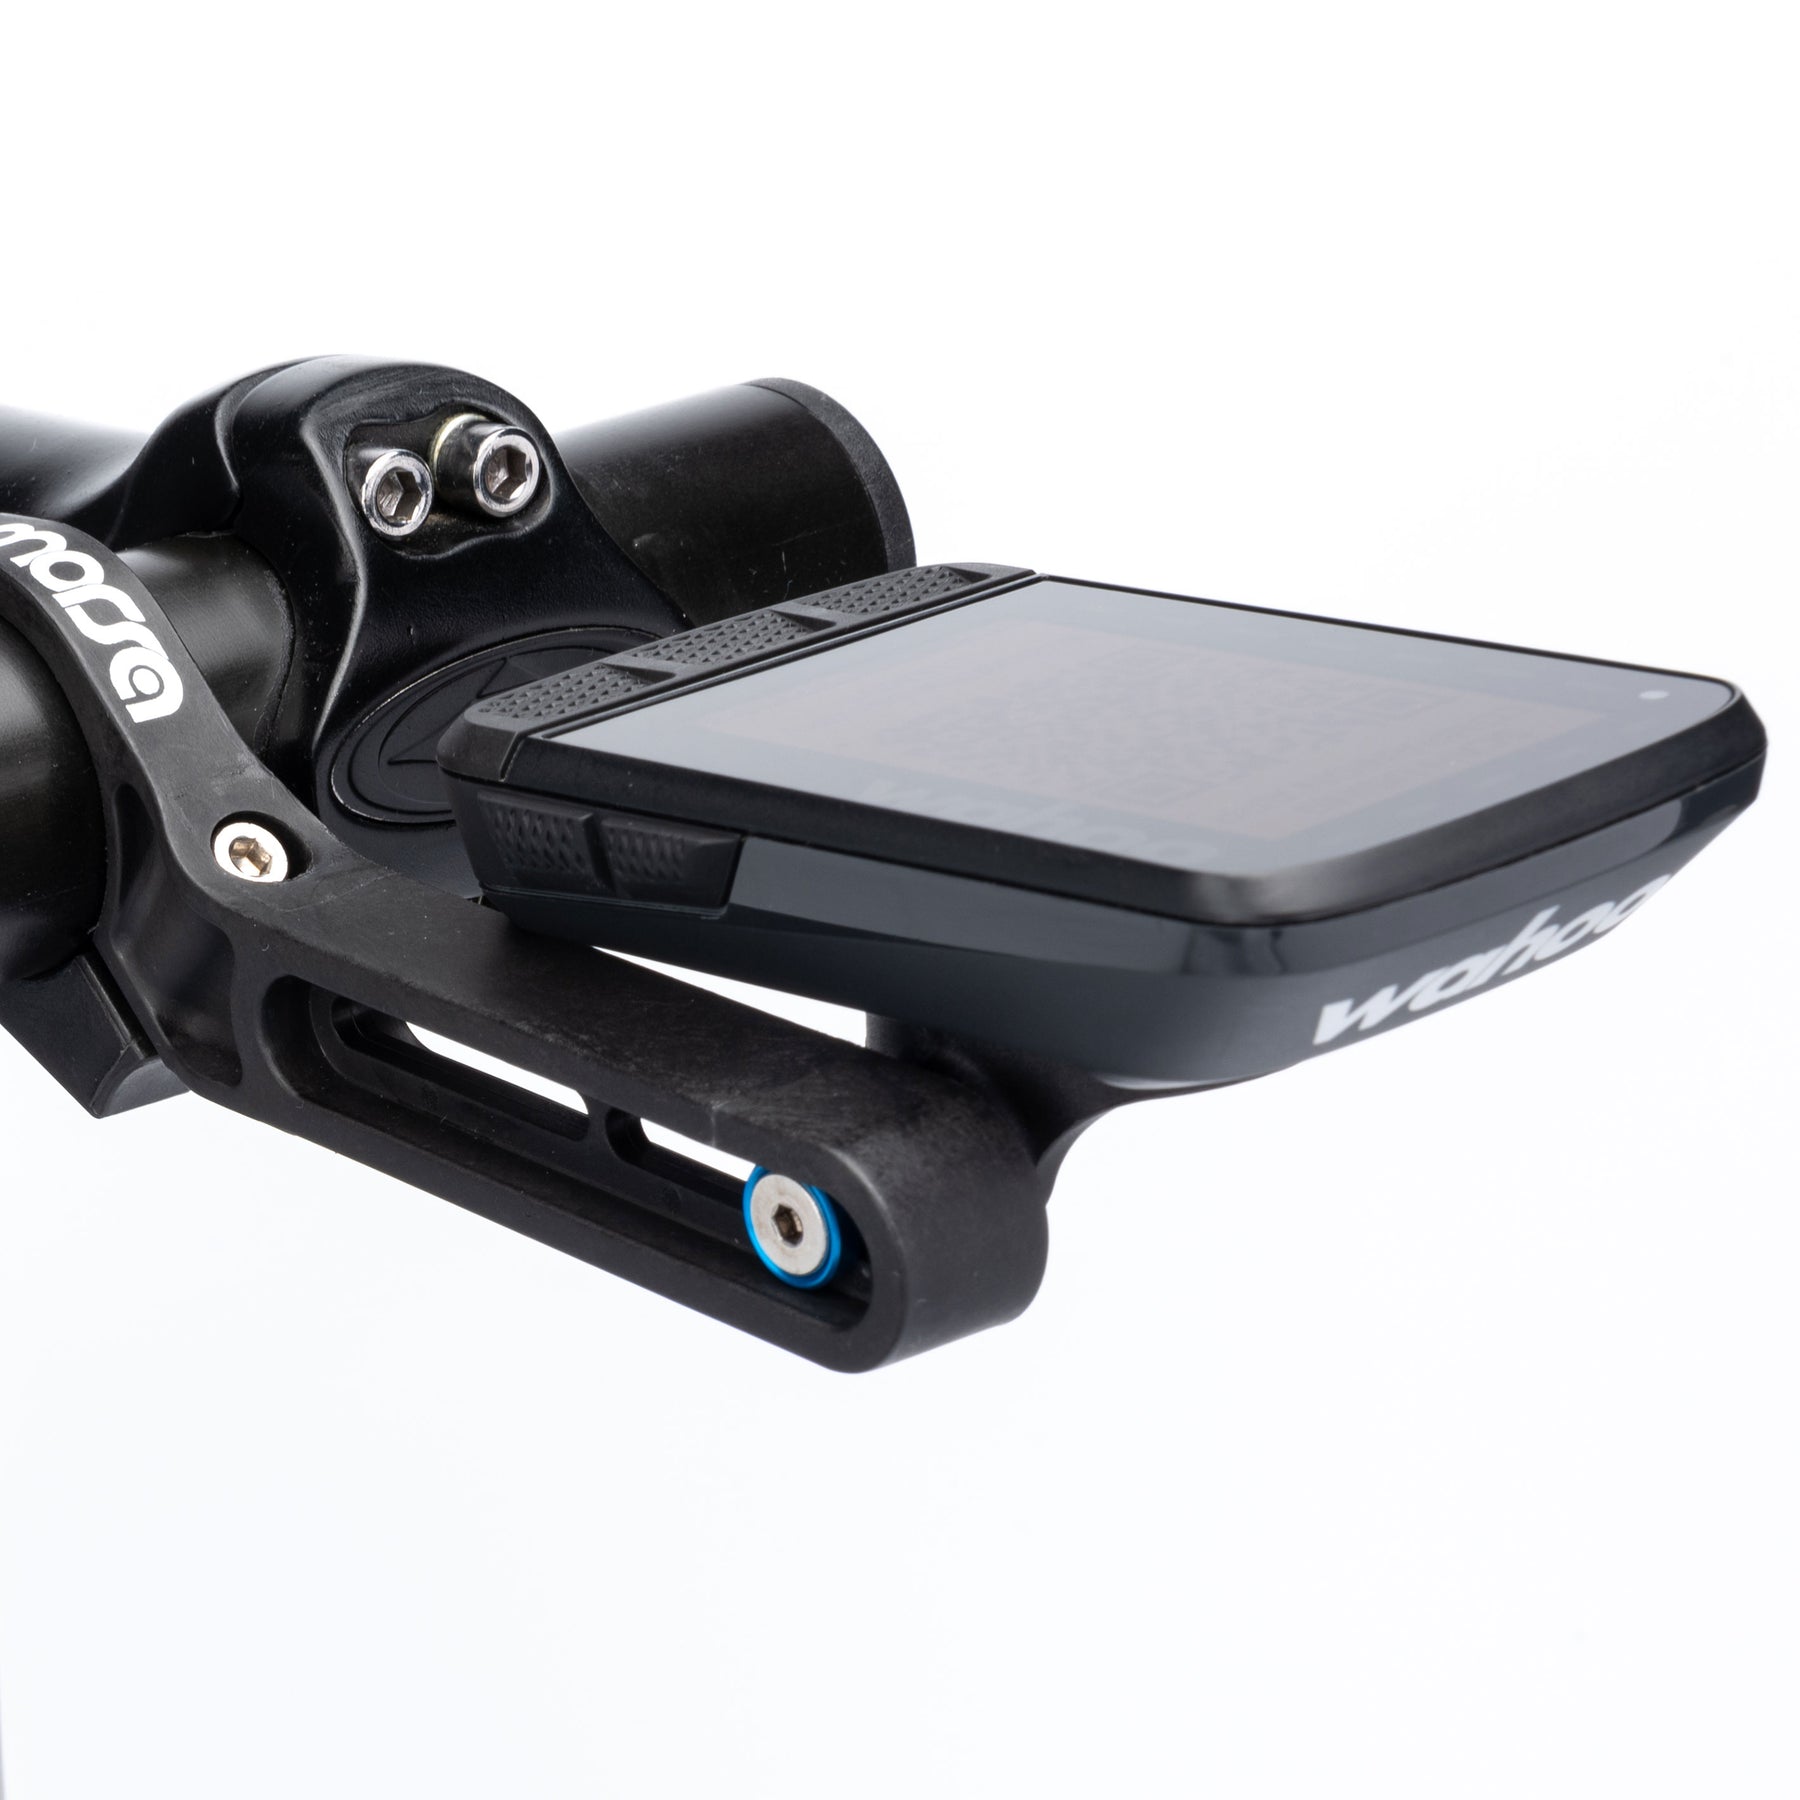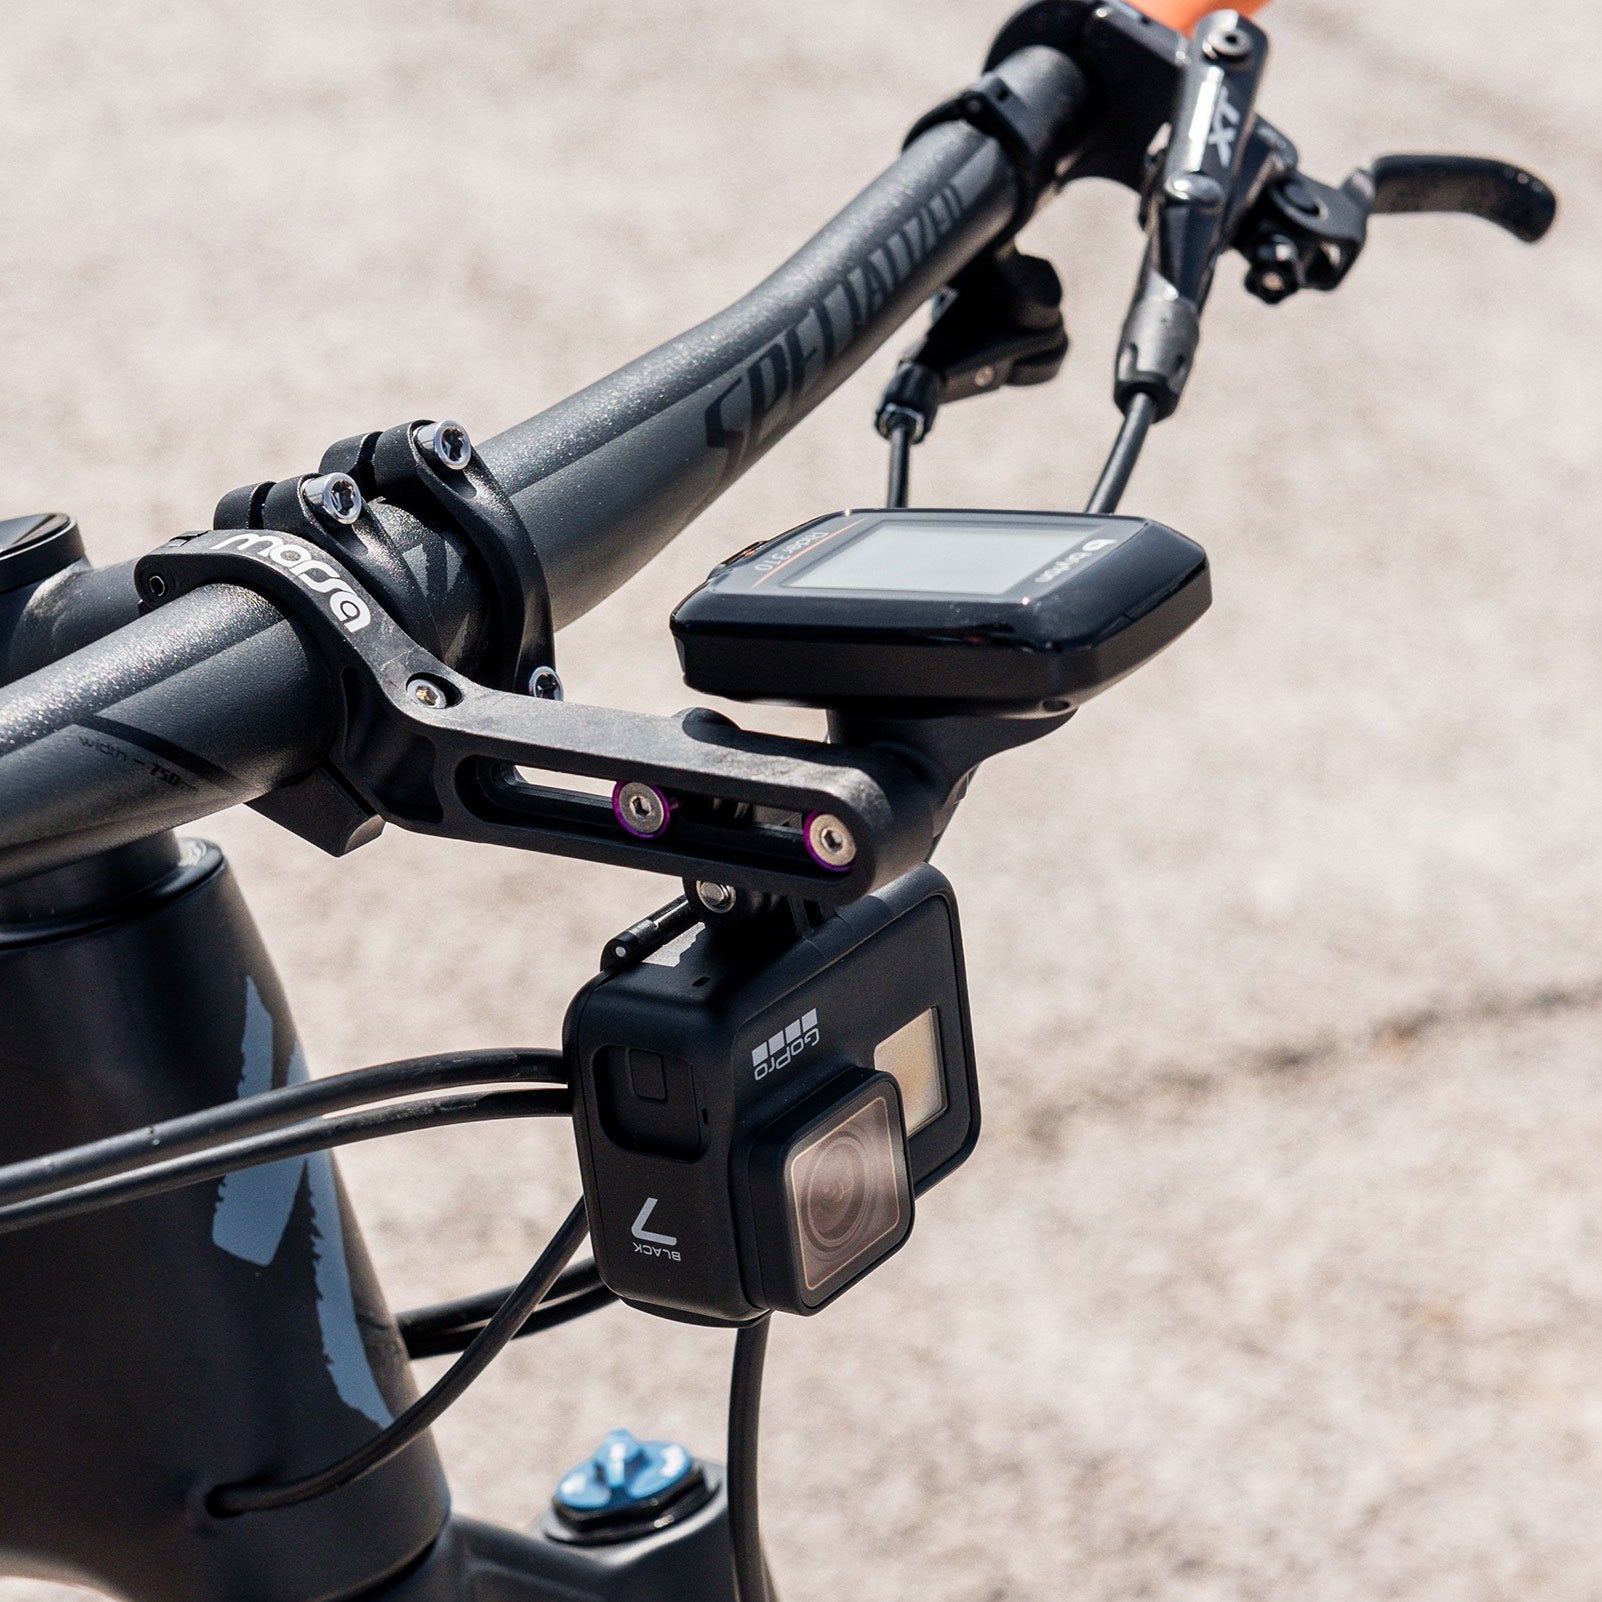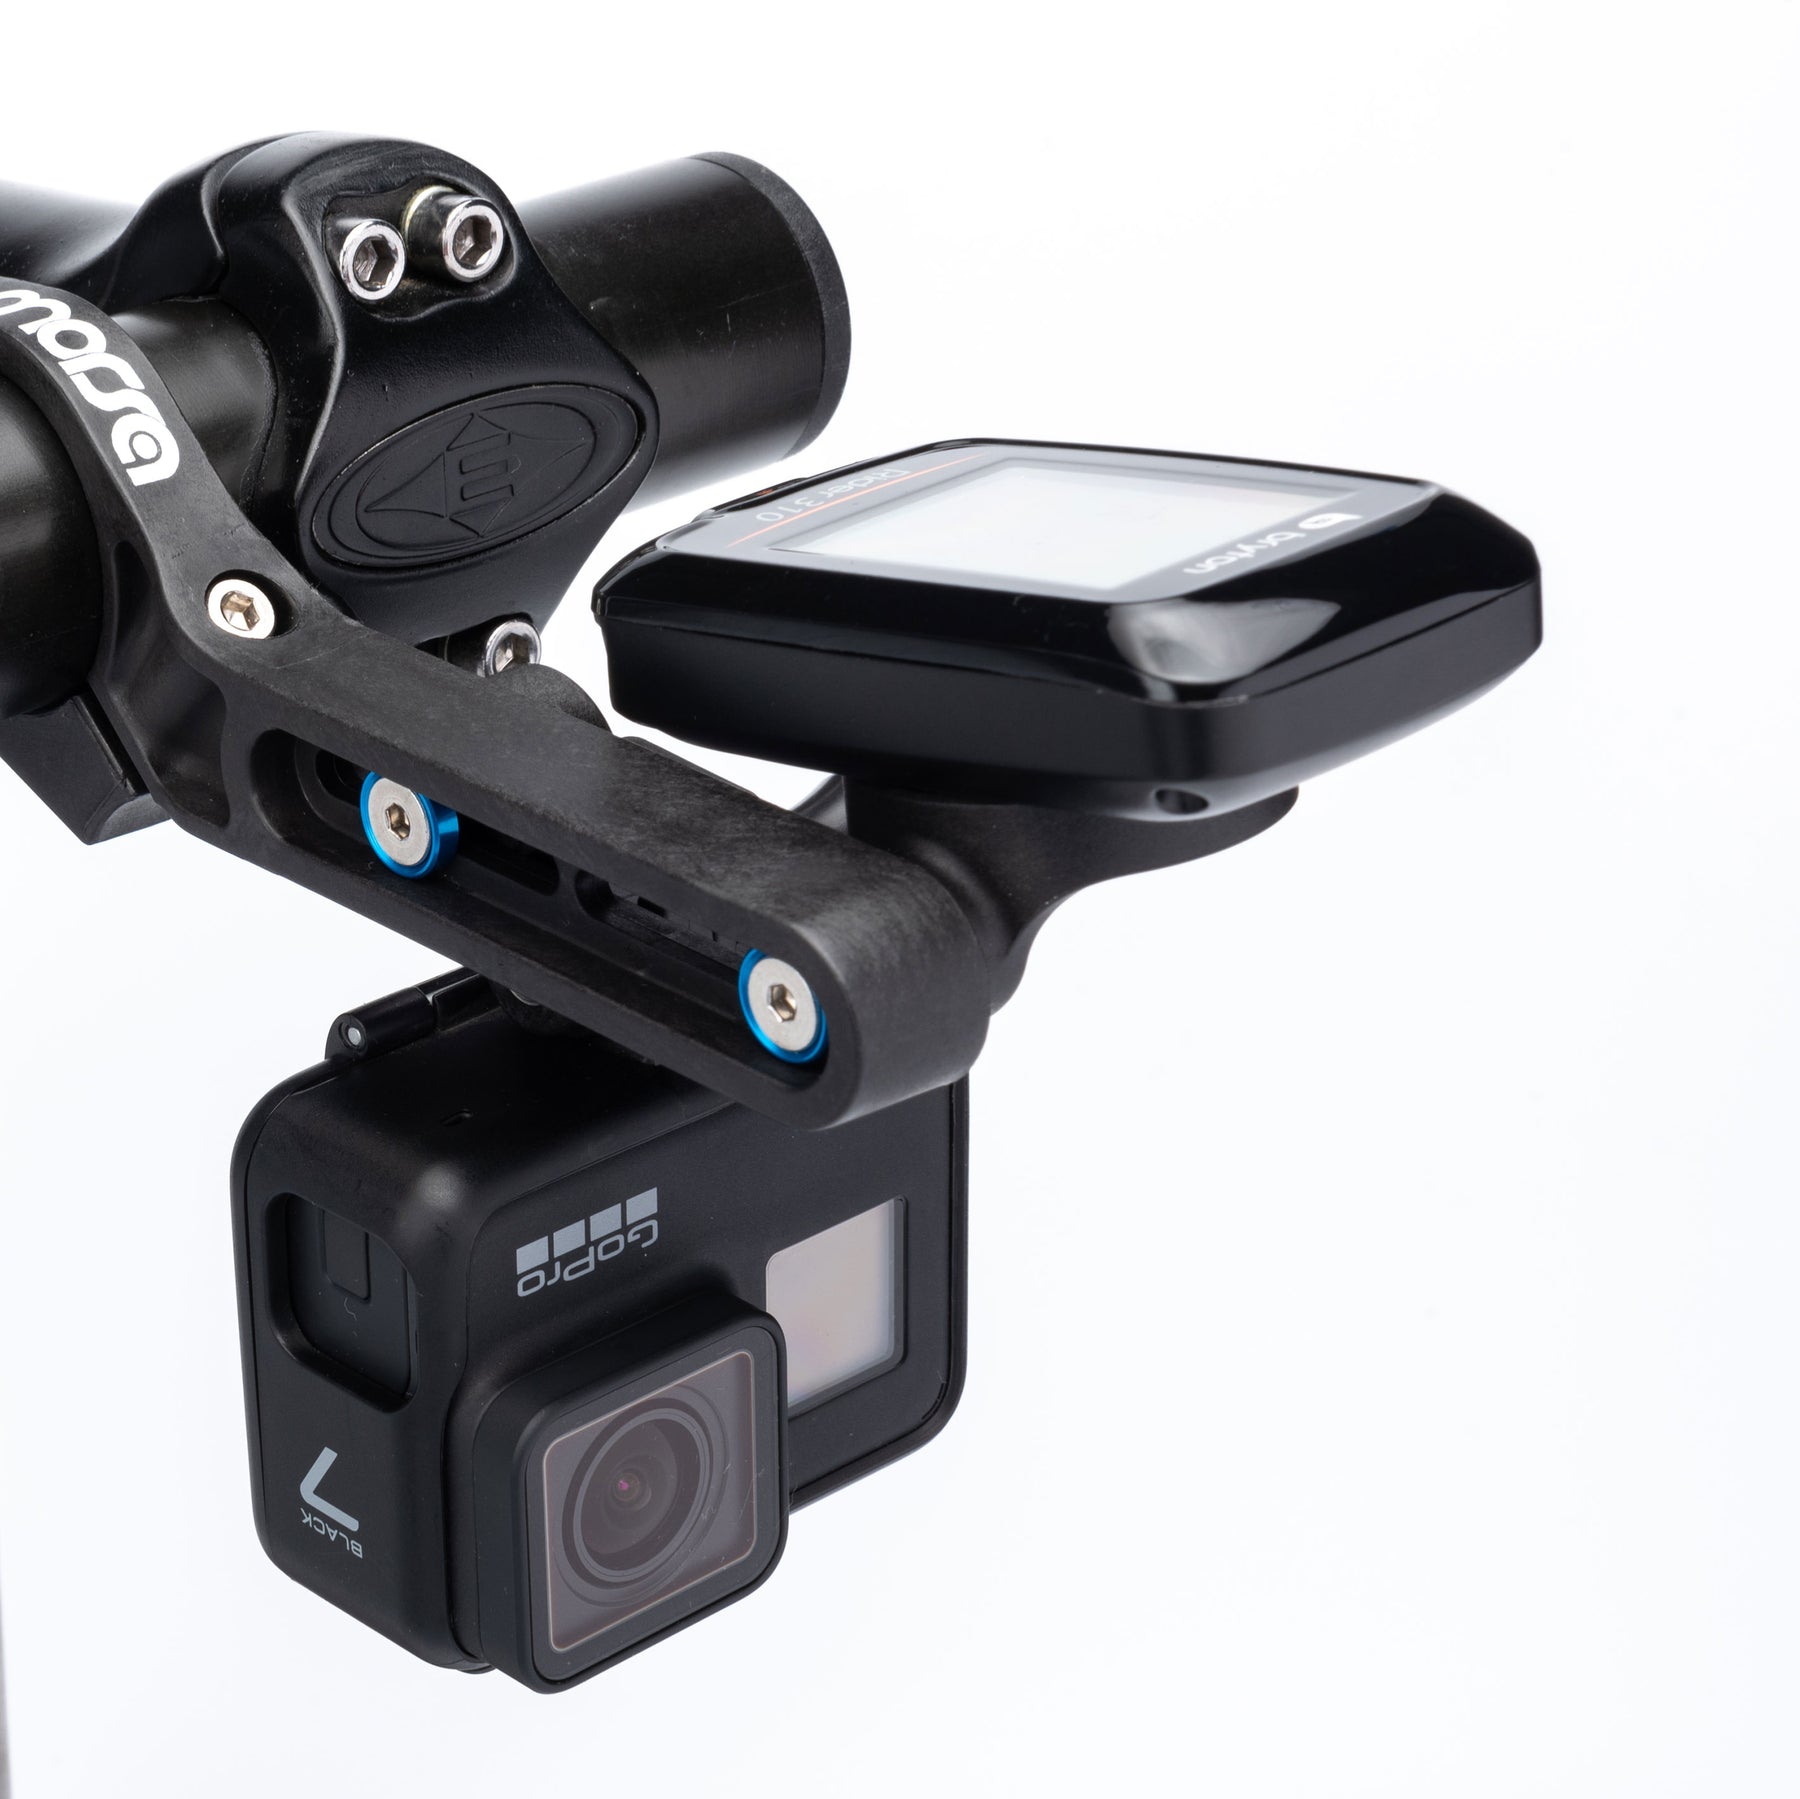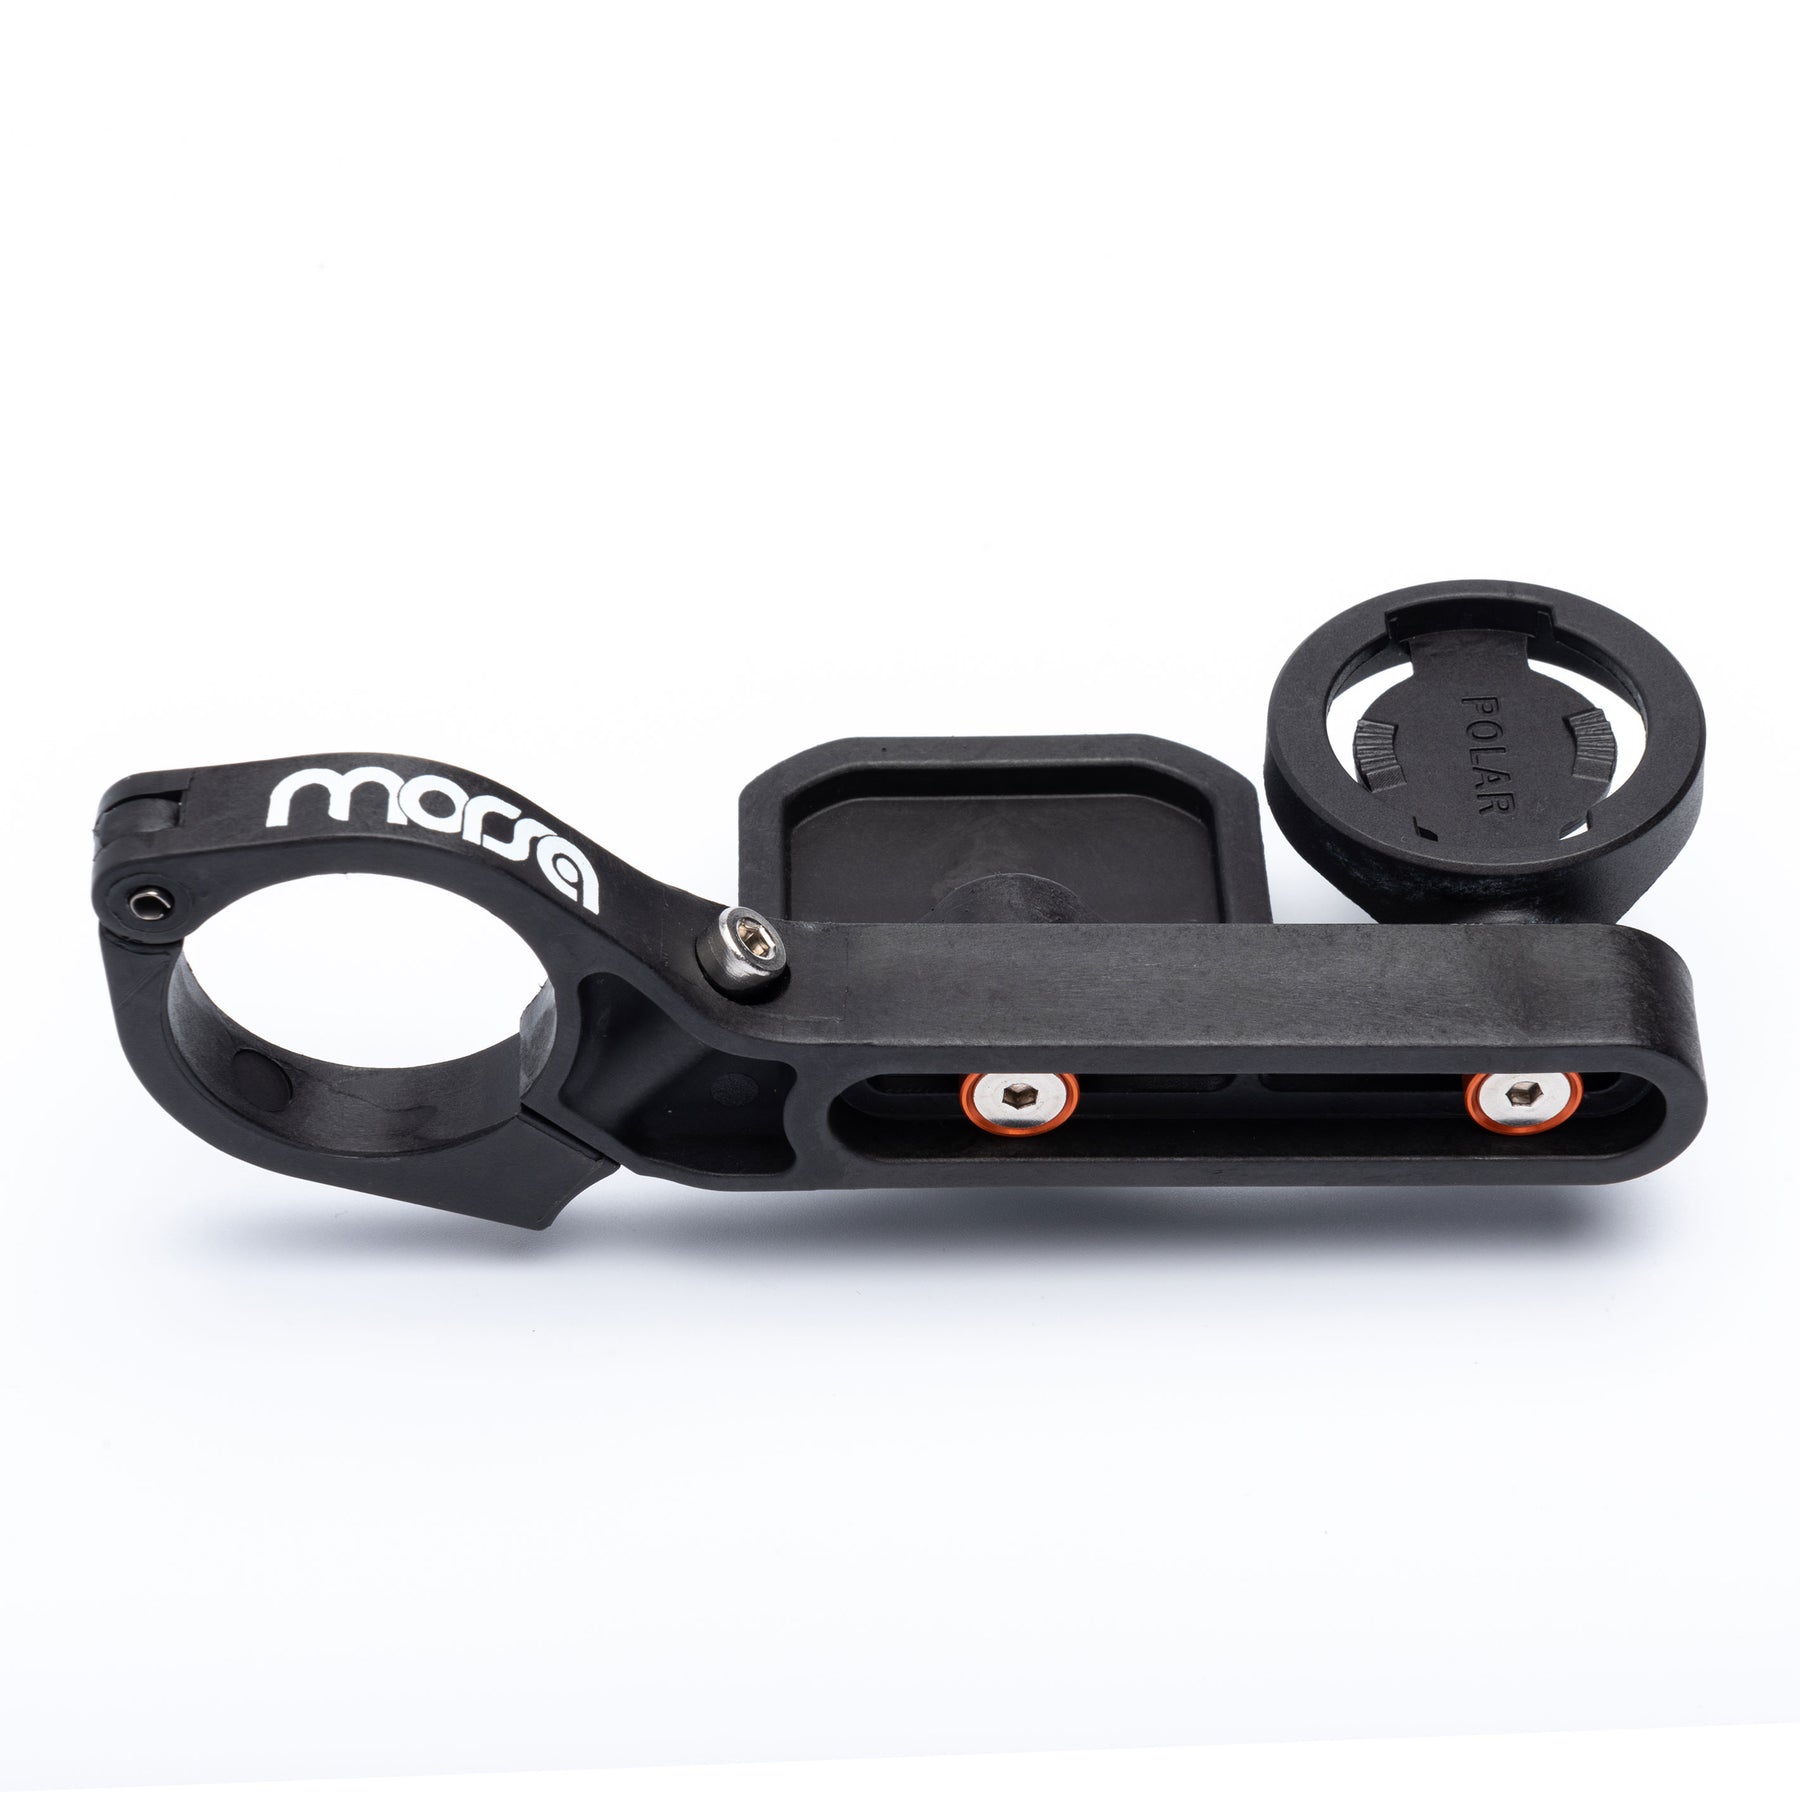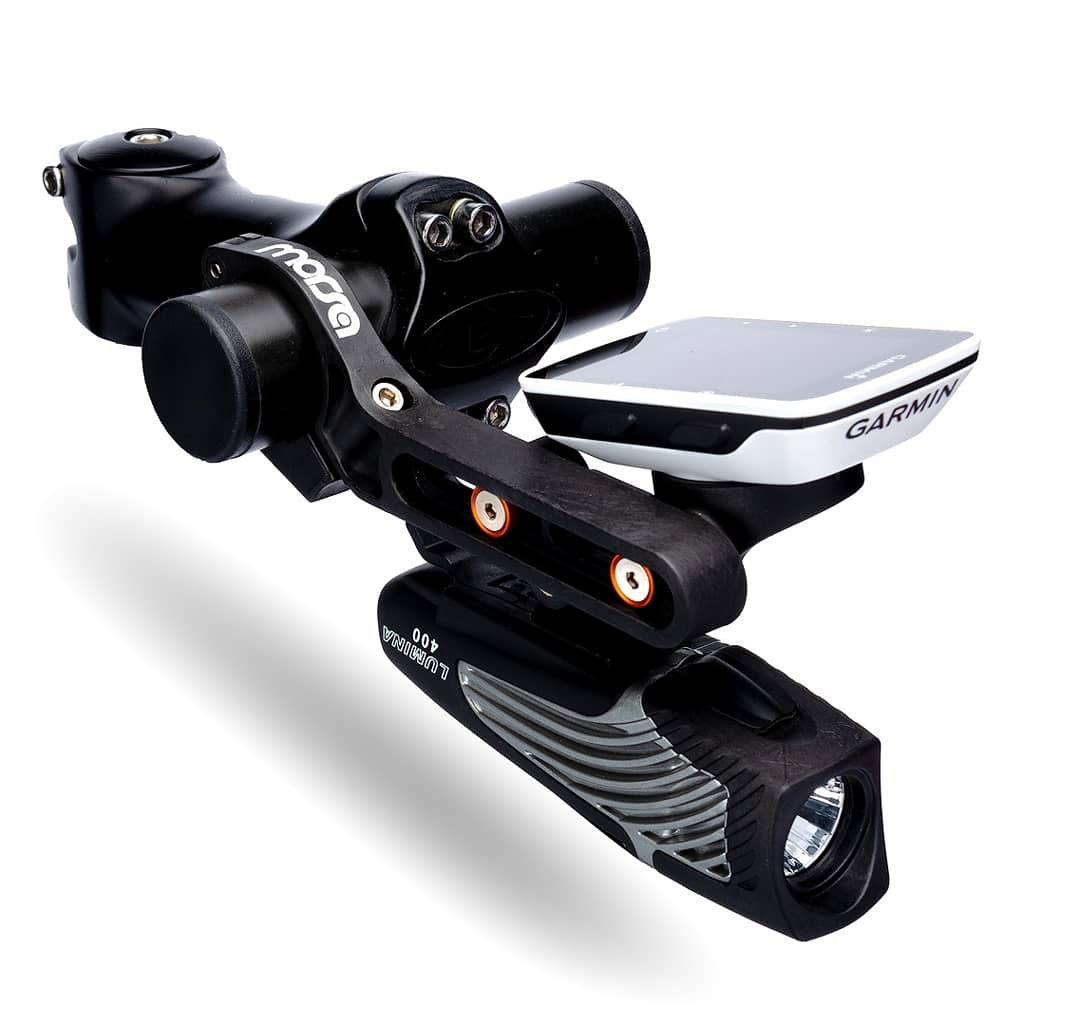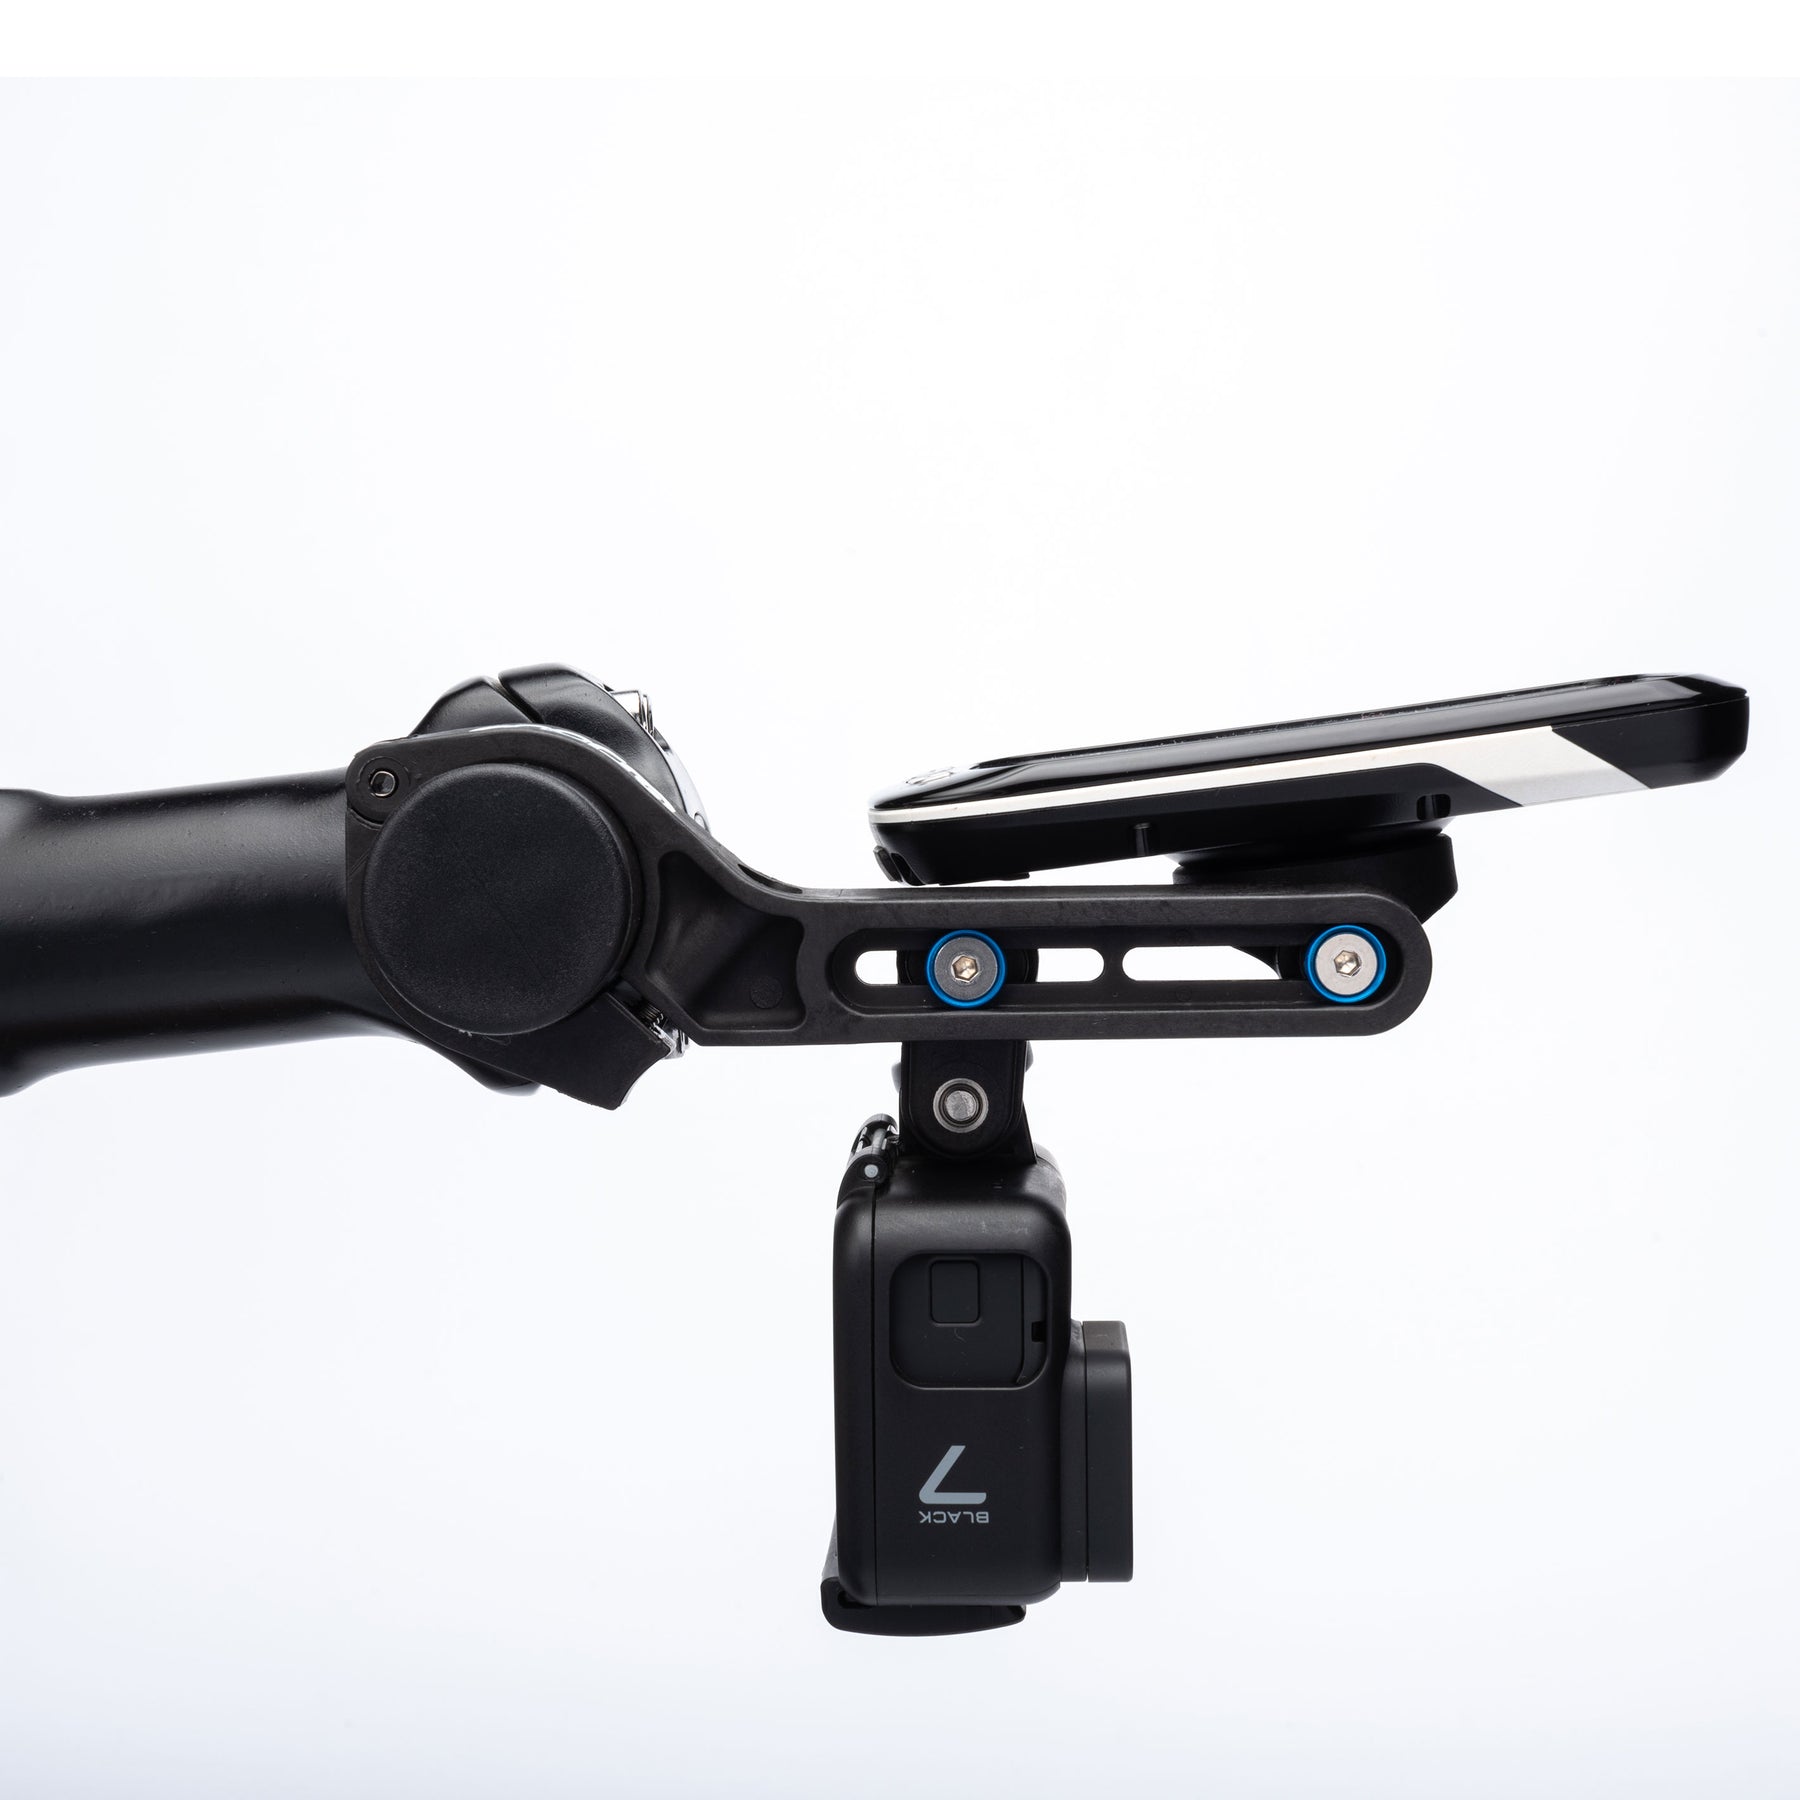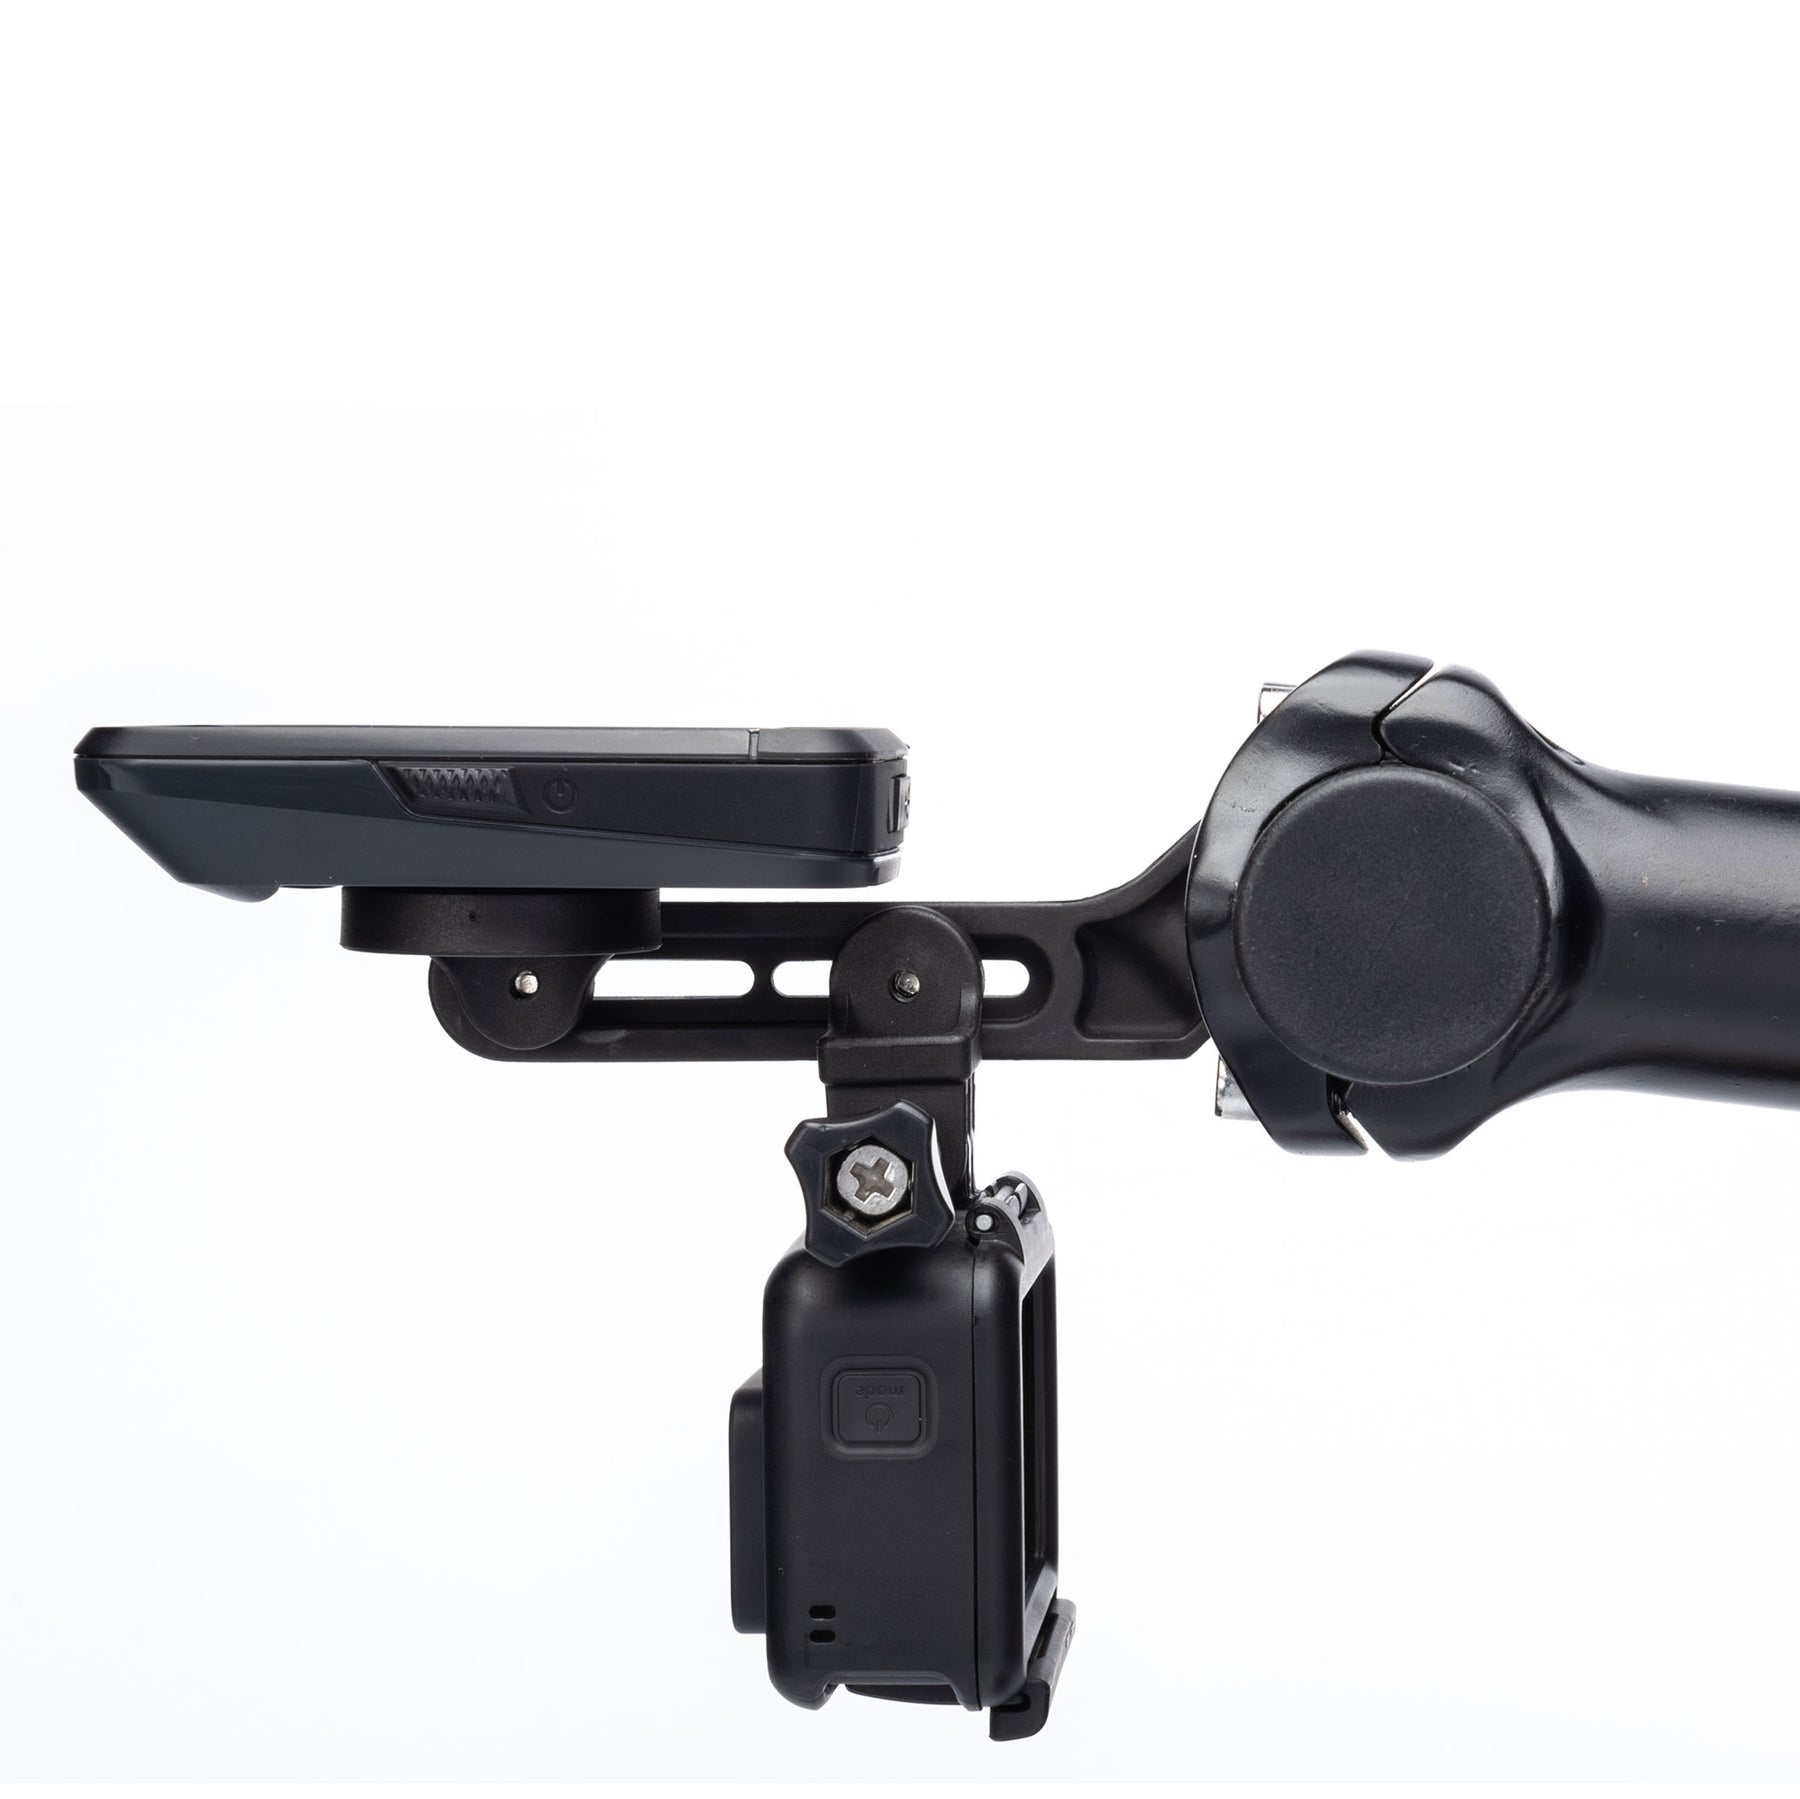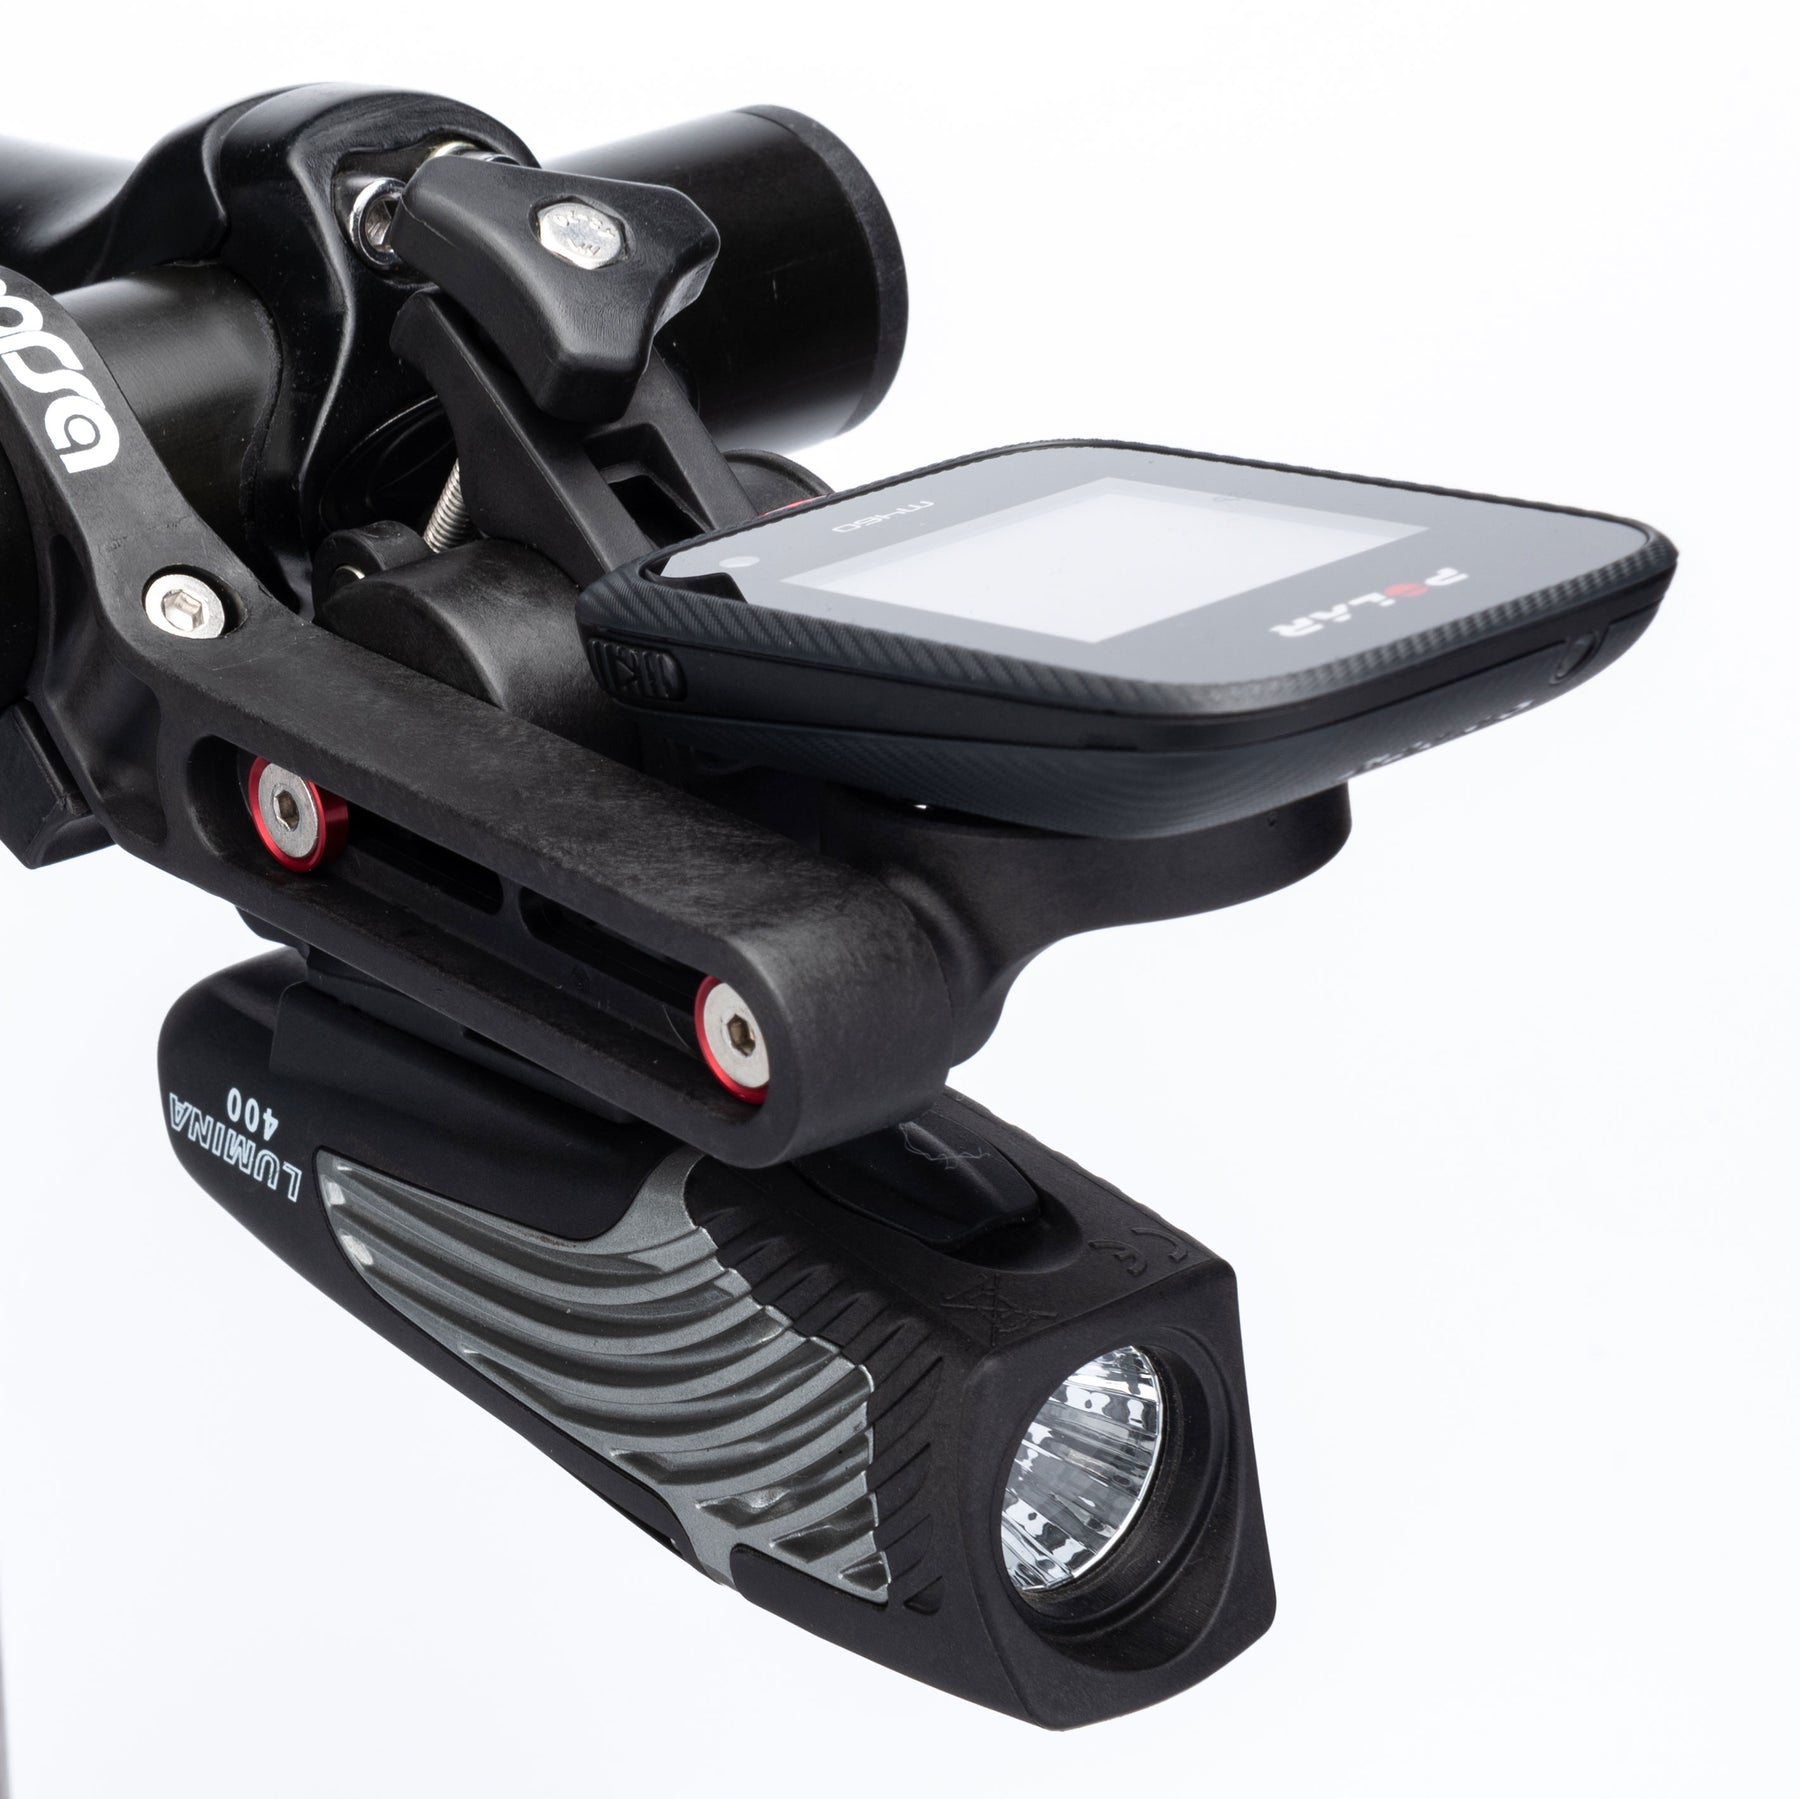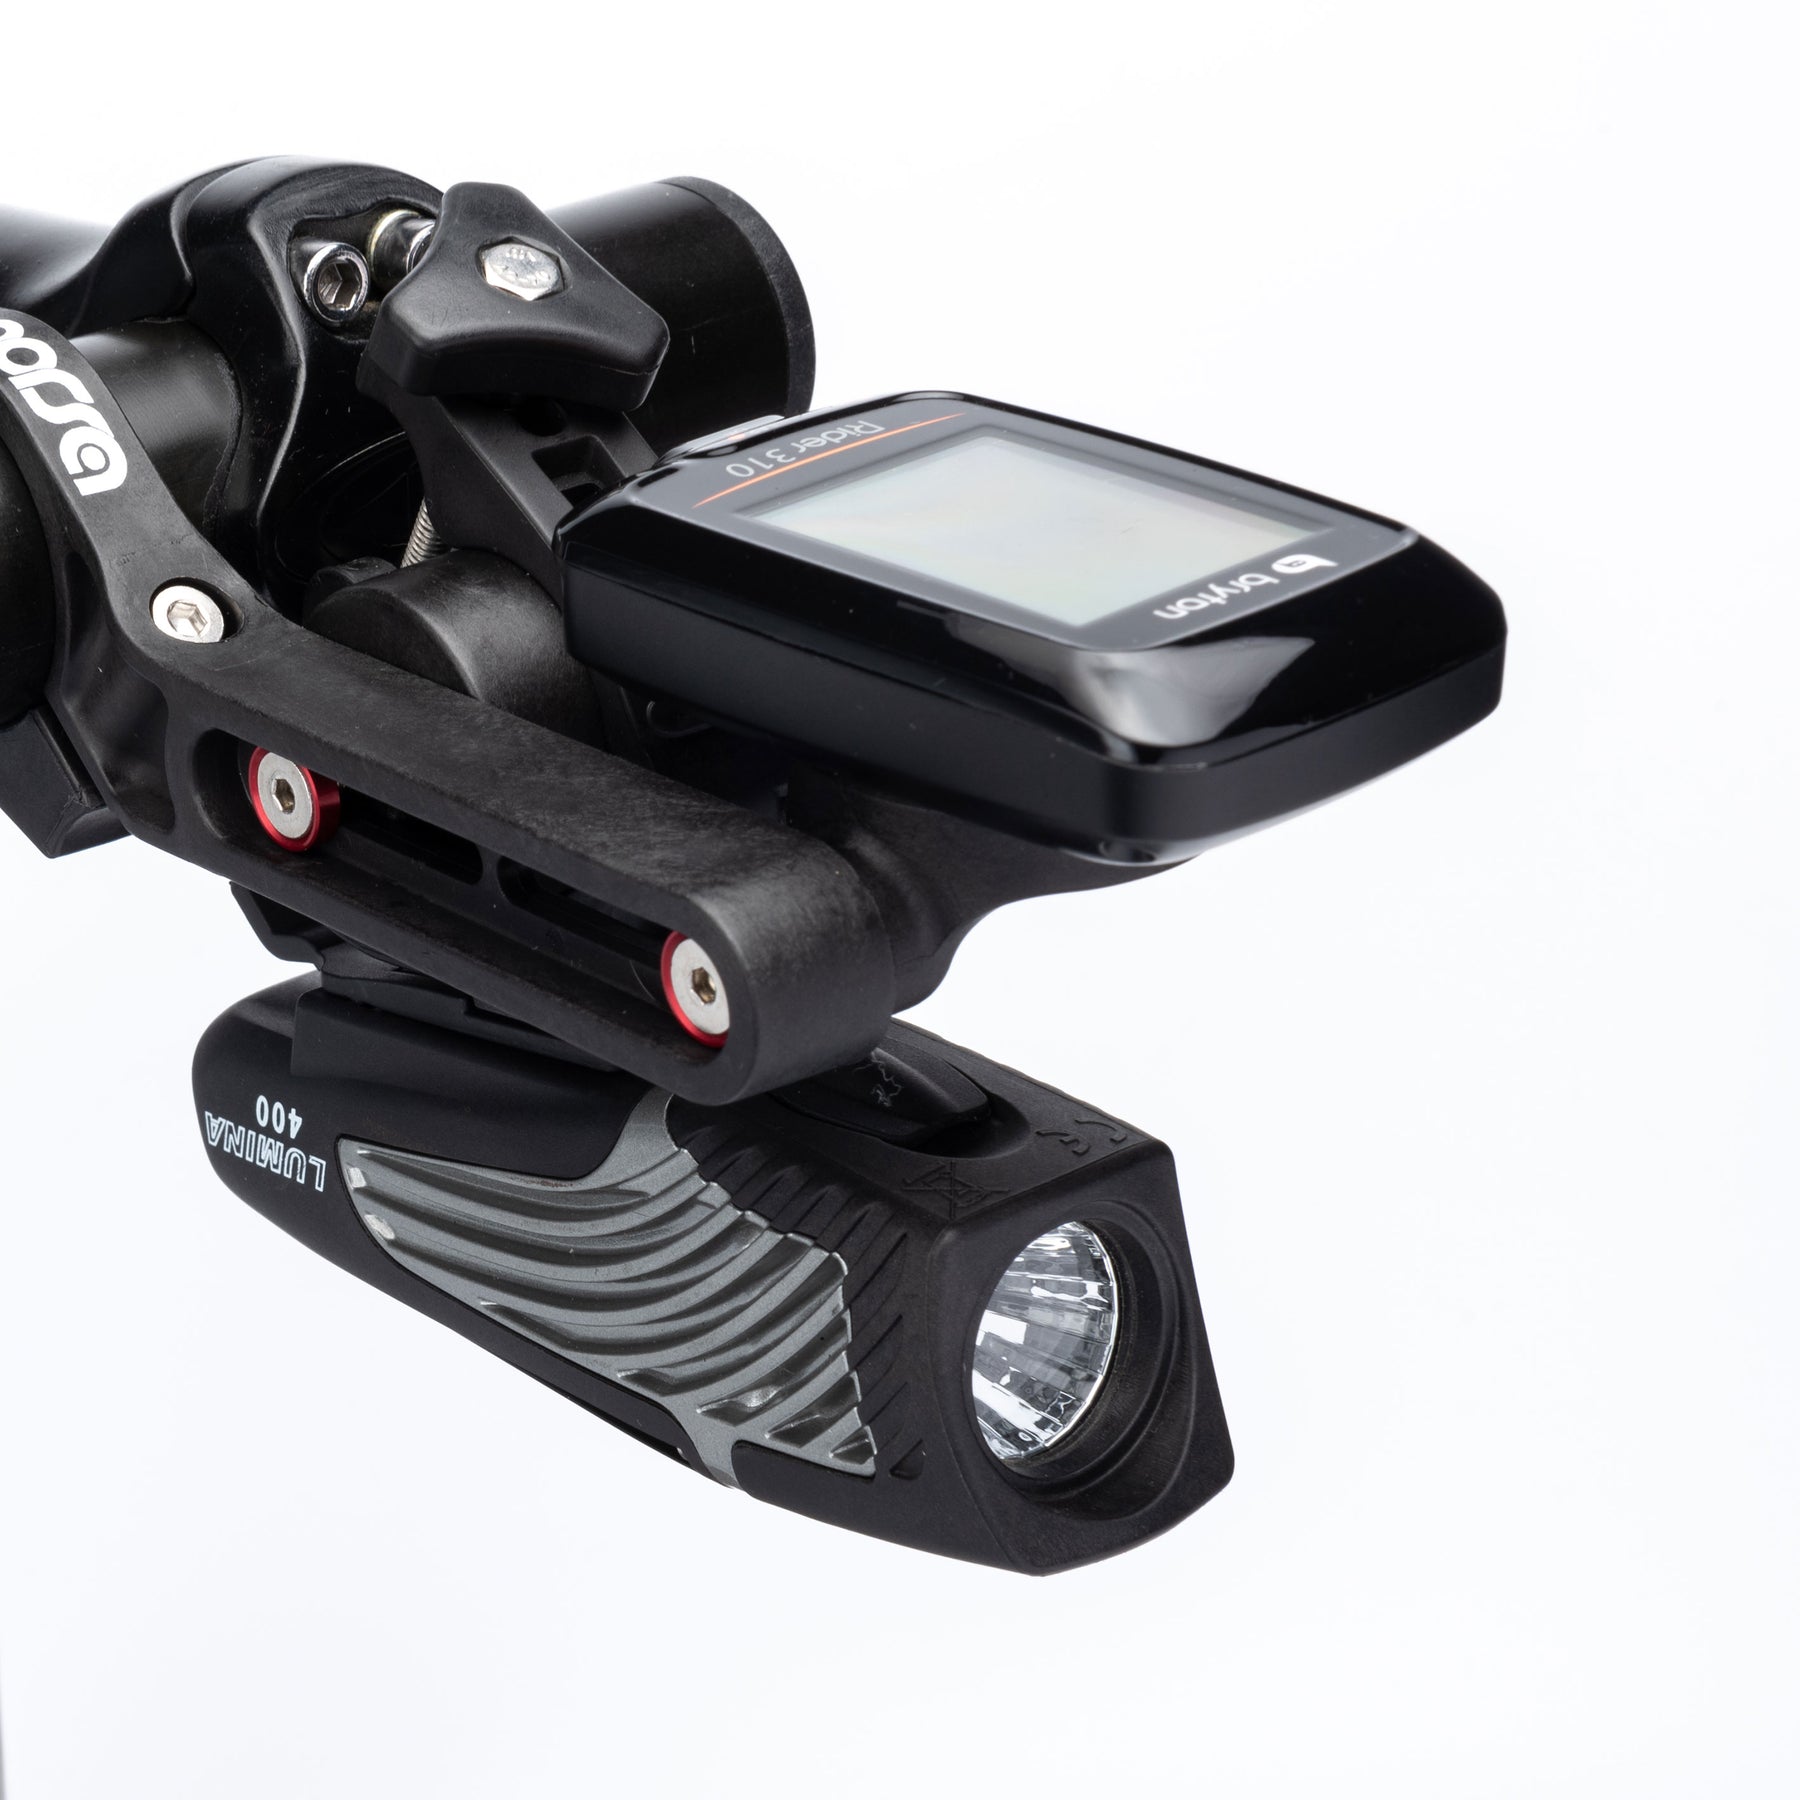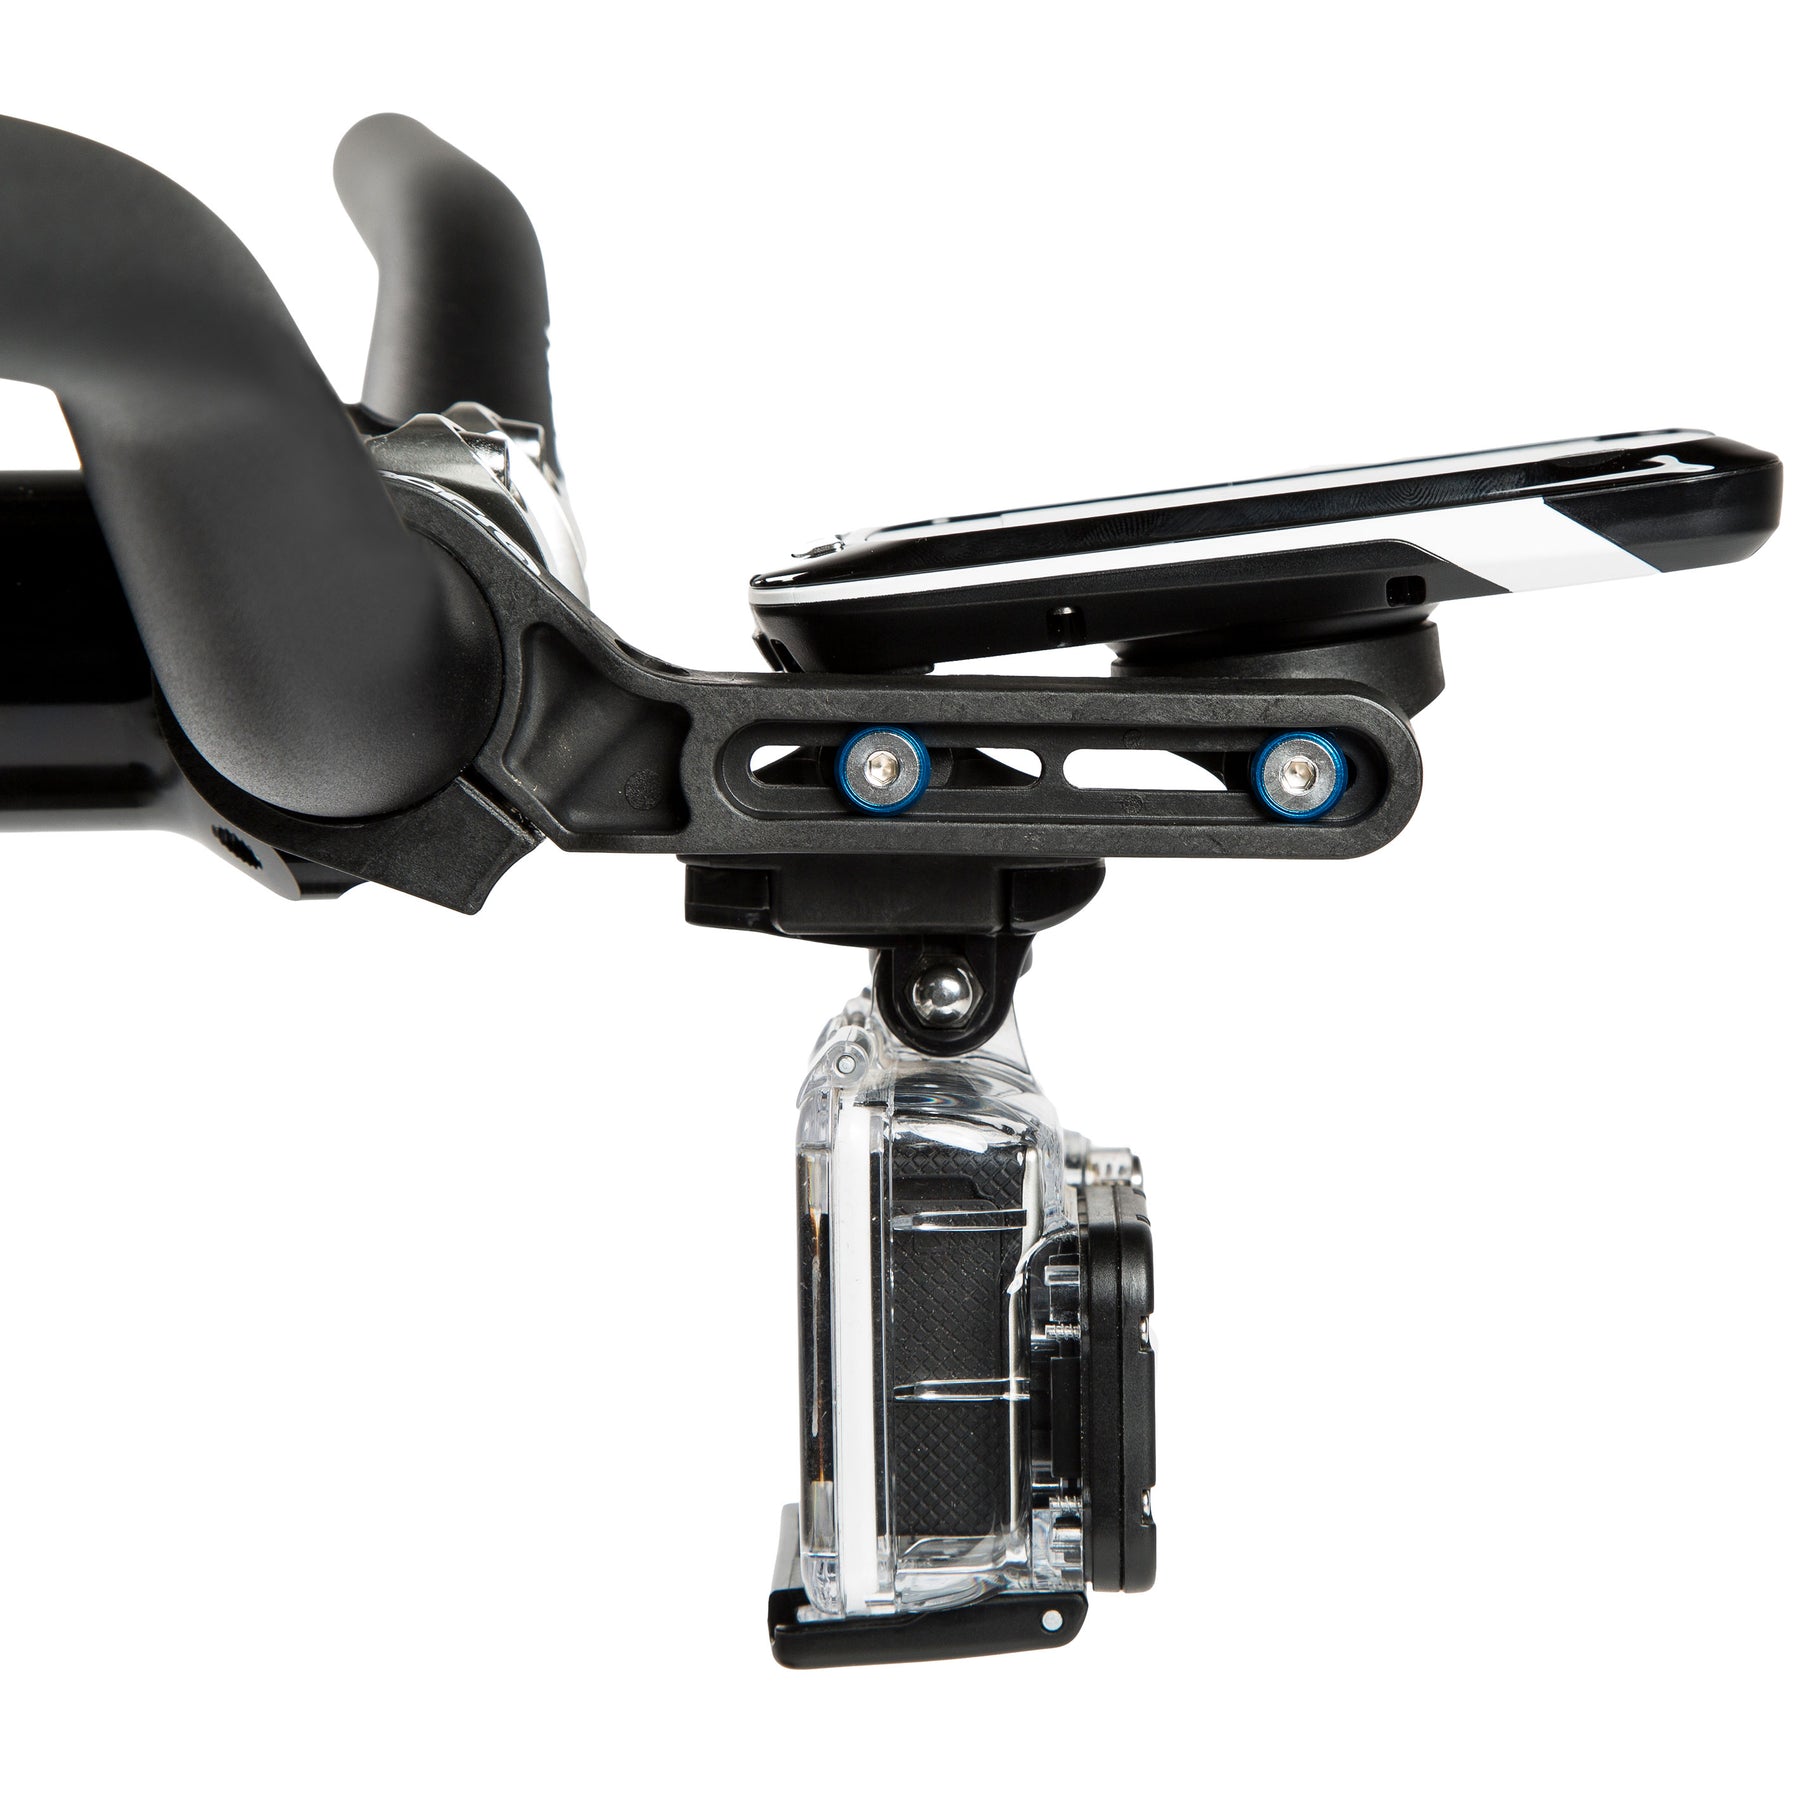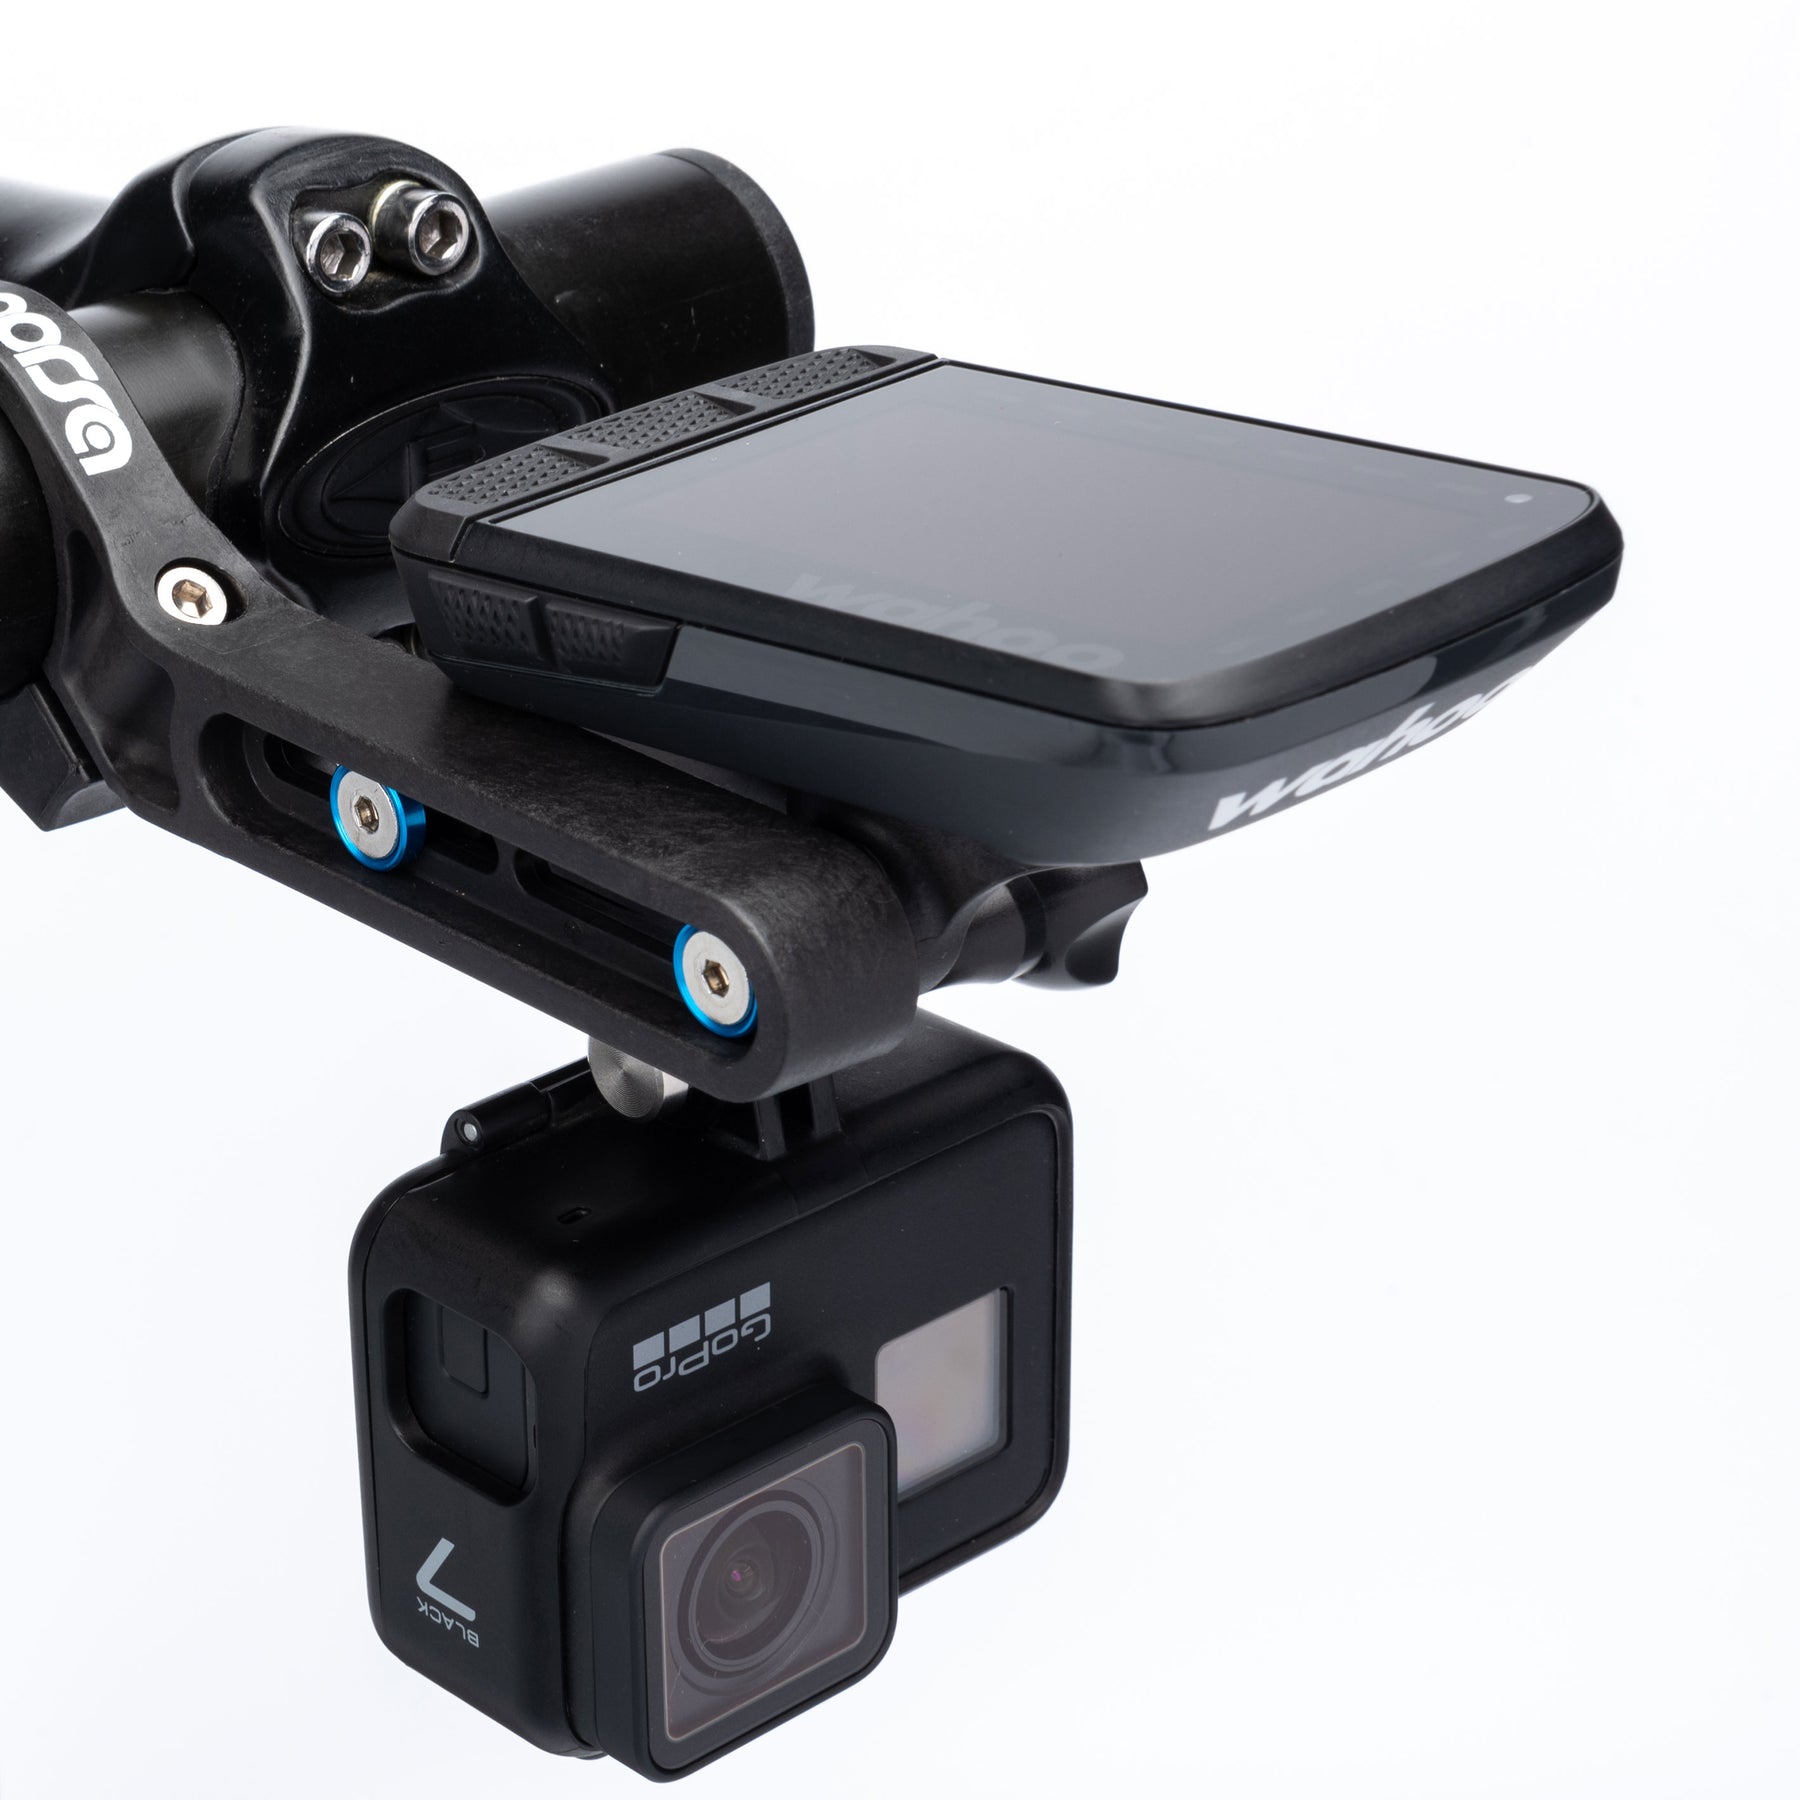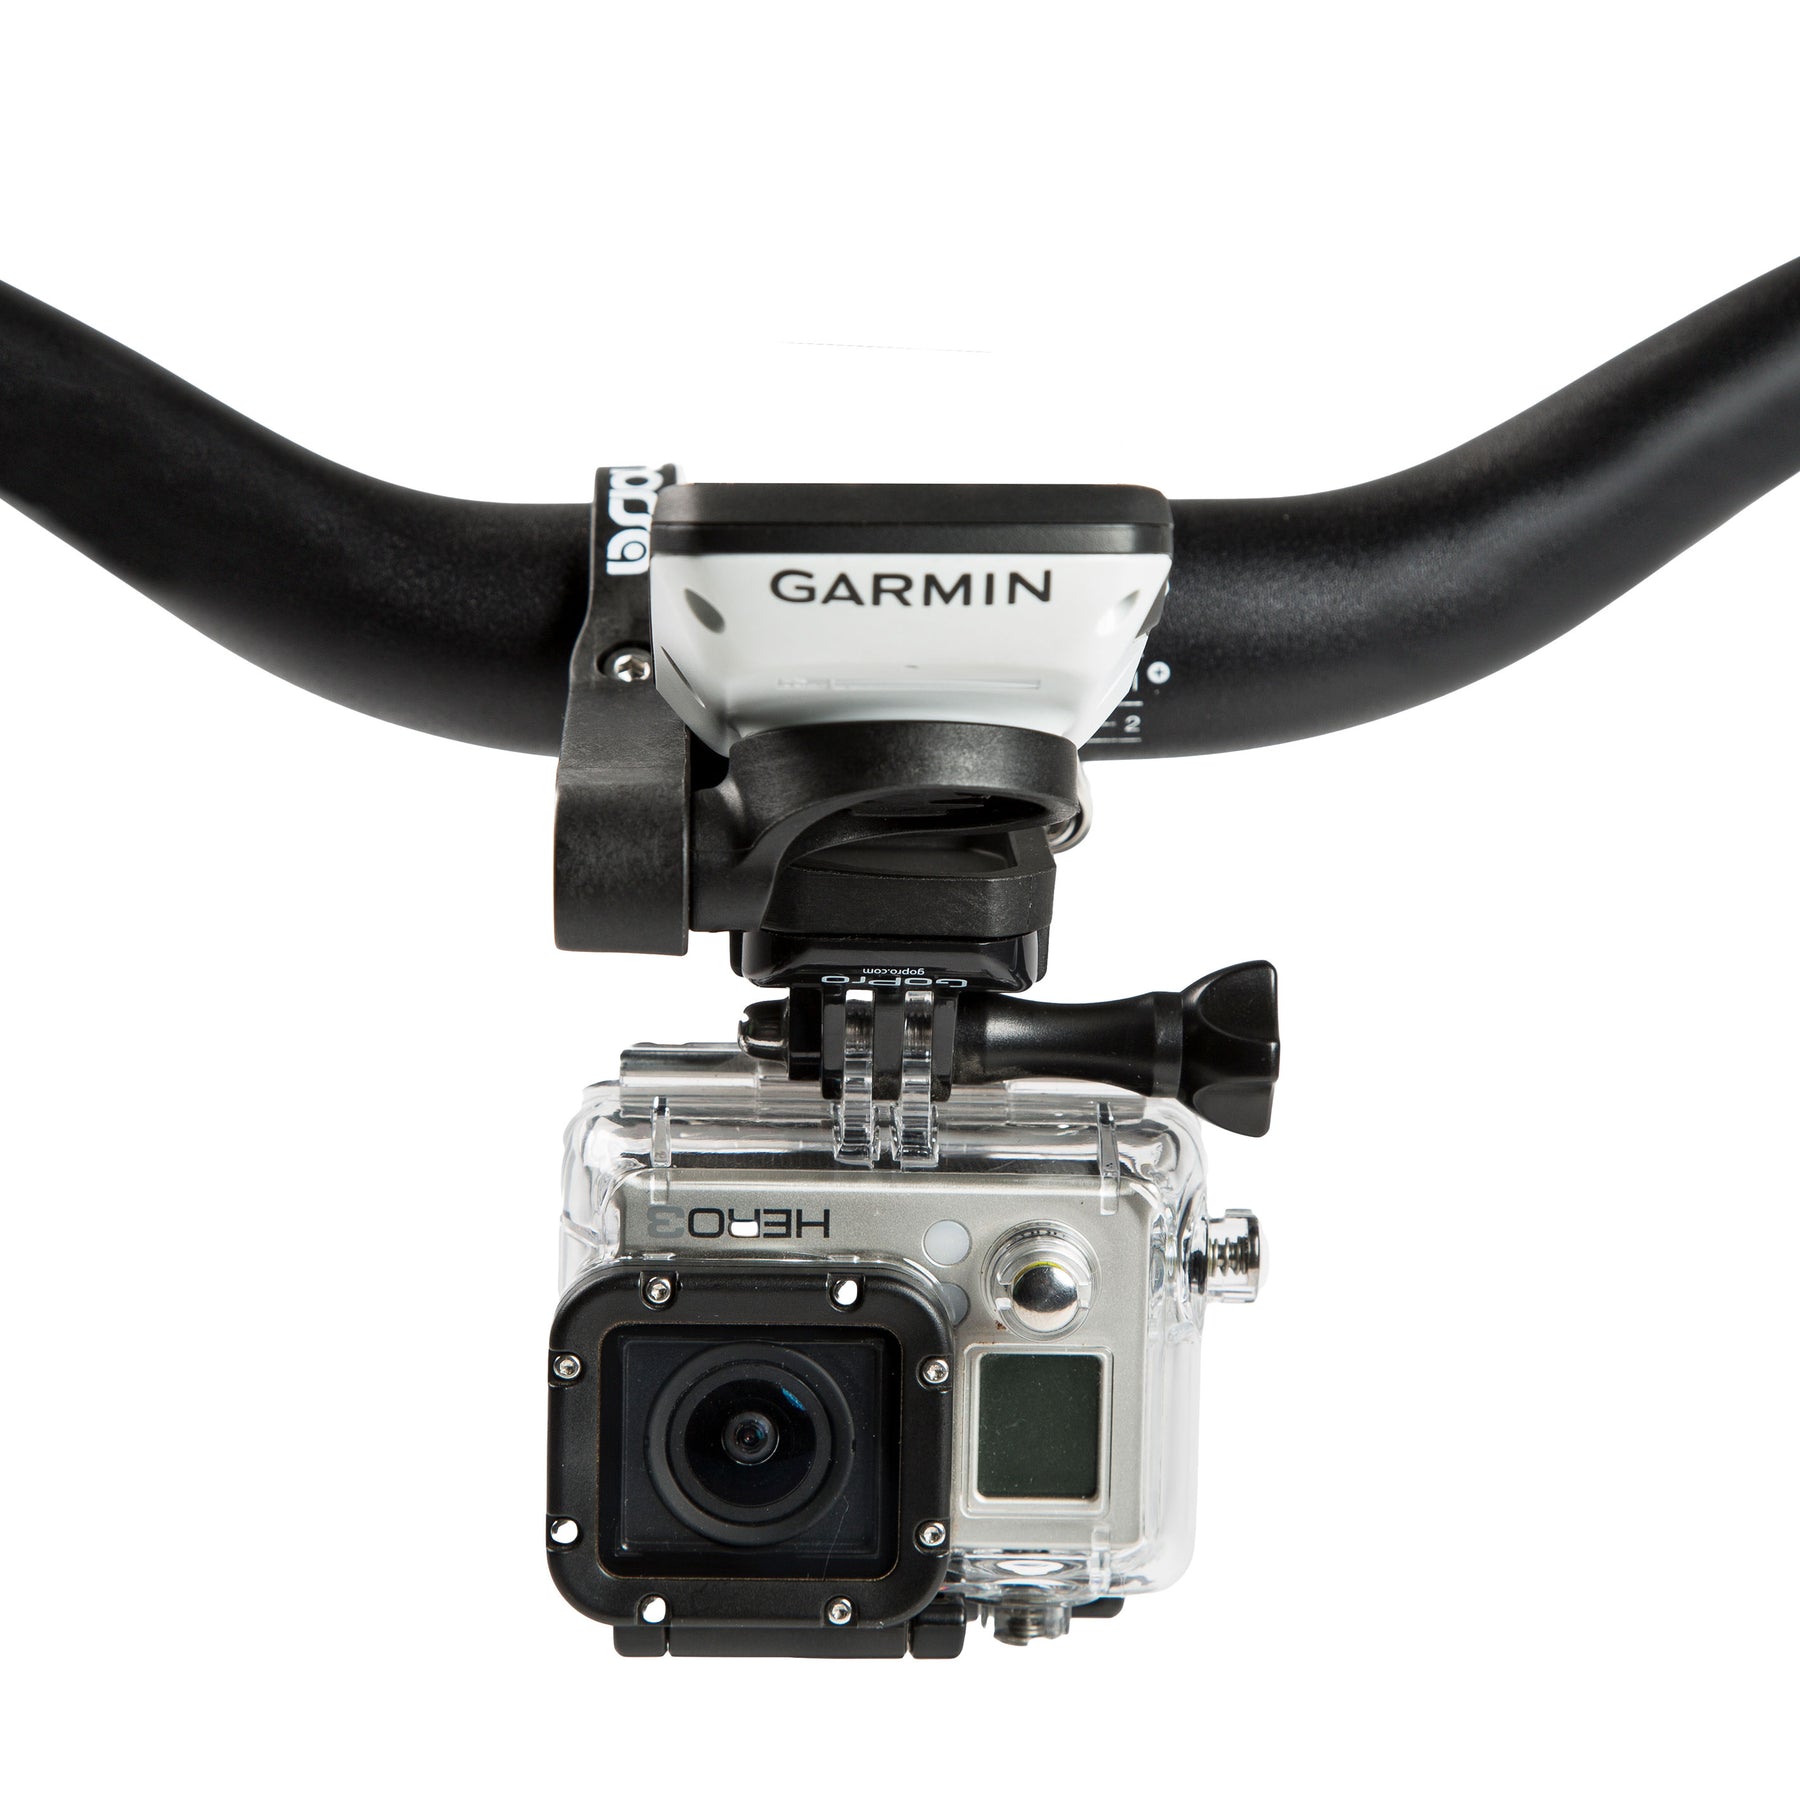


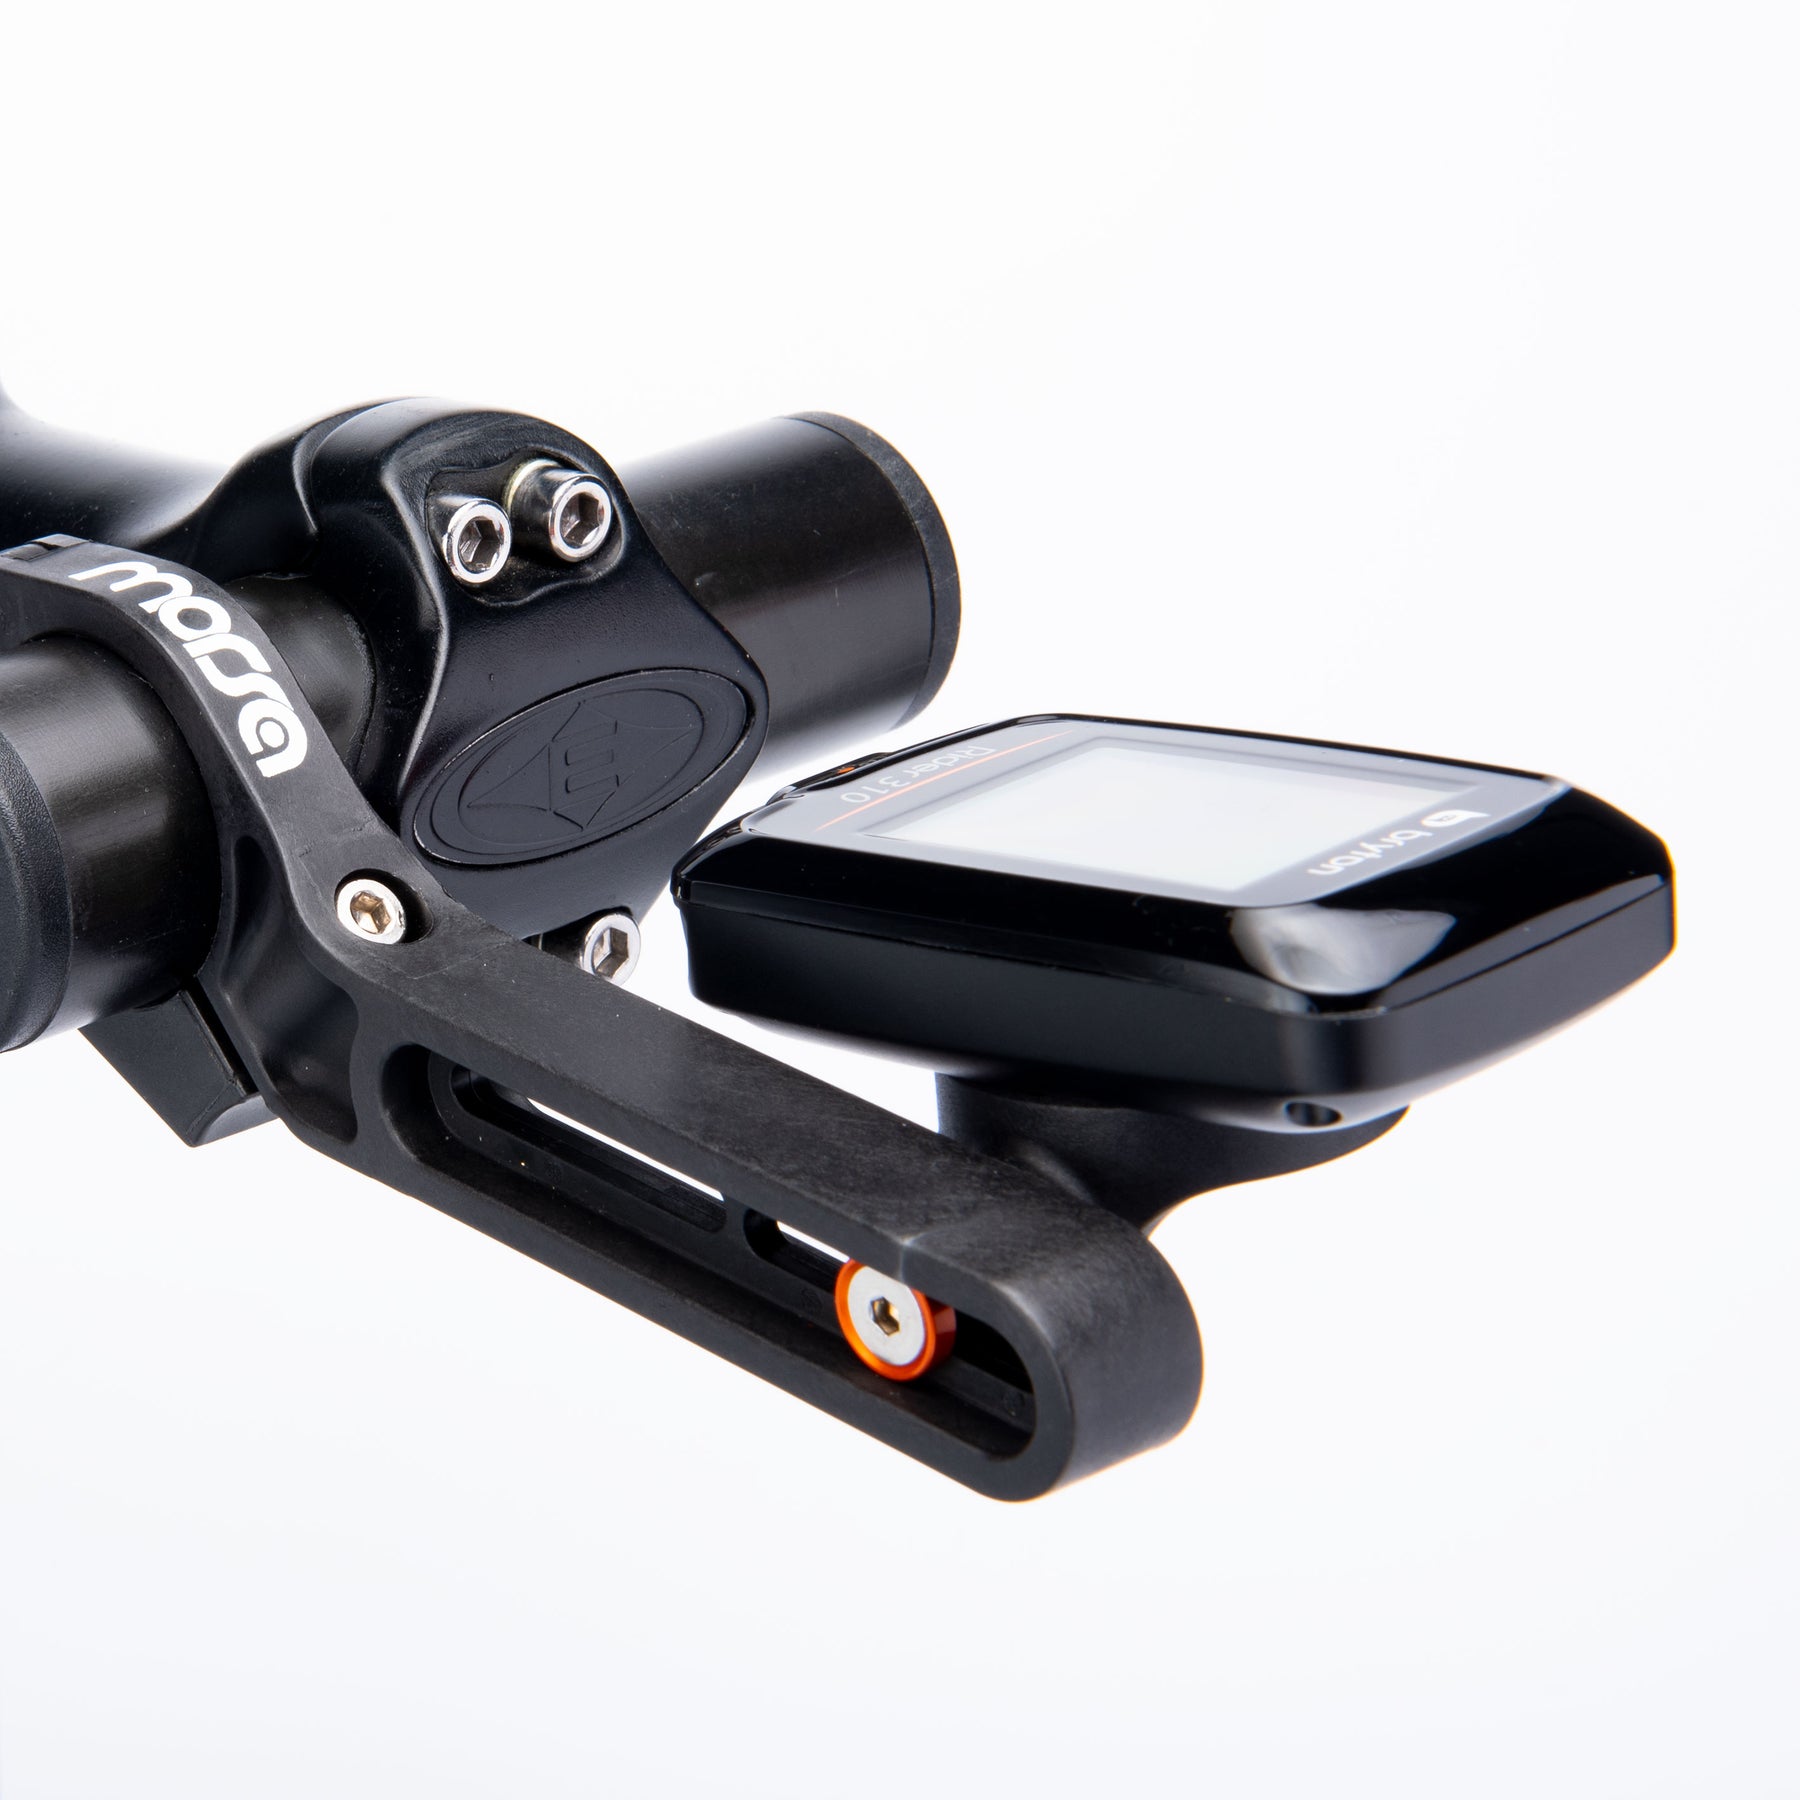
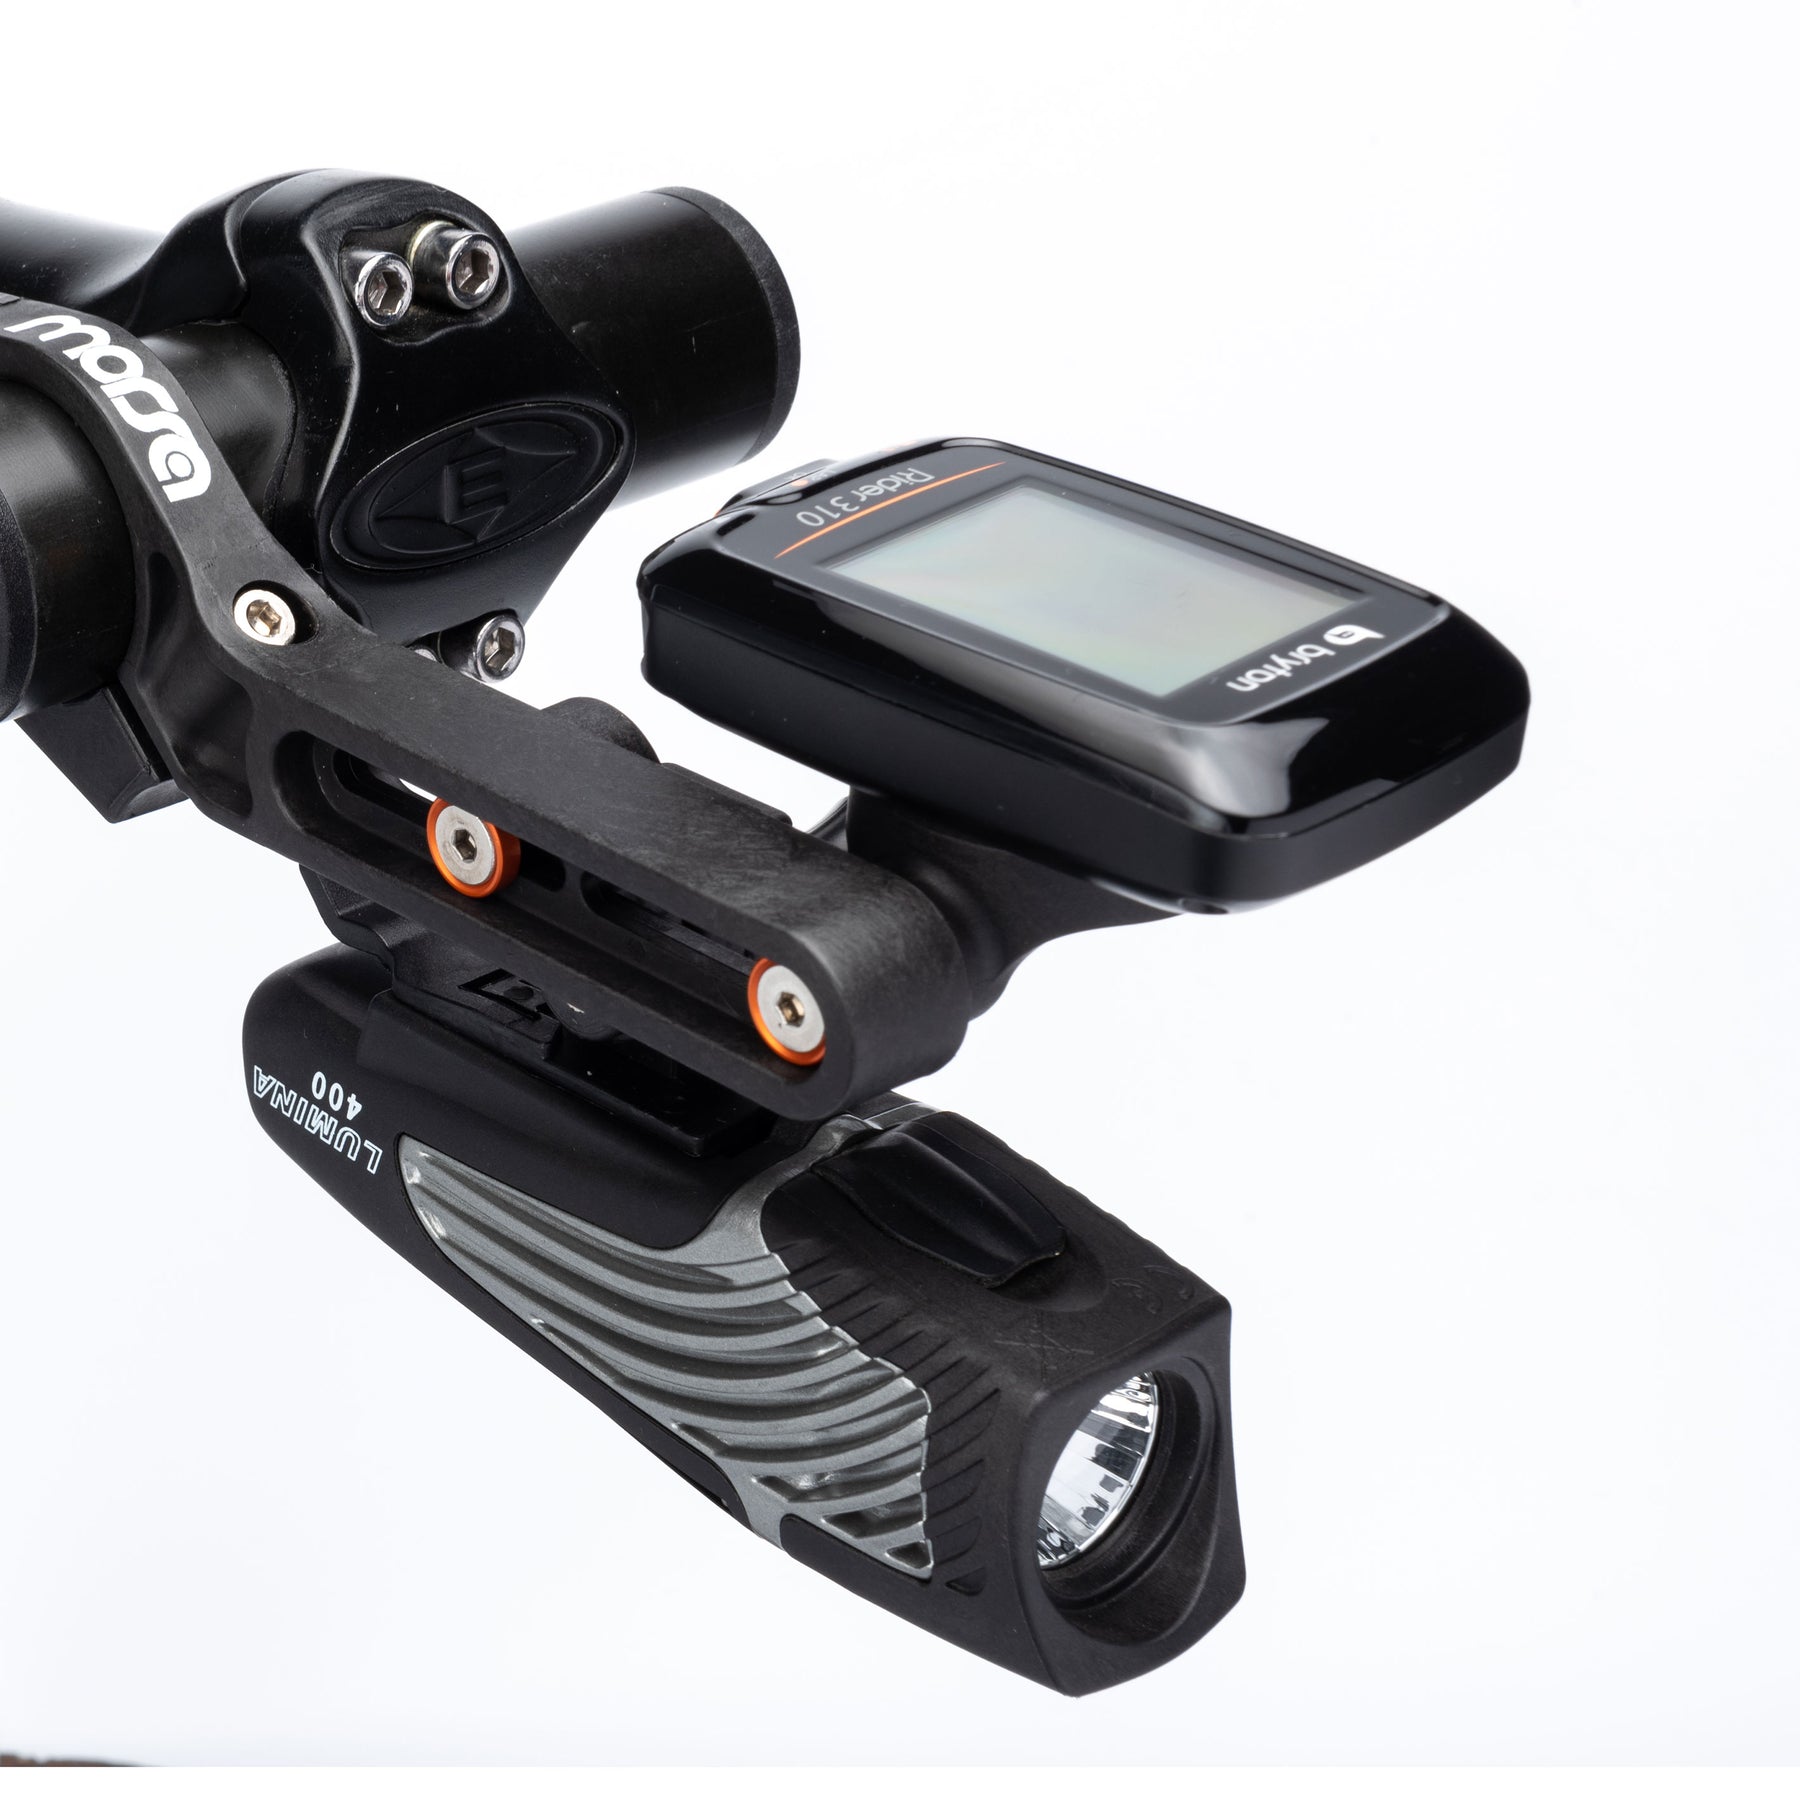

Mount your Cycling Computer Out front and Center. Slide and Rotate to eliminate glare and optimize the viewing angle.
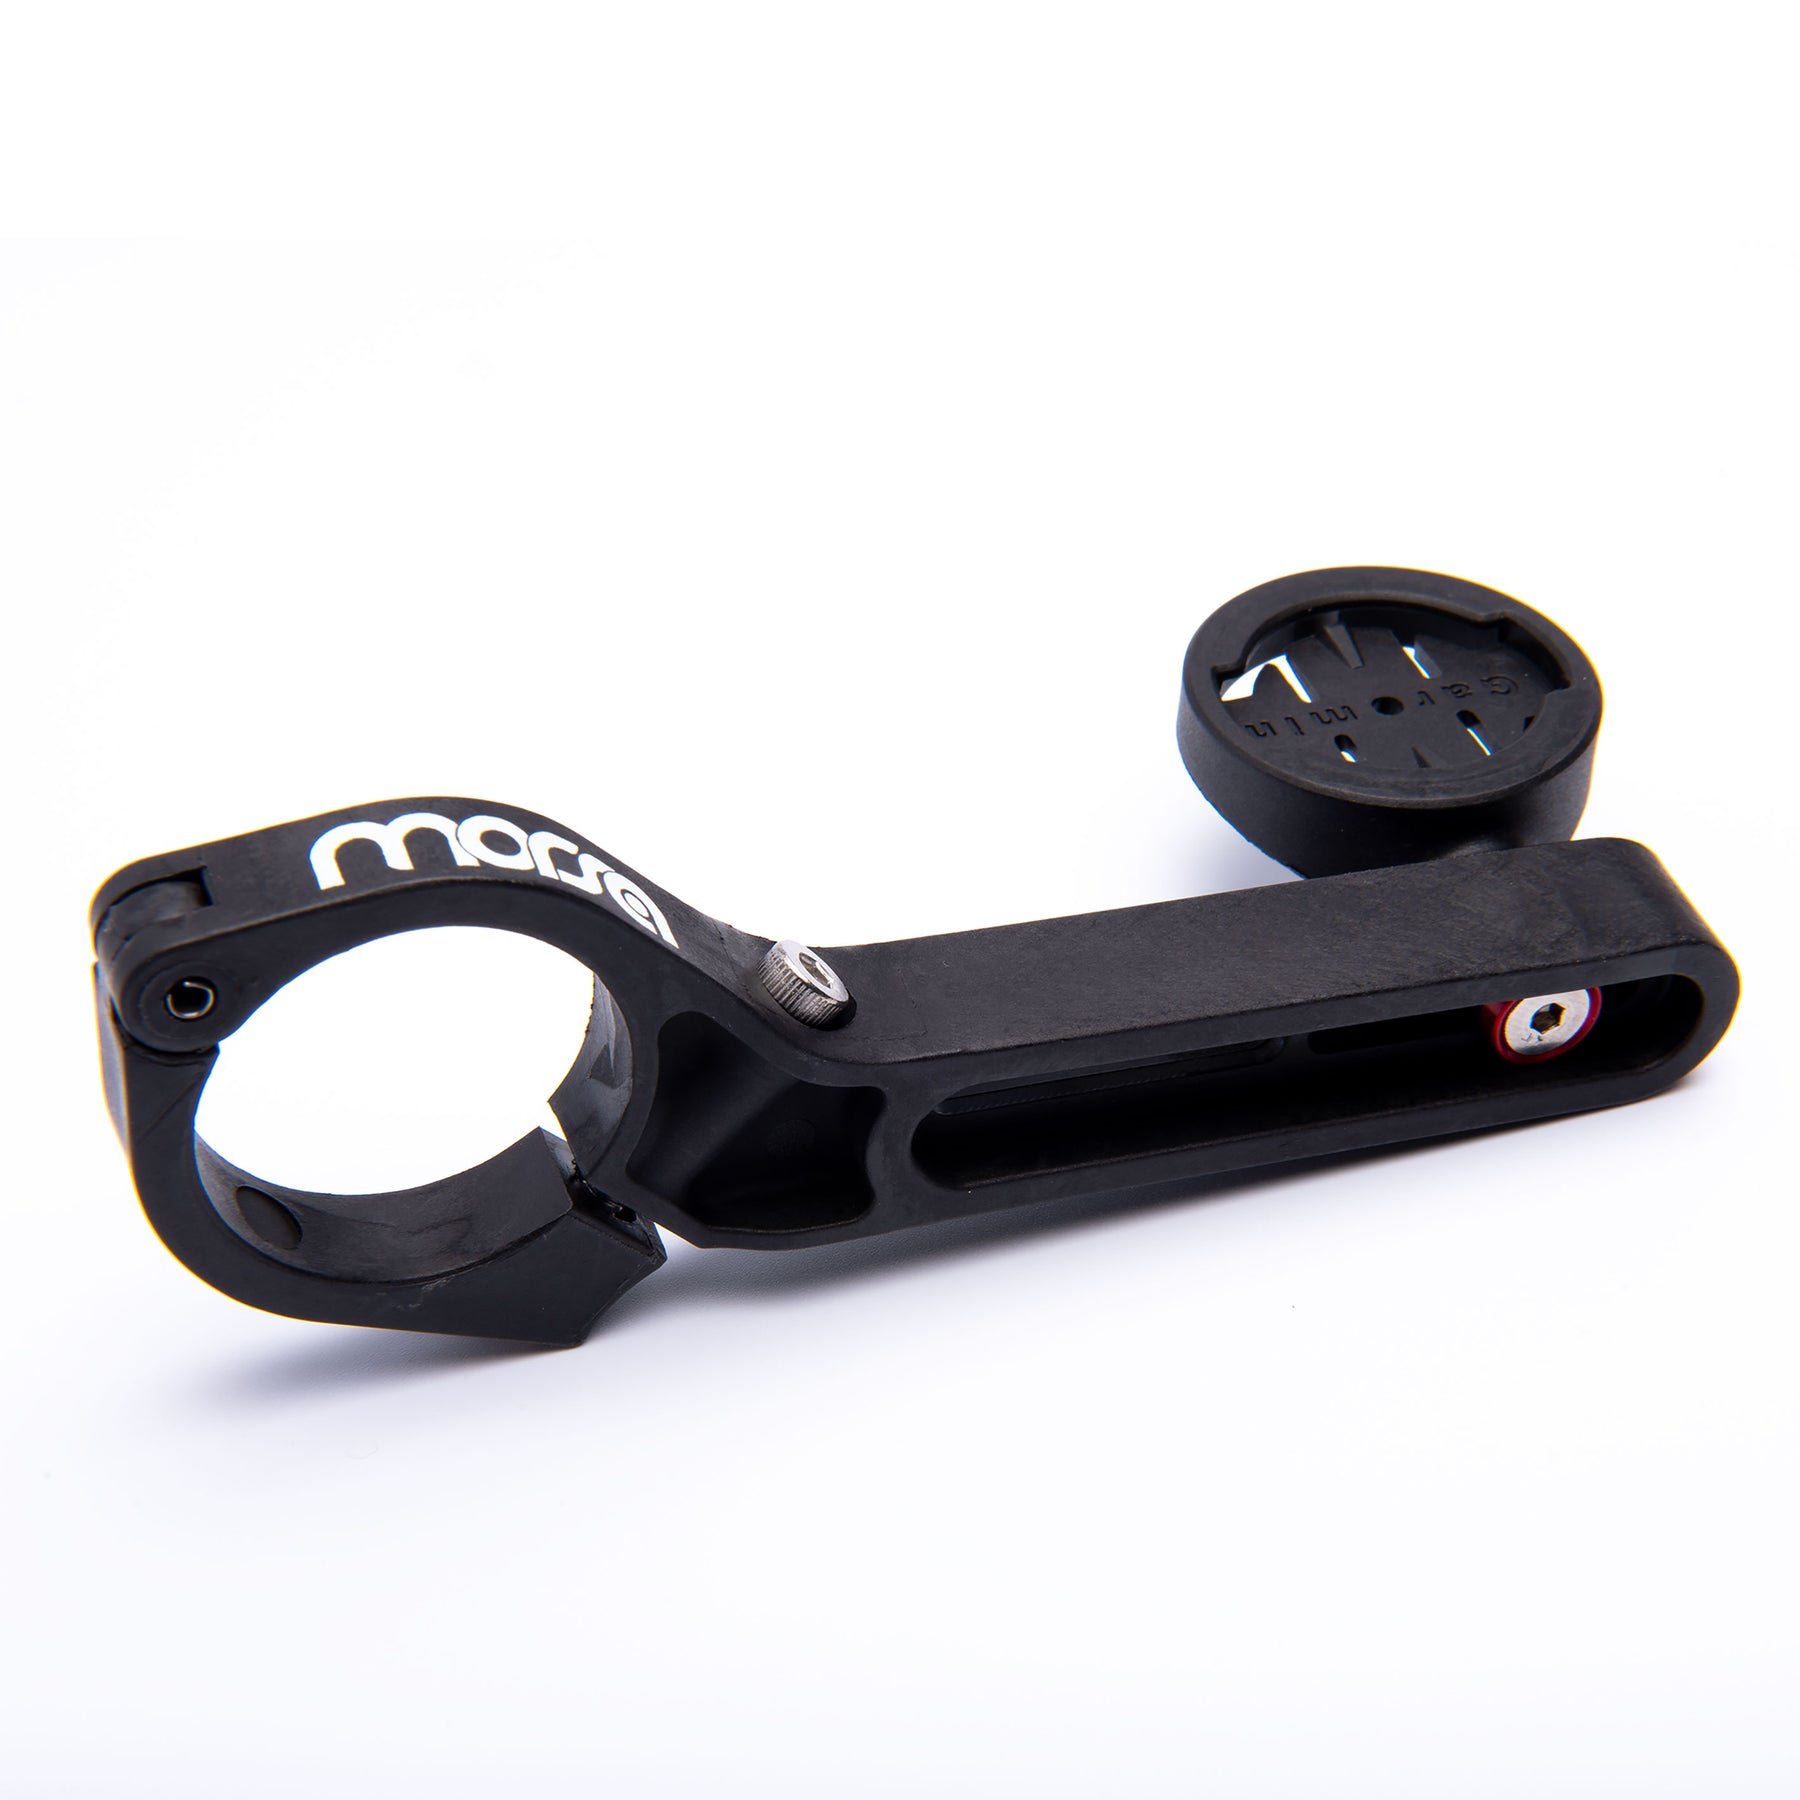
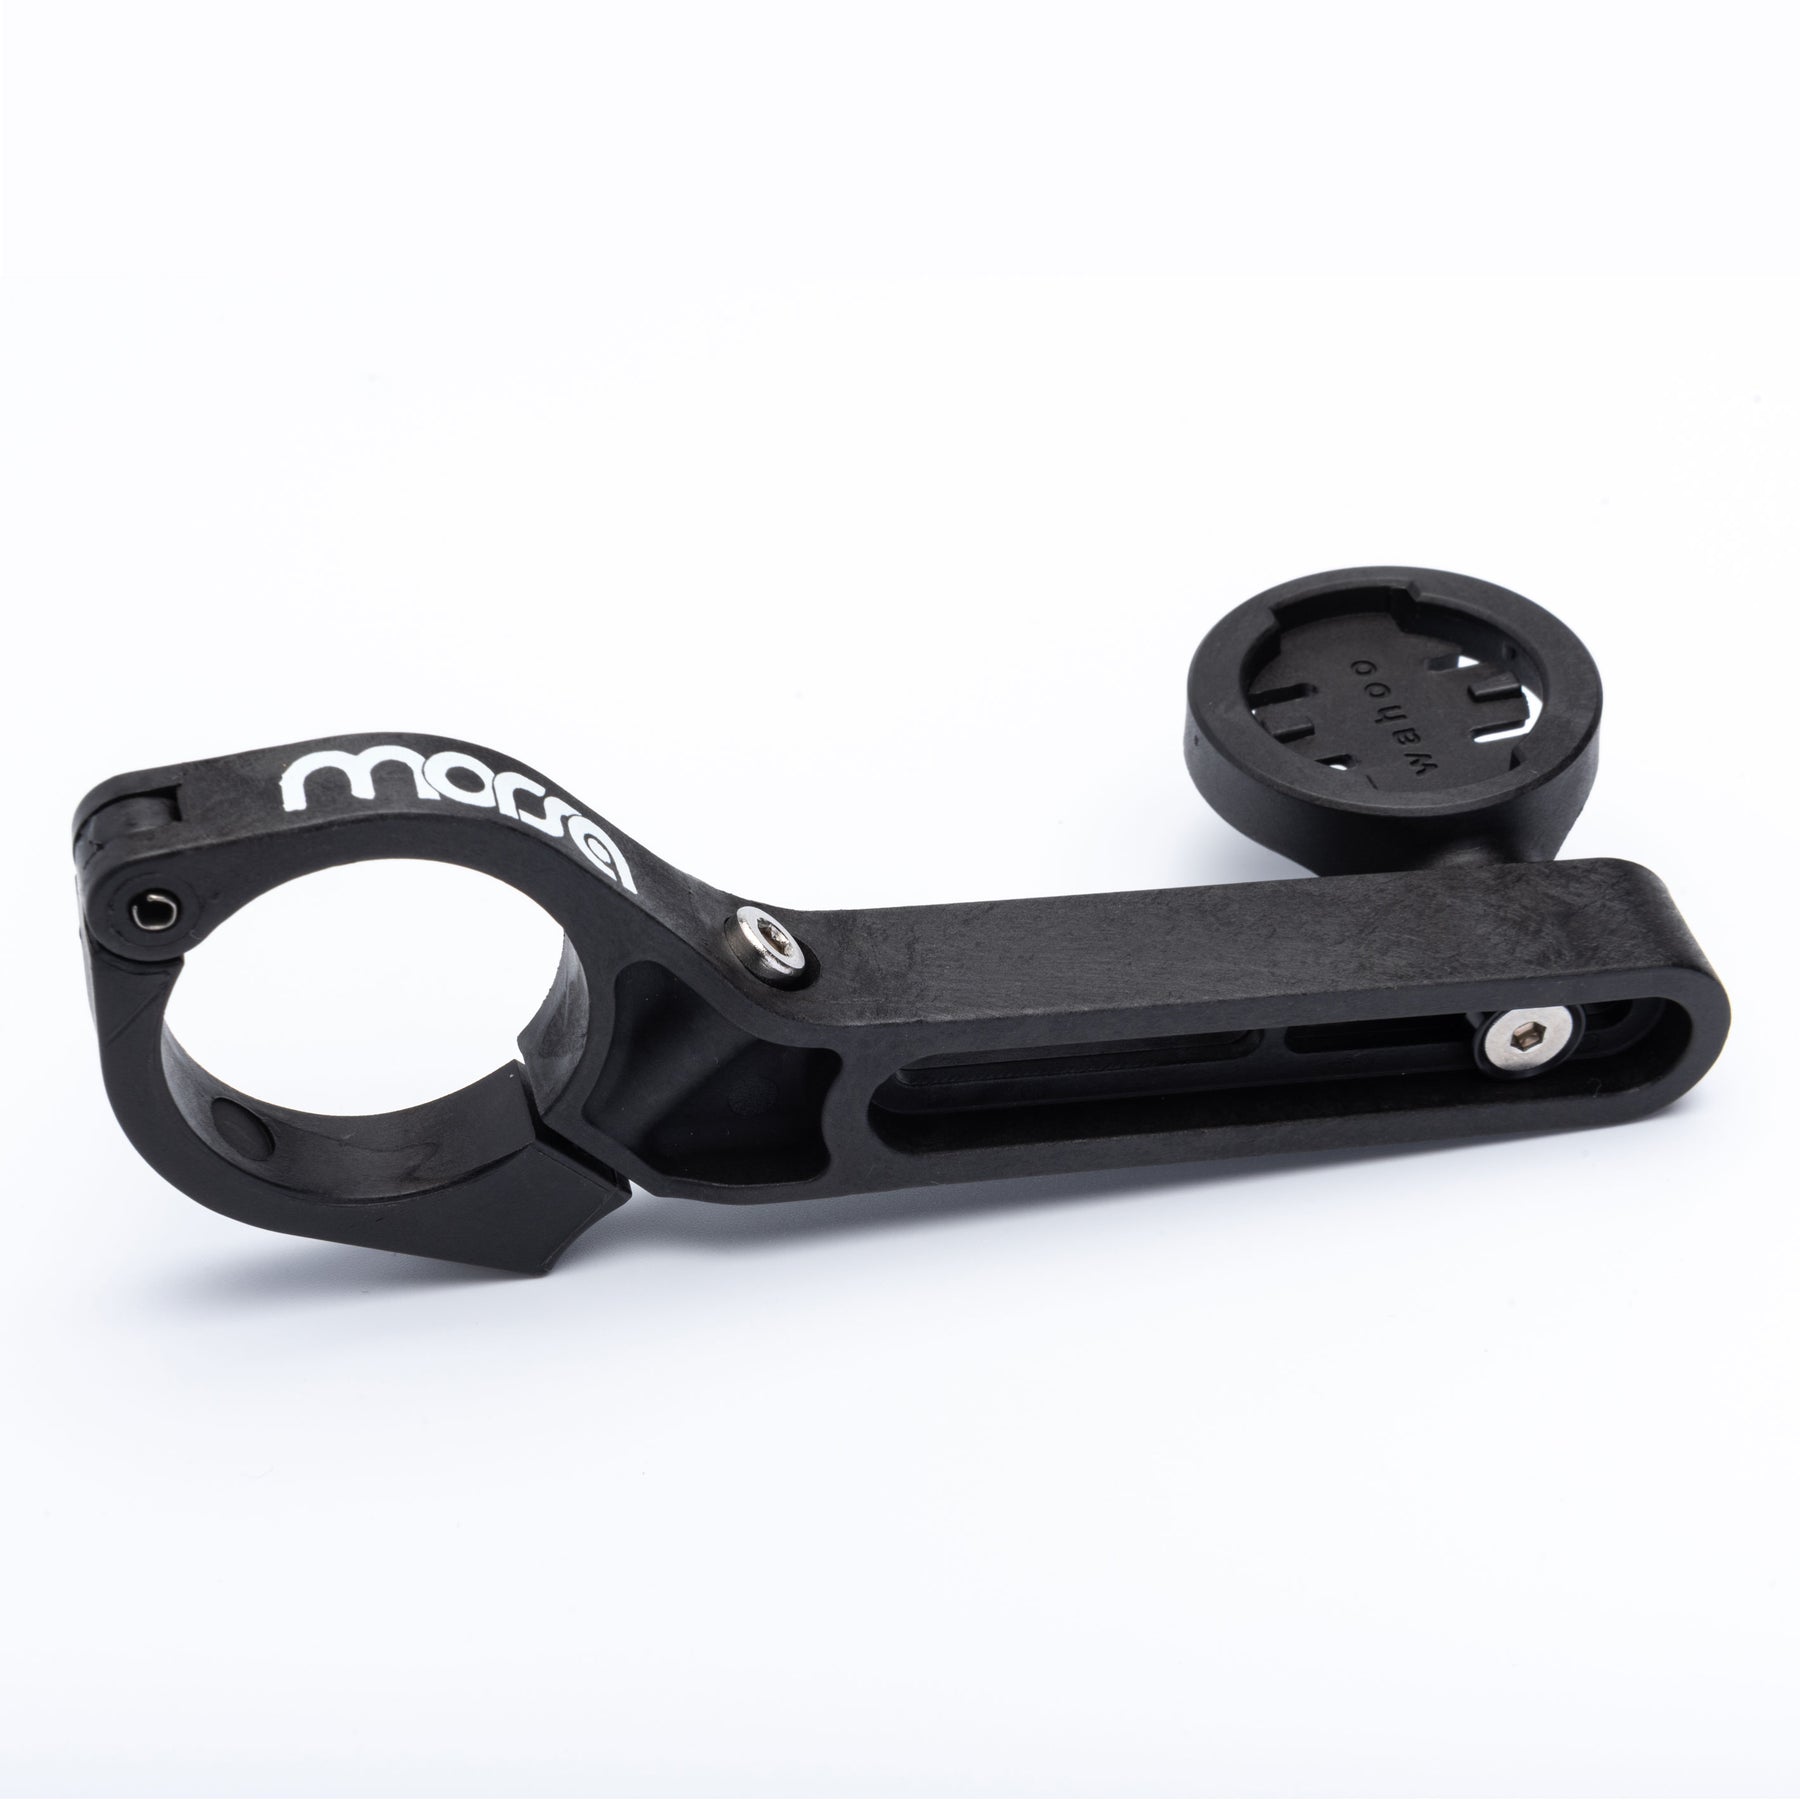
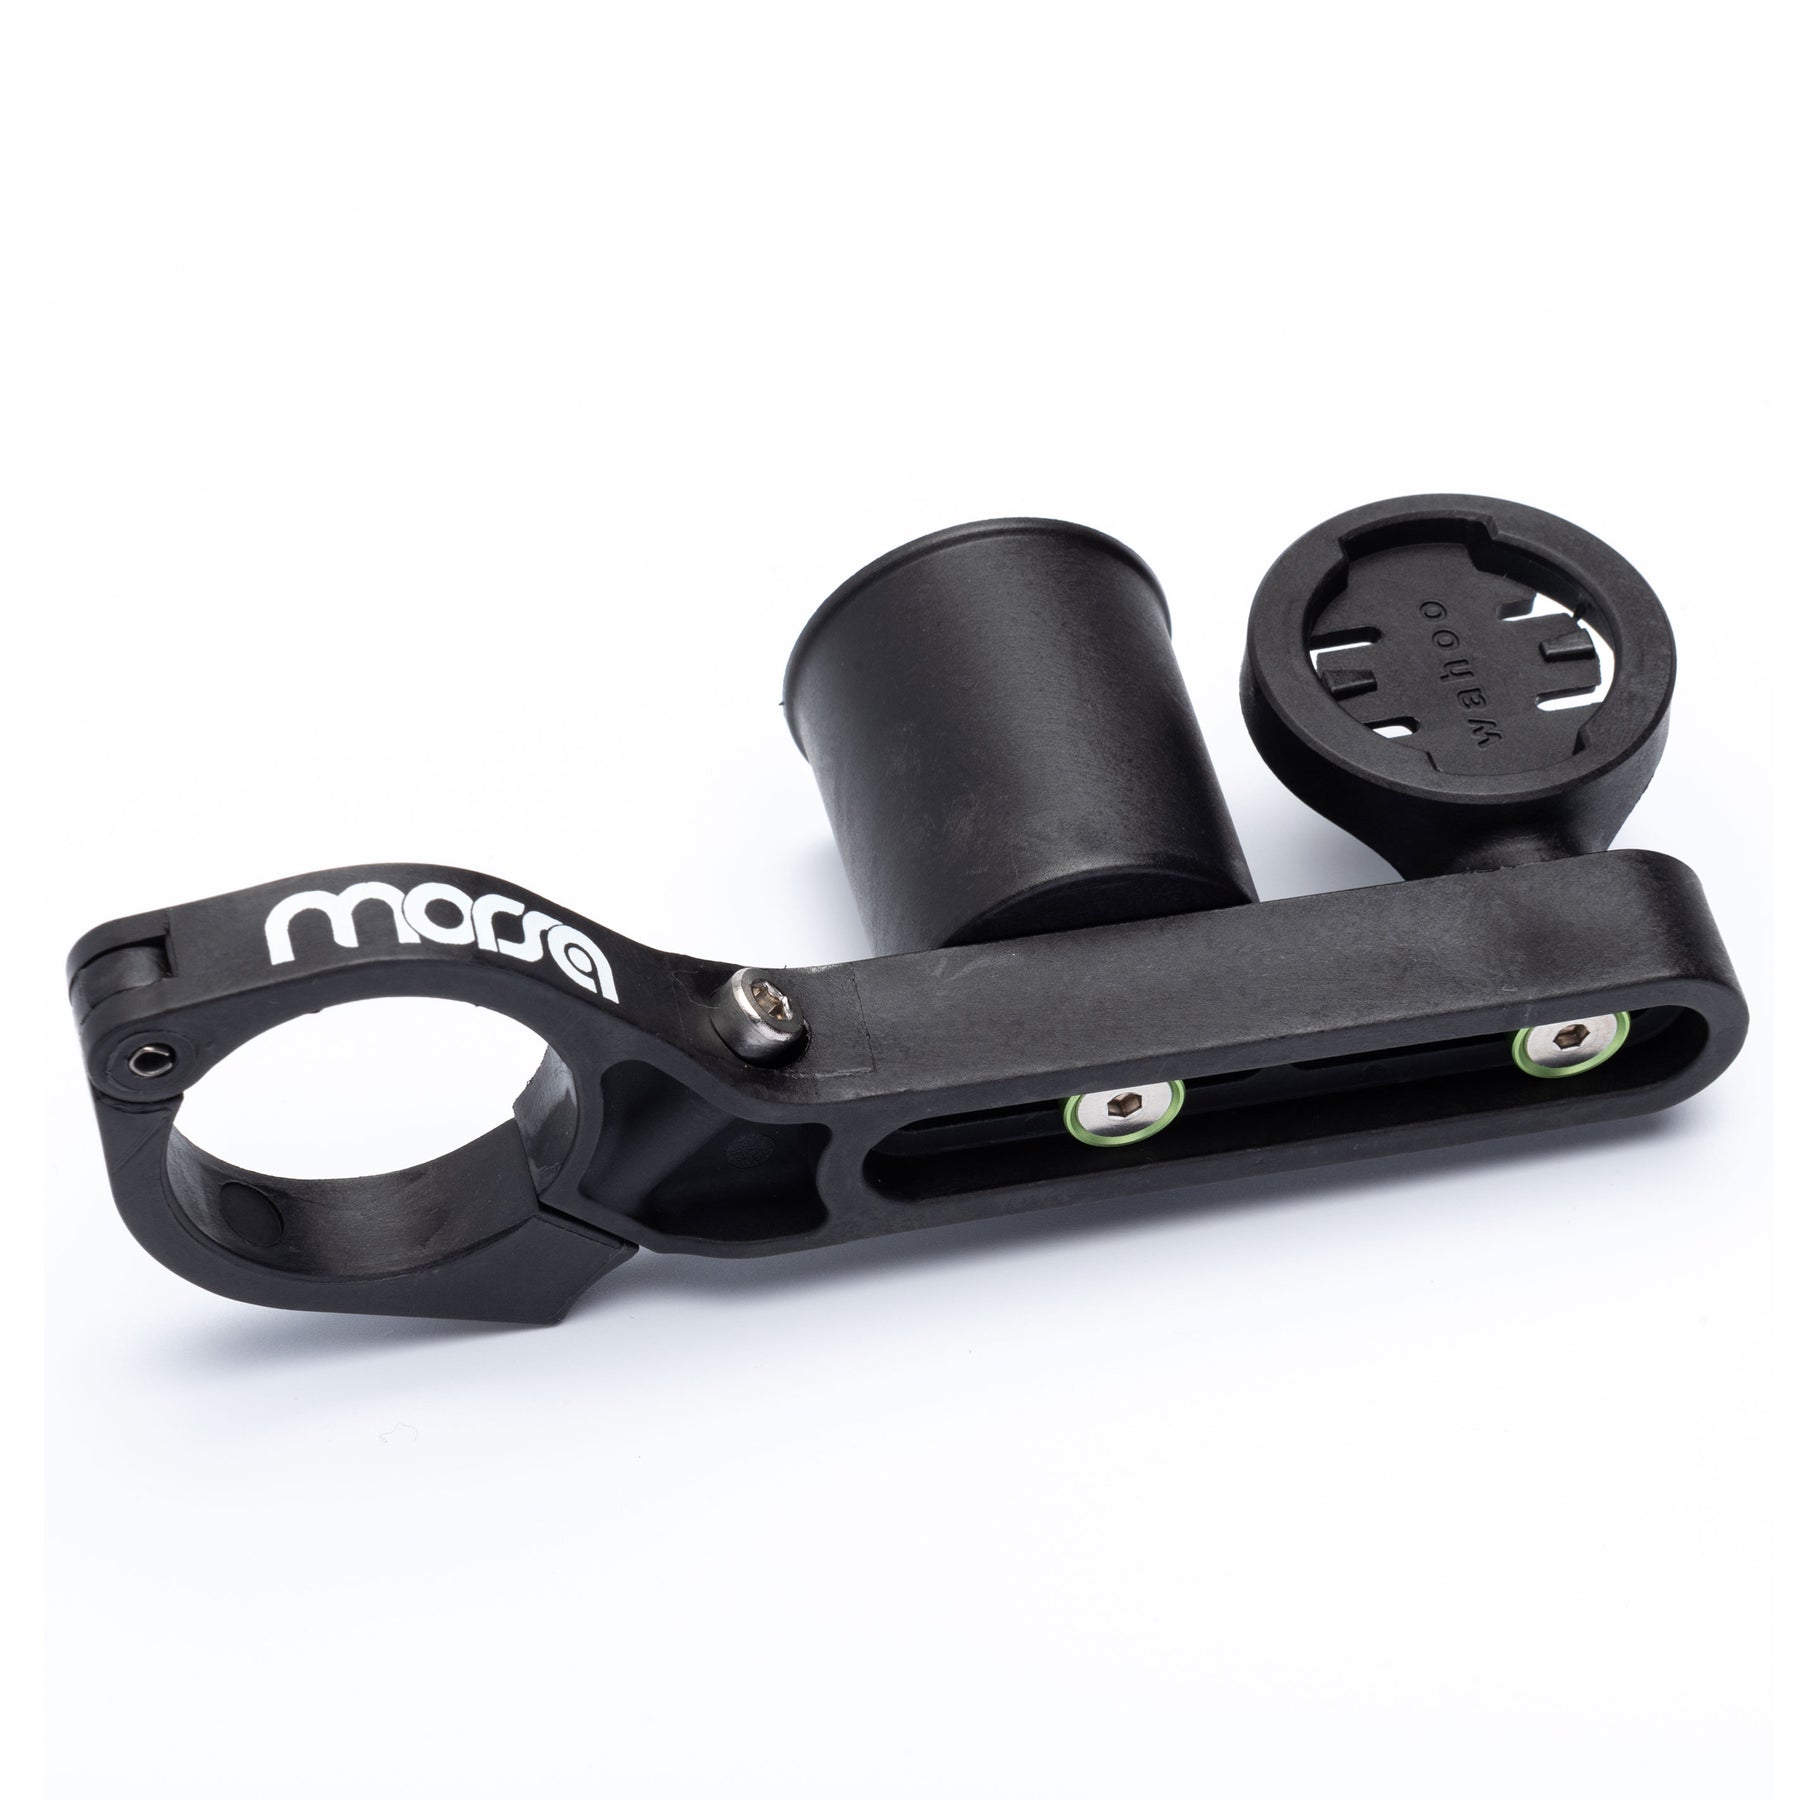
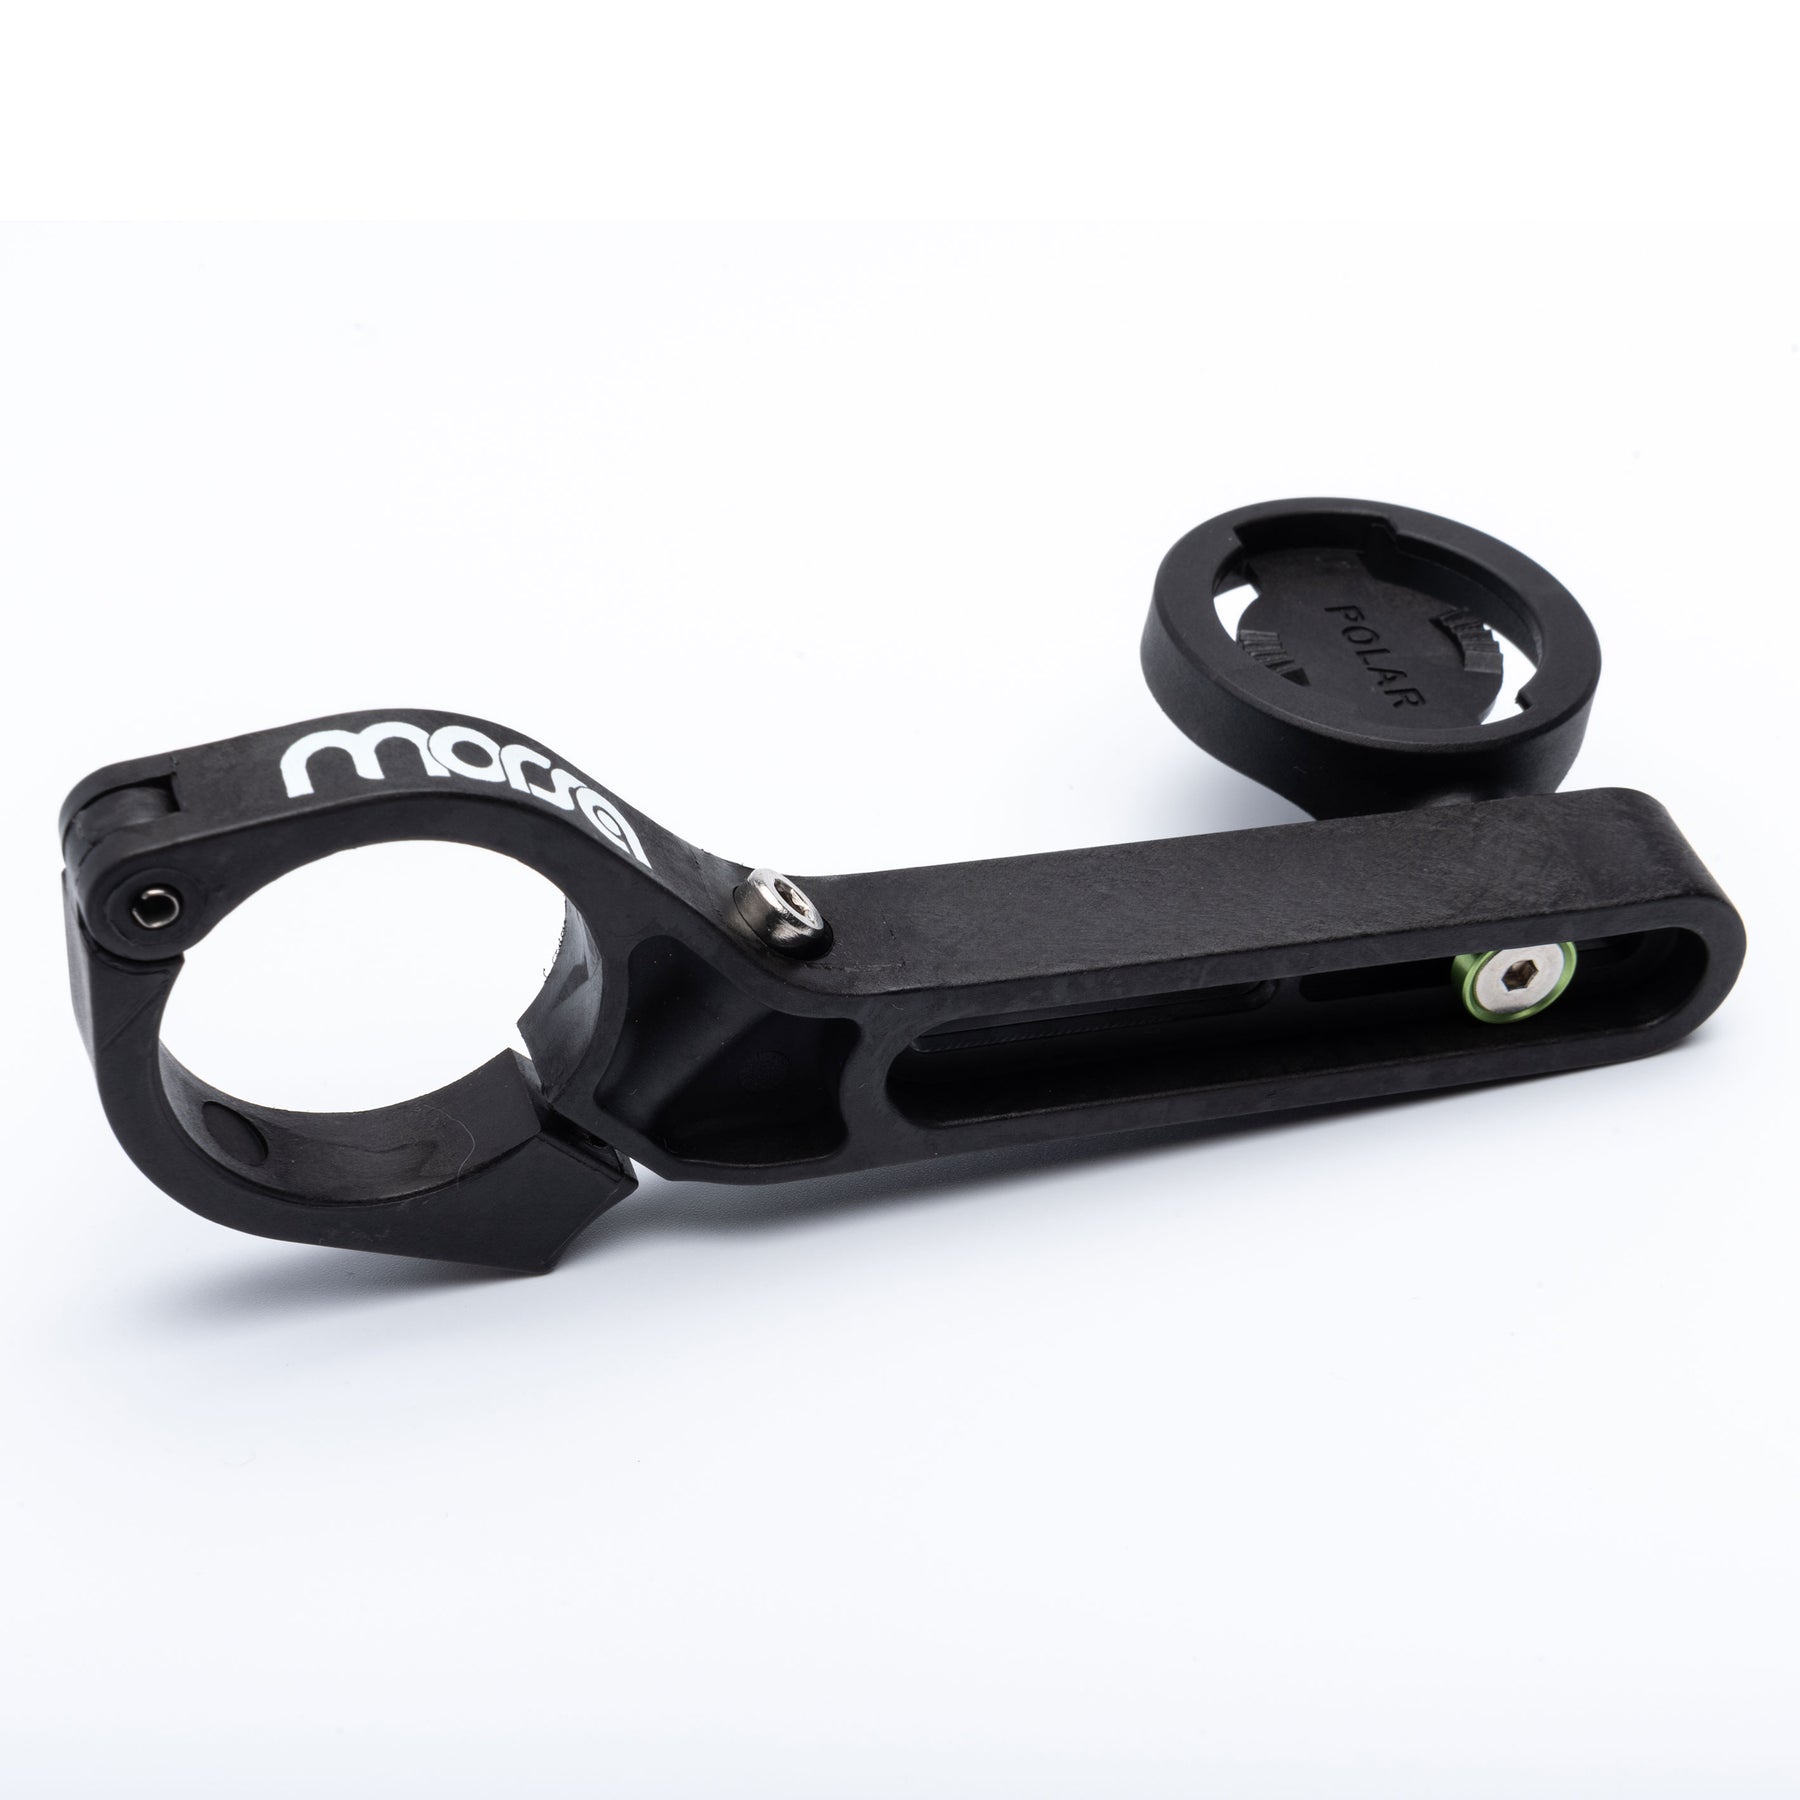
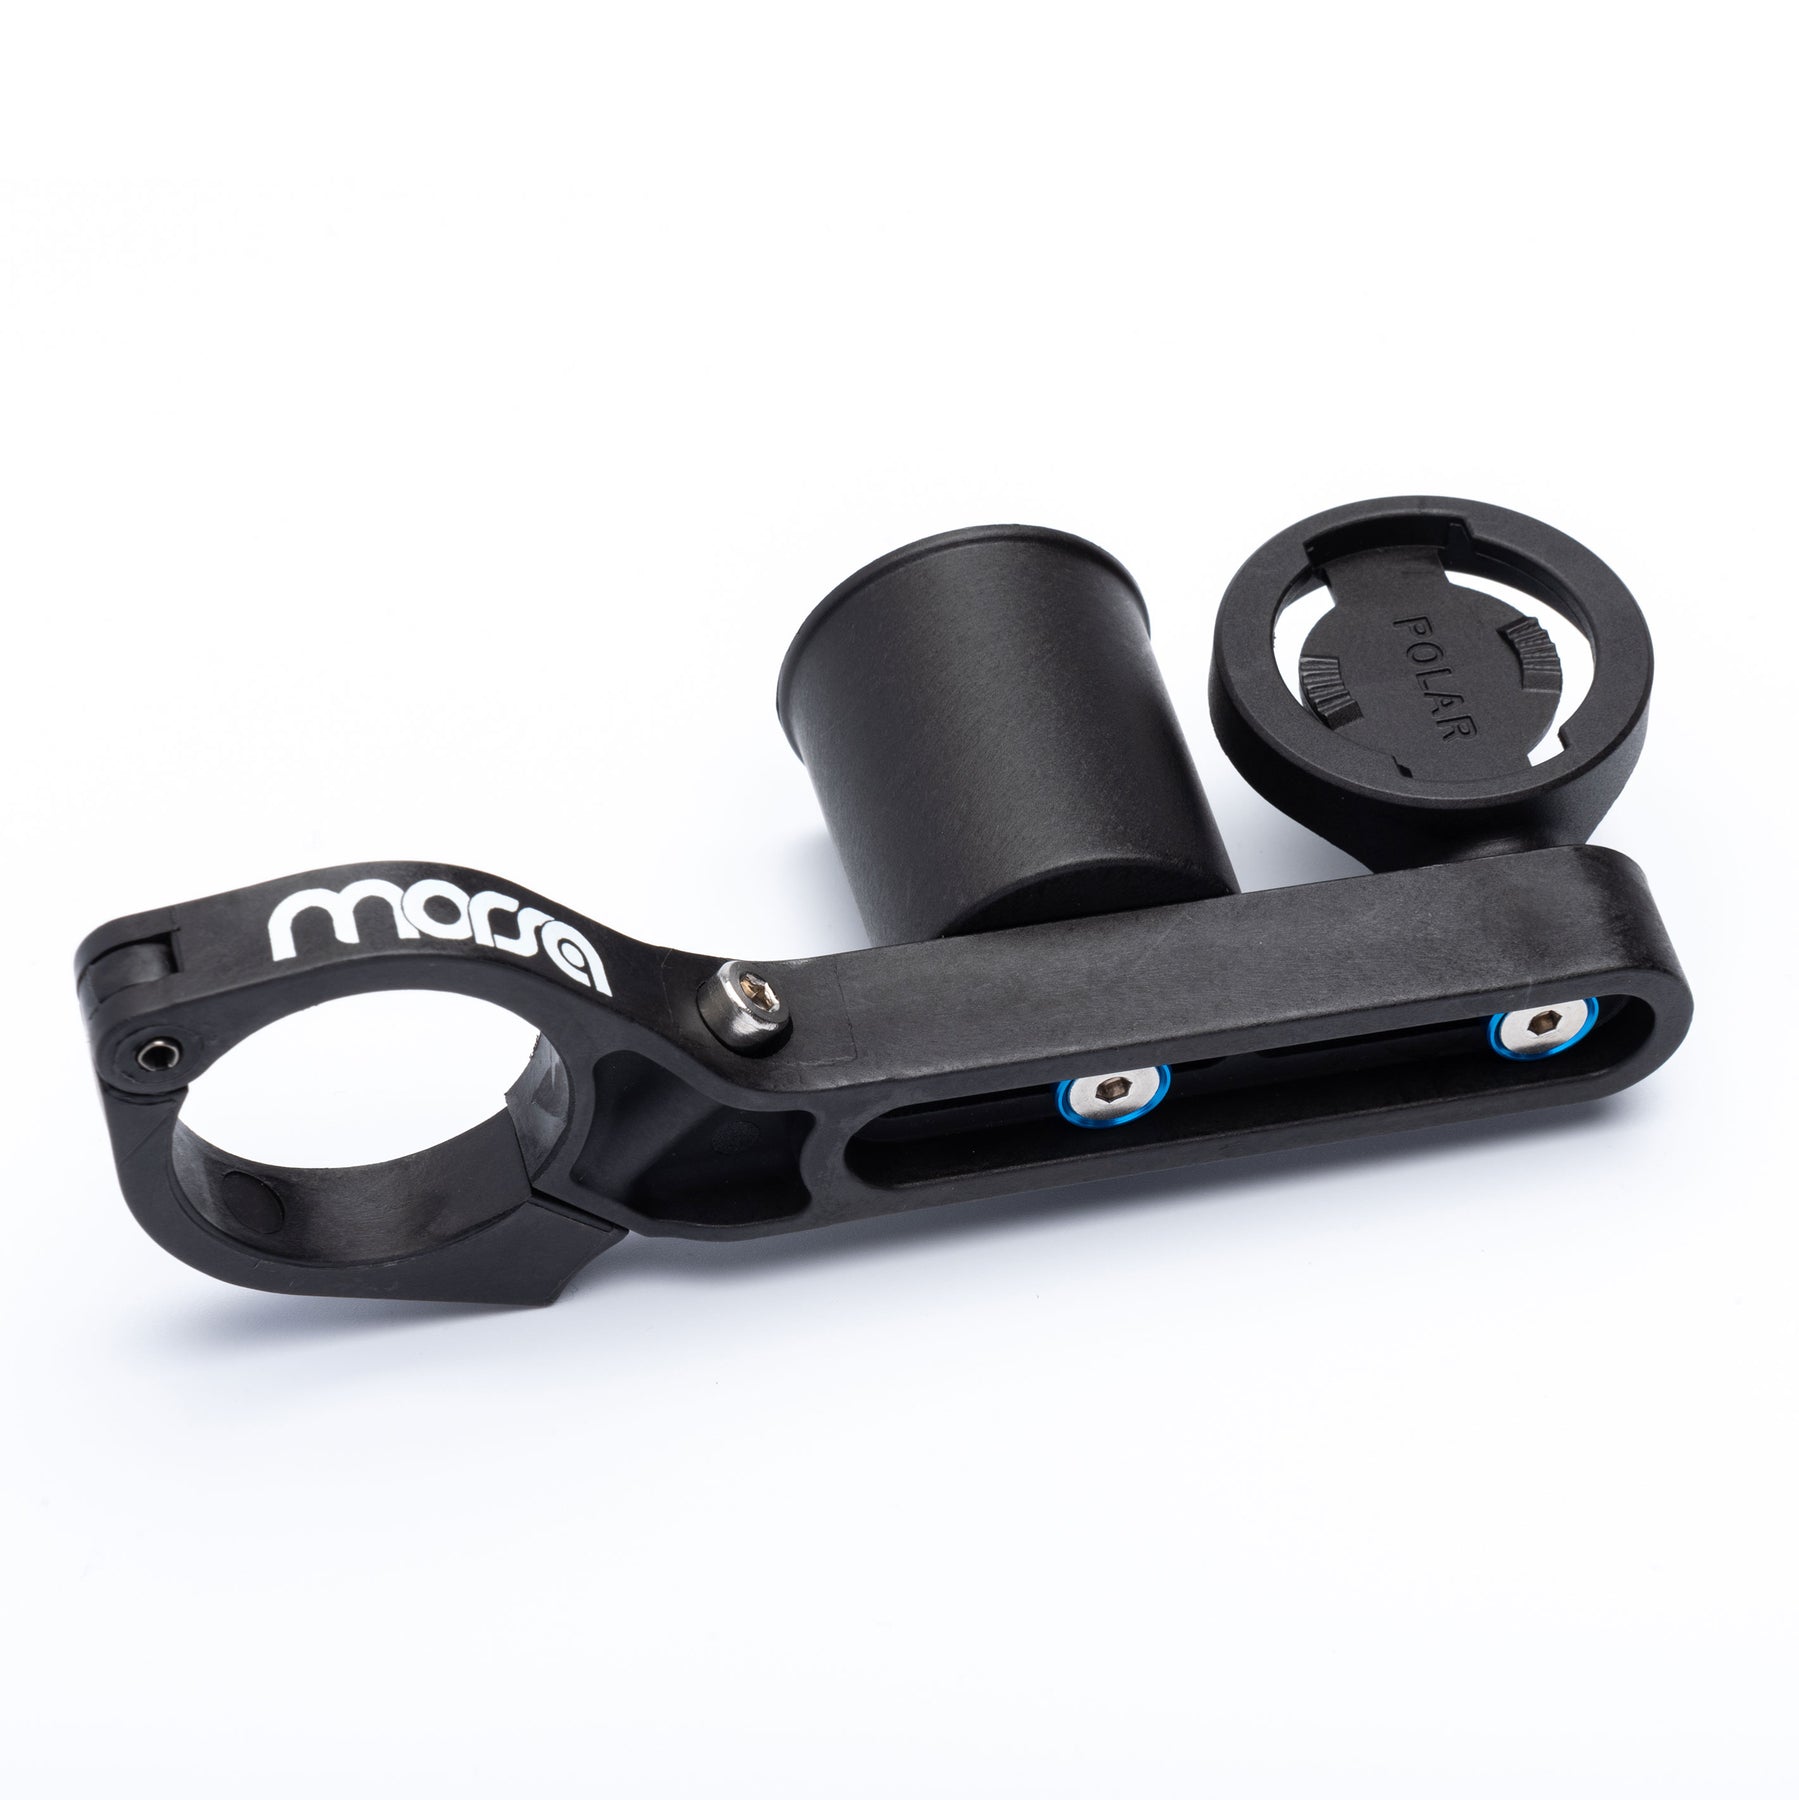
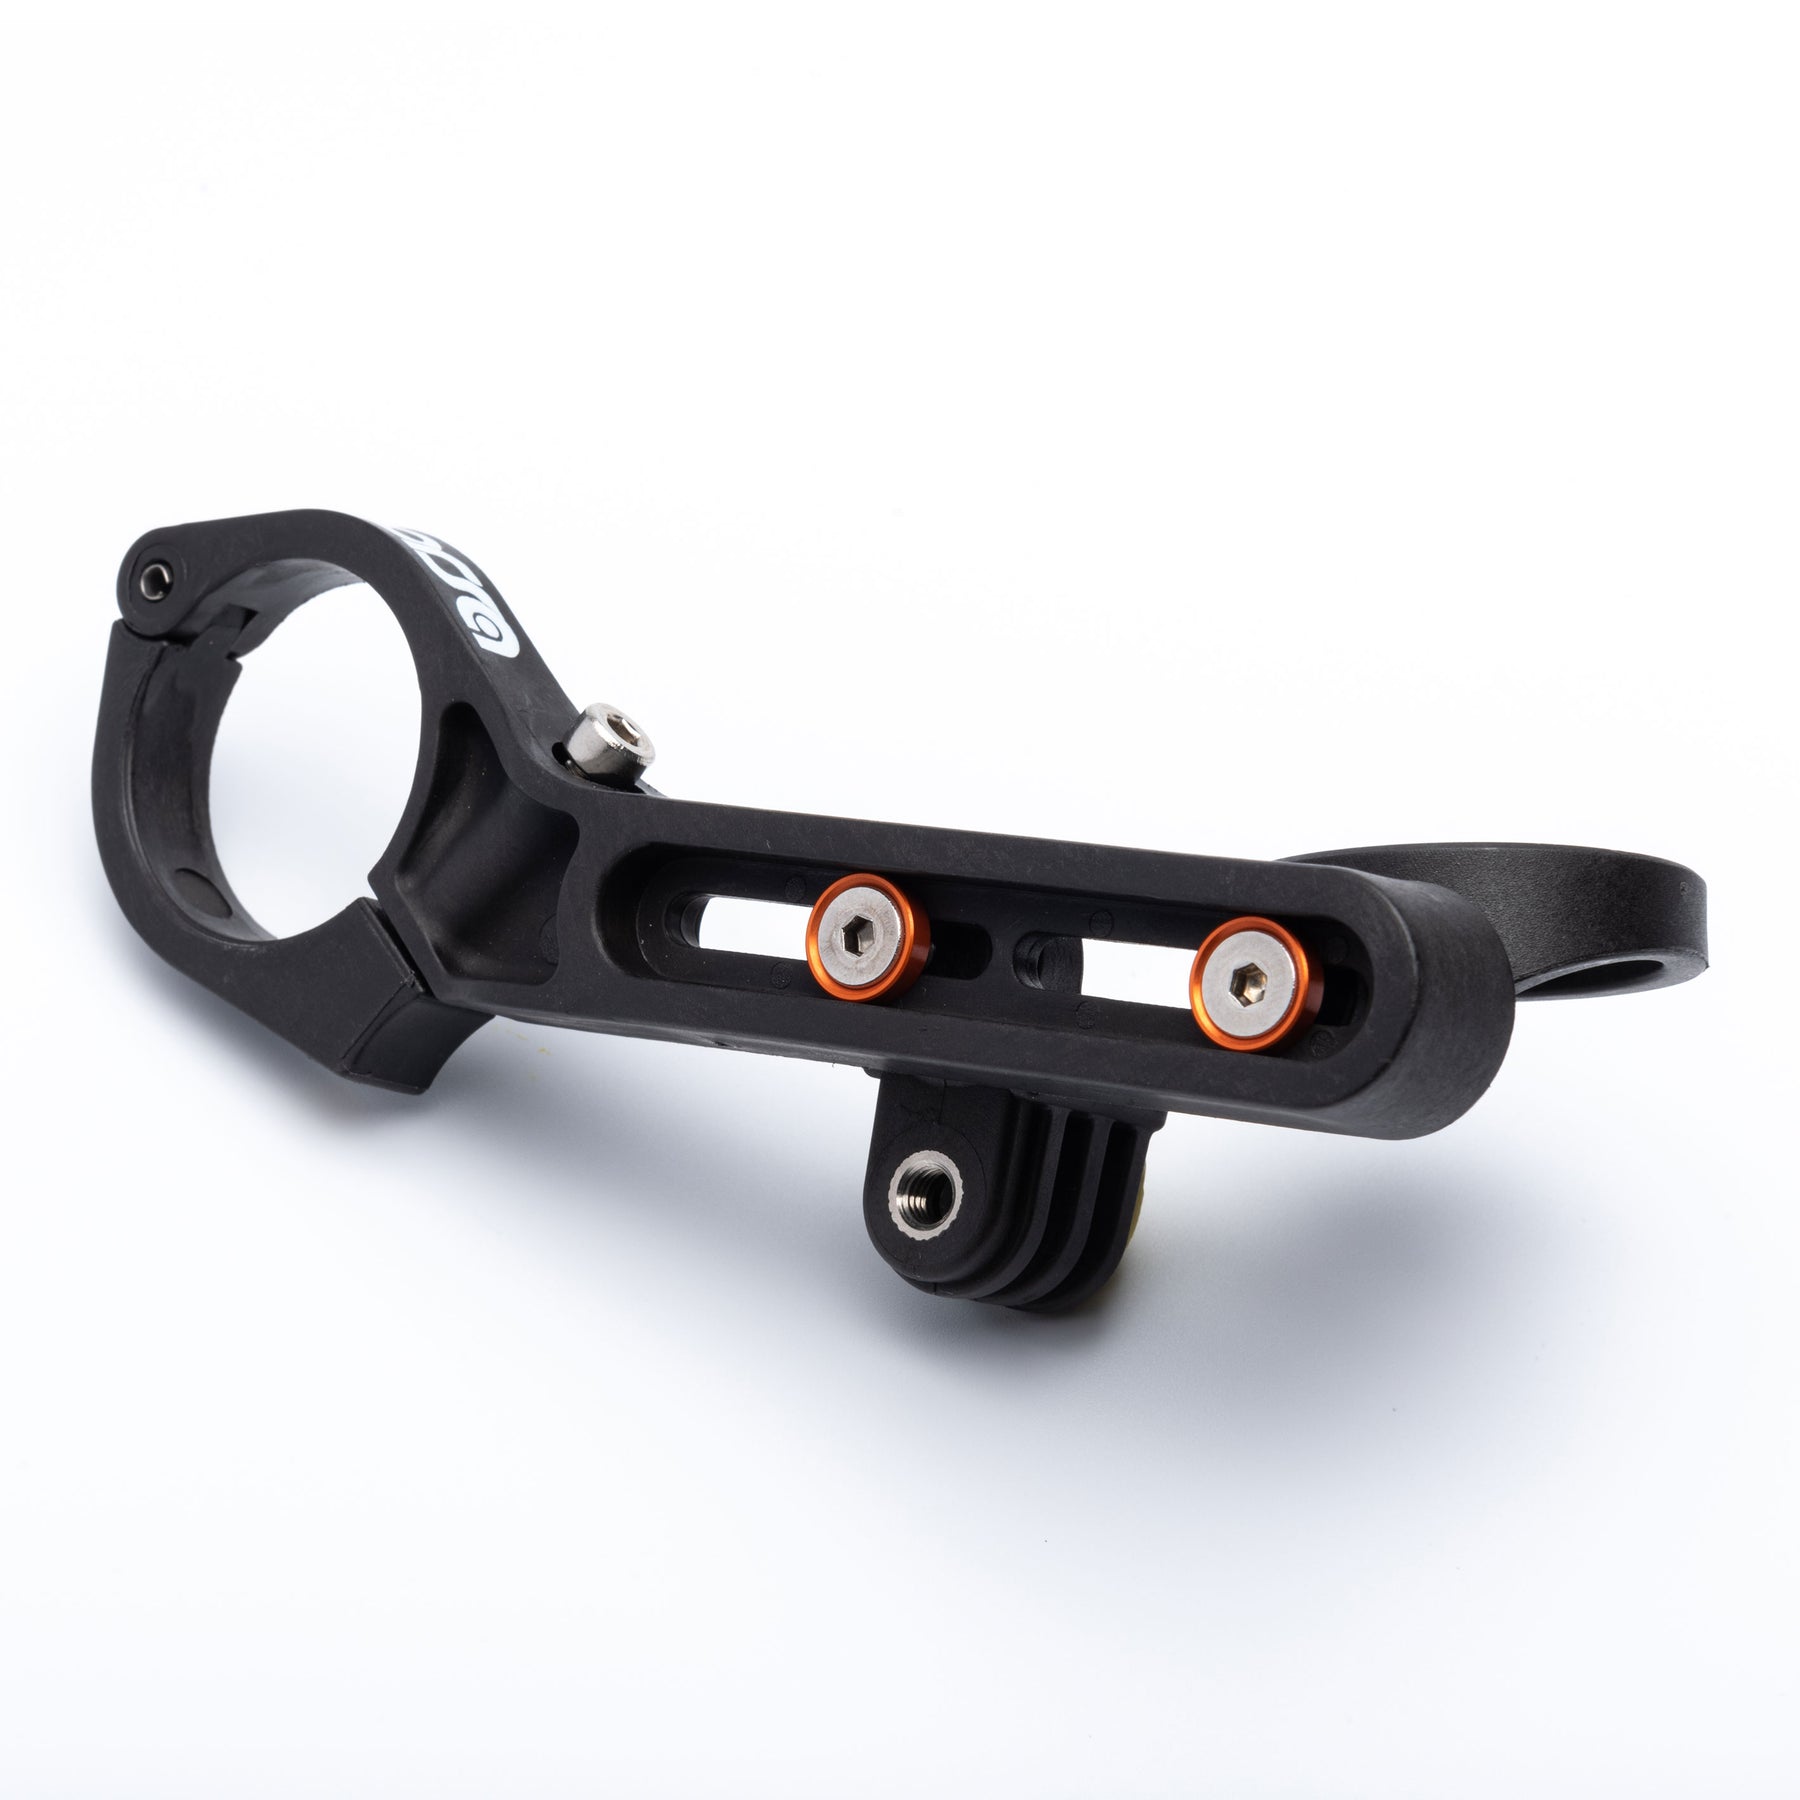
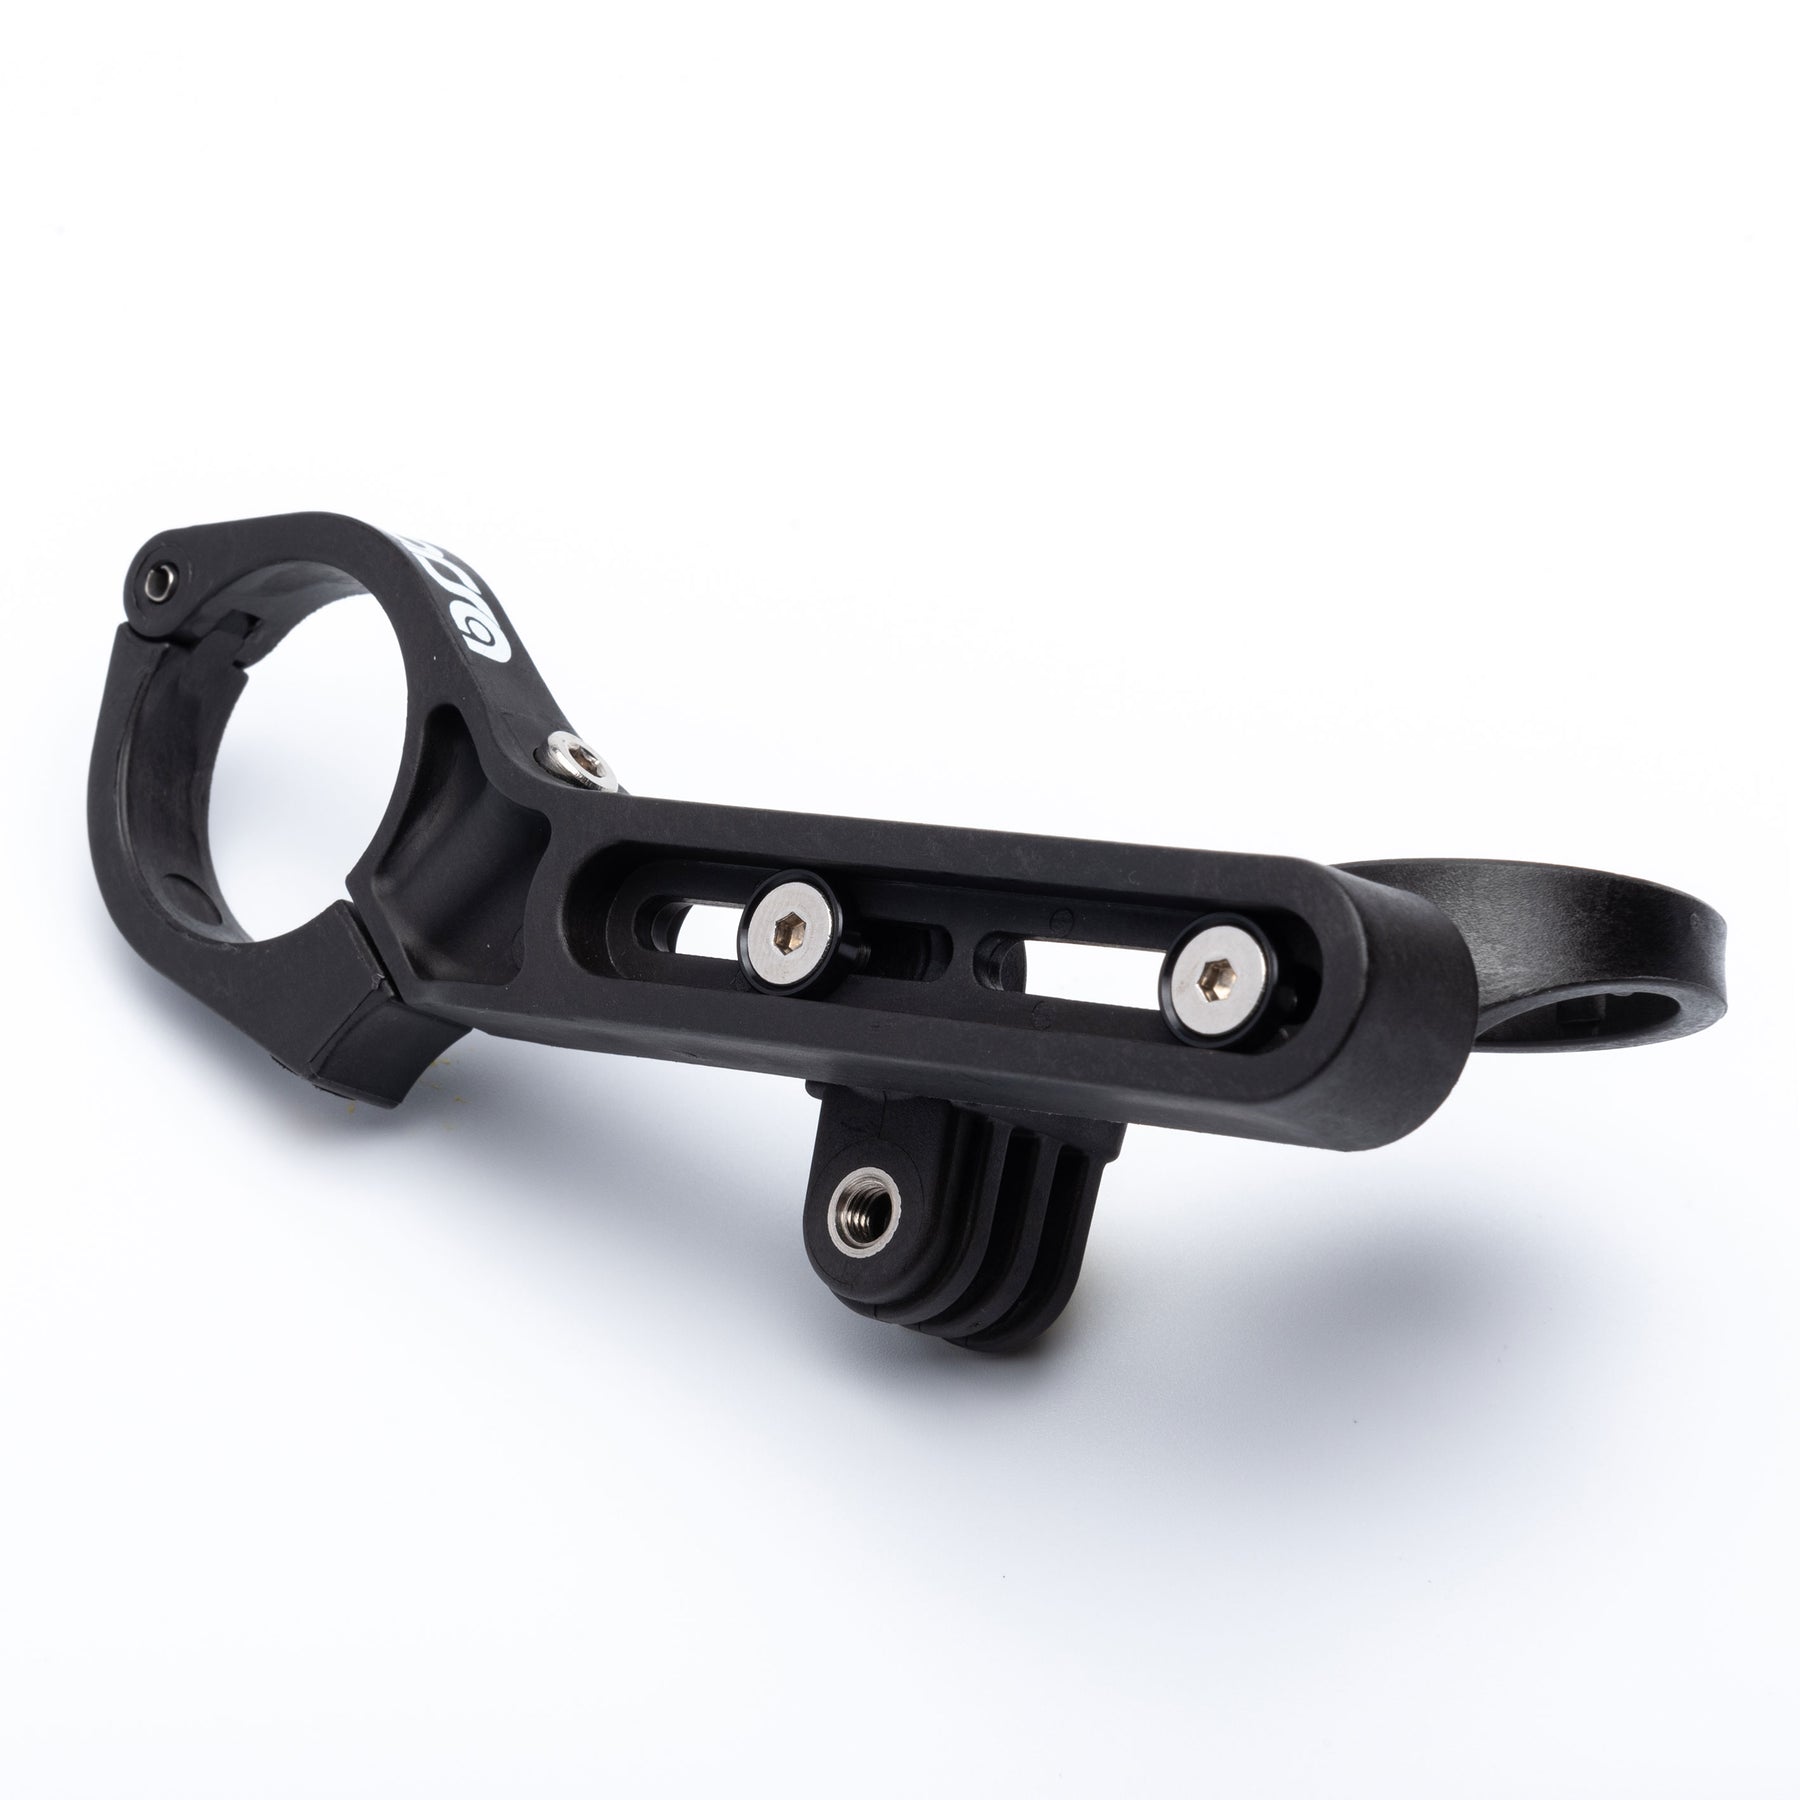
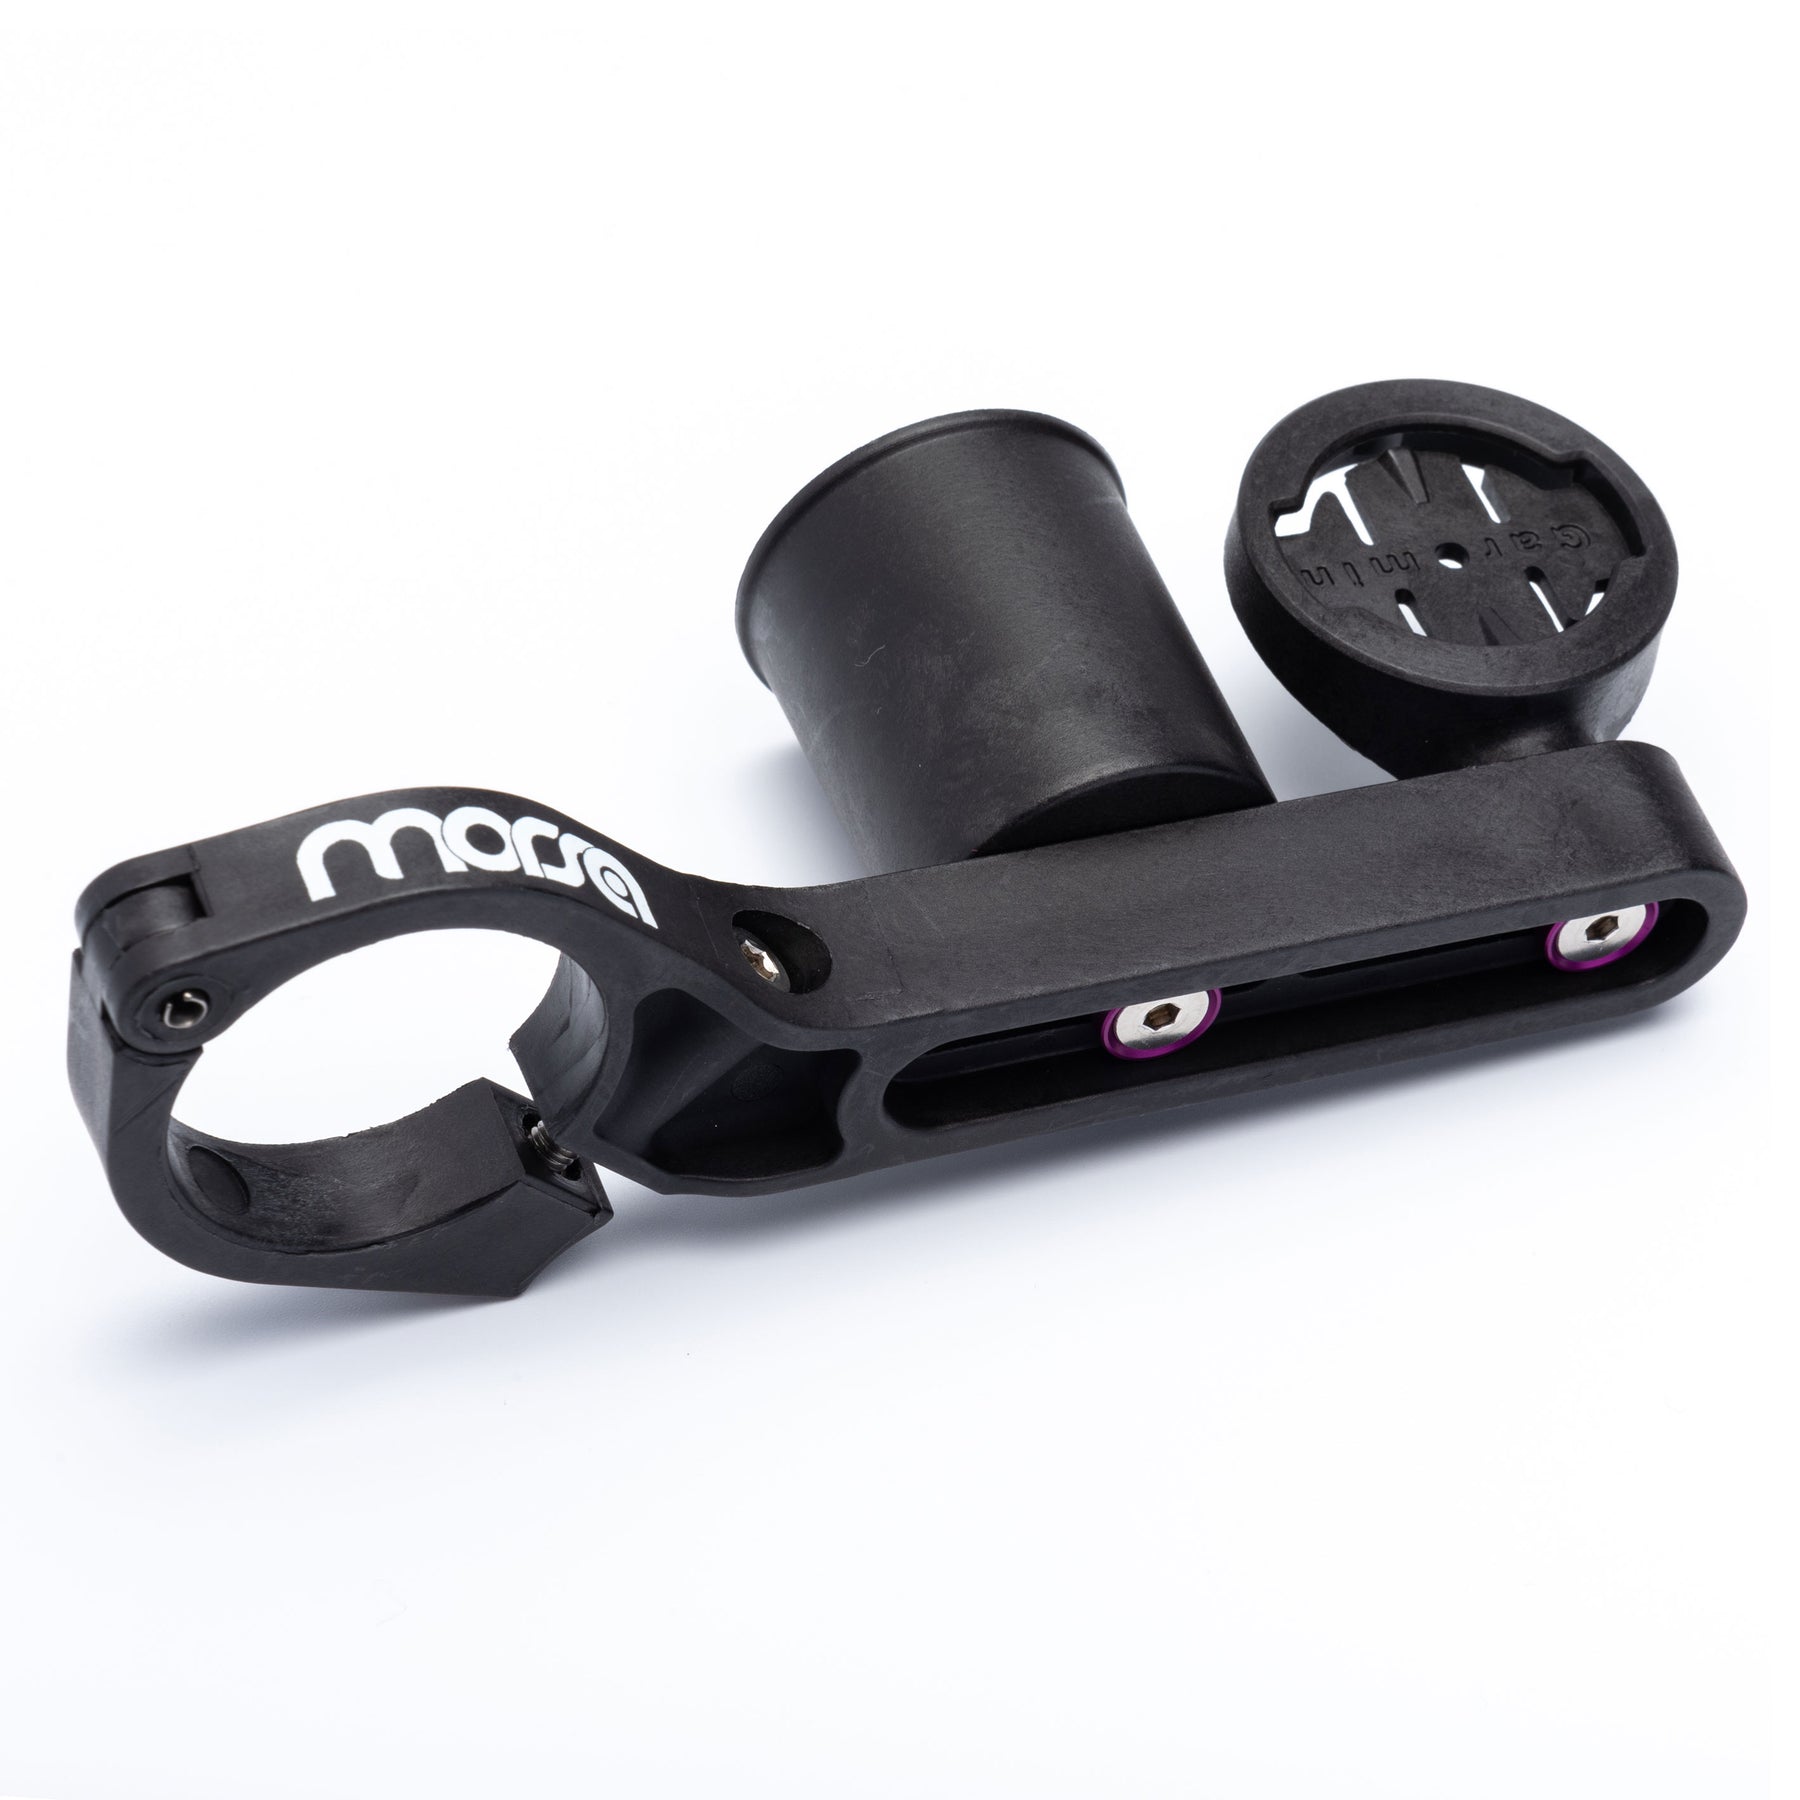
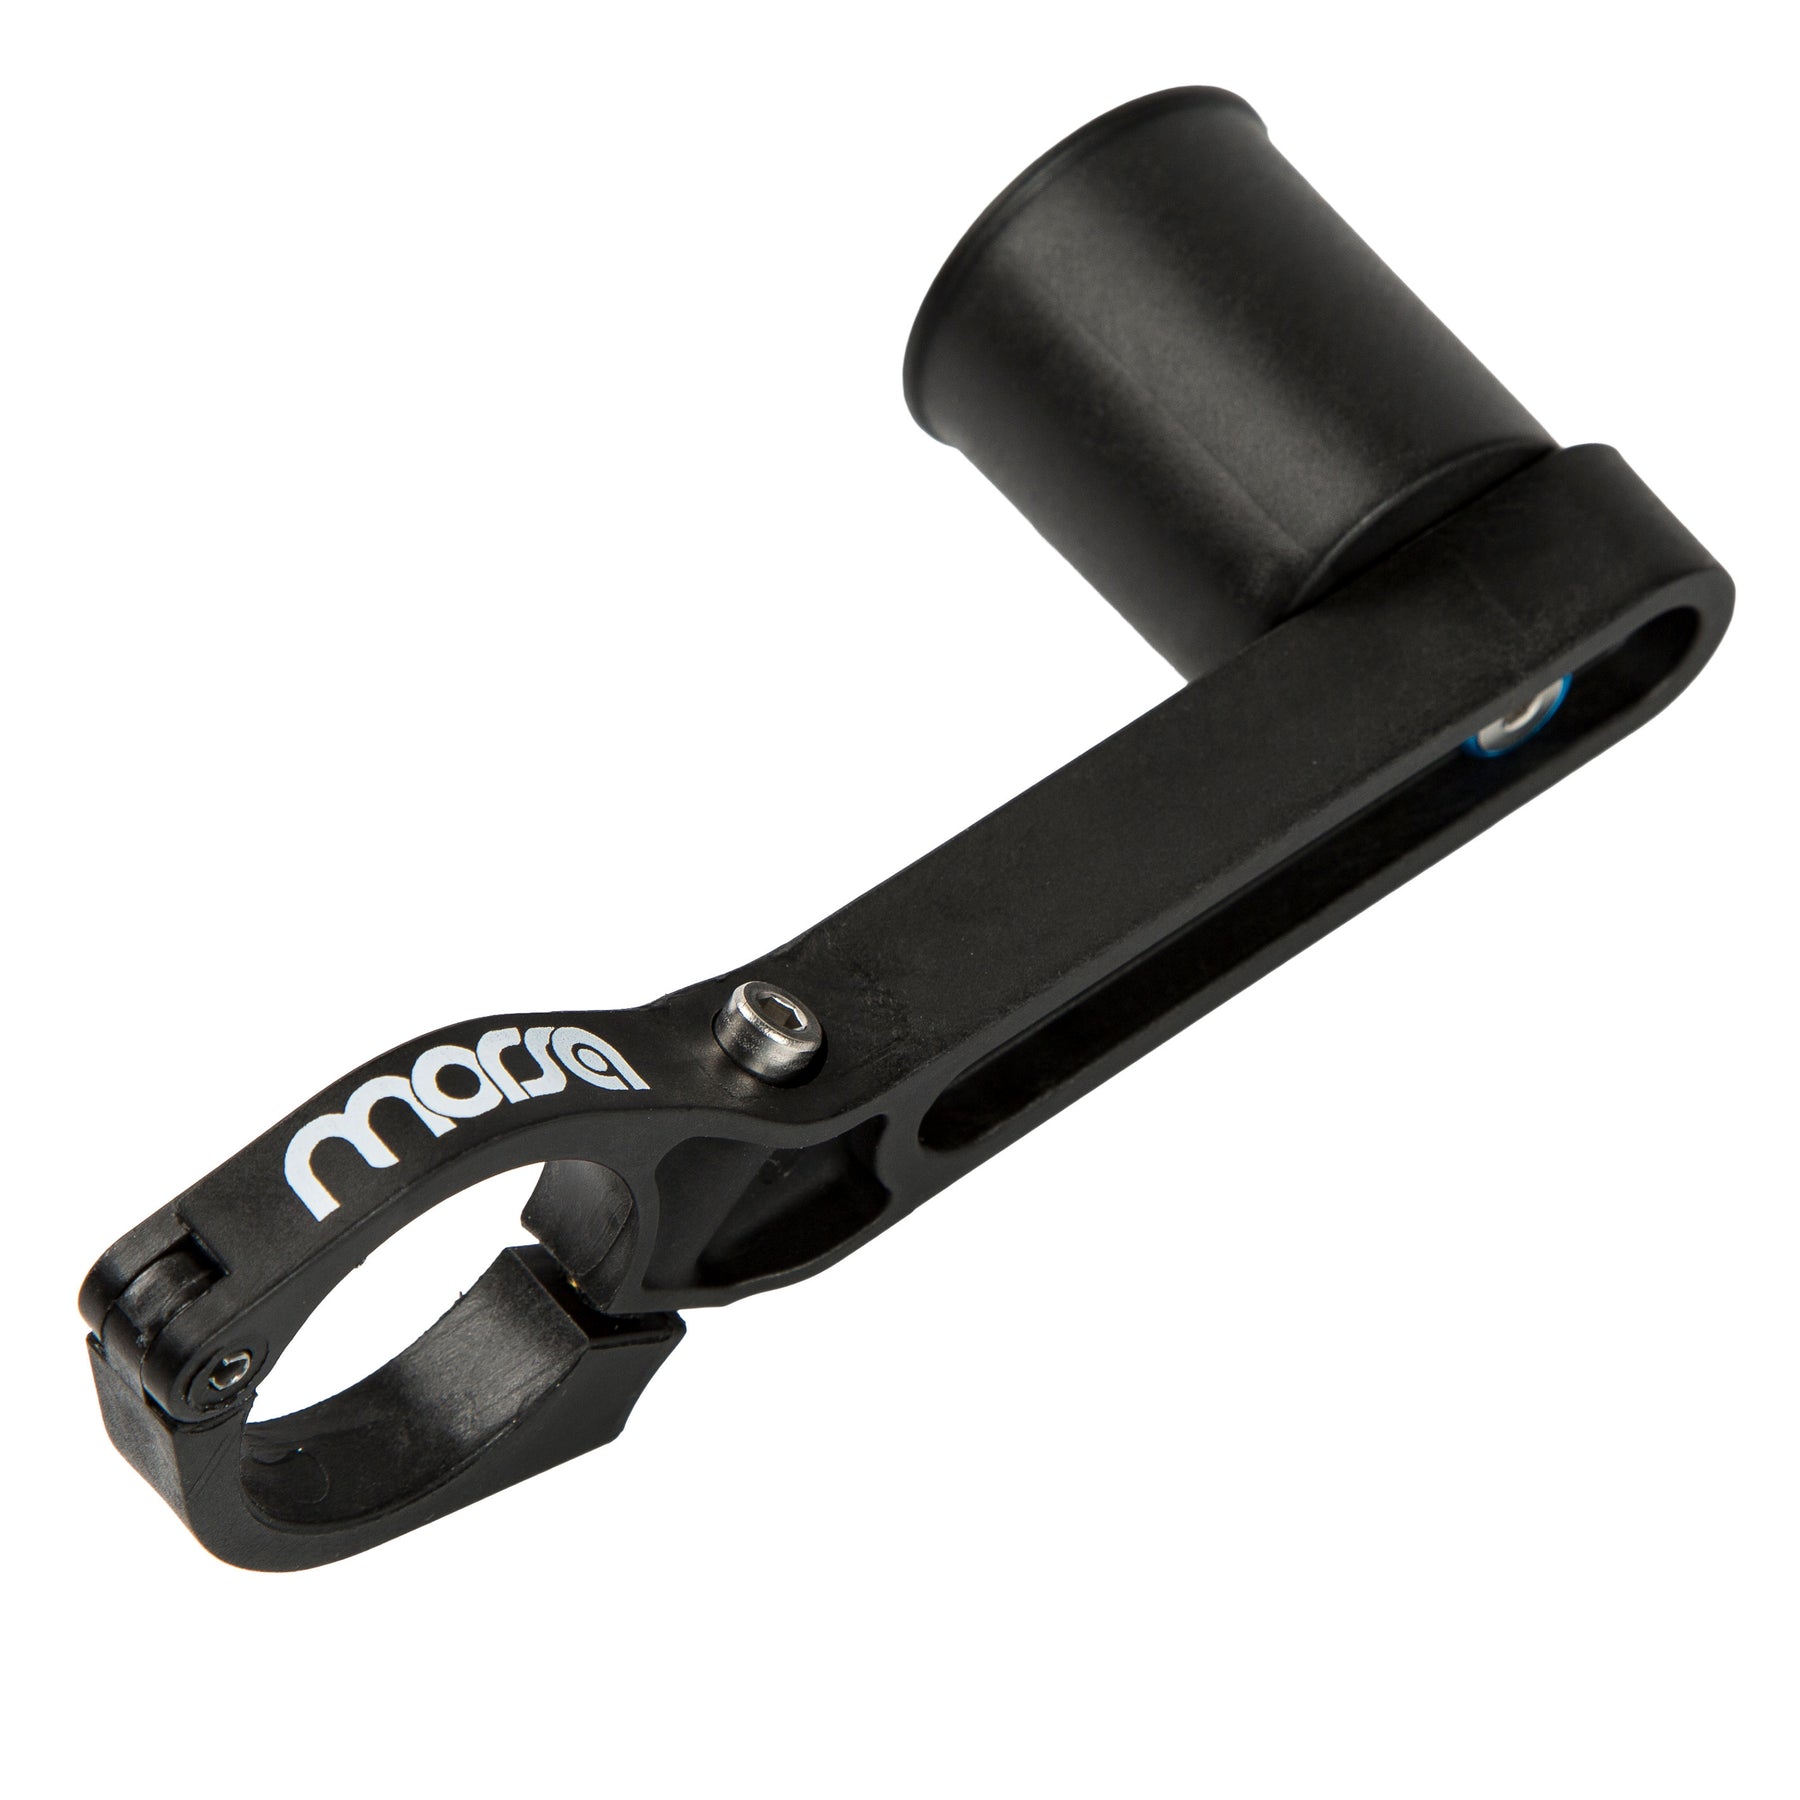
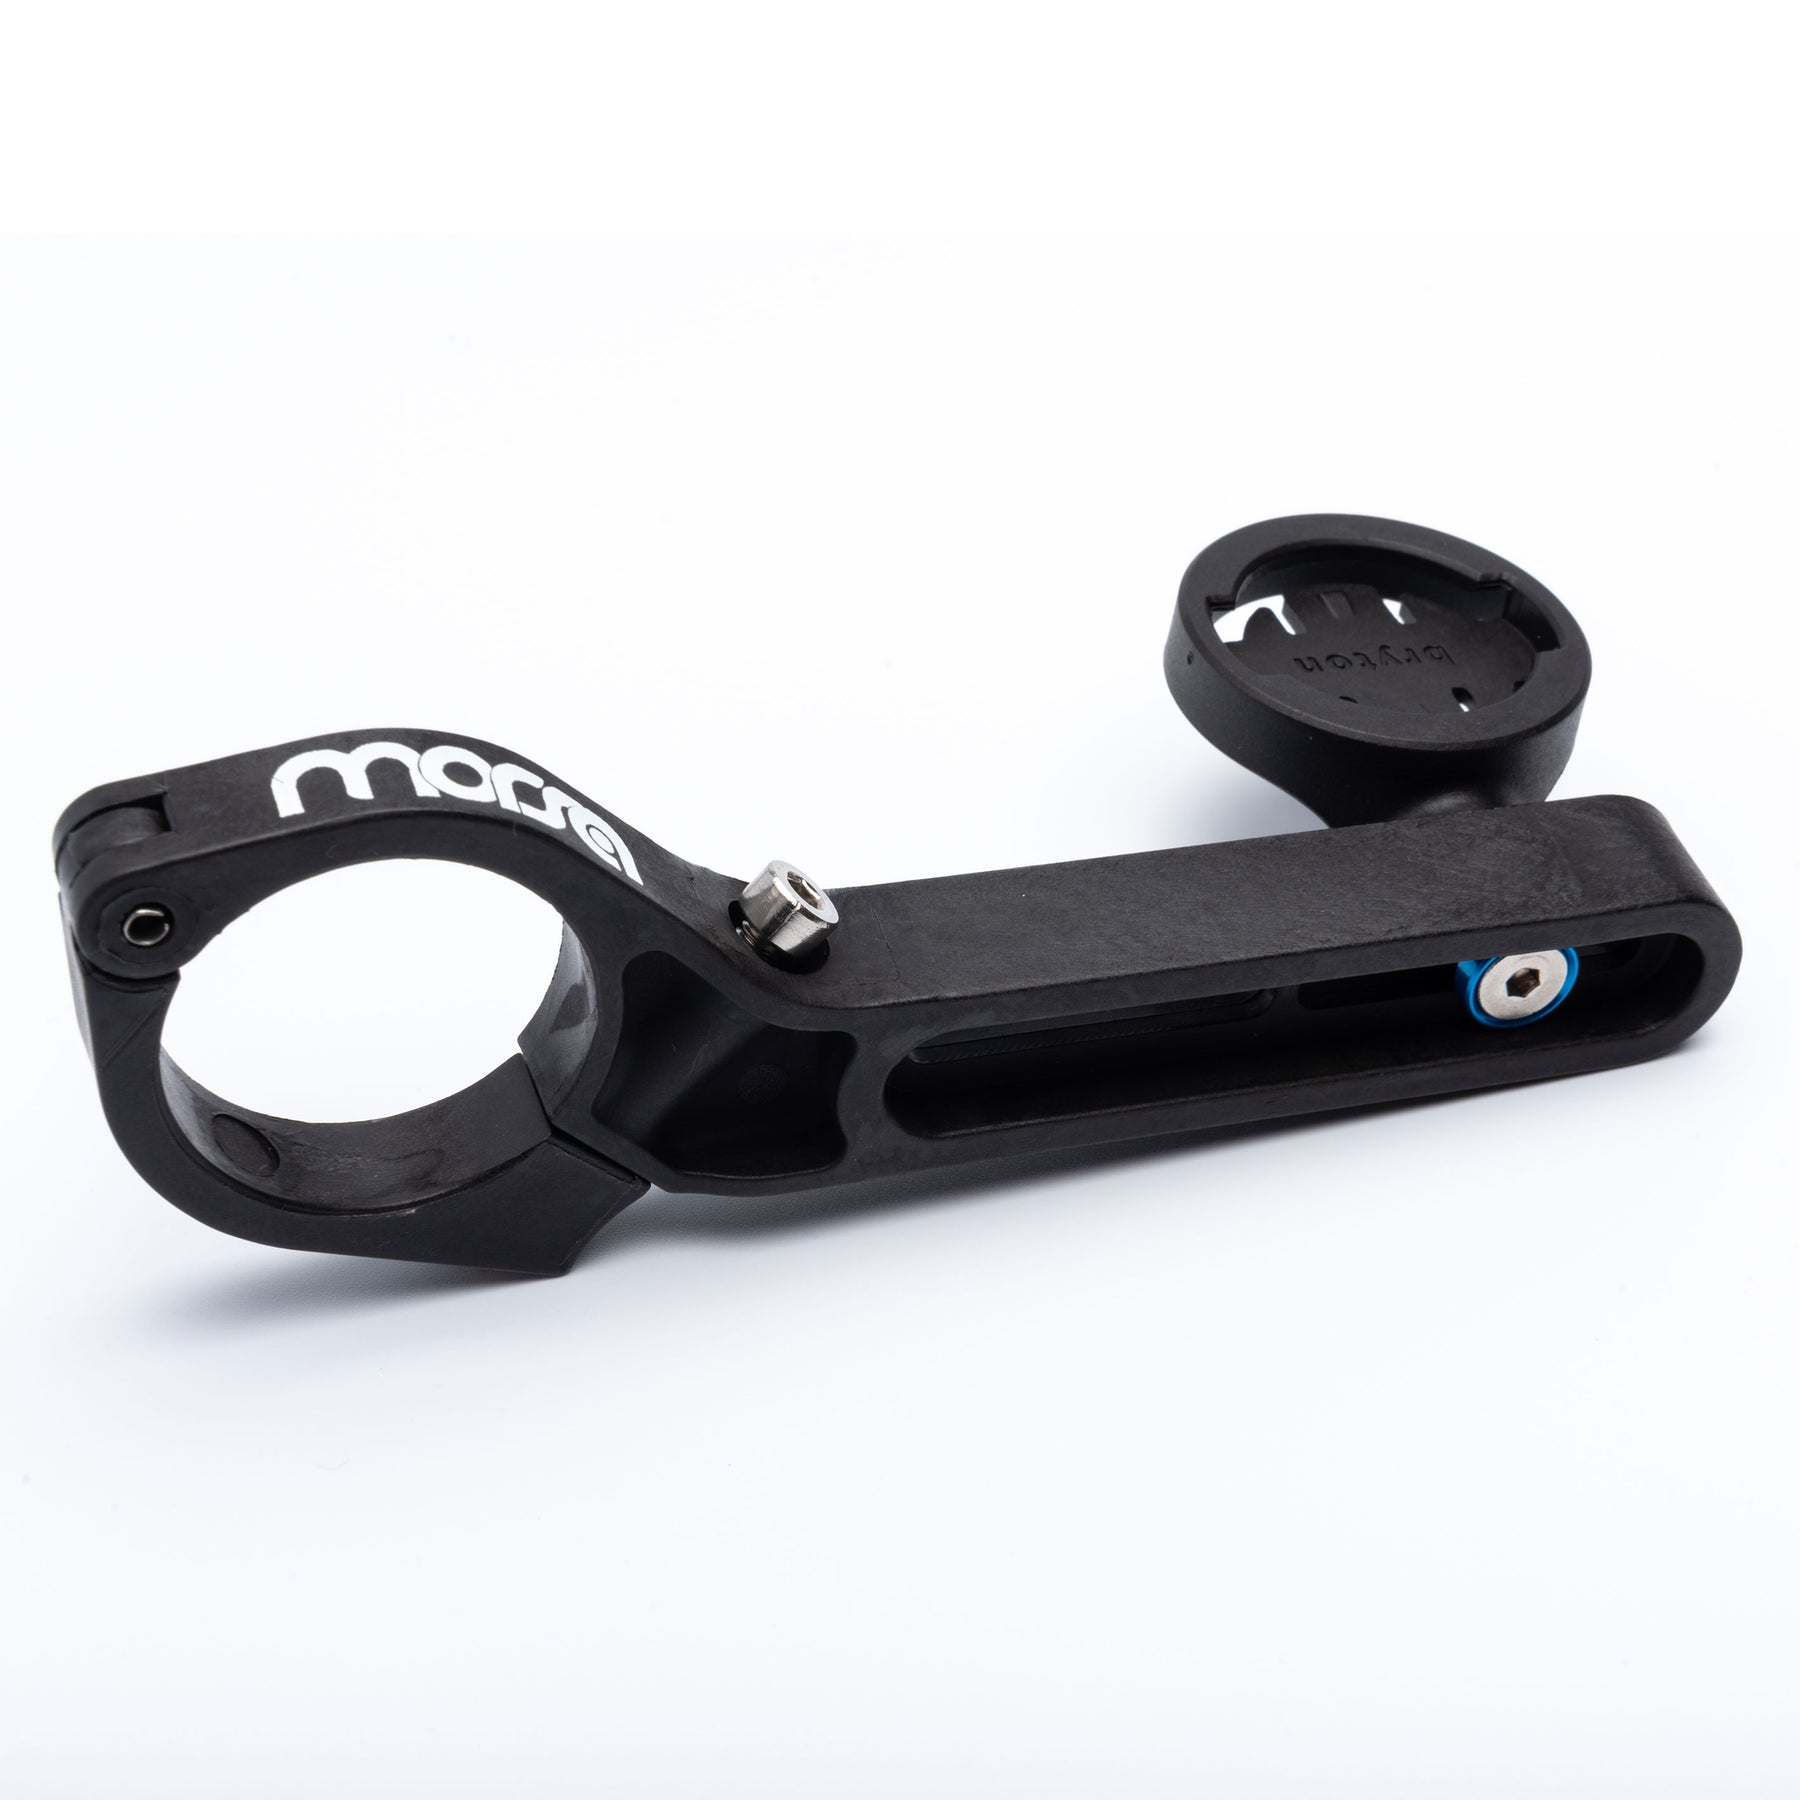
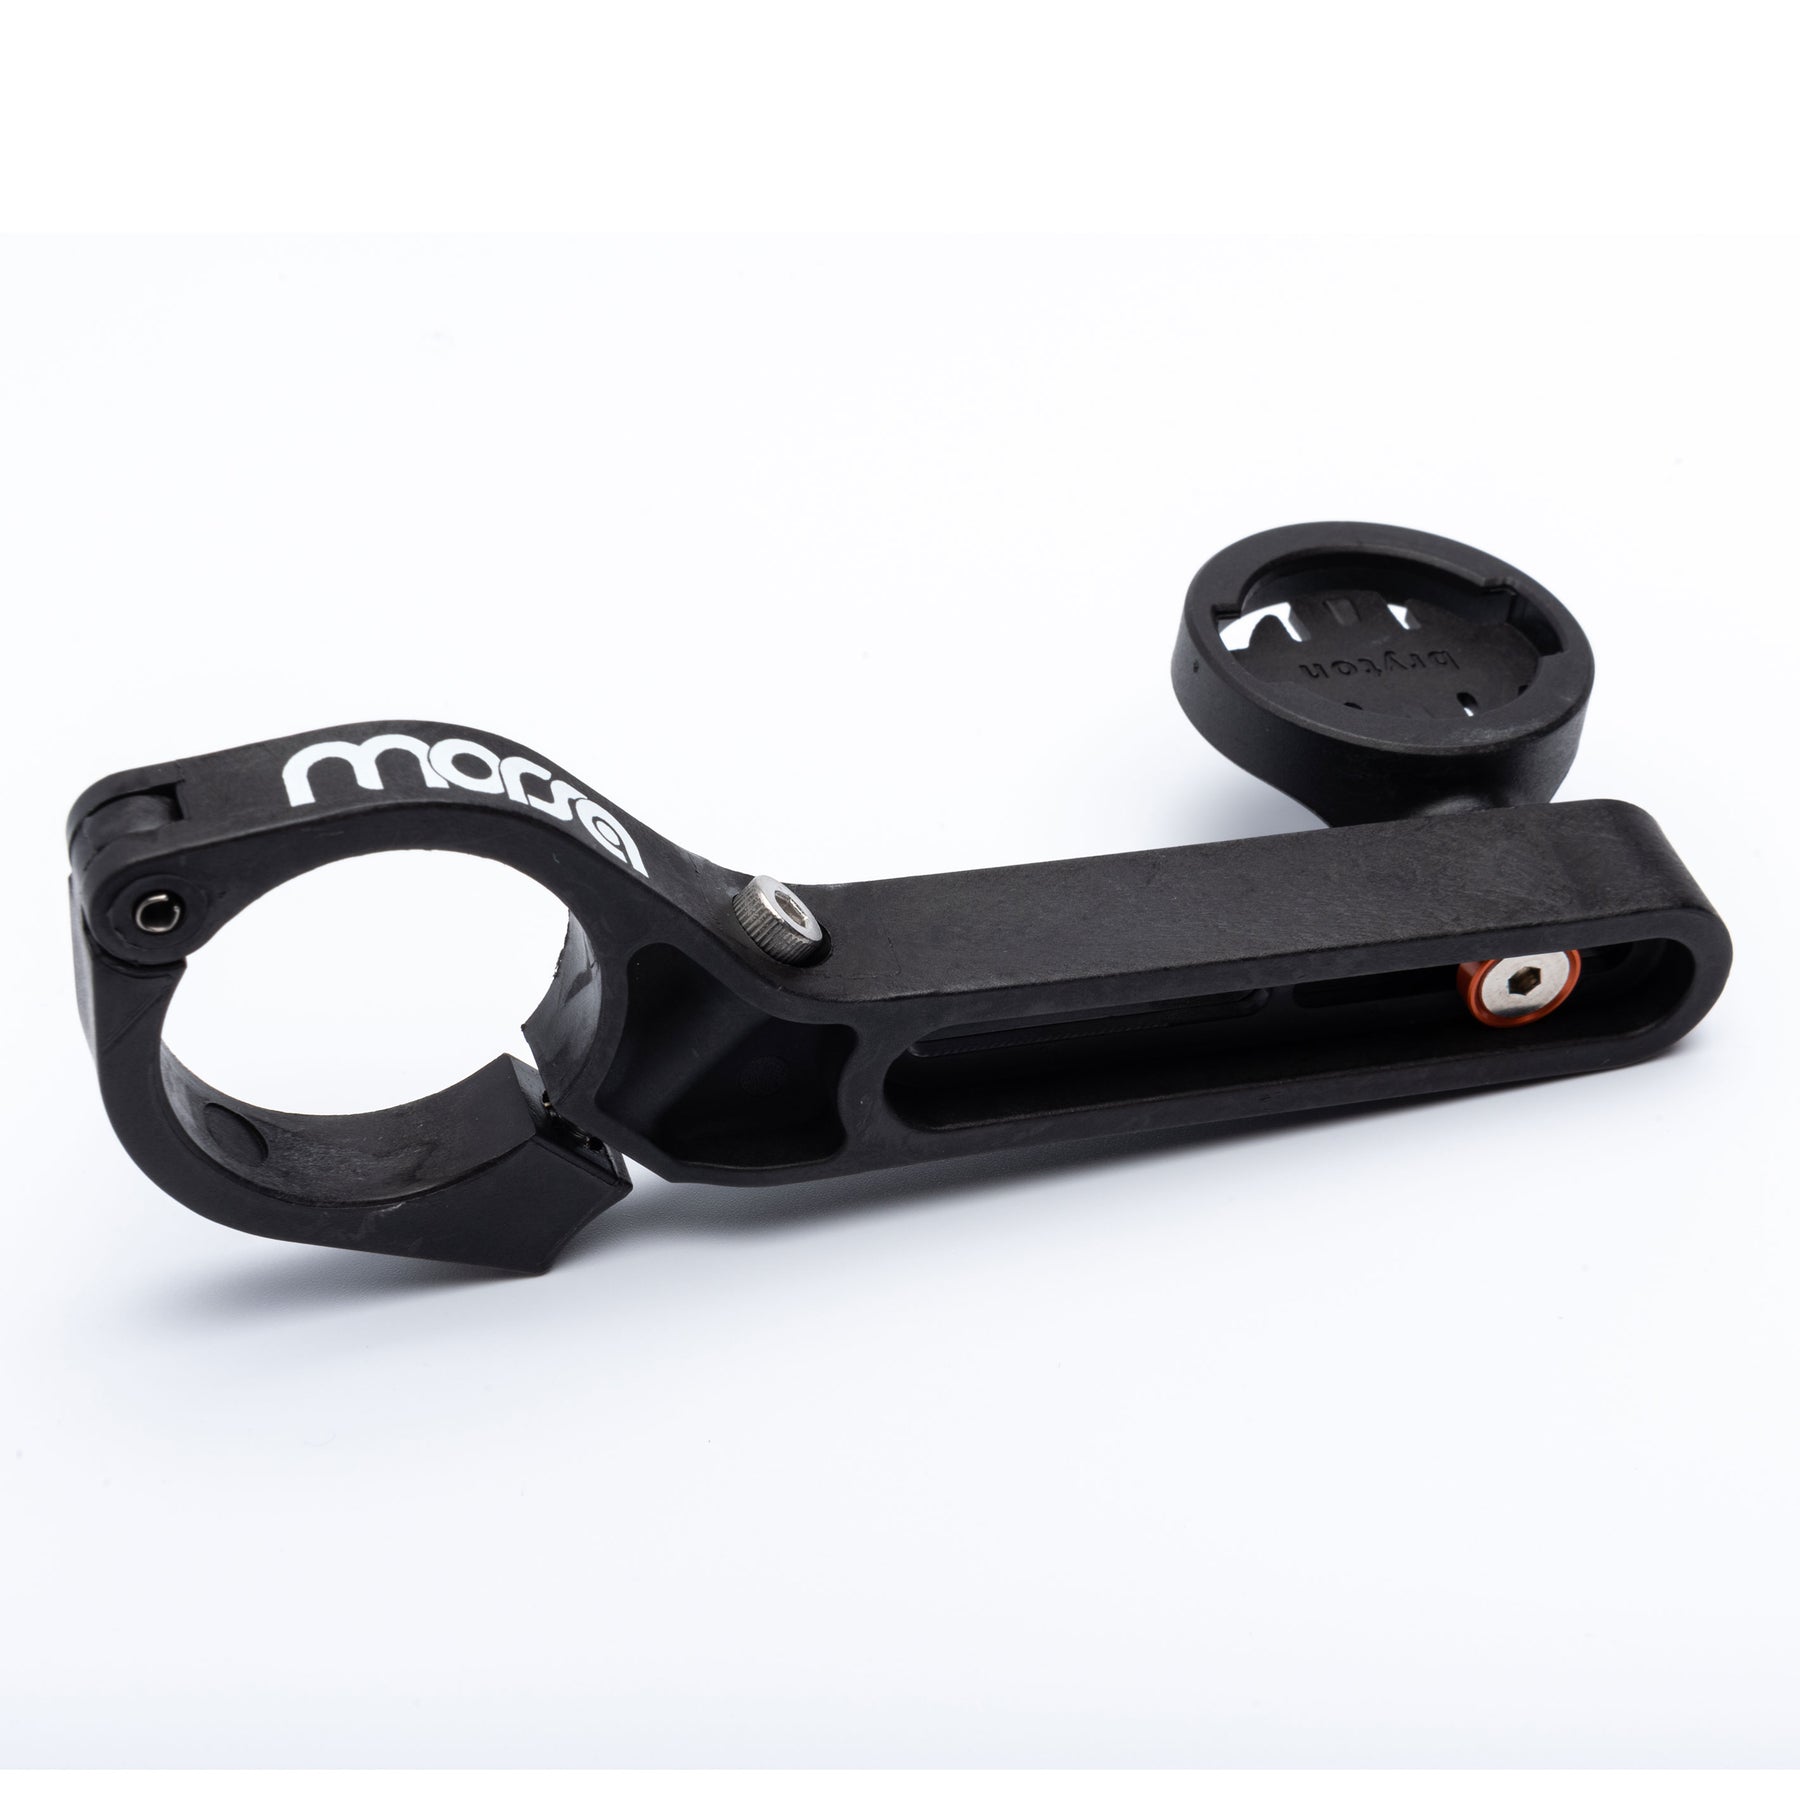
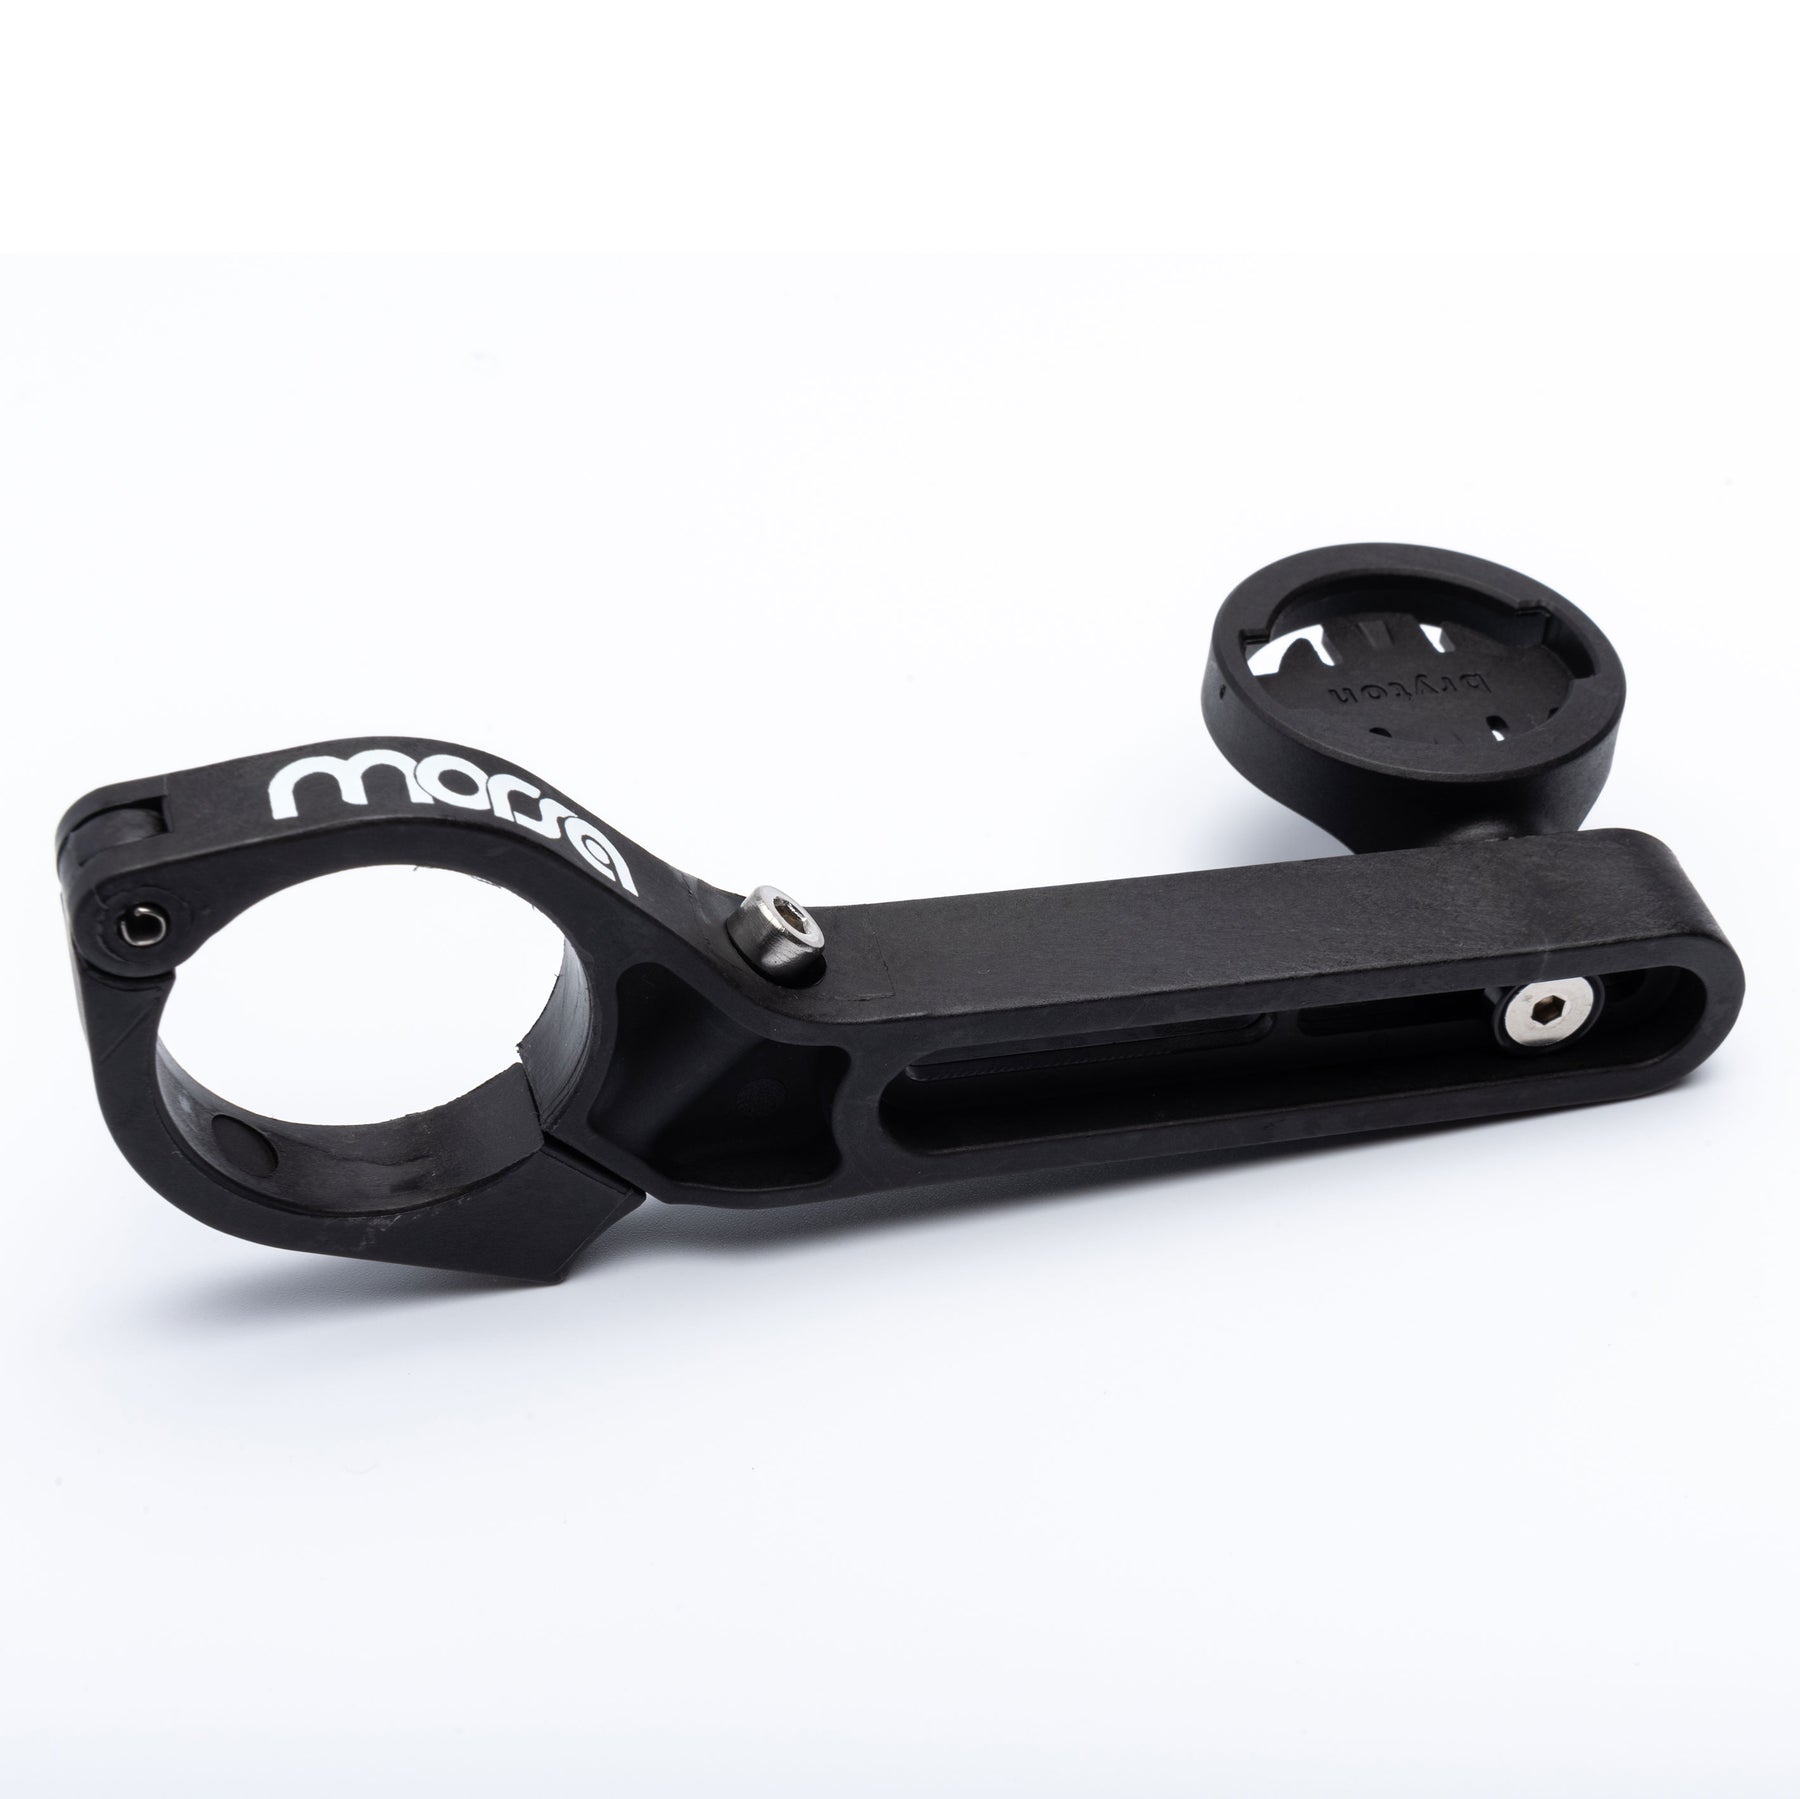
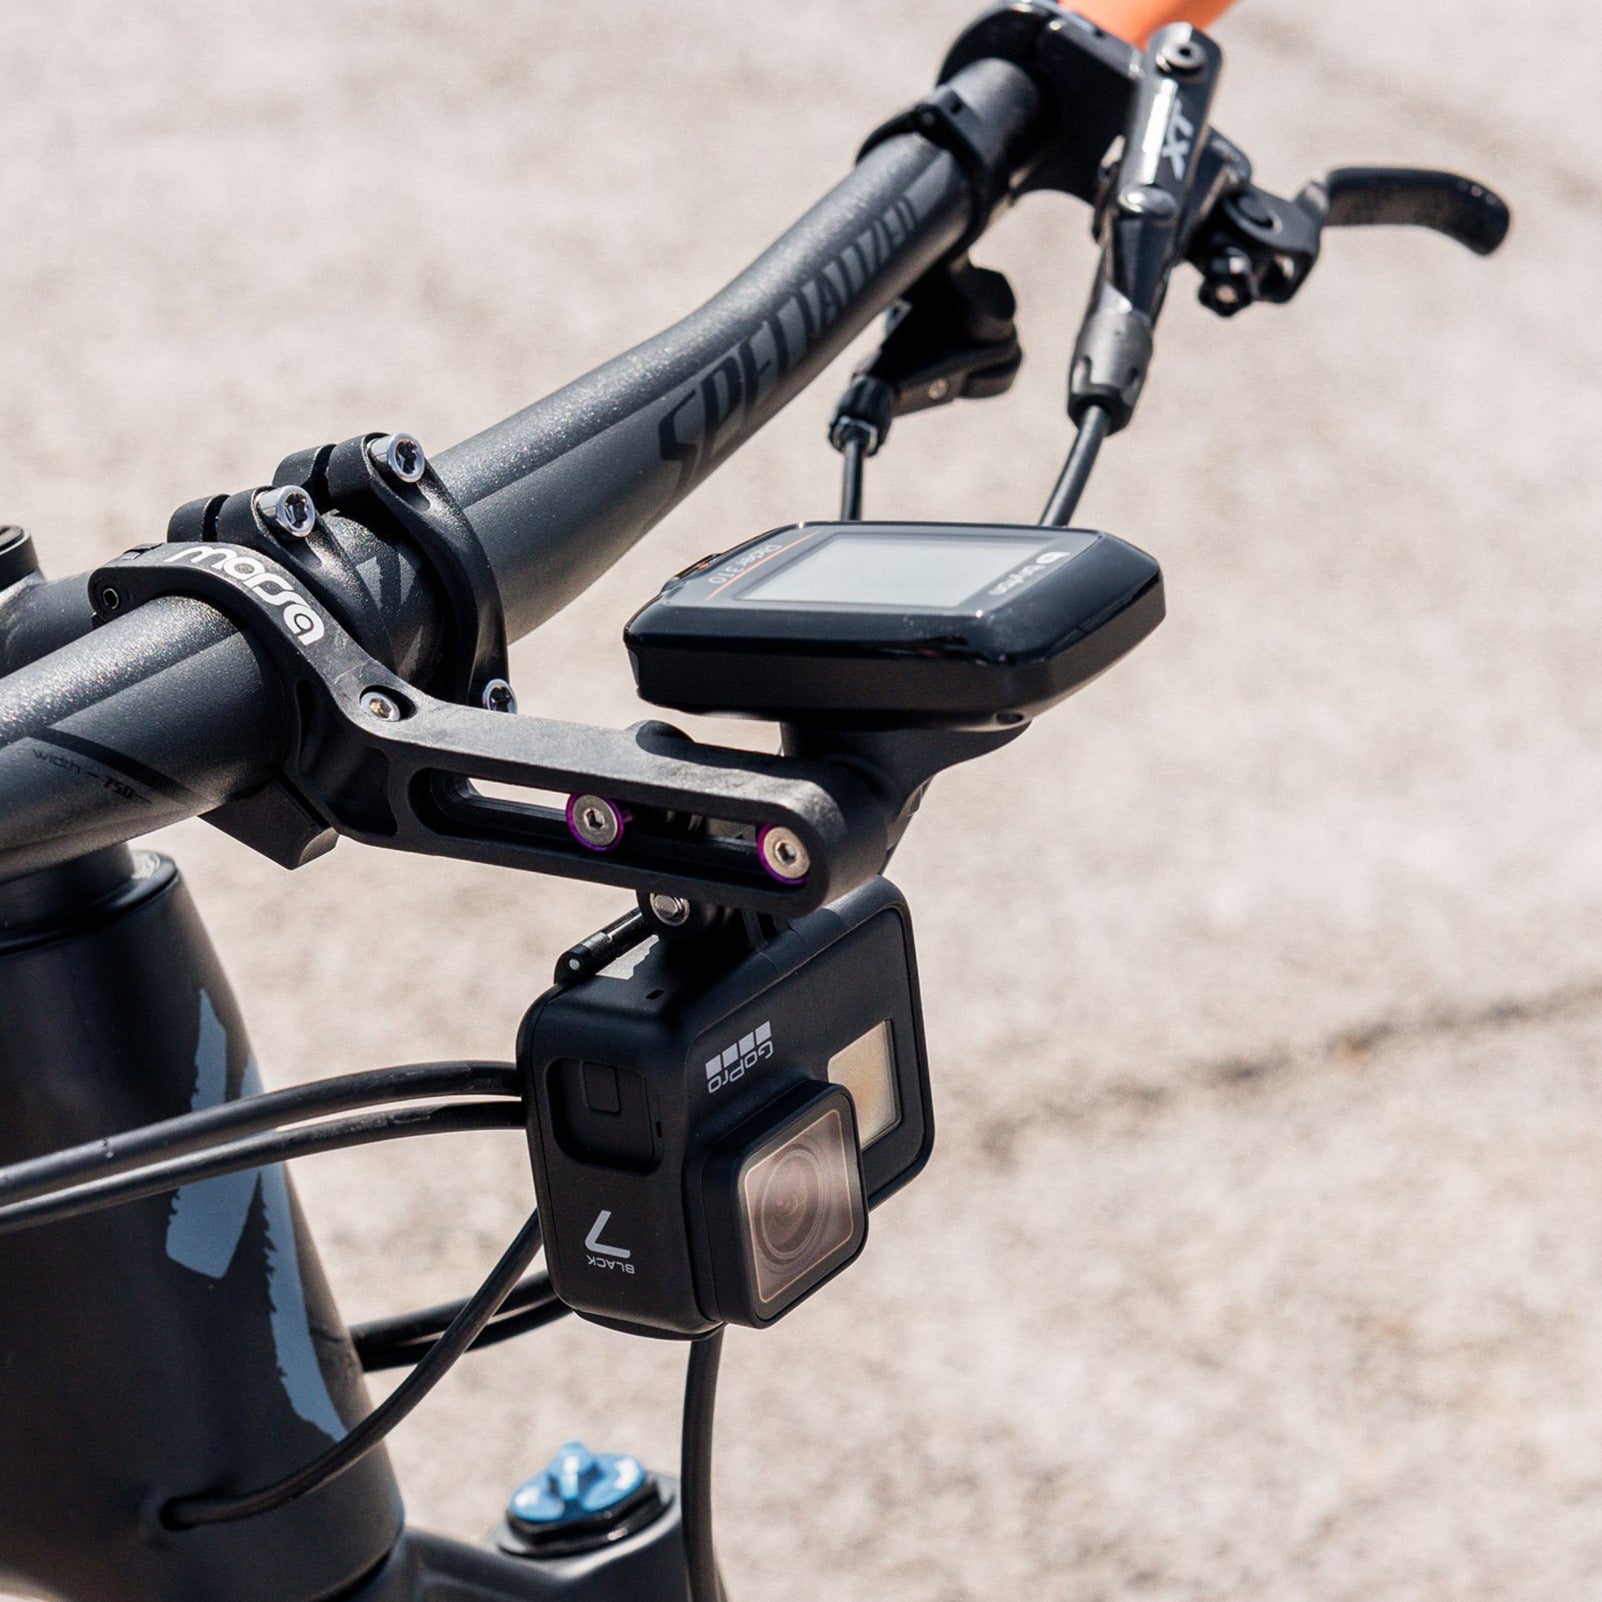
Mounting Arm
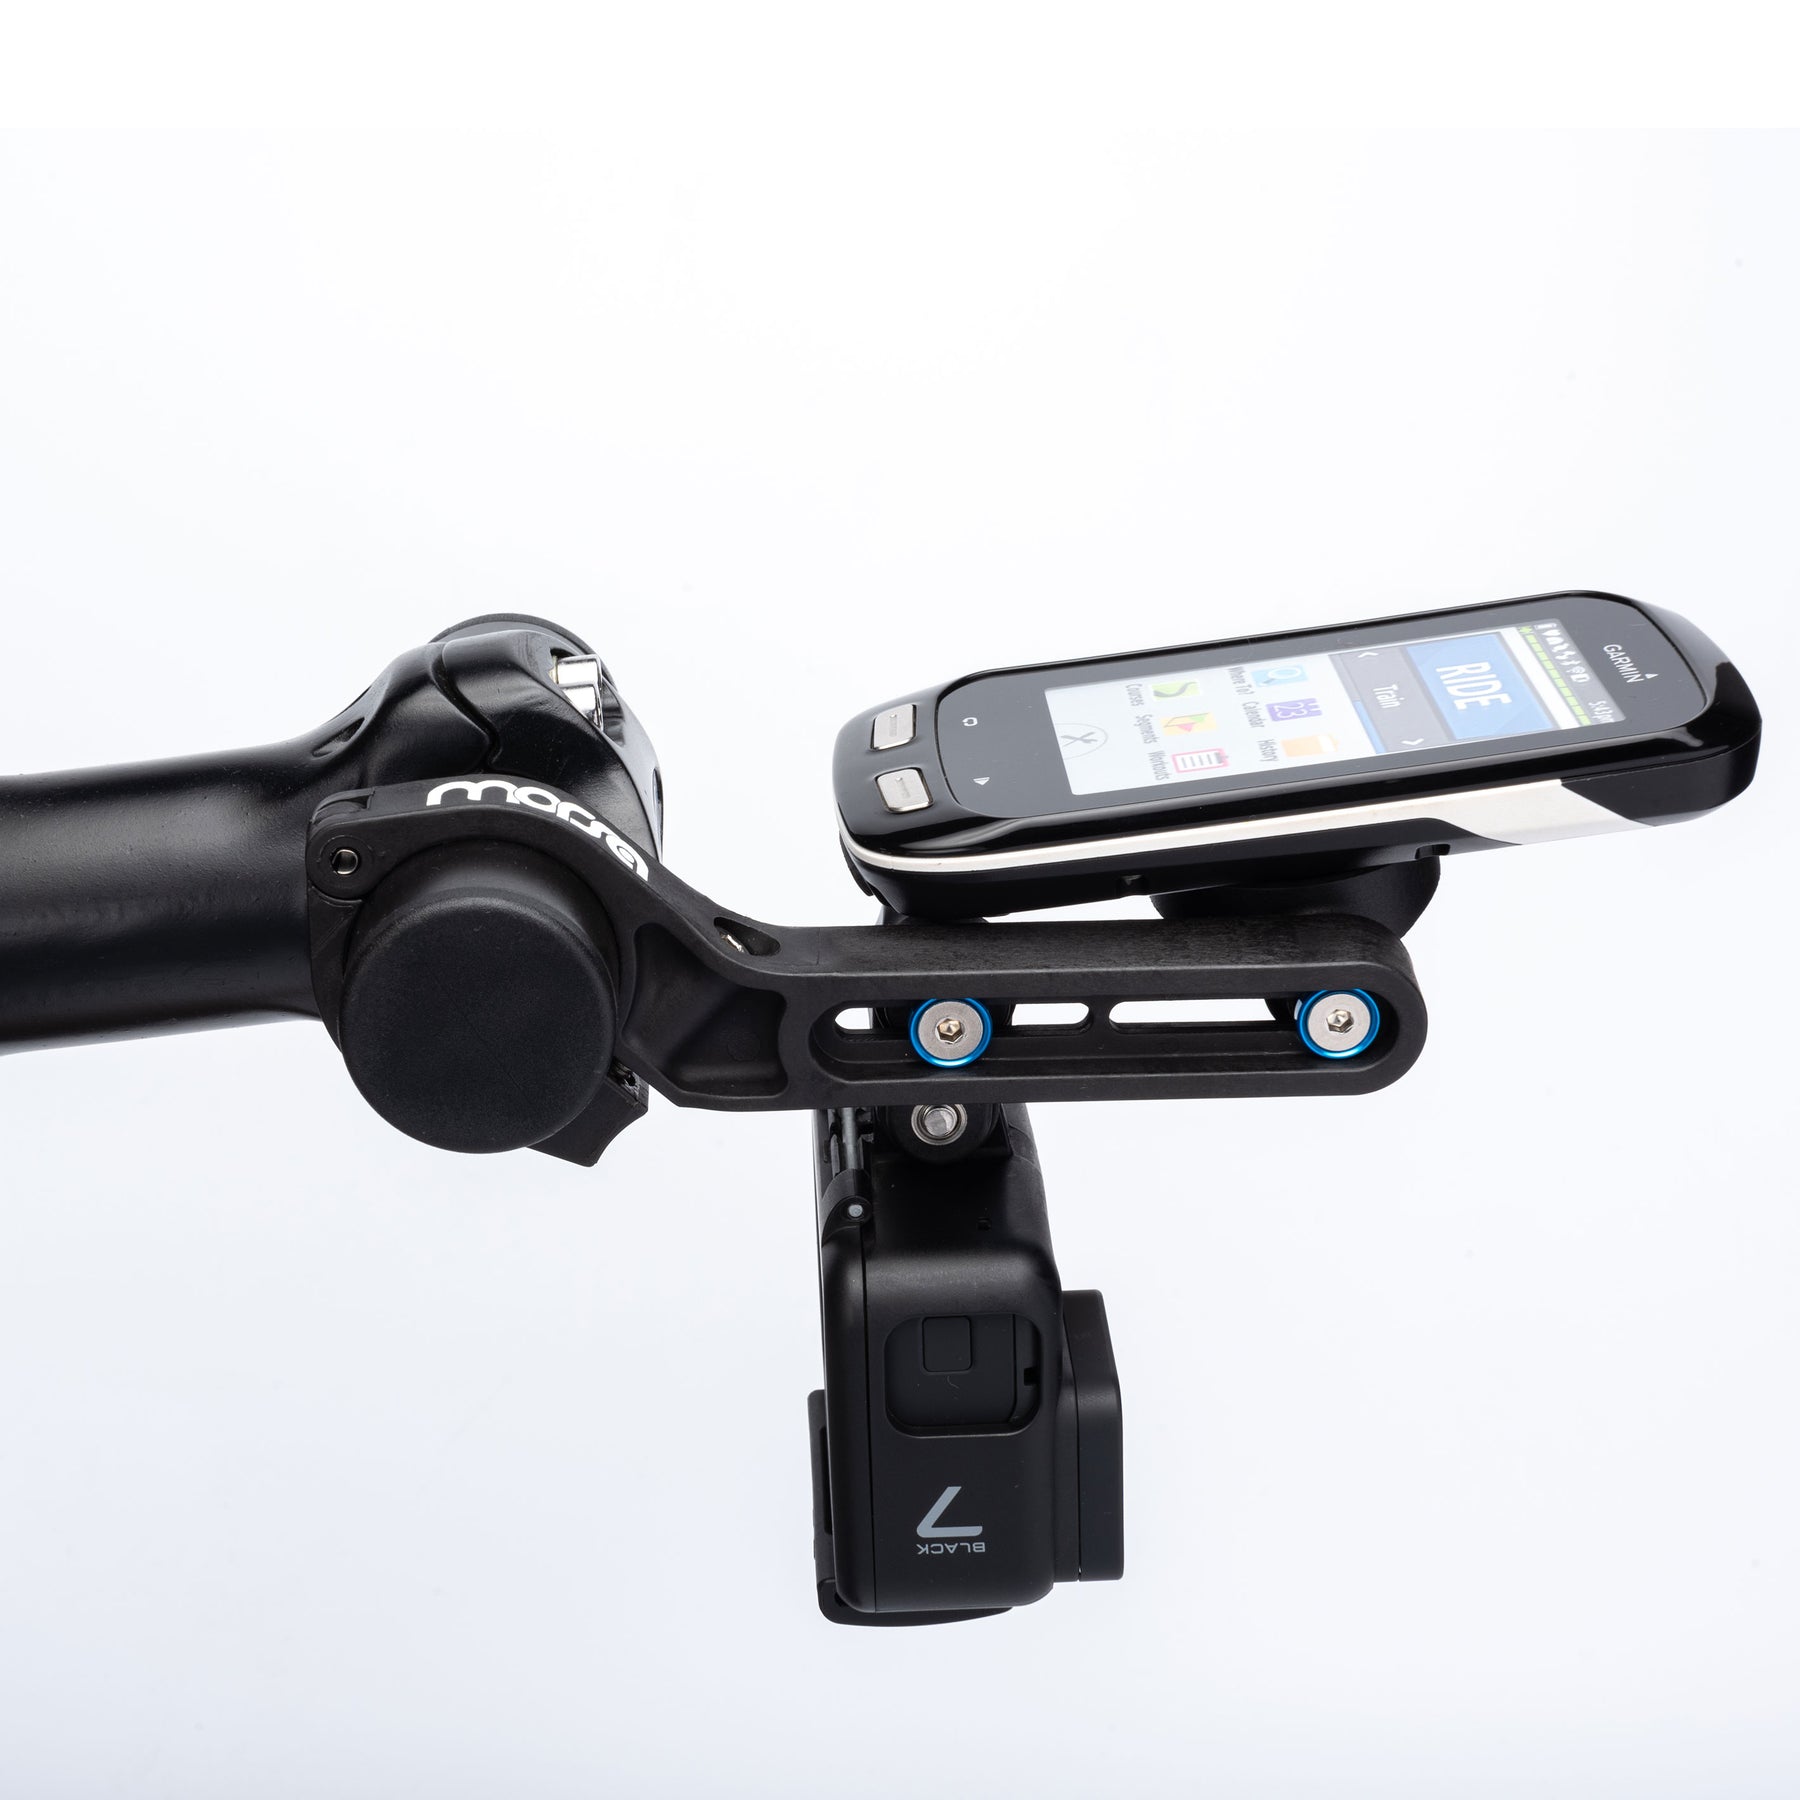
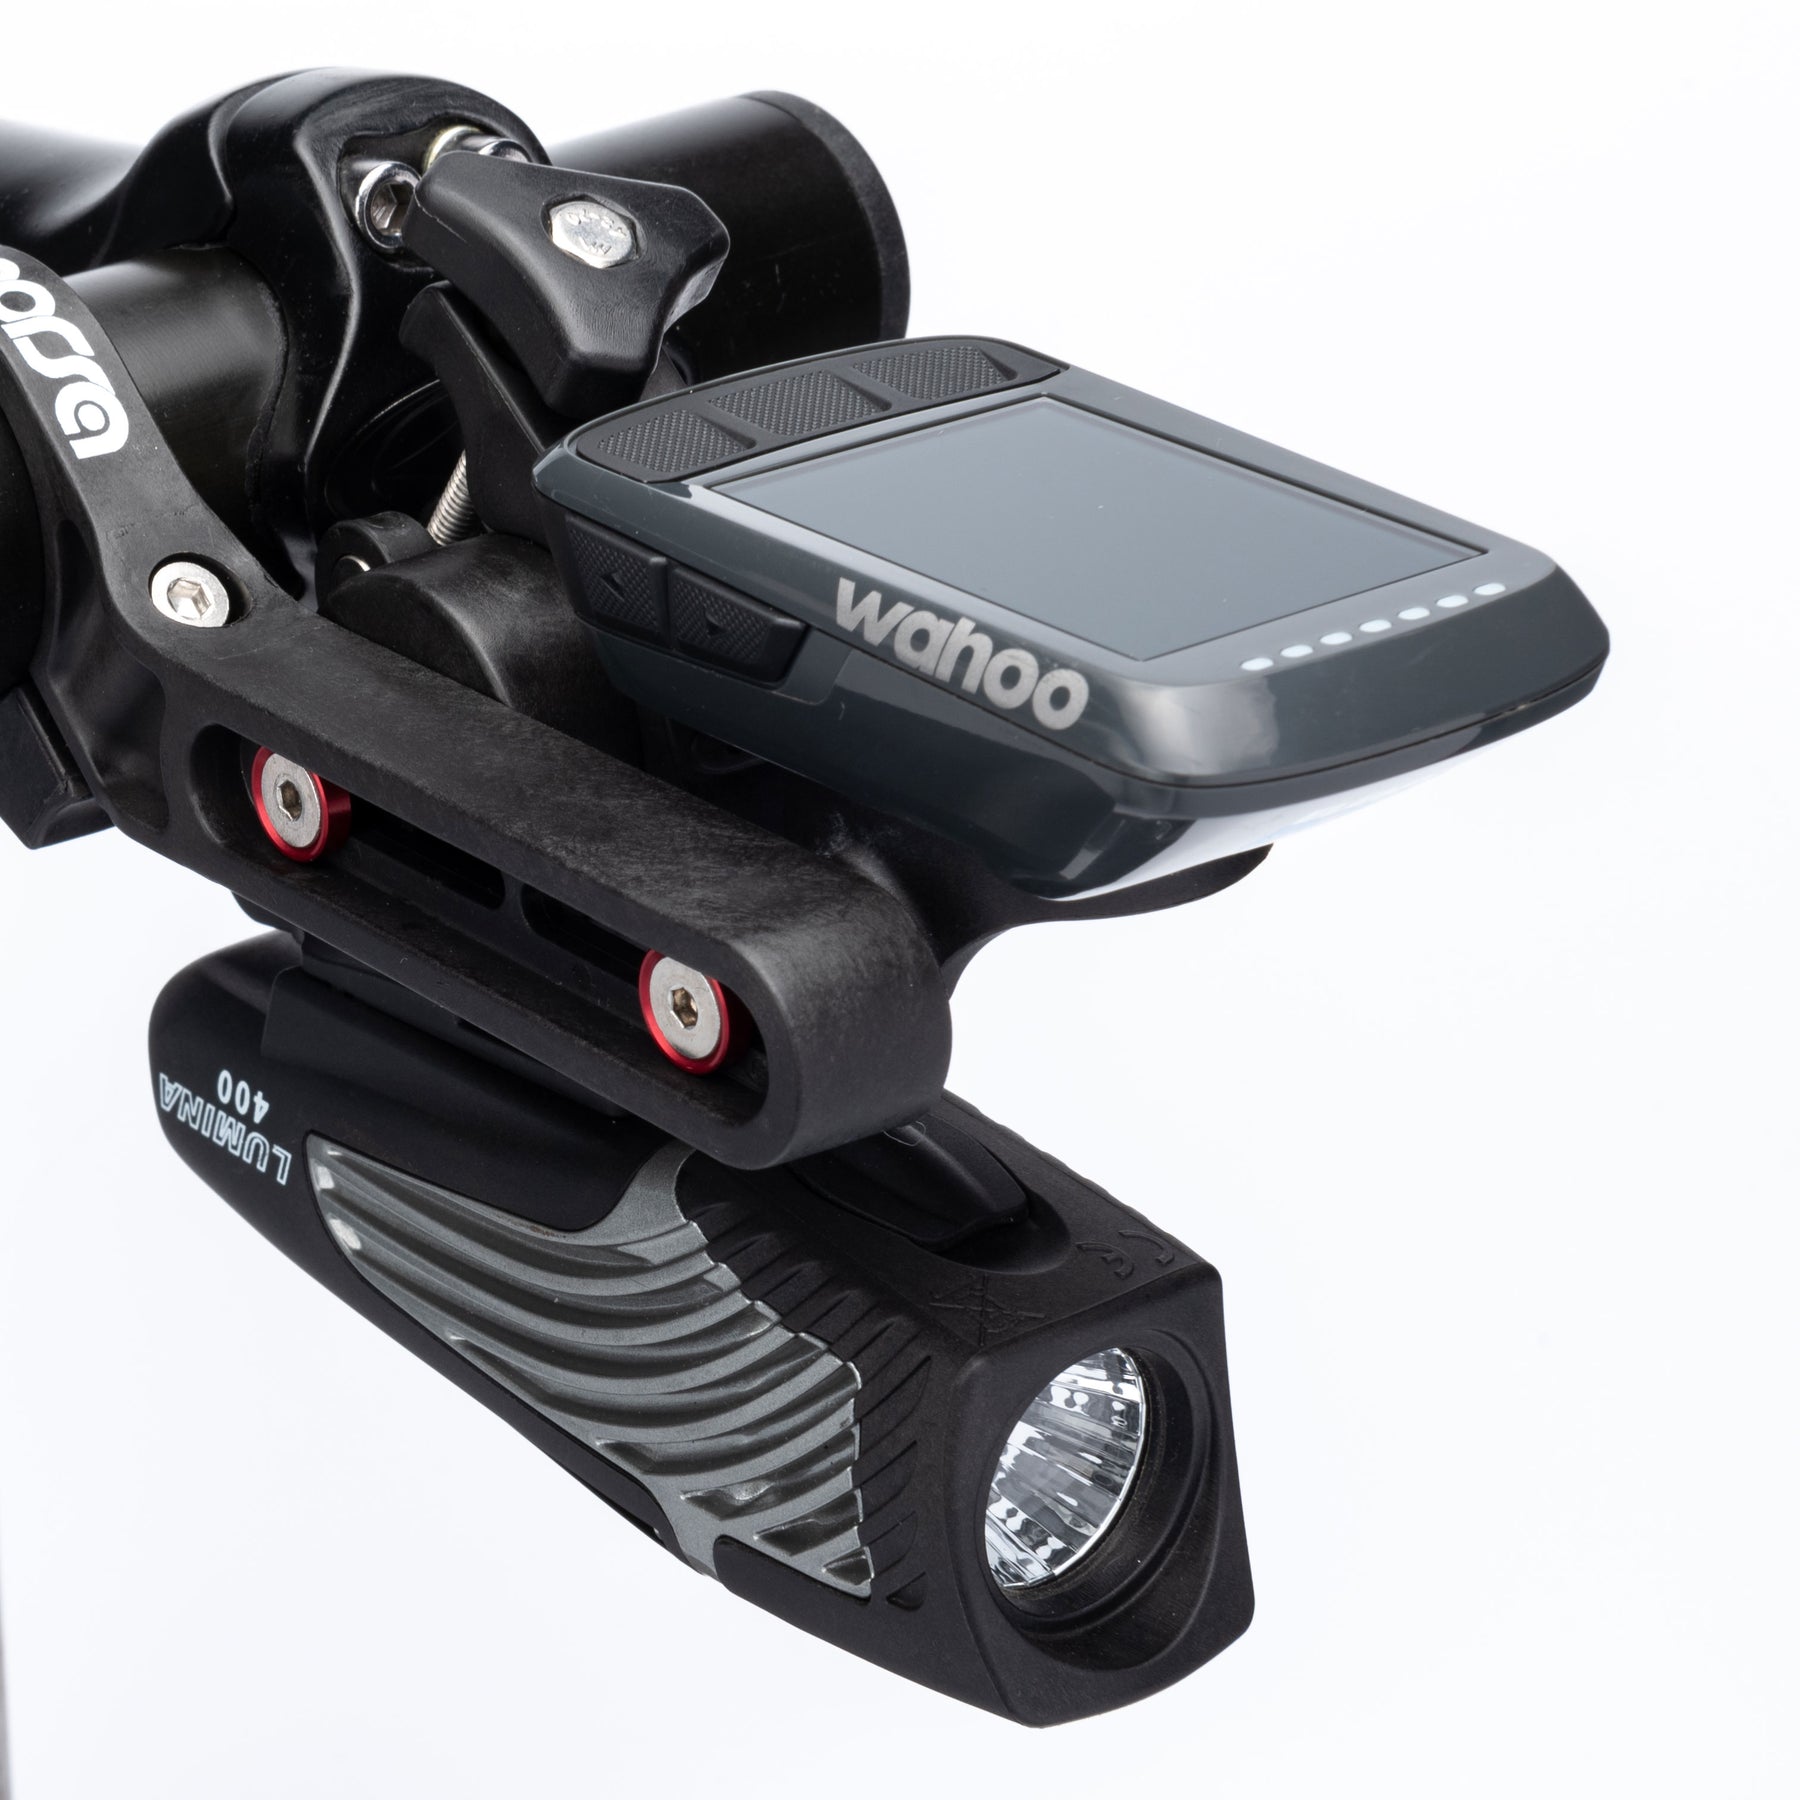
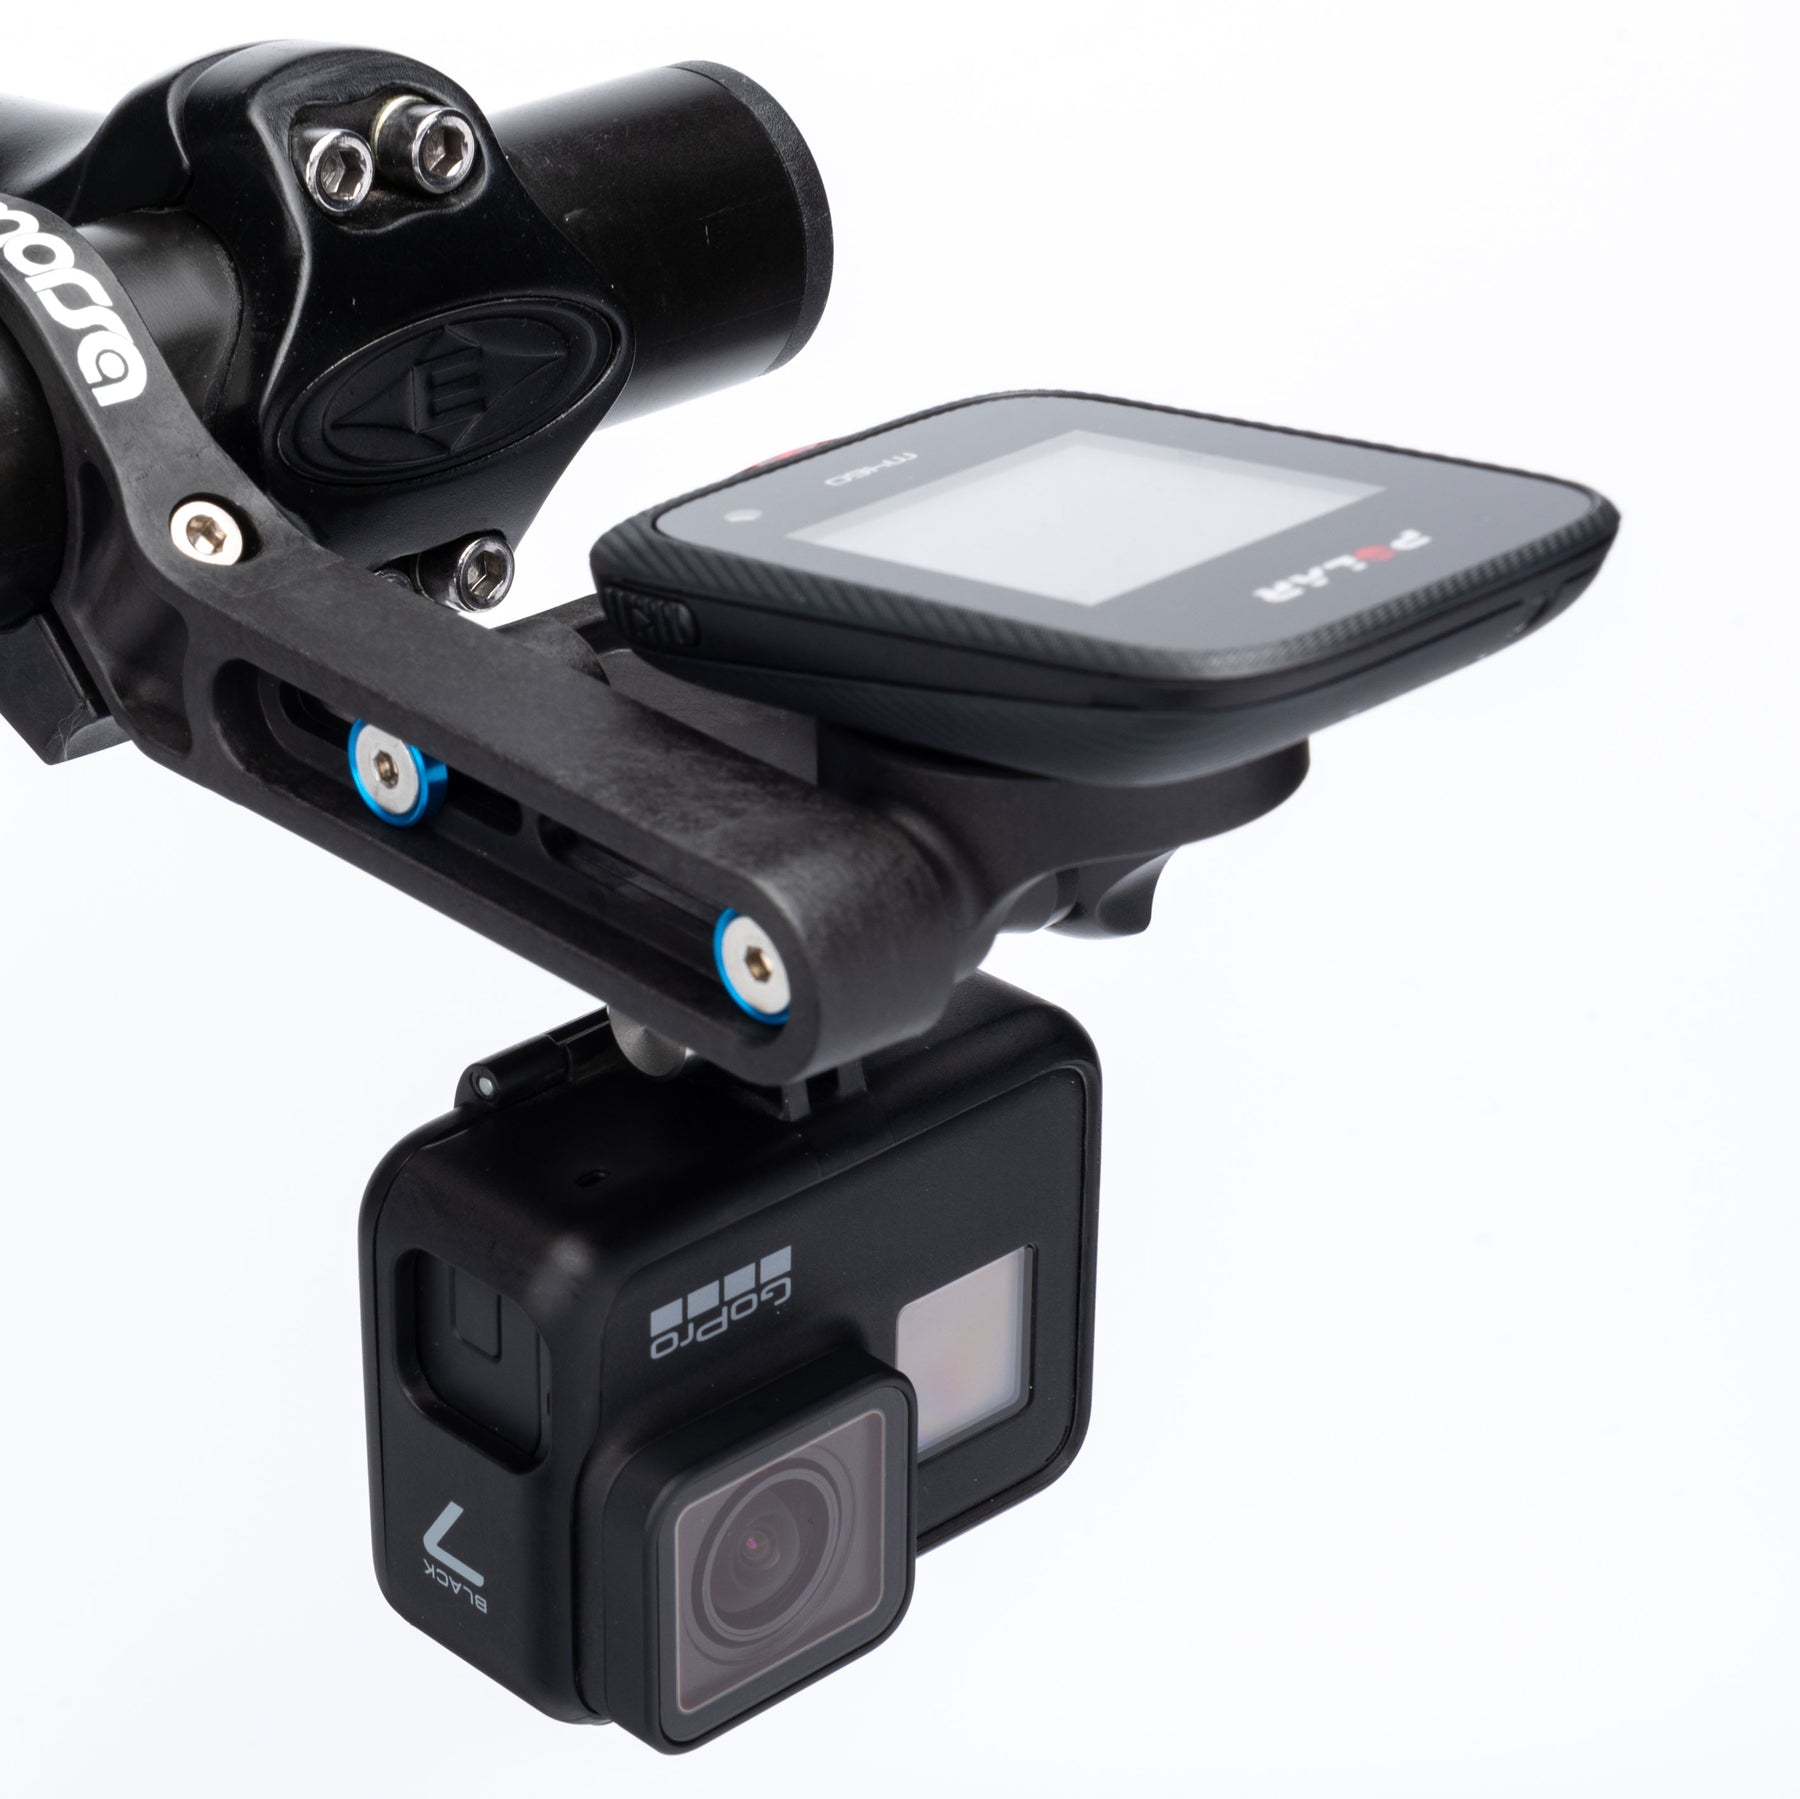
- Mount up to Two devices on one Mounting Arm
- Mount your devices out-front or behind the bars
- Rotate and slide your devices to multiple positions
- Free up bar space with only one mount for all your devices
- Buy only one mount and save money
- No need to buy new mounts for new devices
- Strong, light, and shock absorbing
- Fits all 31.8mm diameter bars
- Torque not to exceed 1.6Nm/14inlbs
- Made from a CARBON composite Nylon
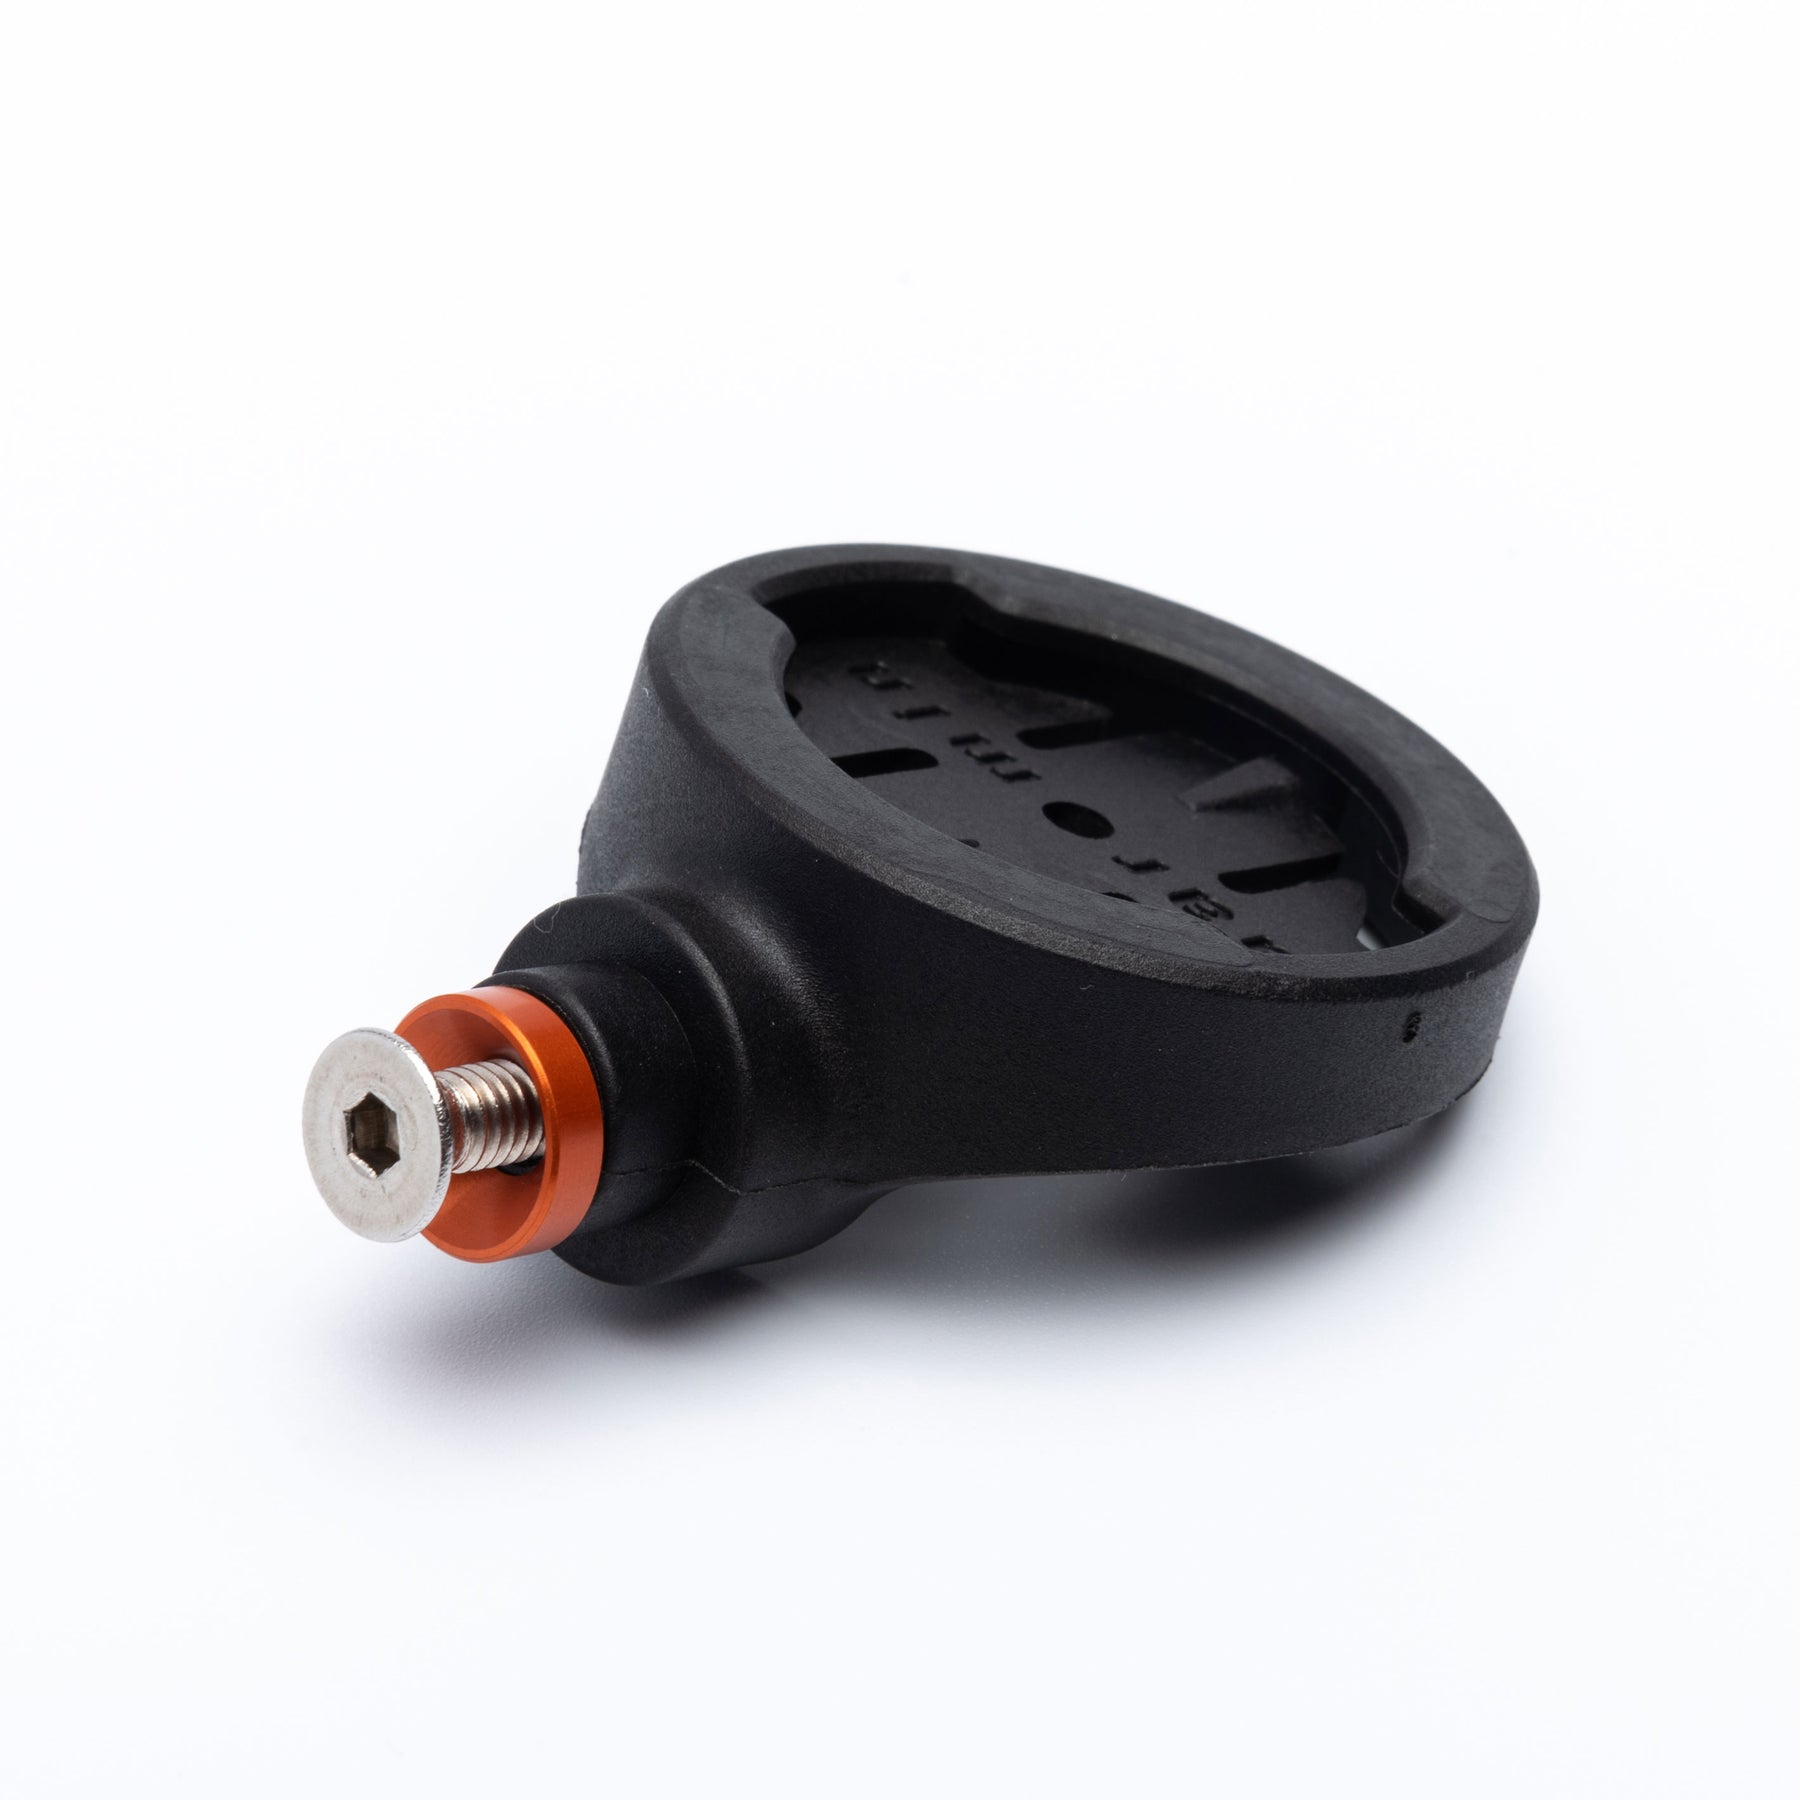
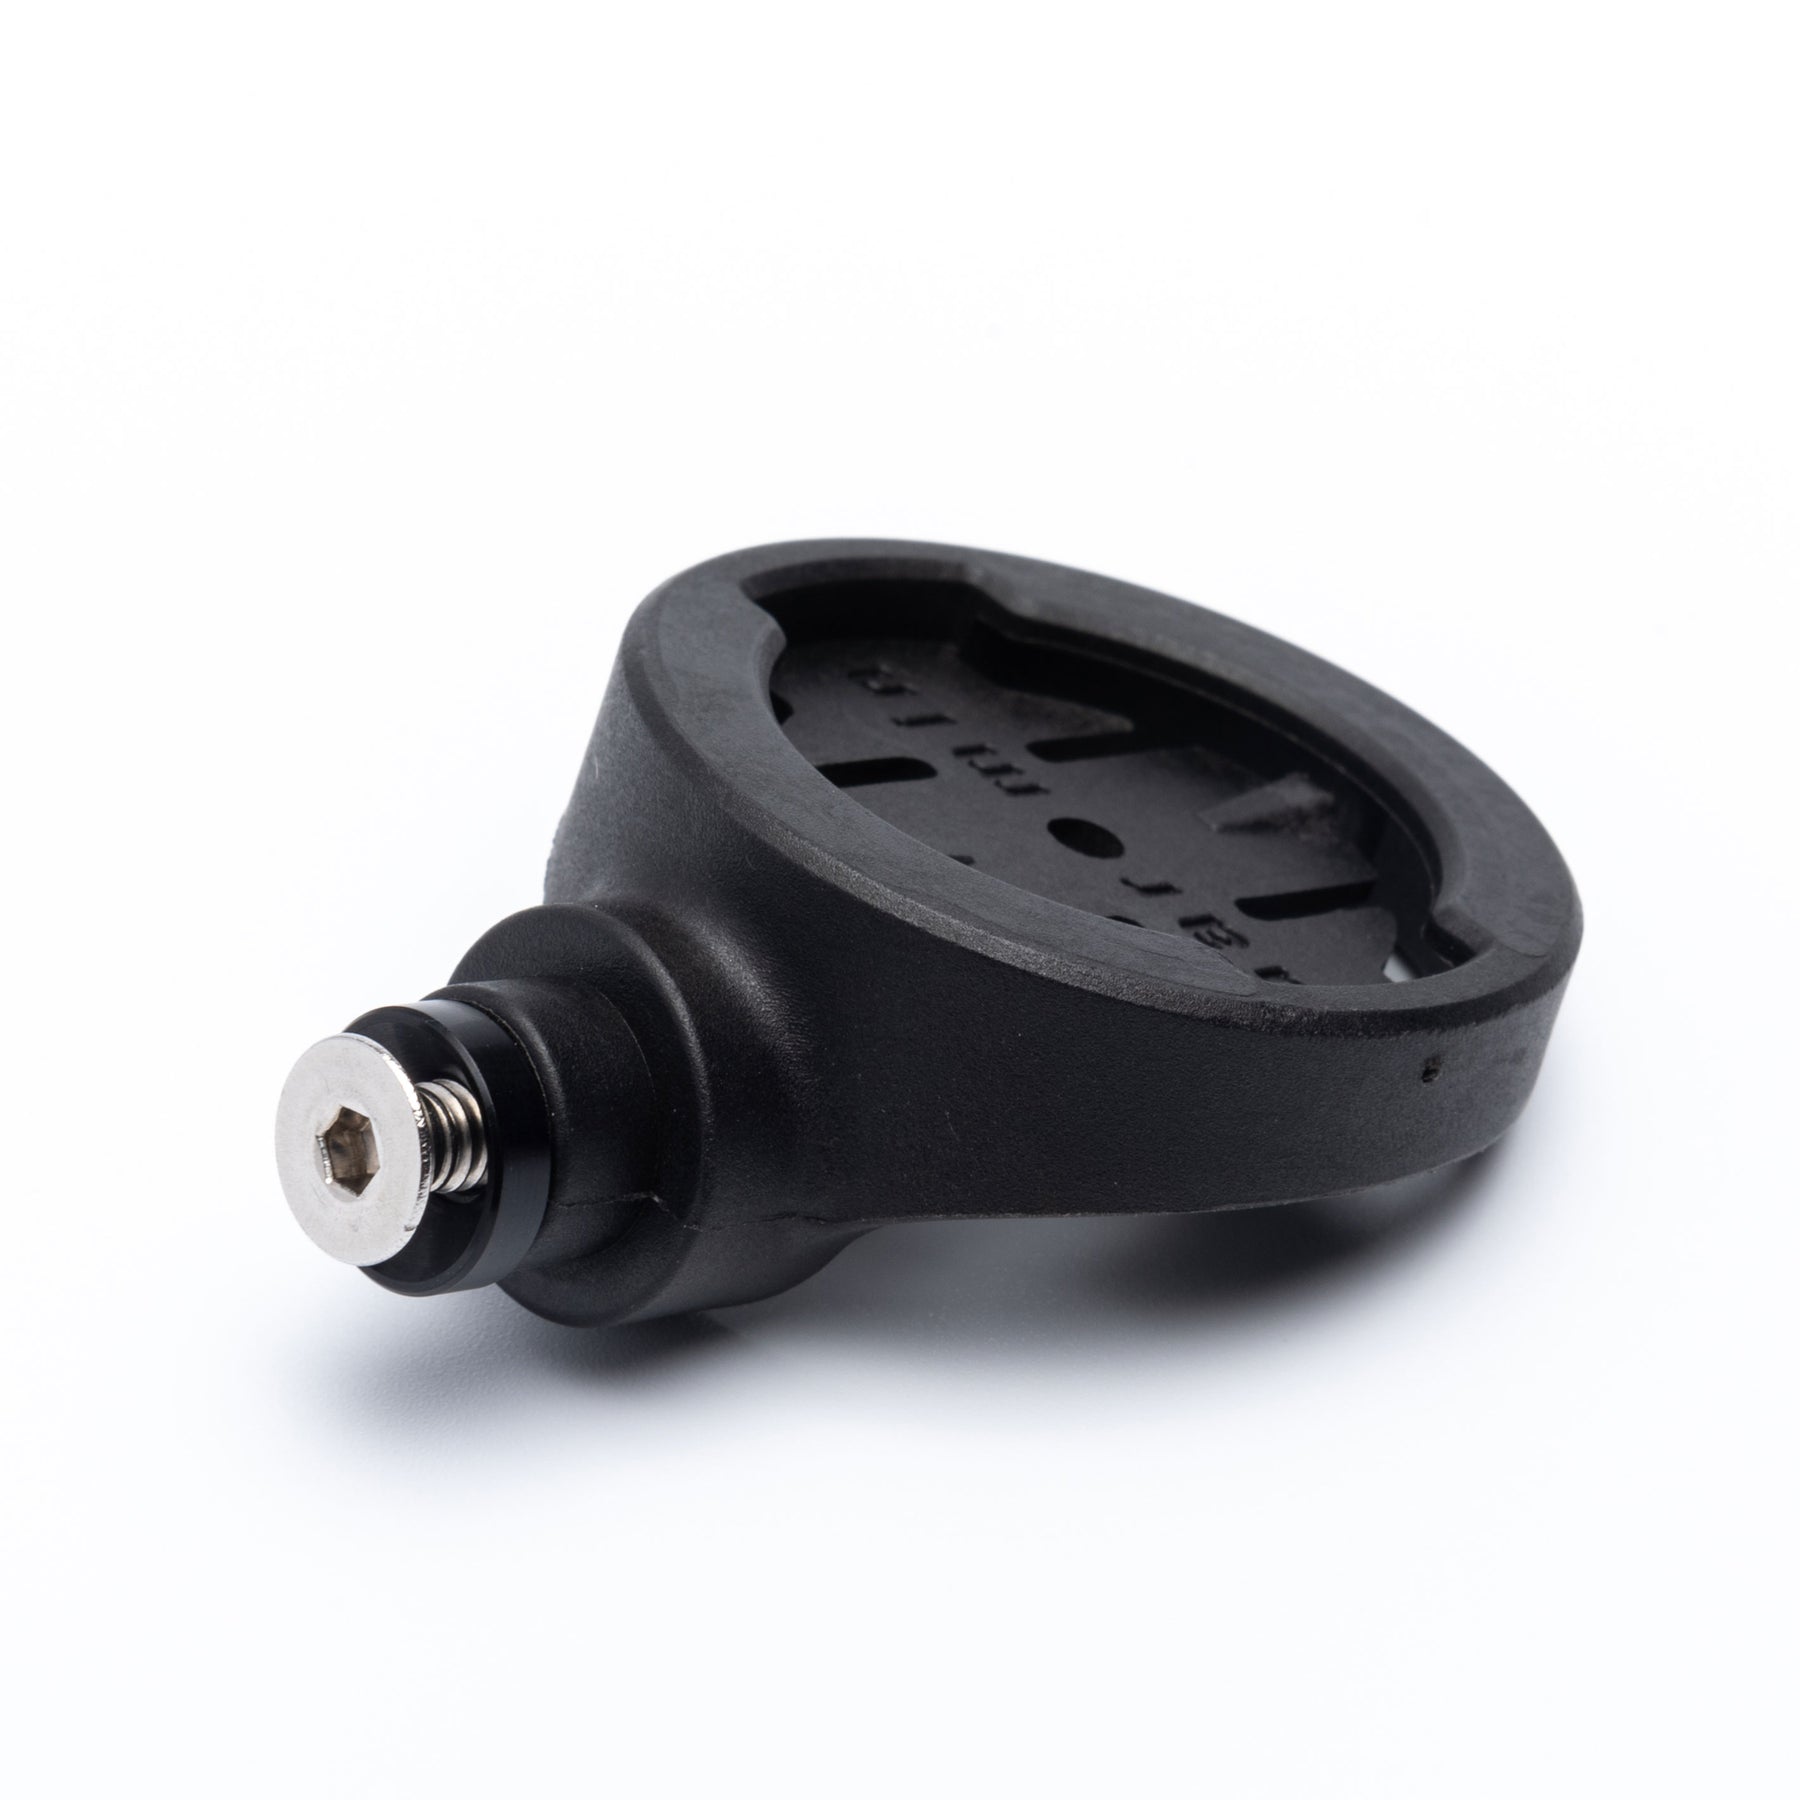
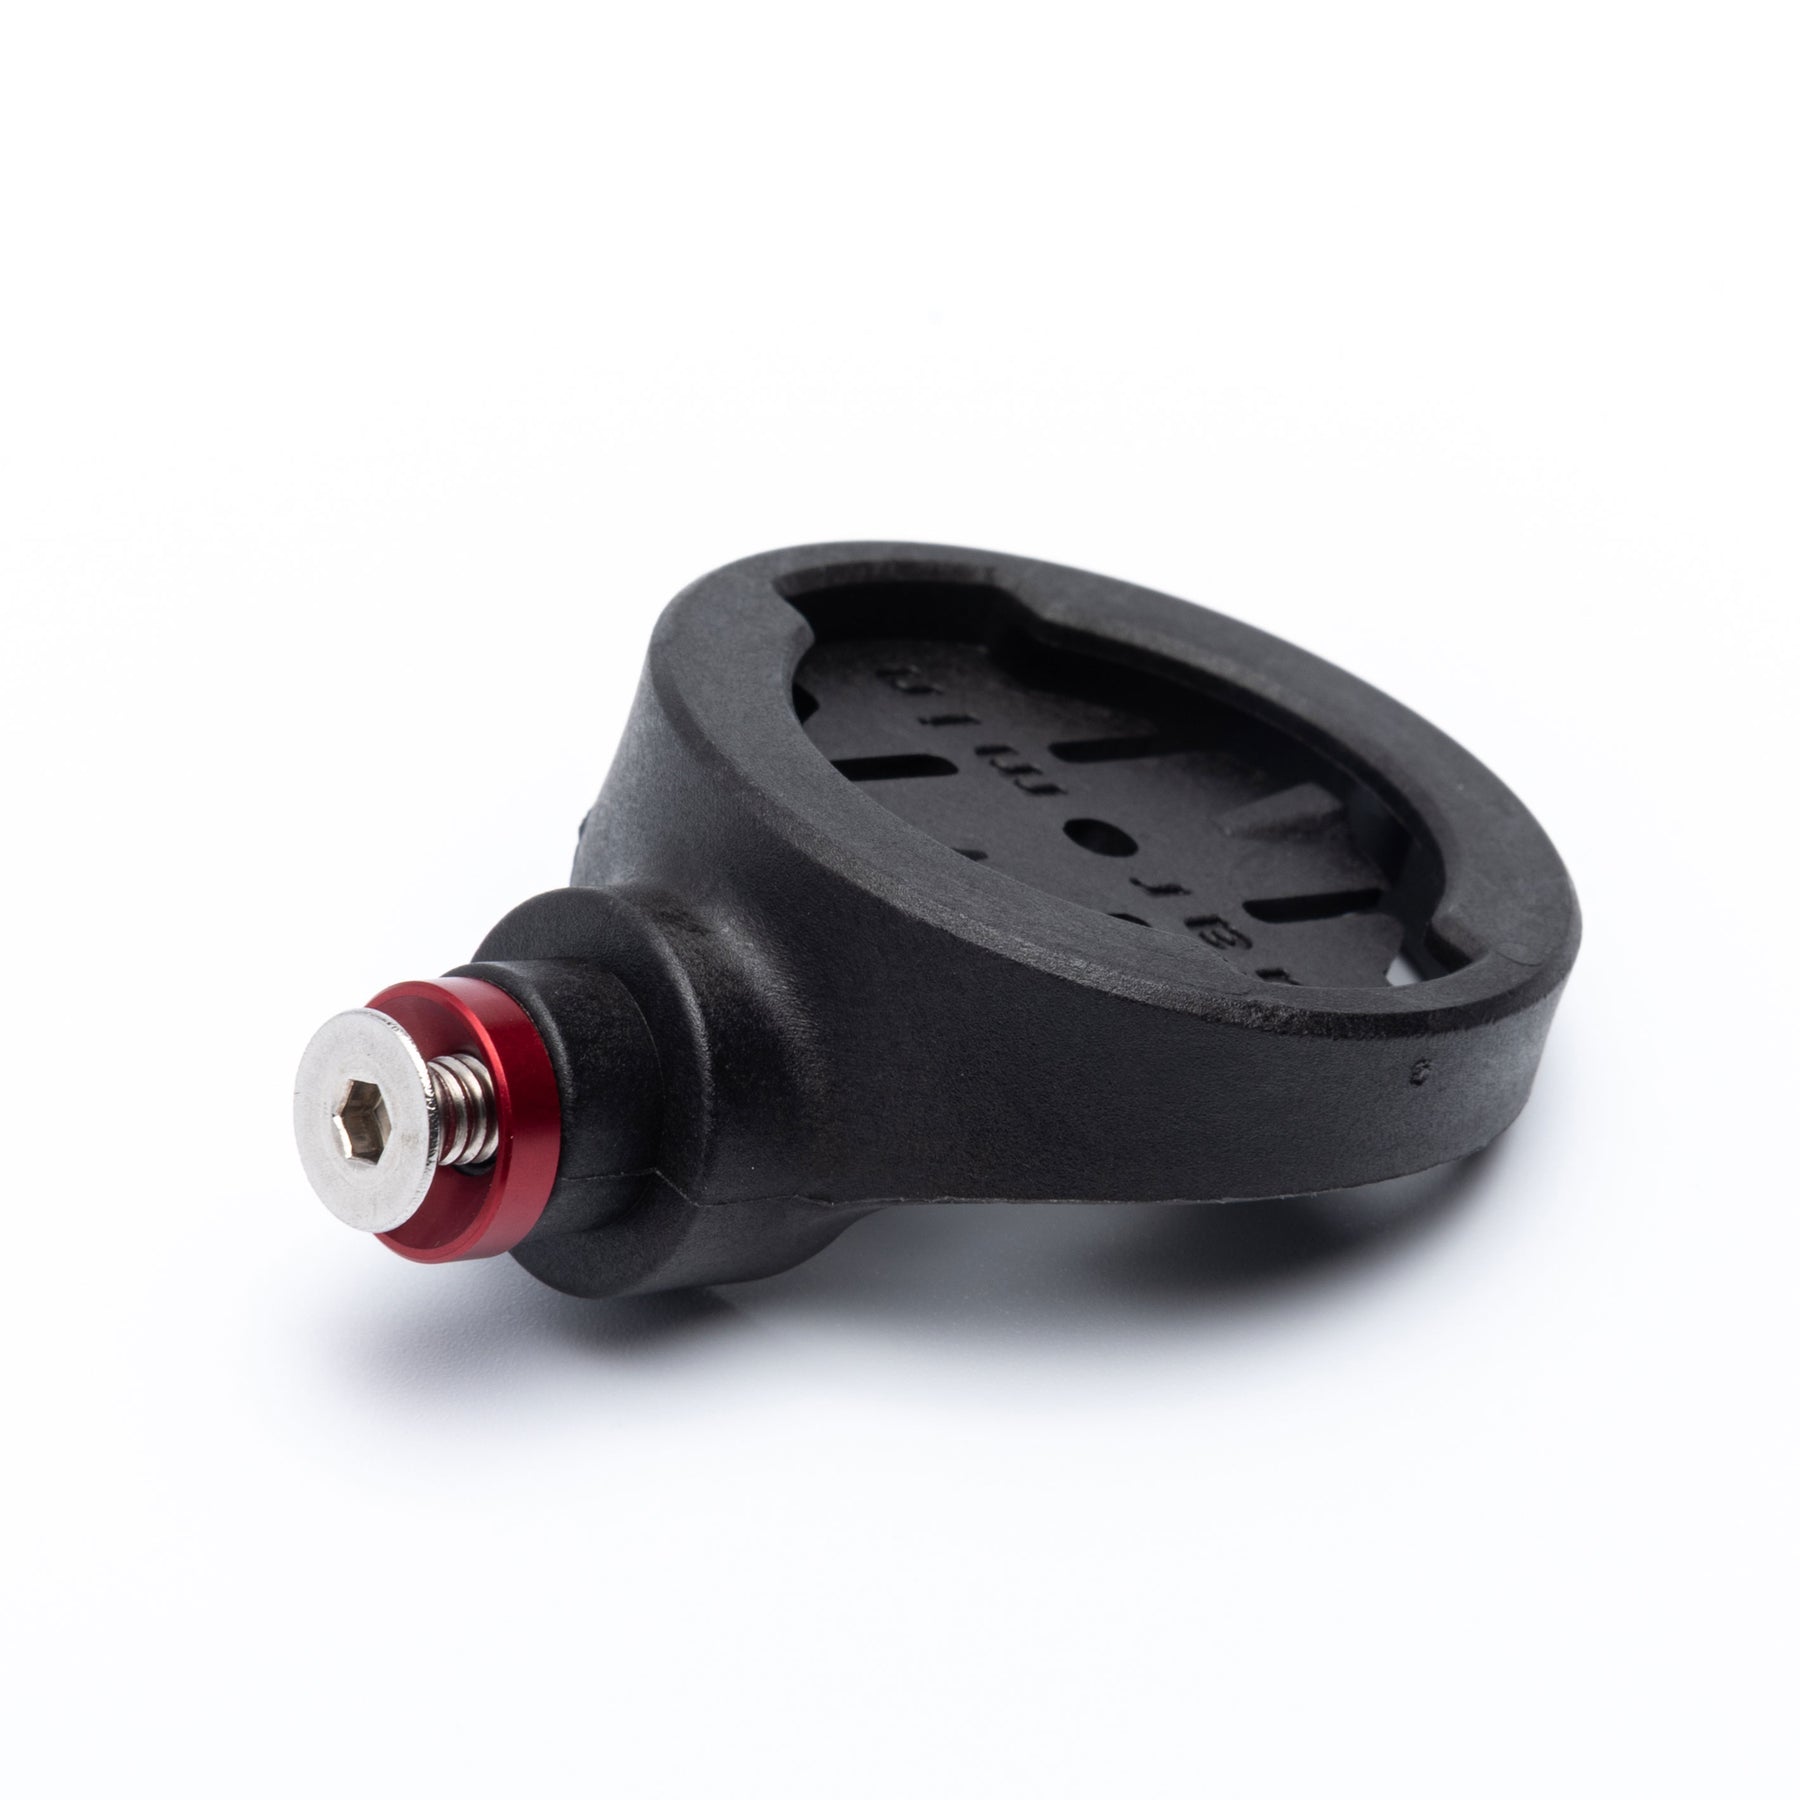
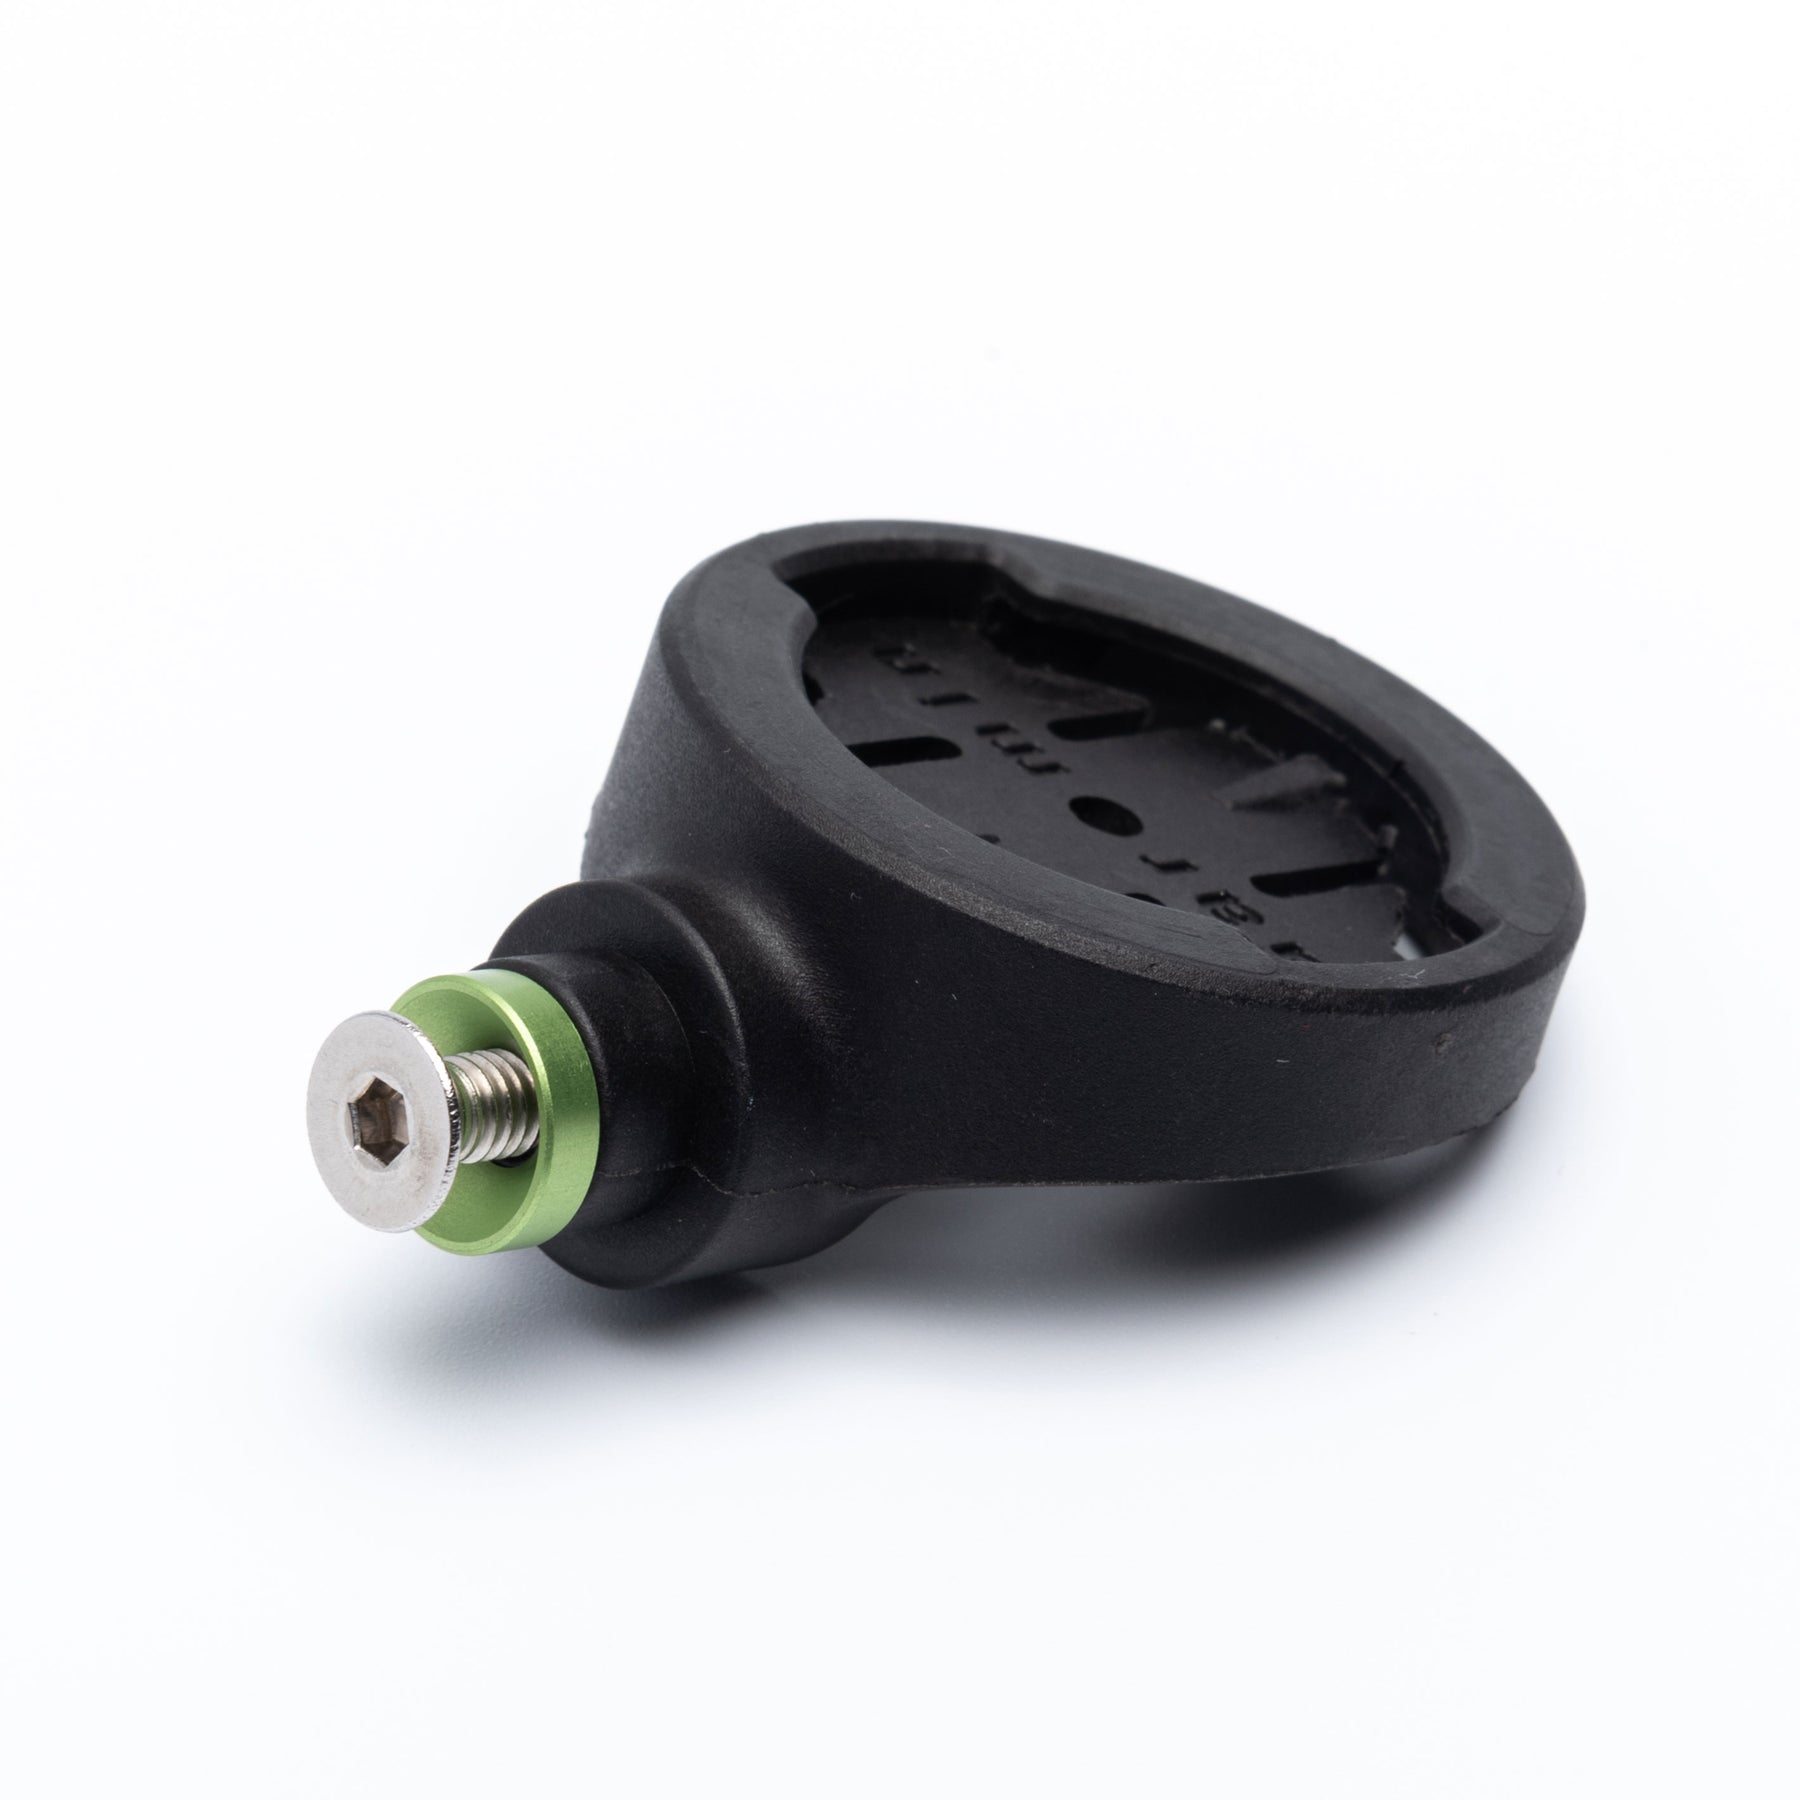
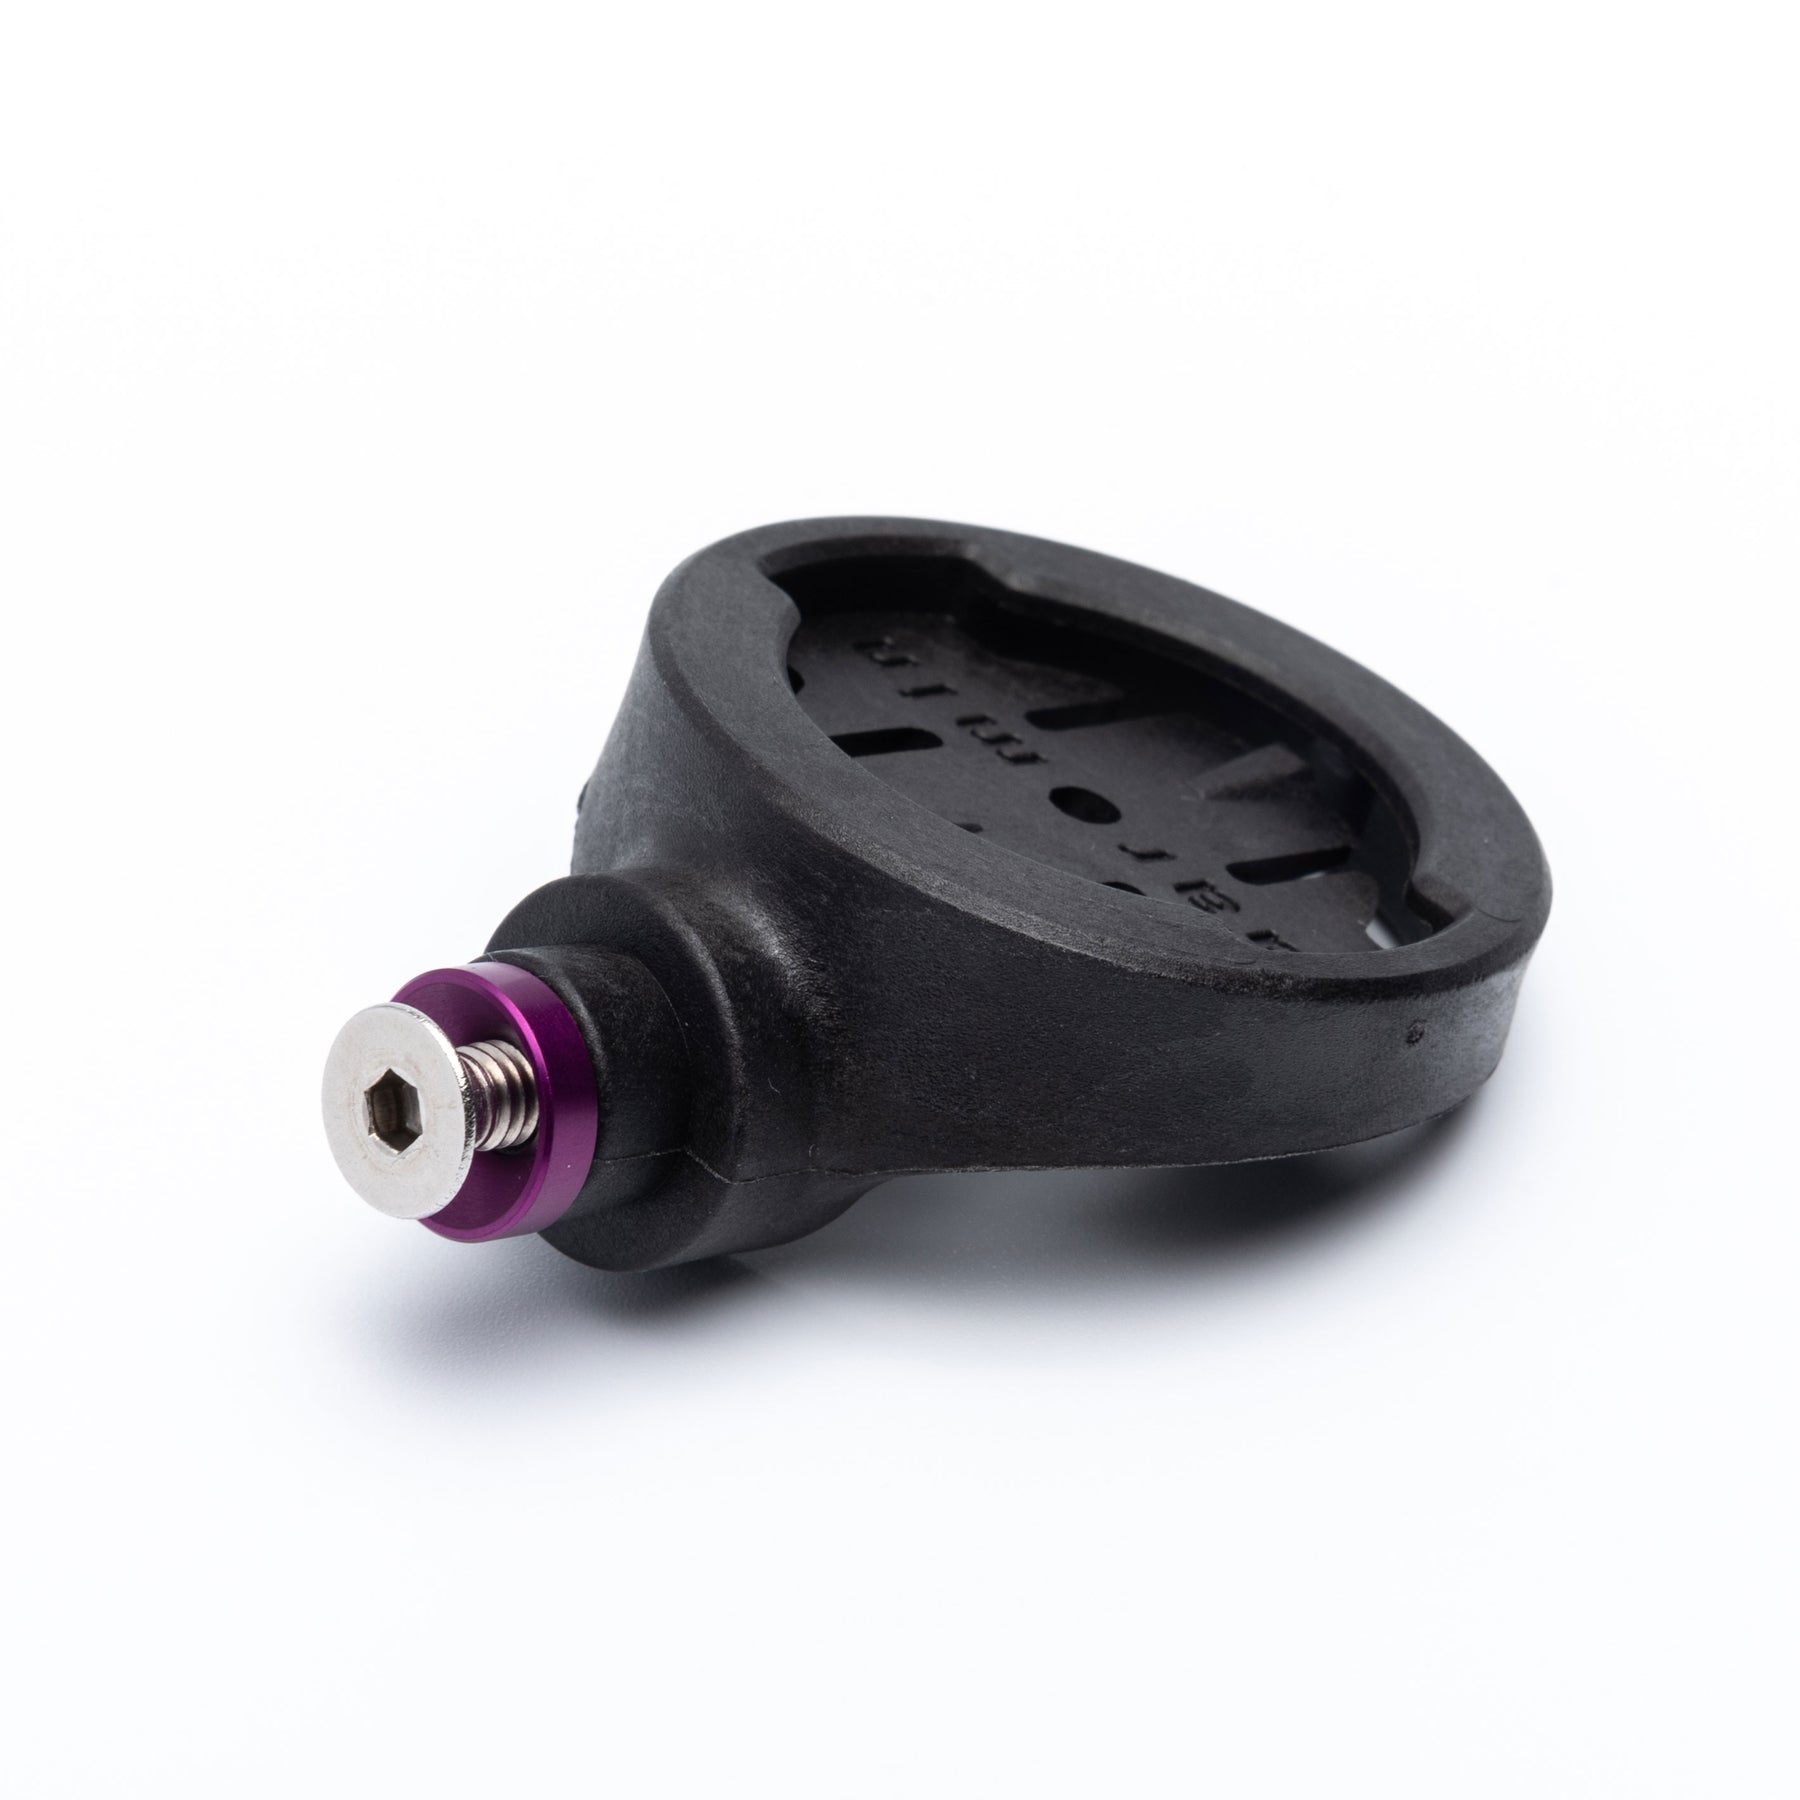
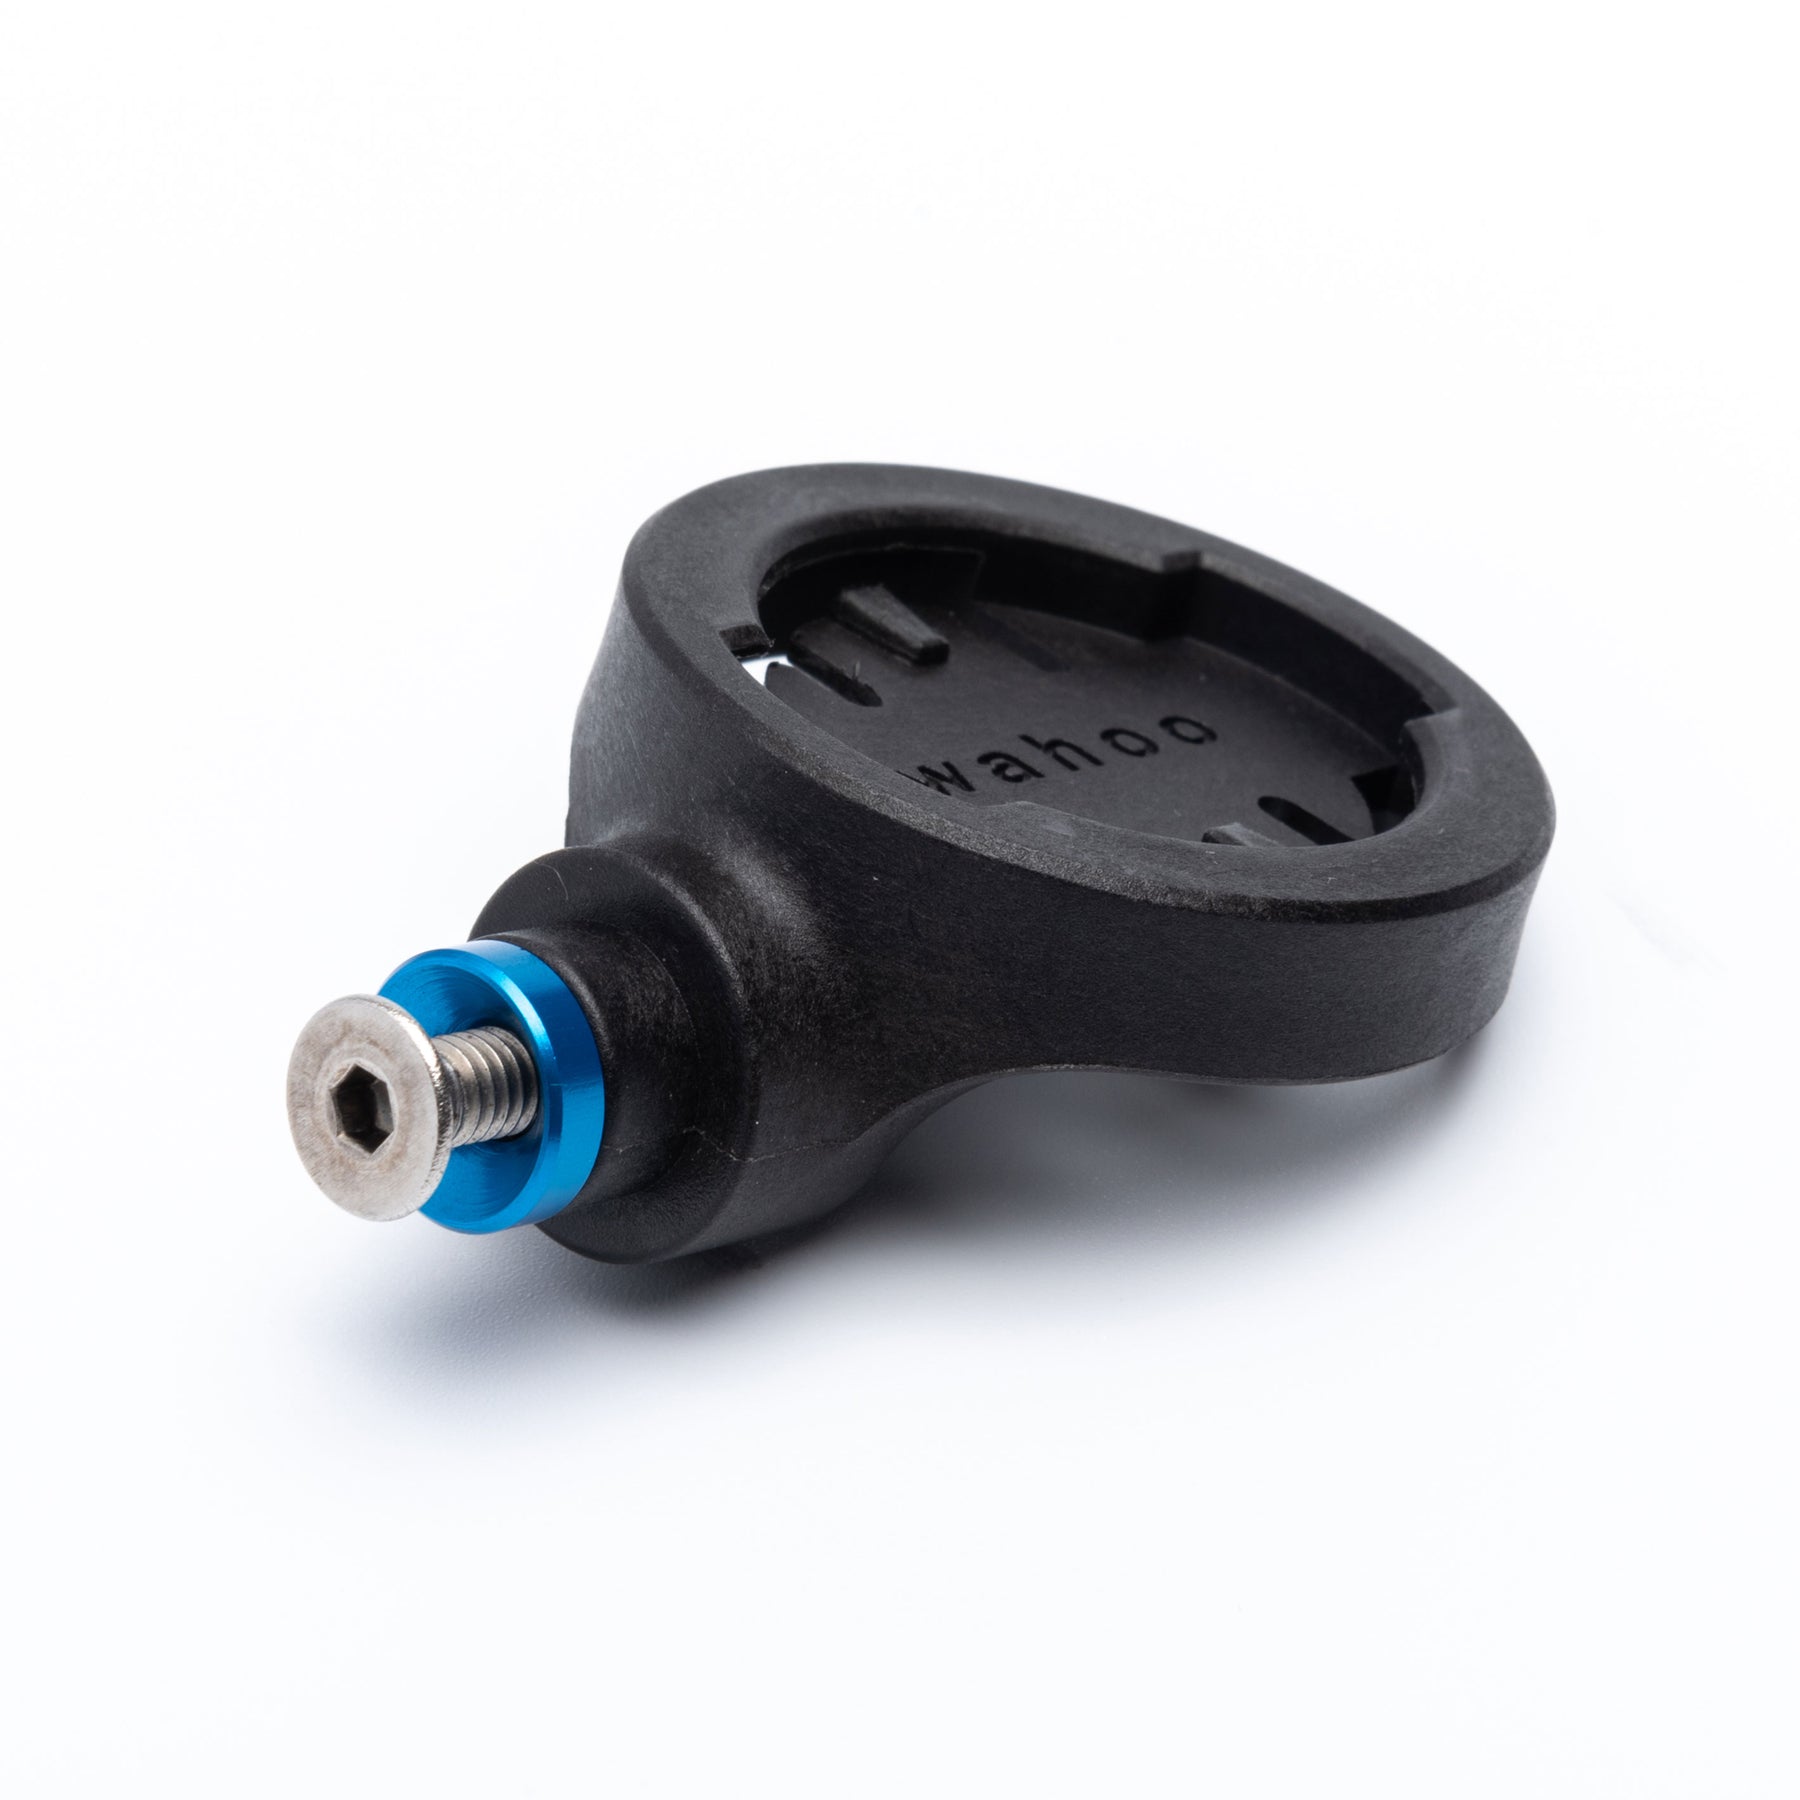
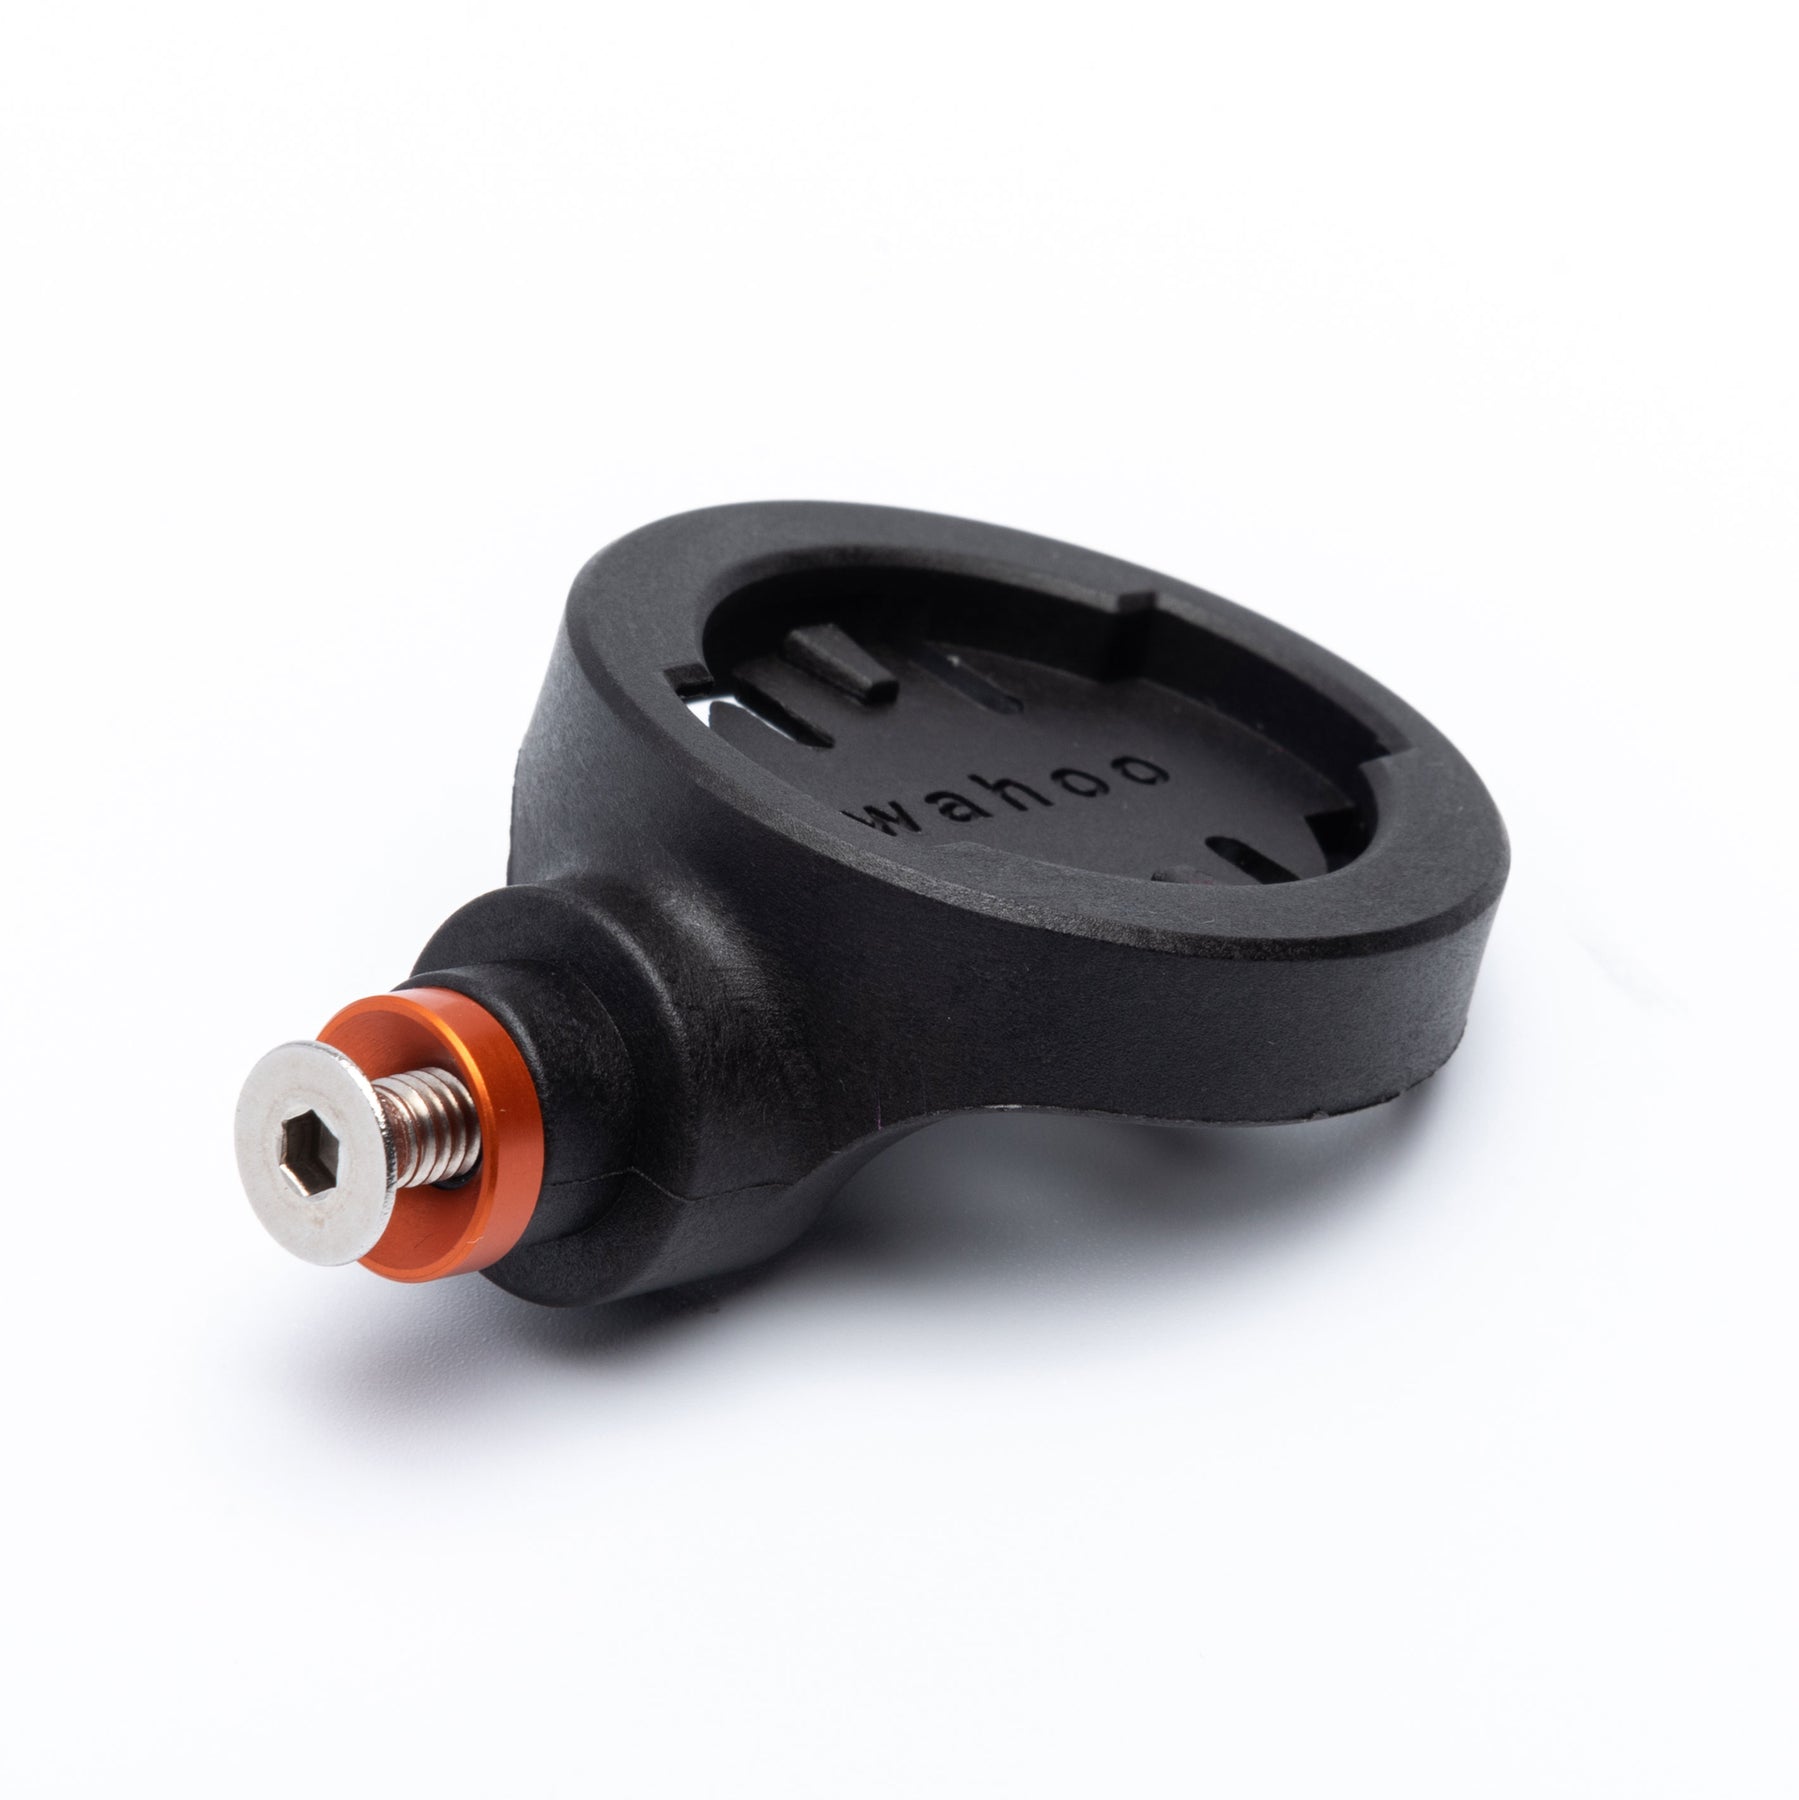
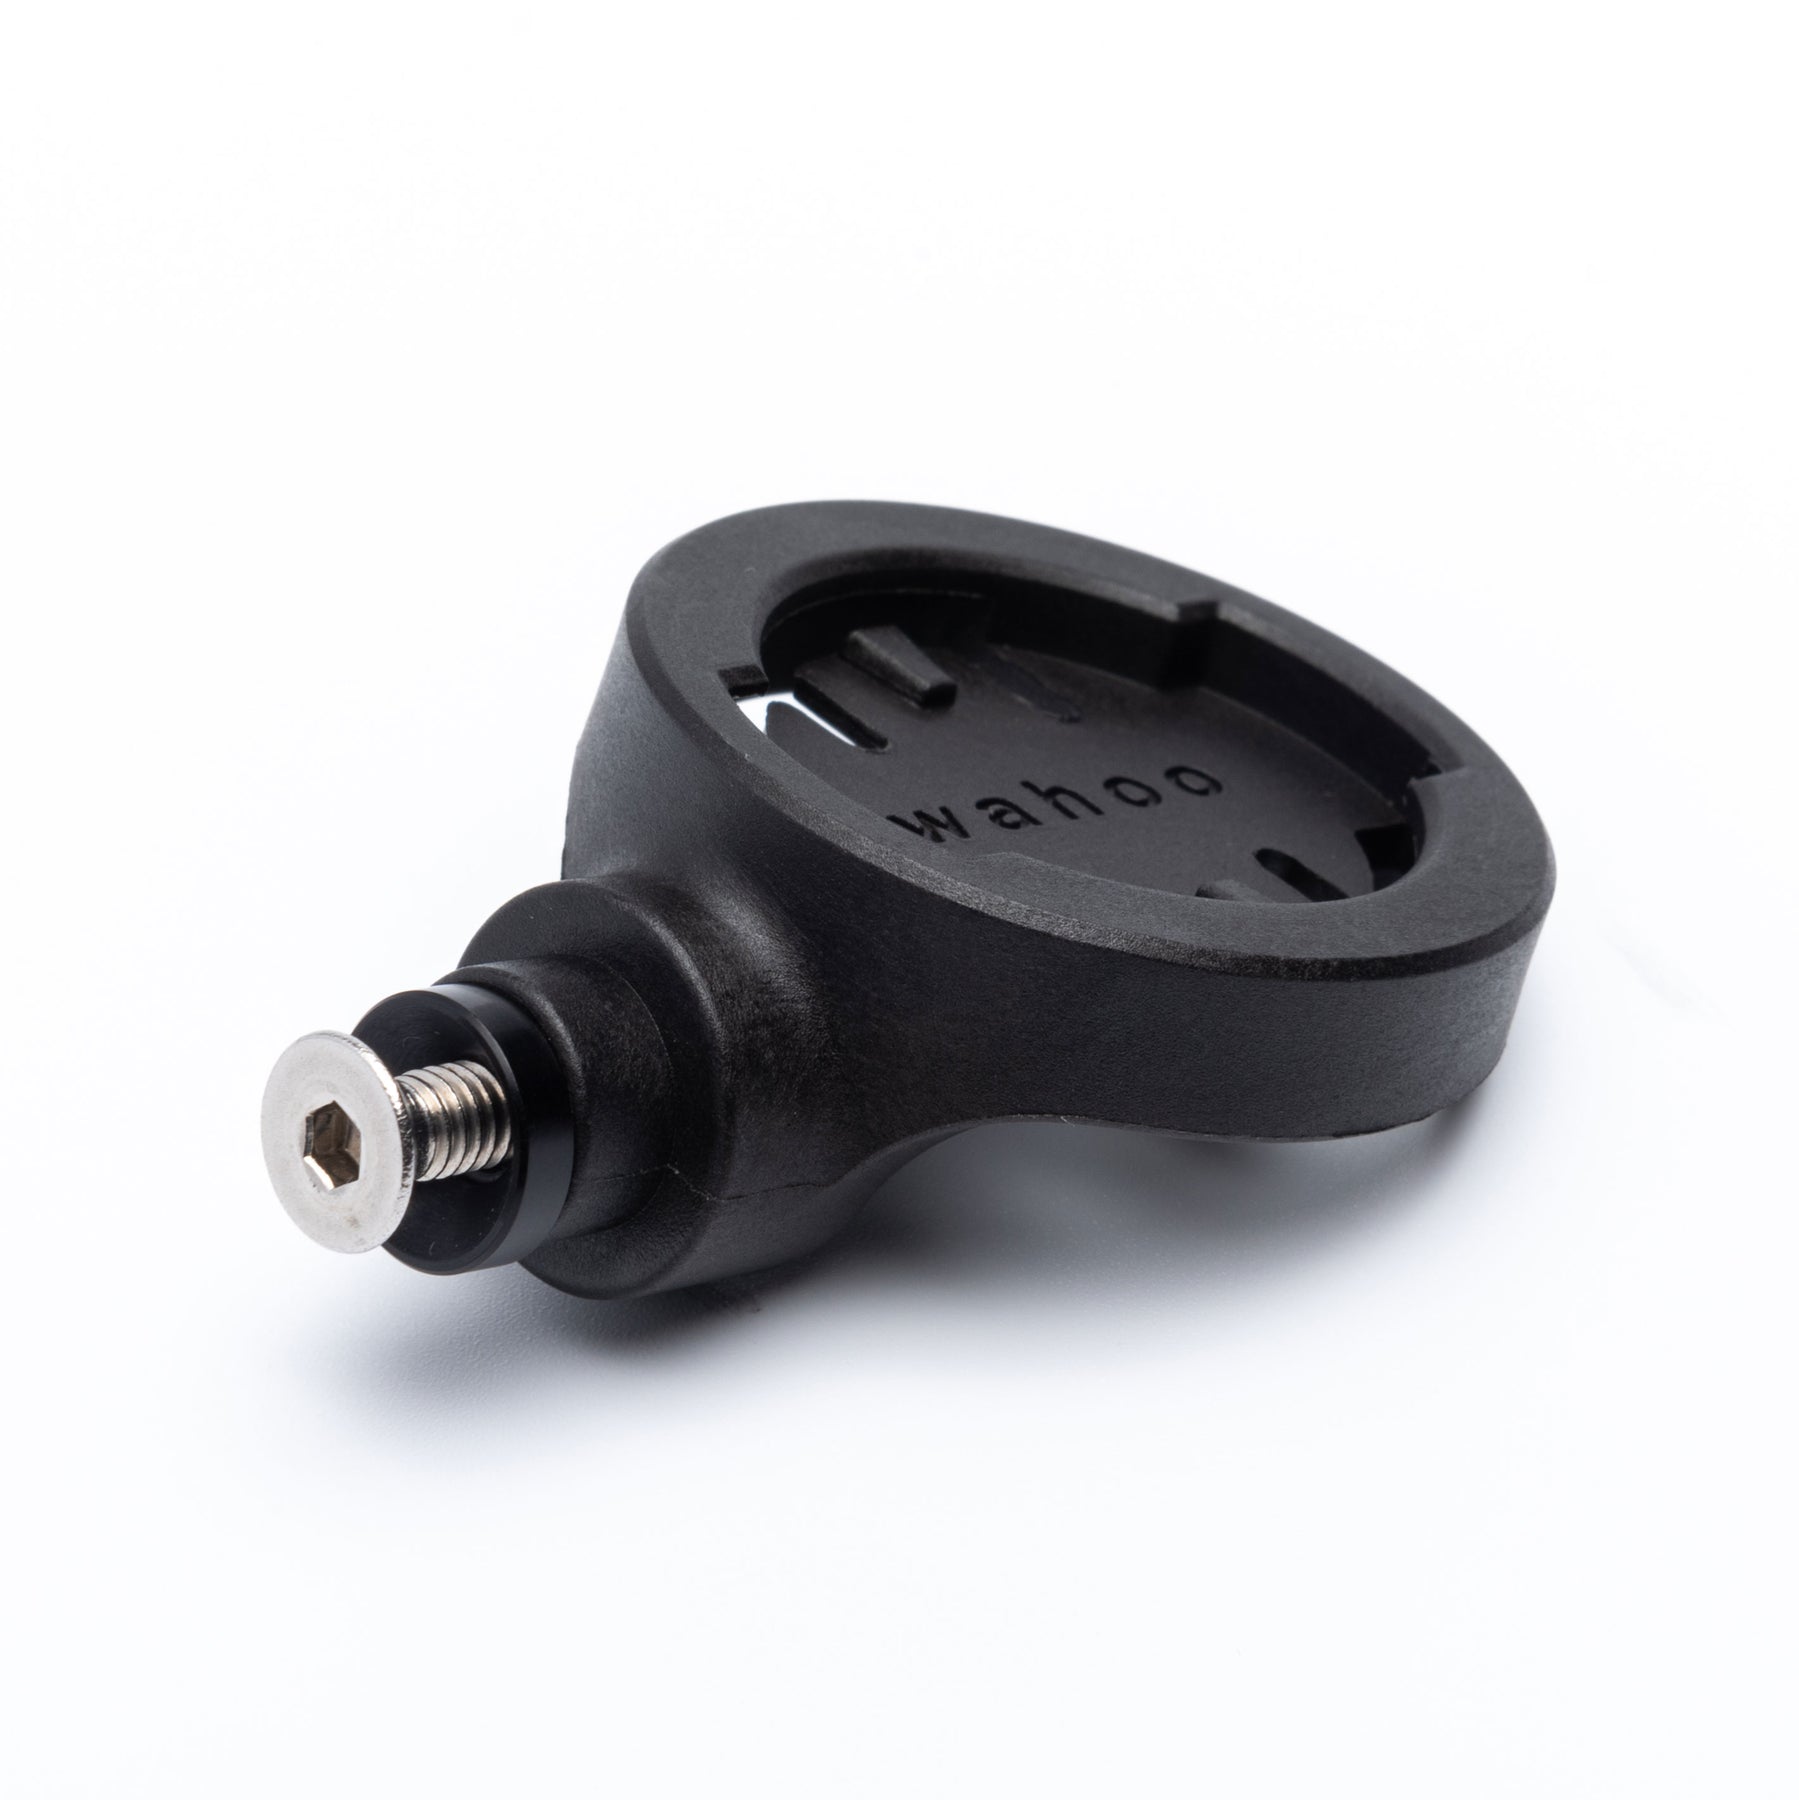
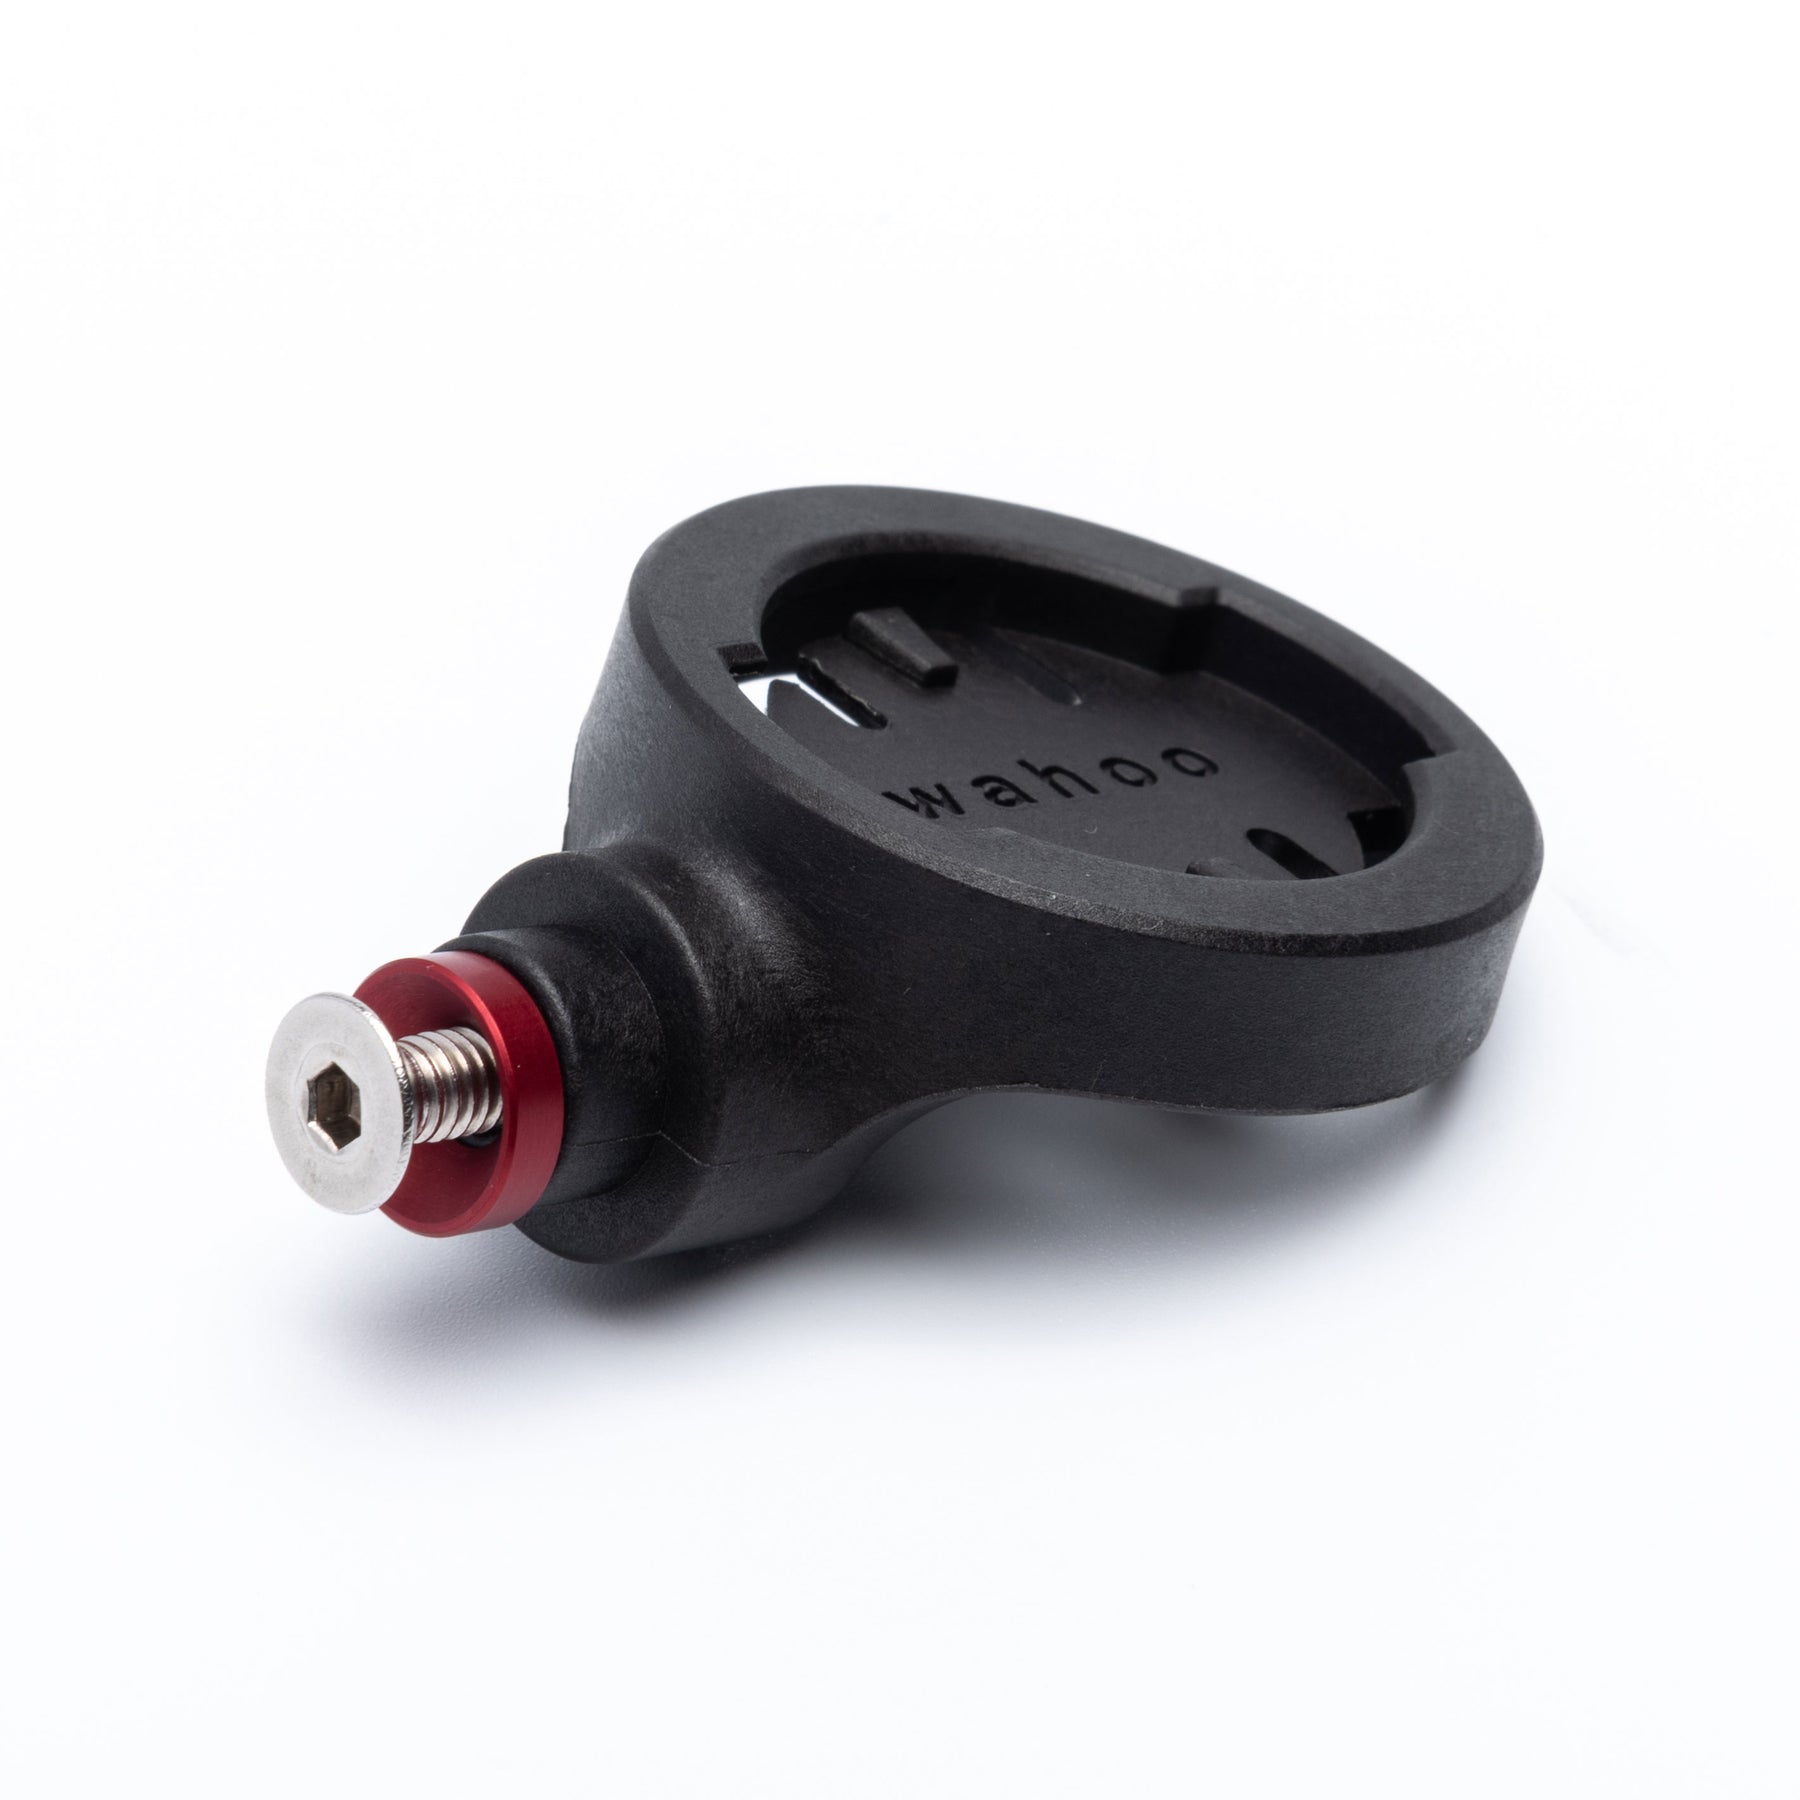
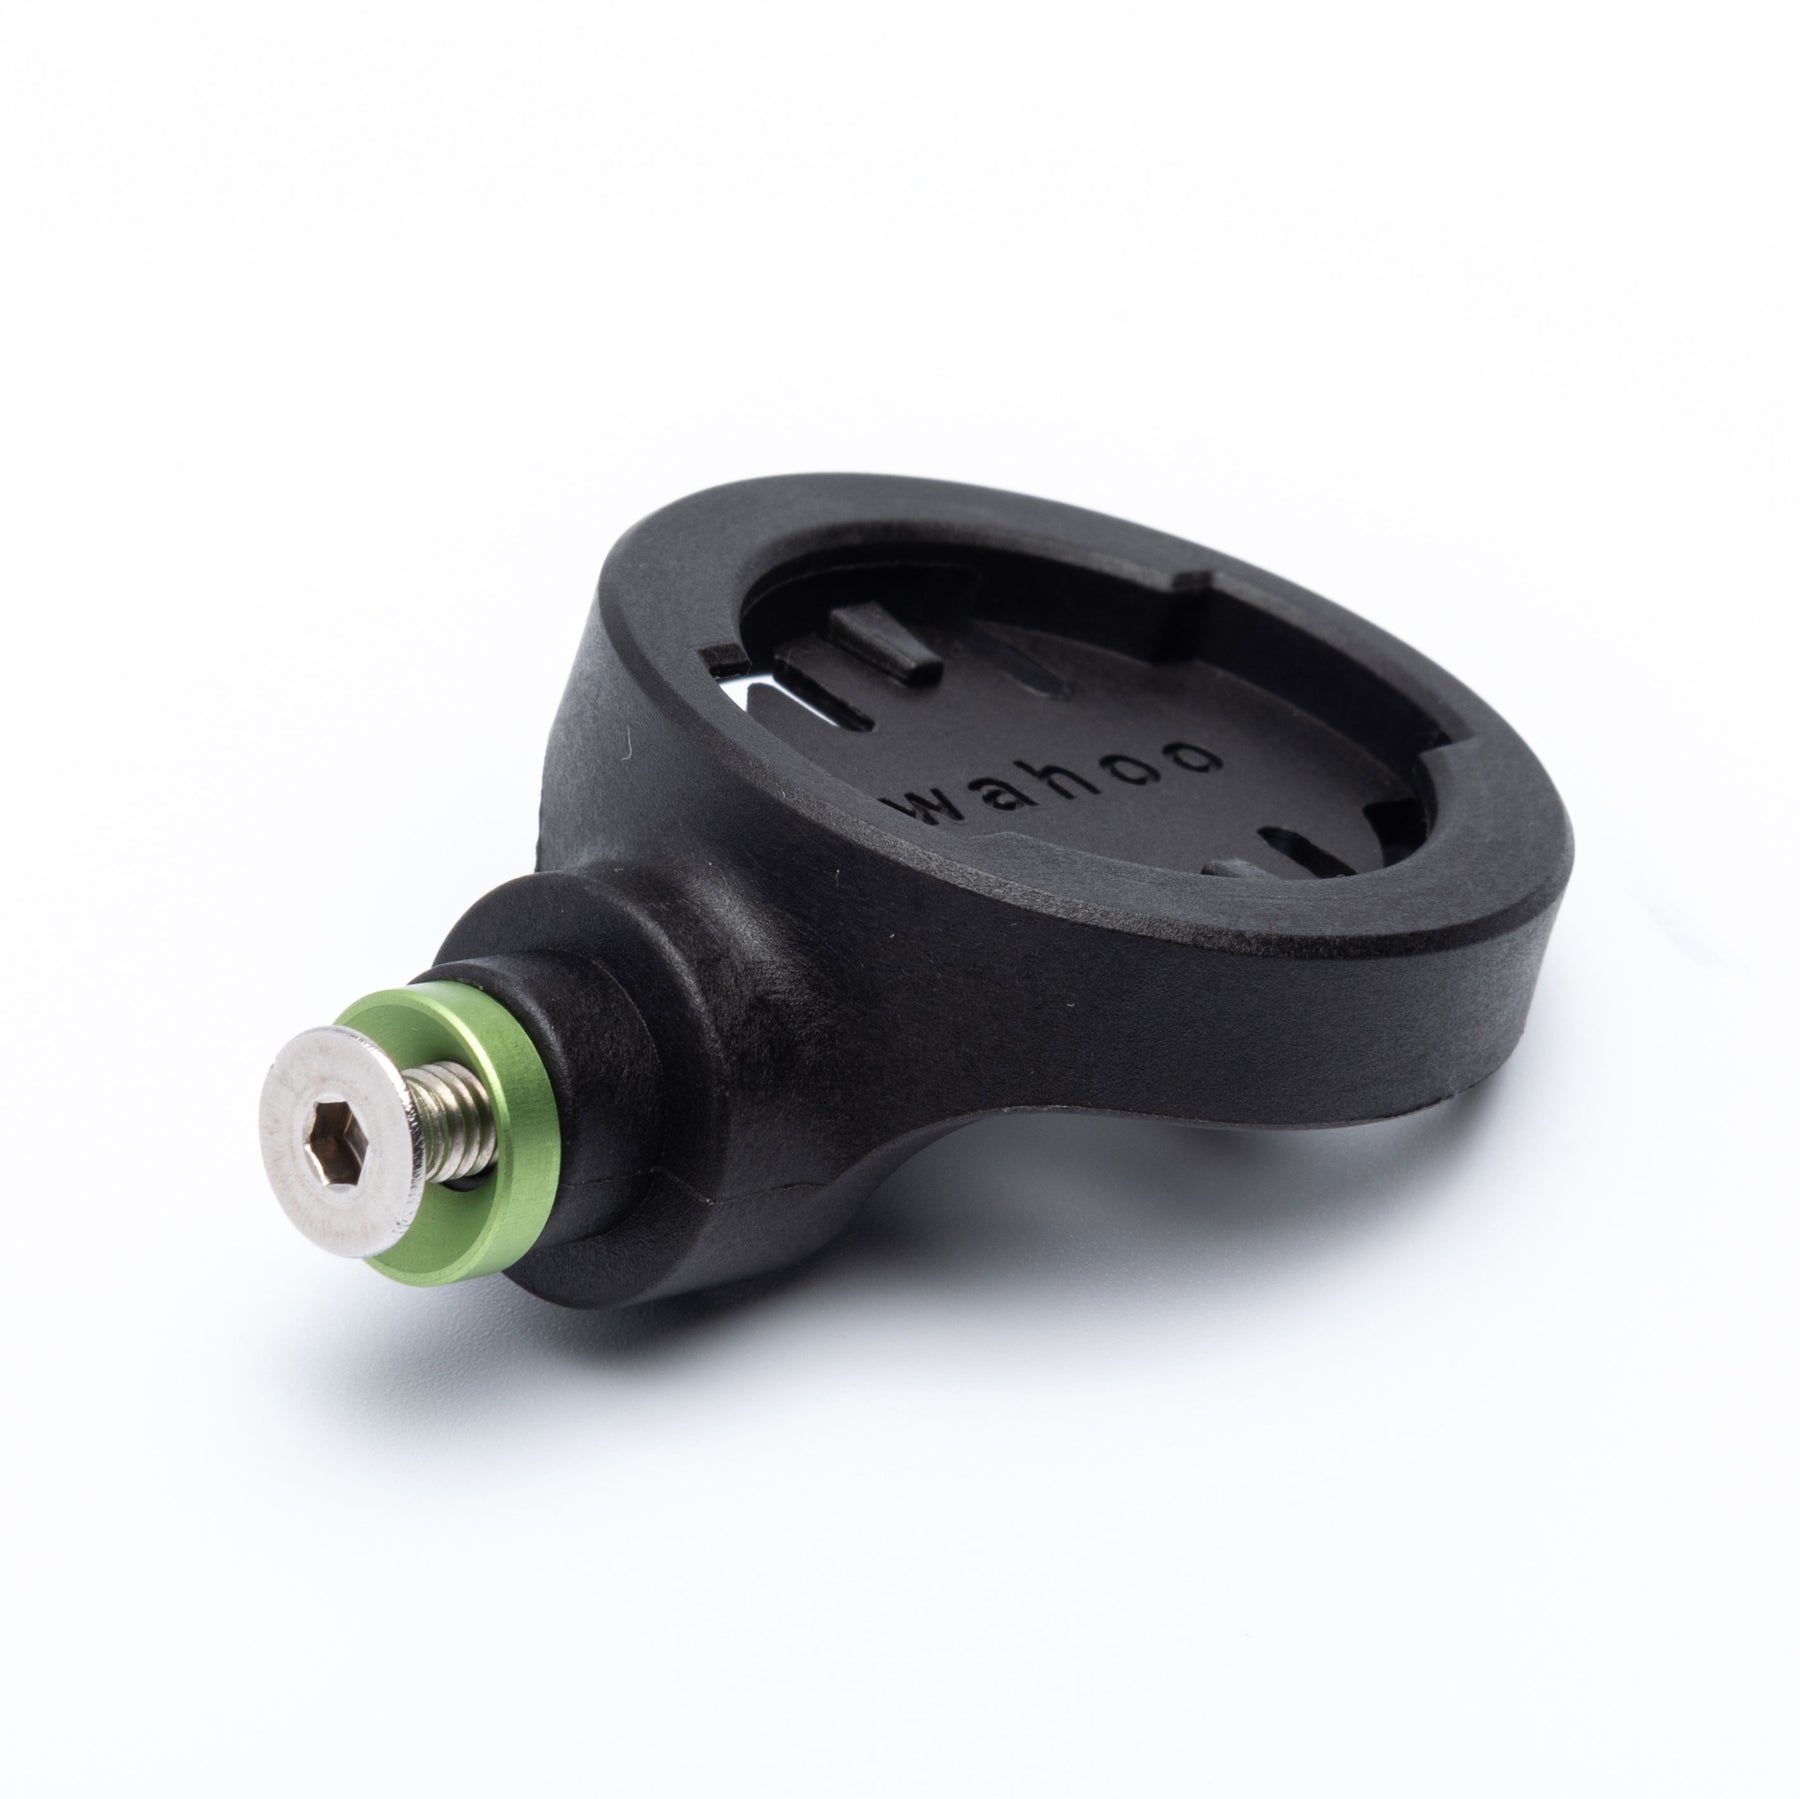
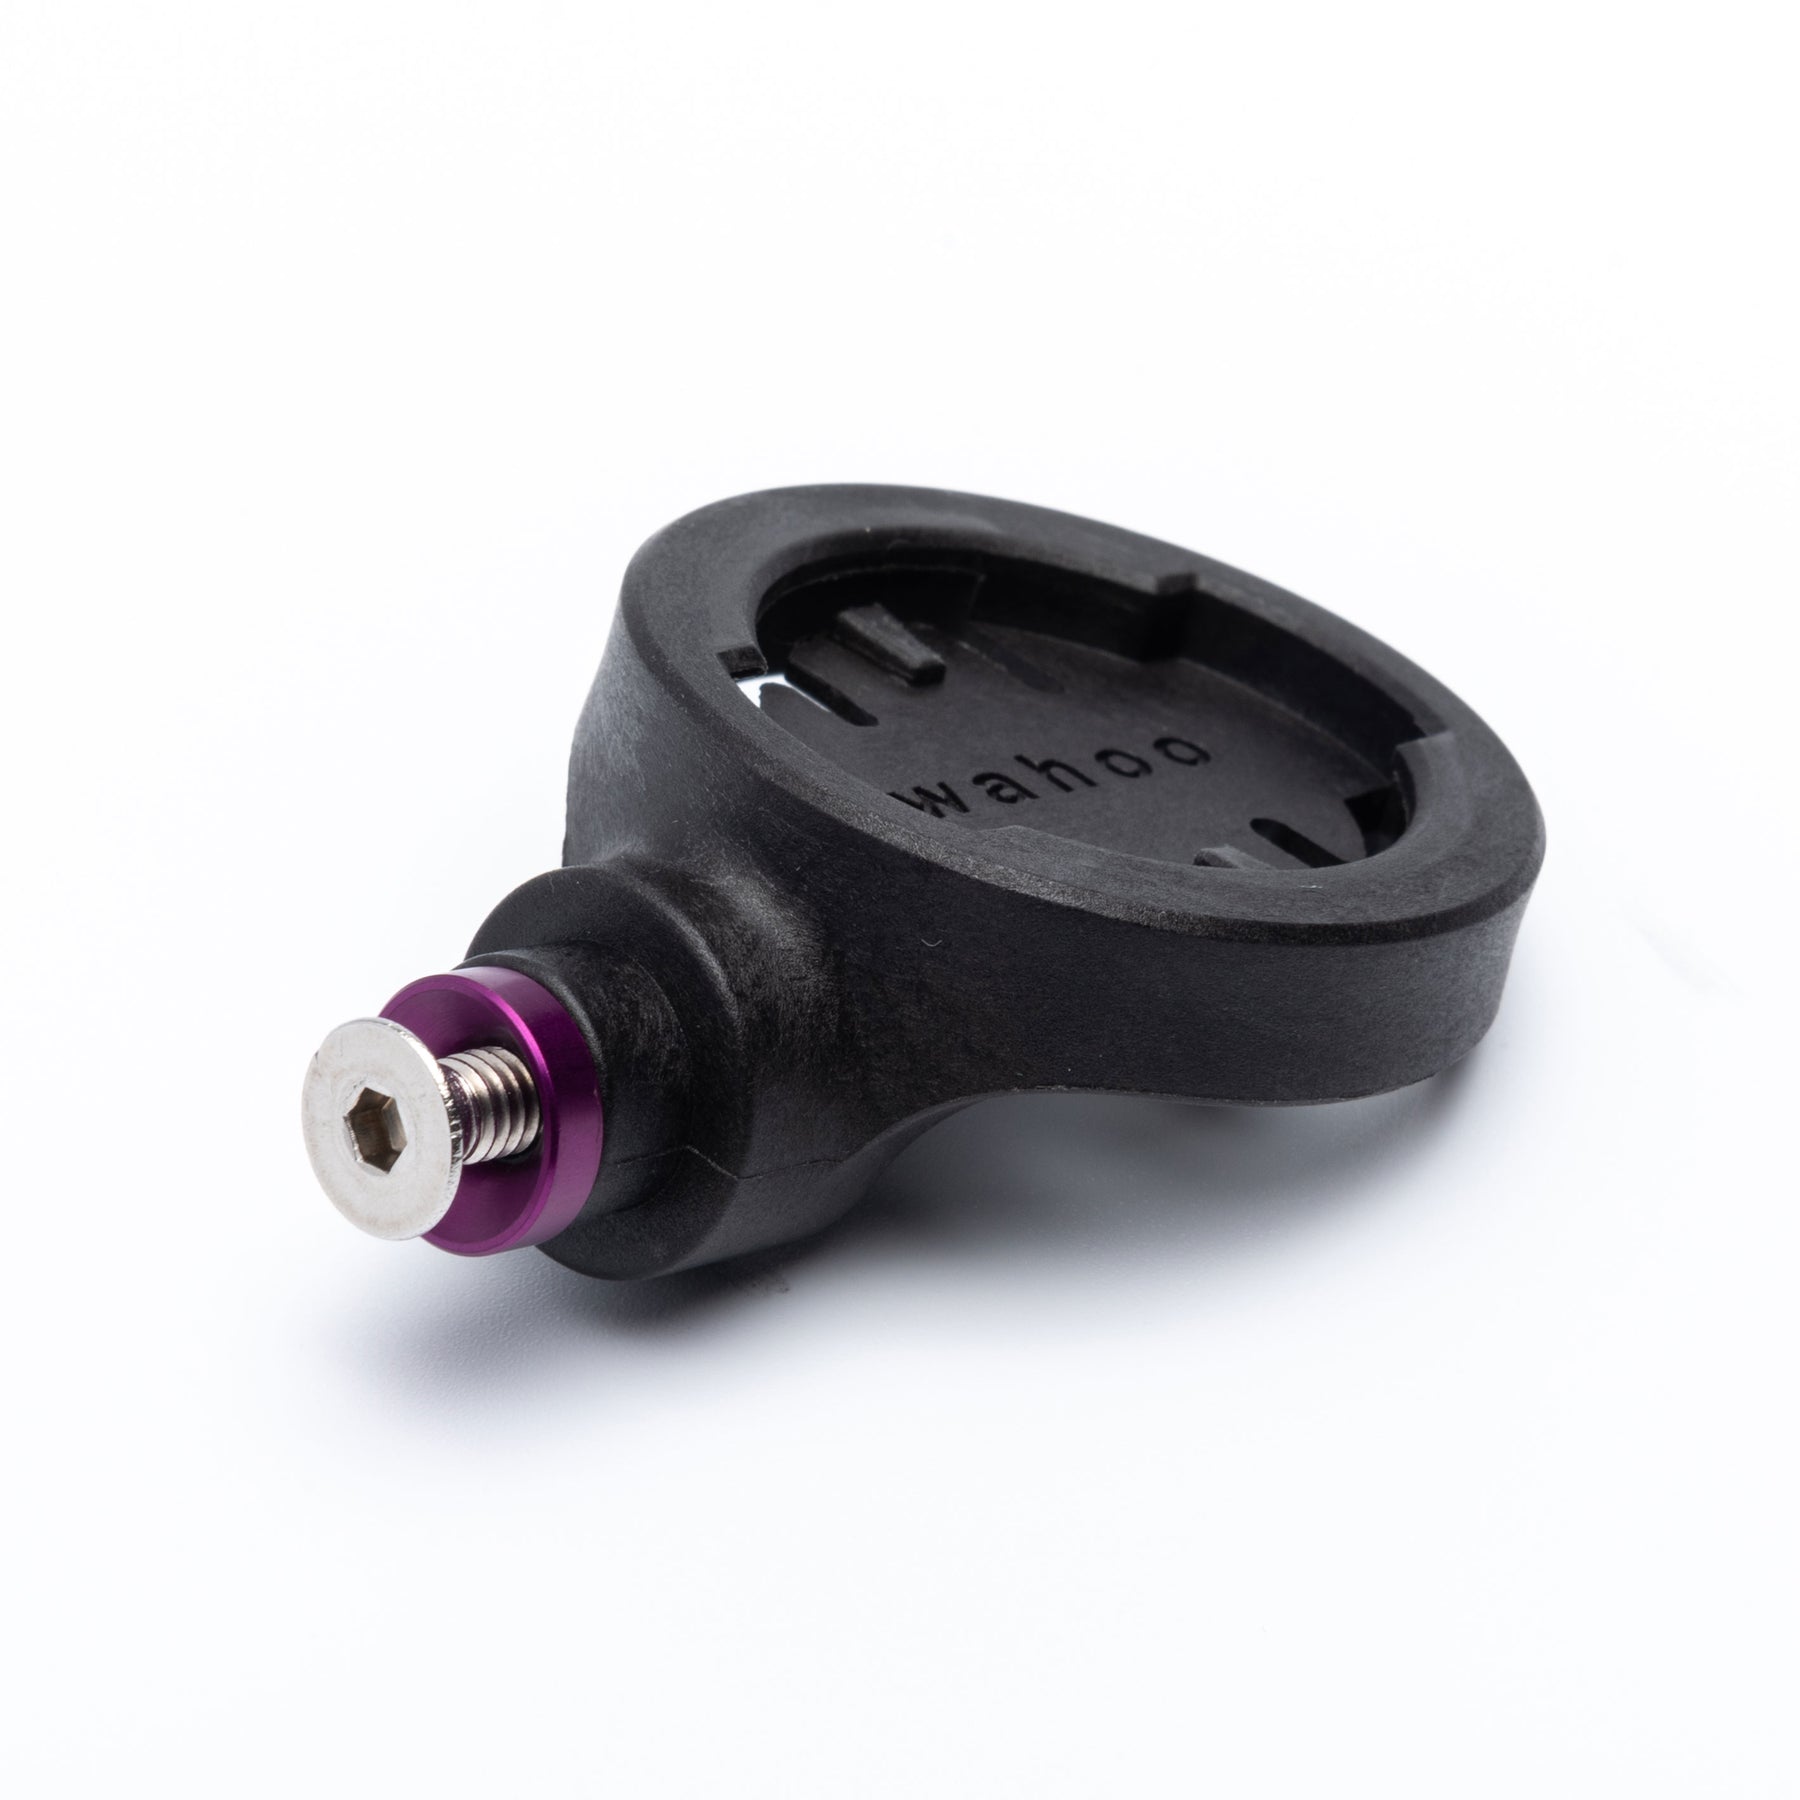
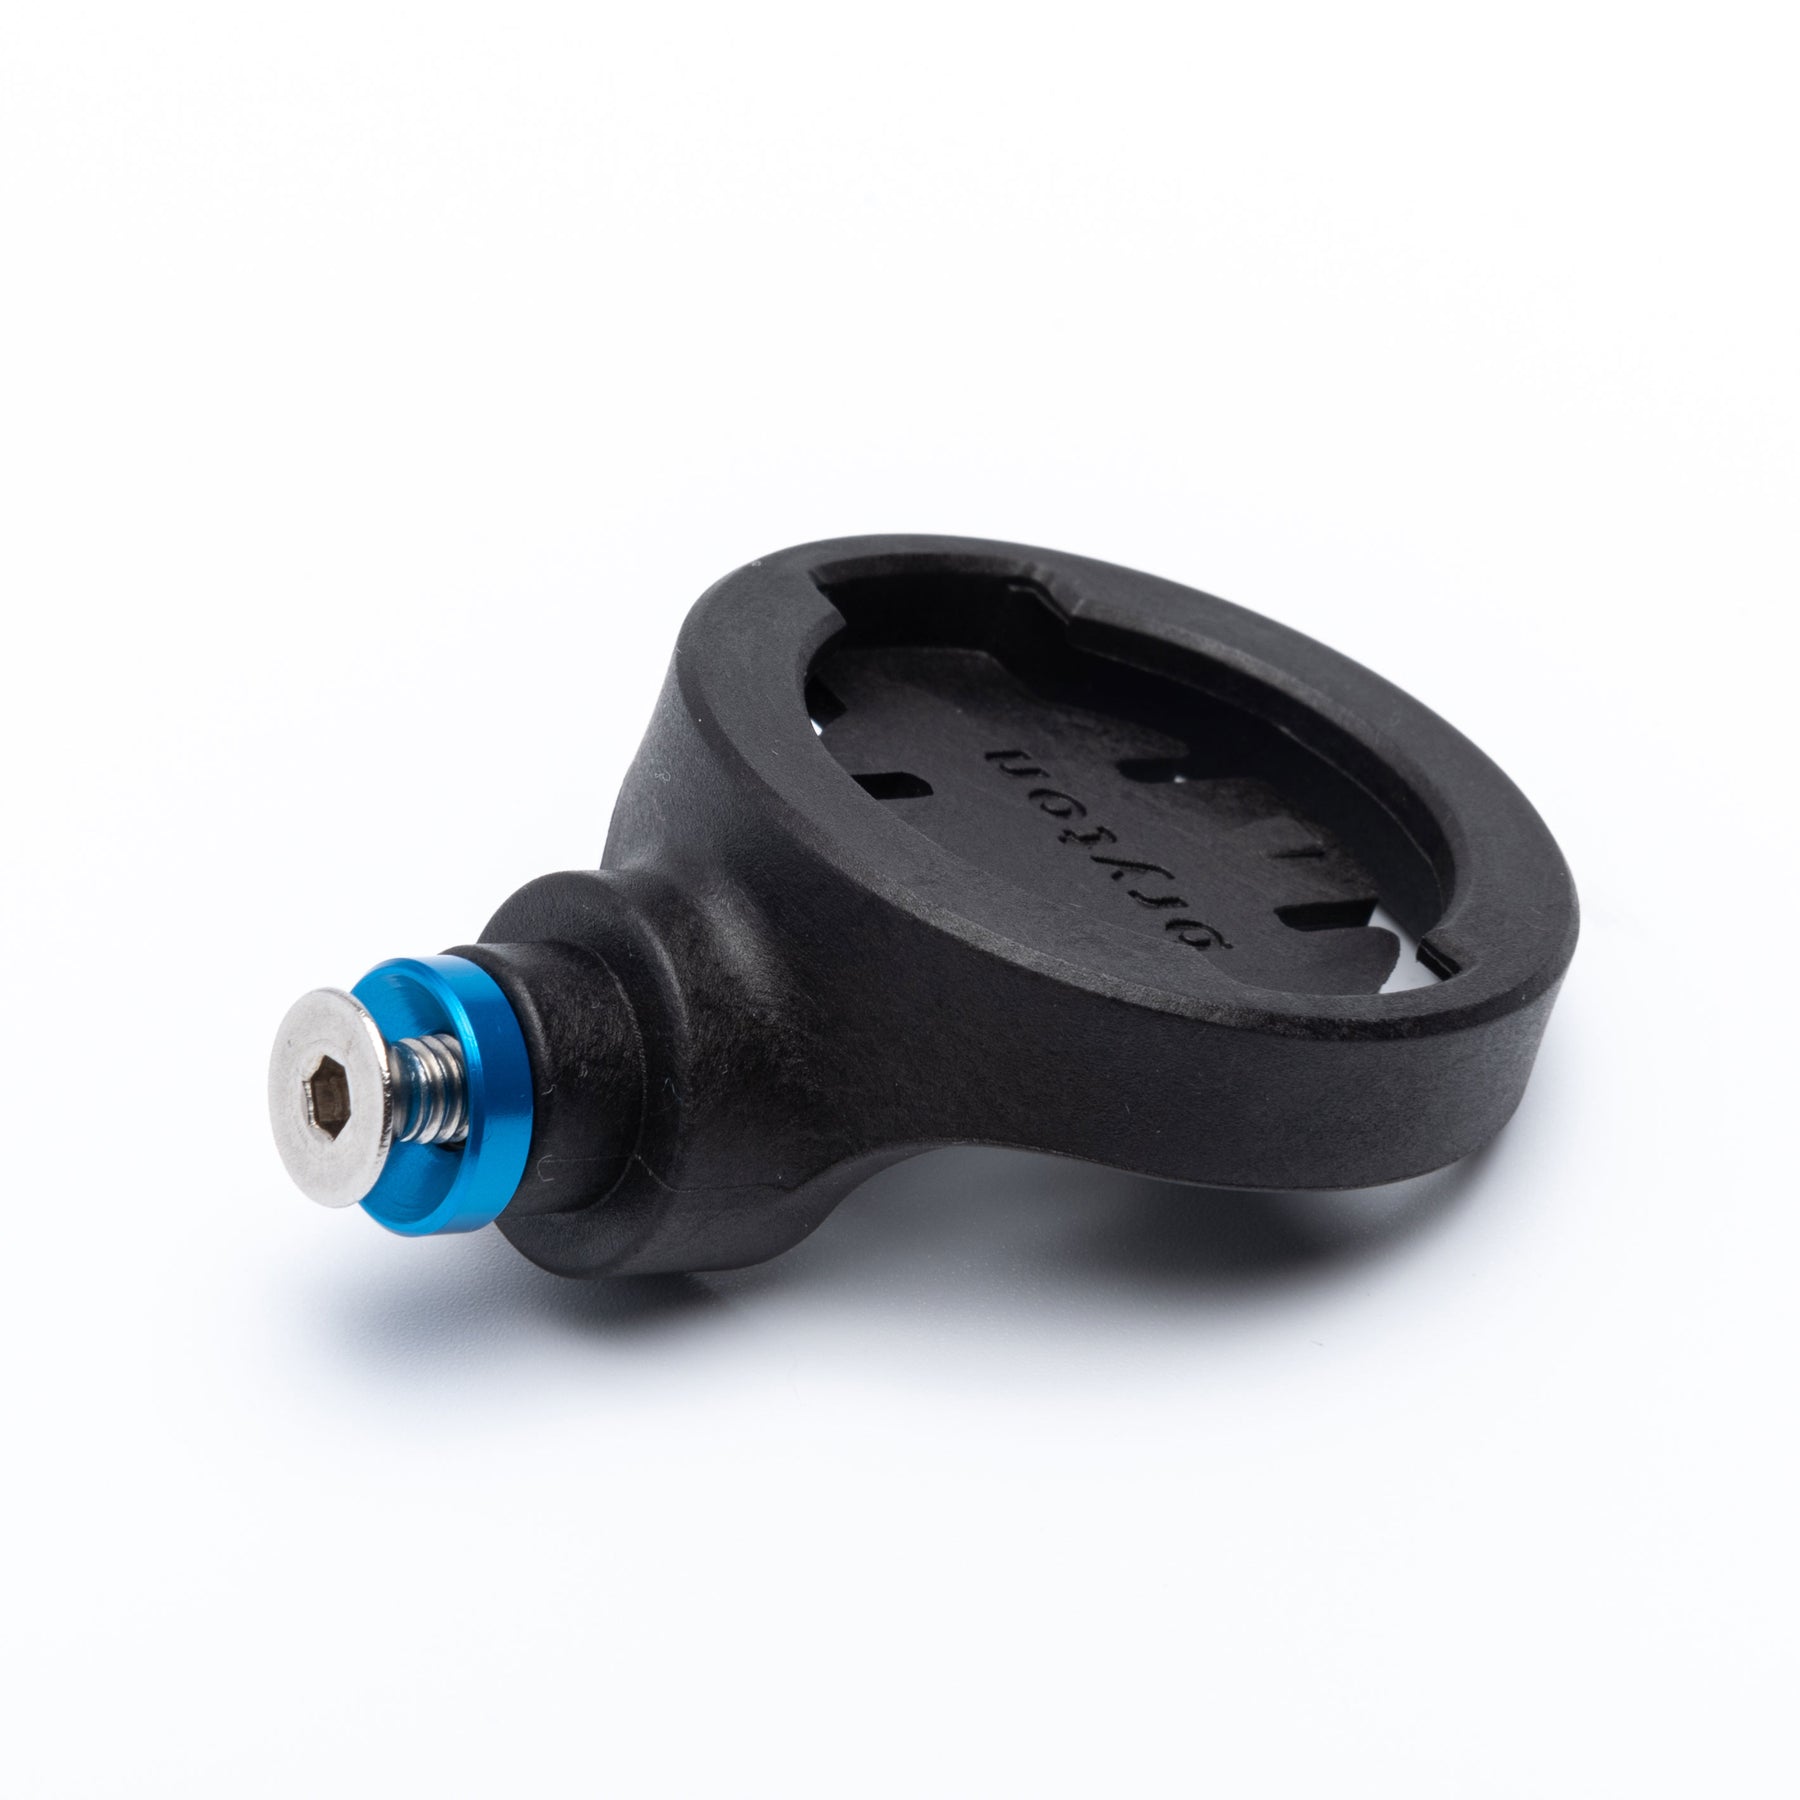
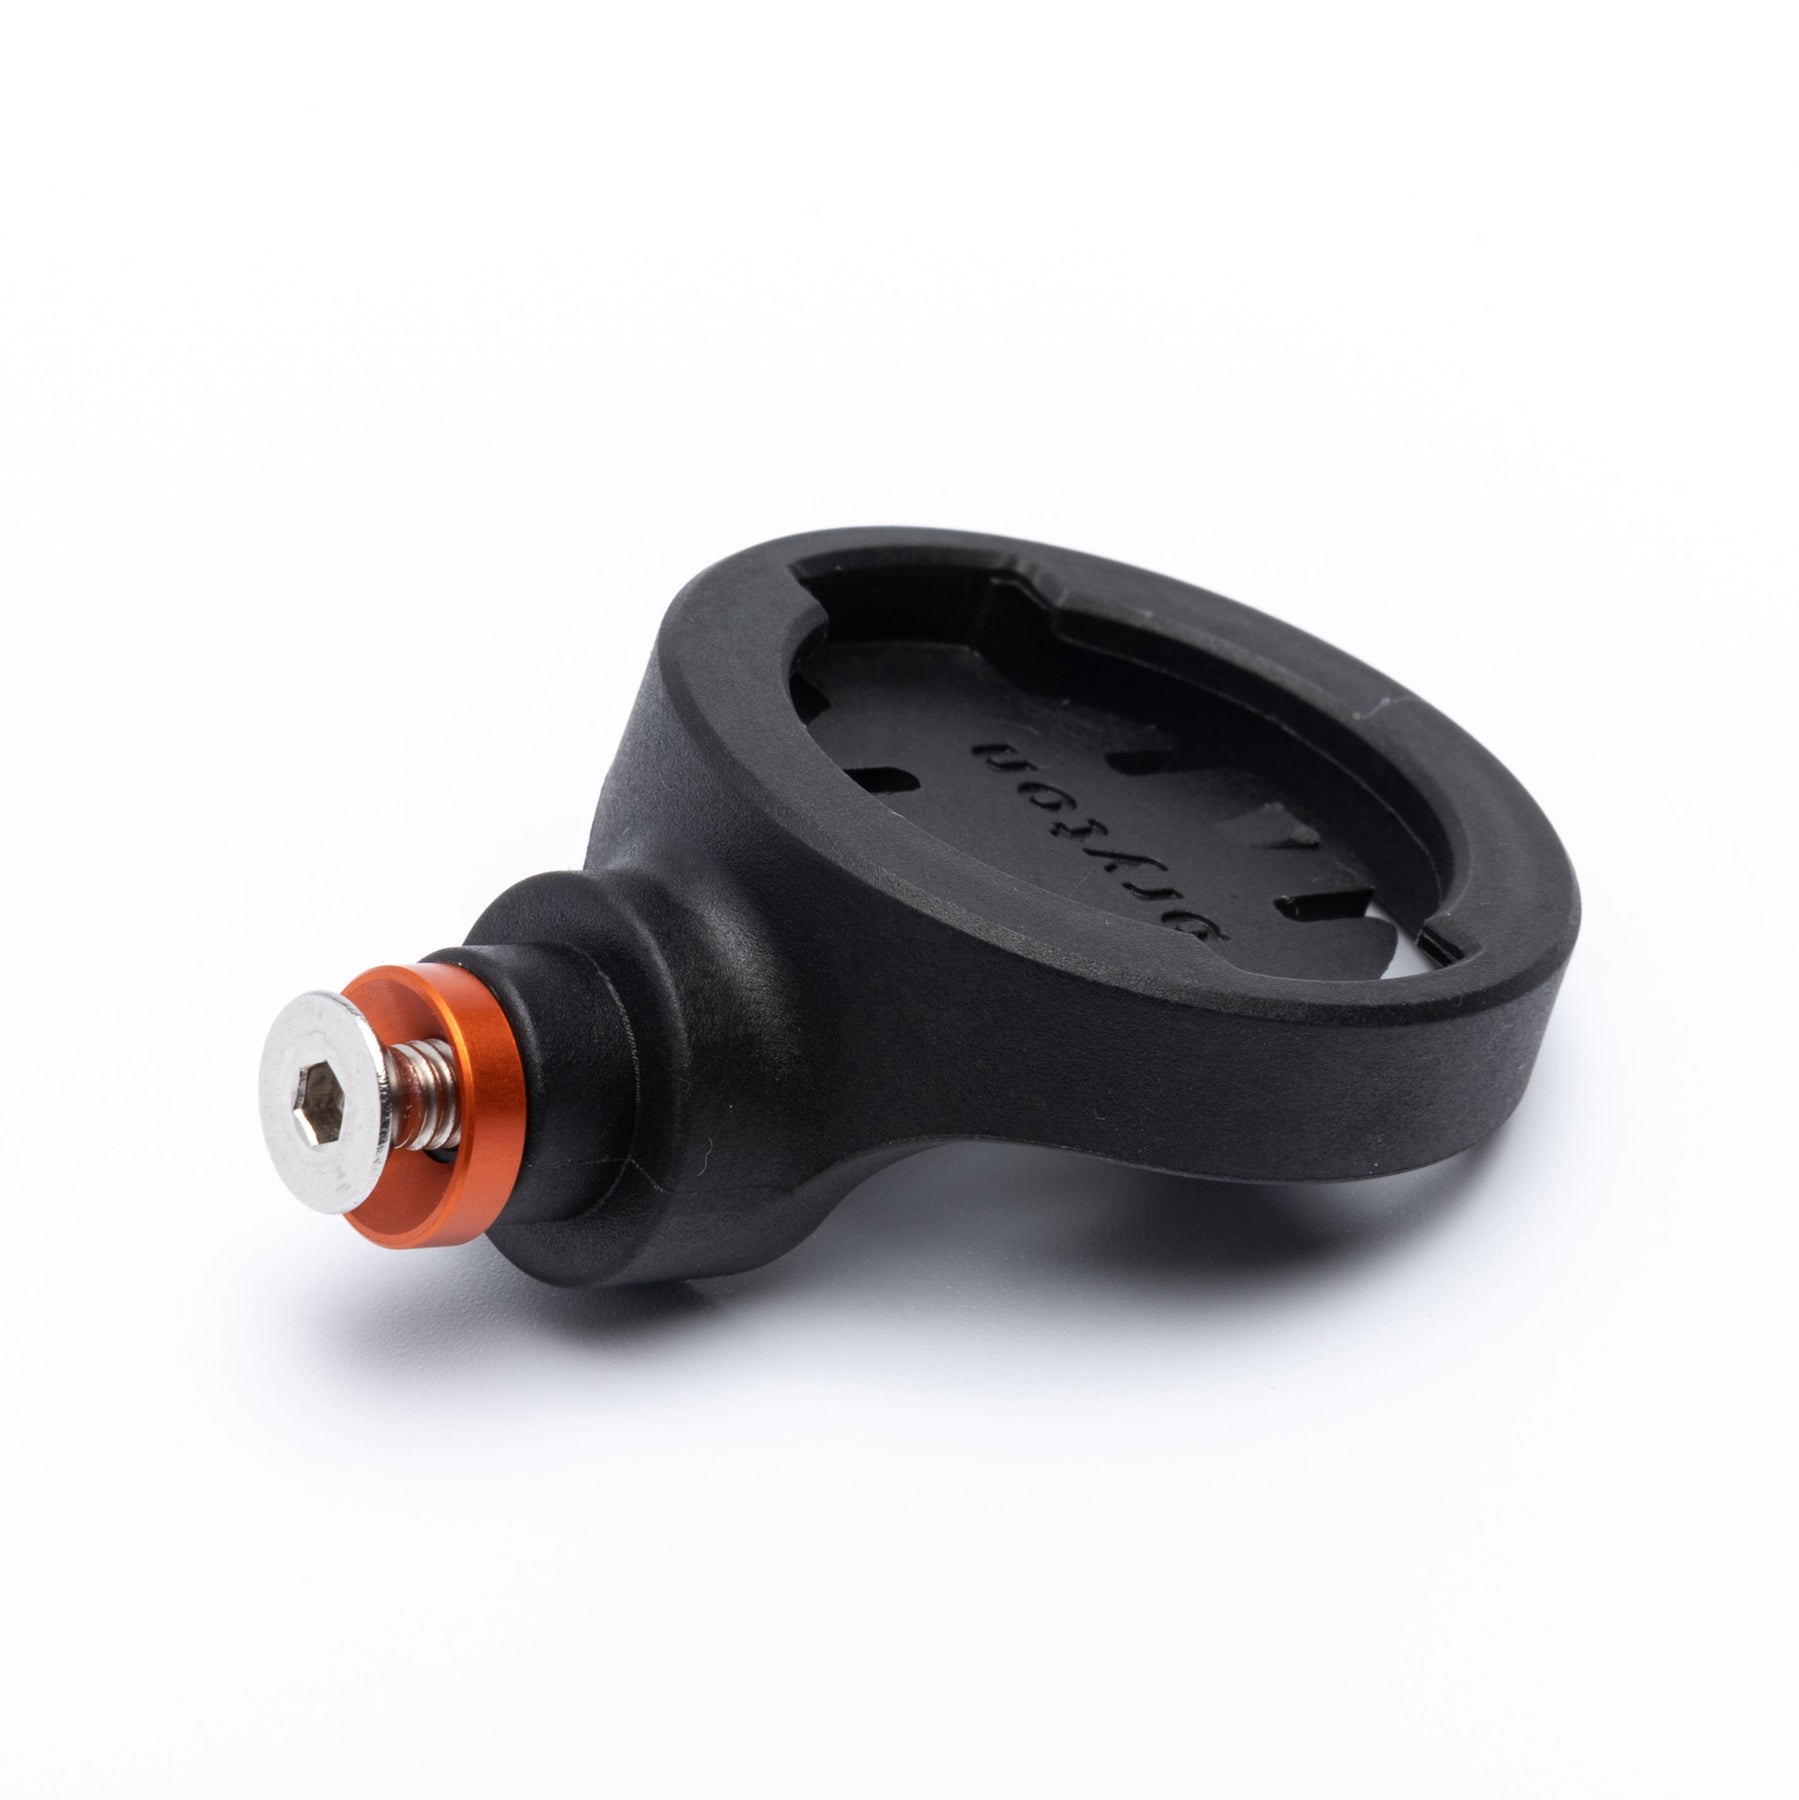
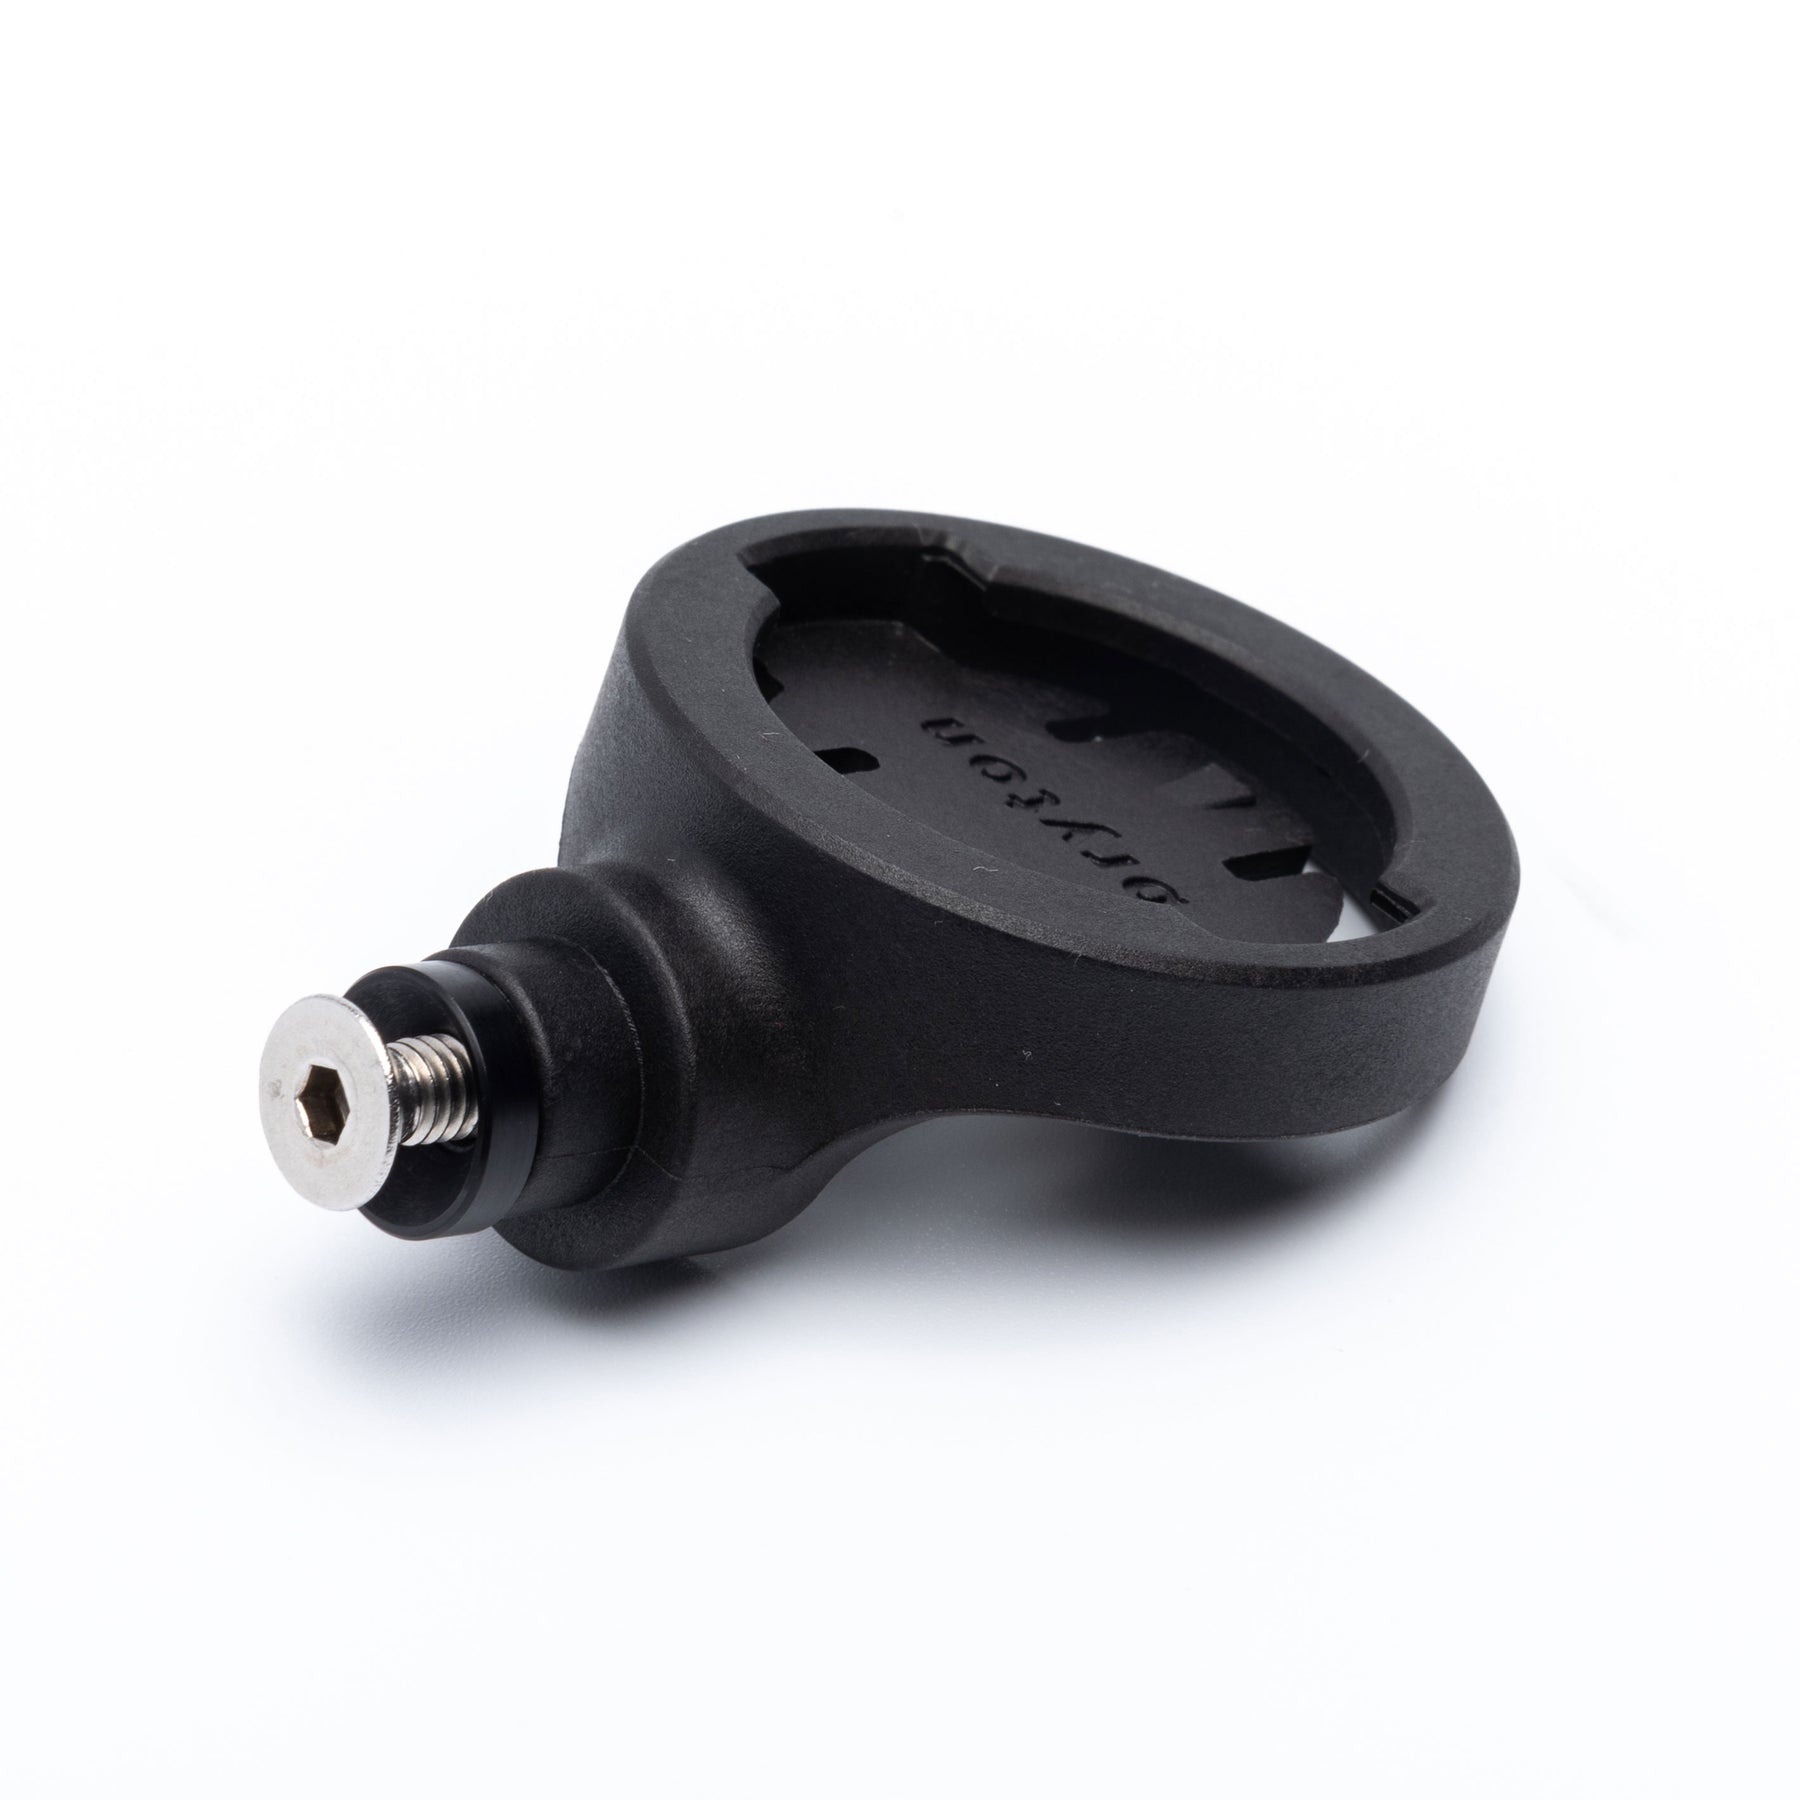
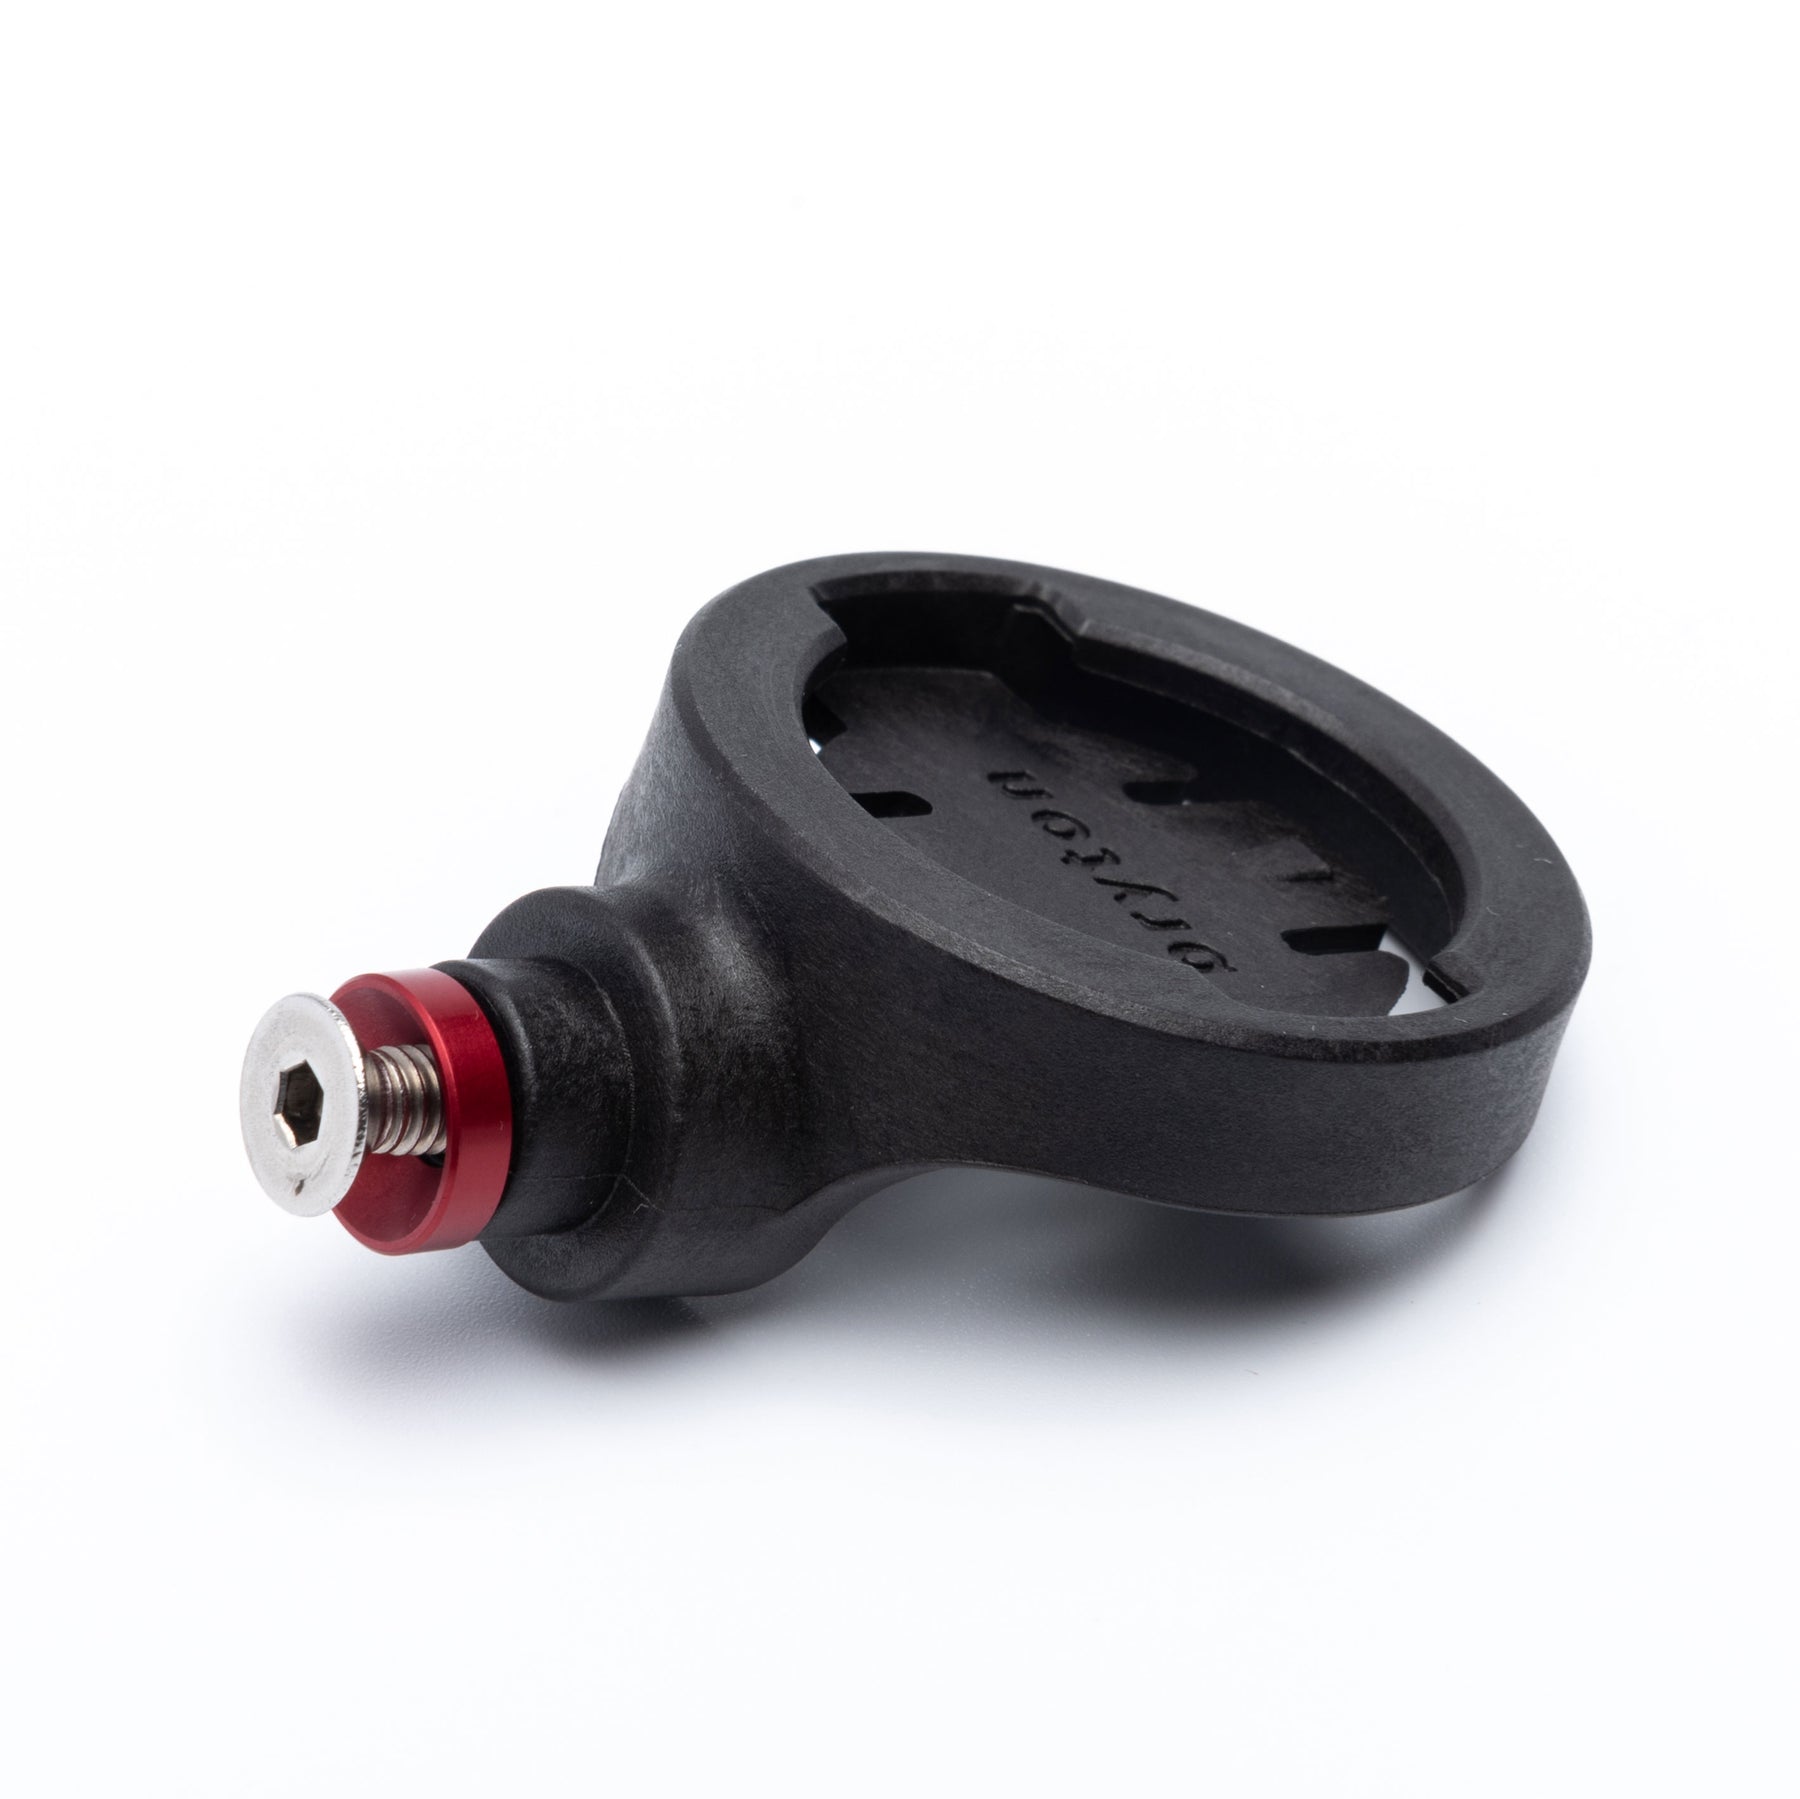
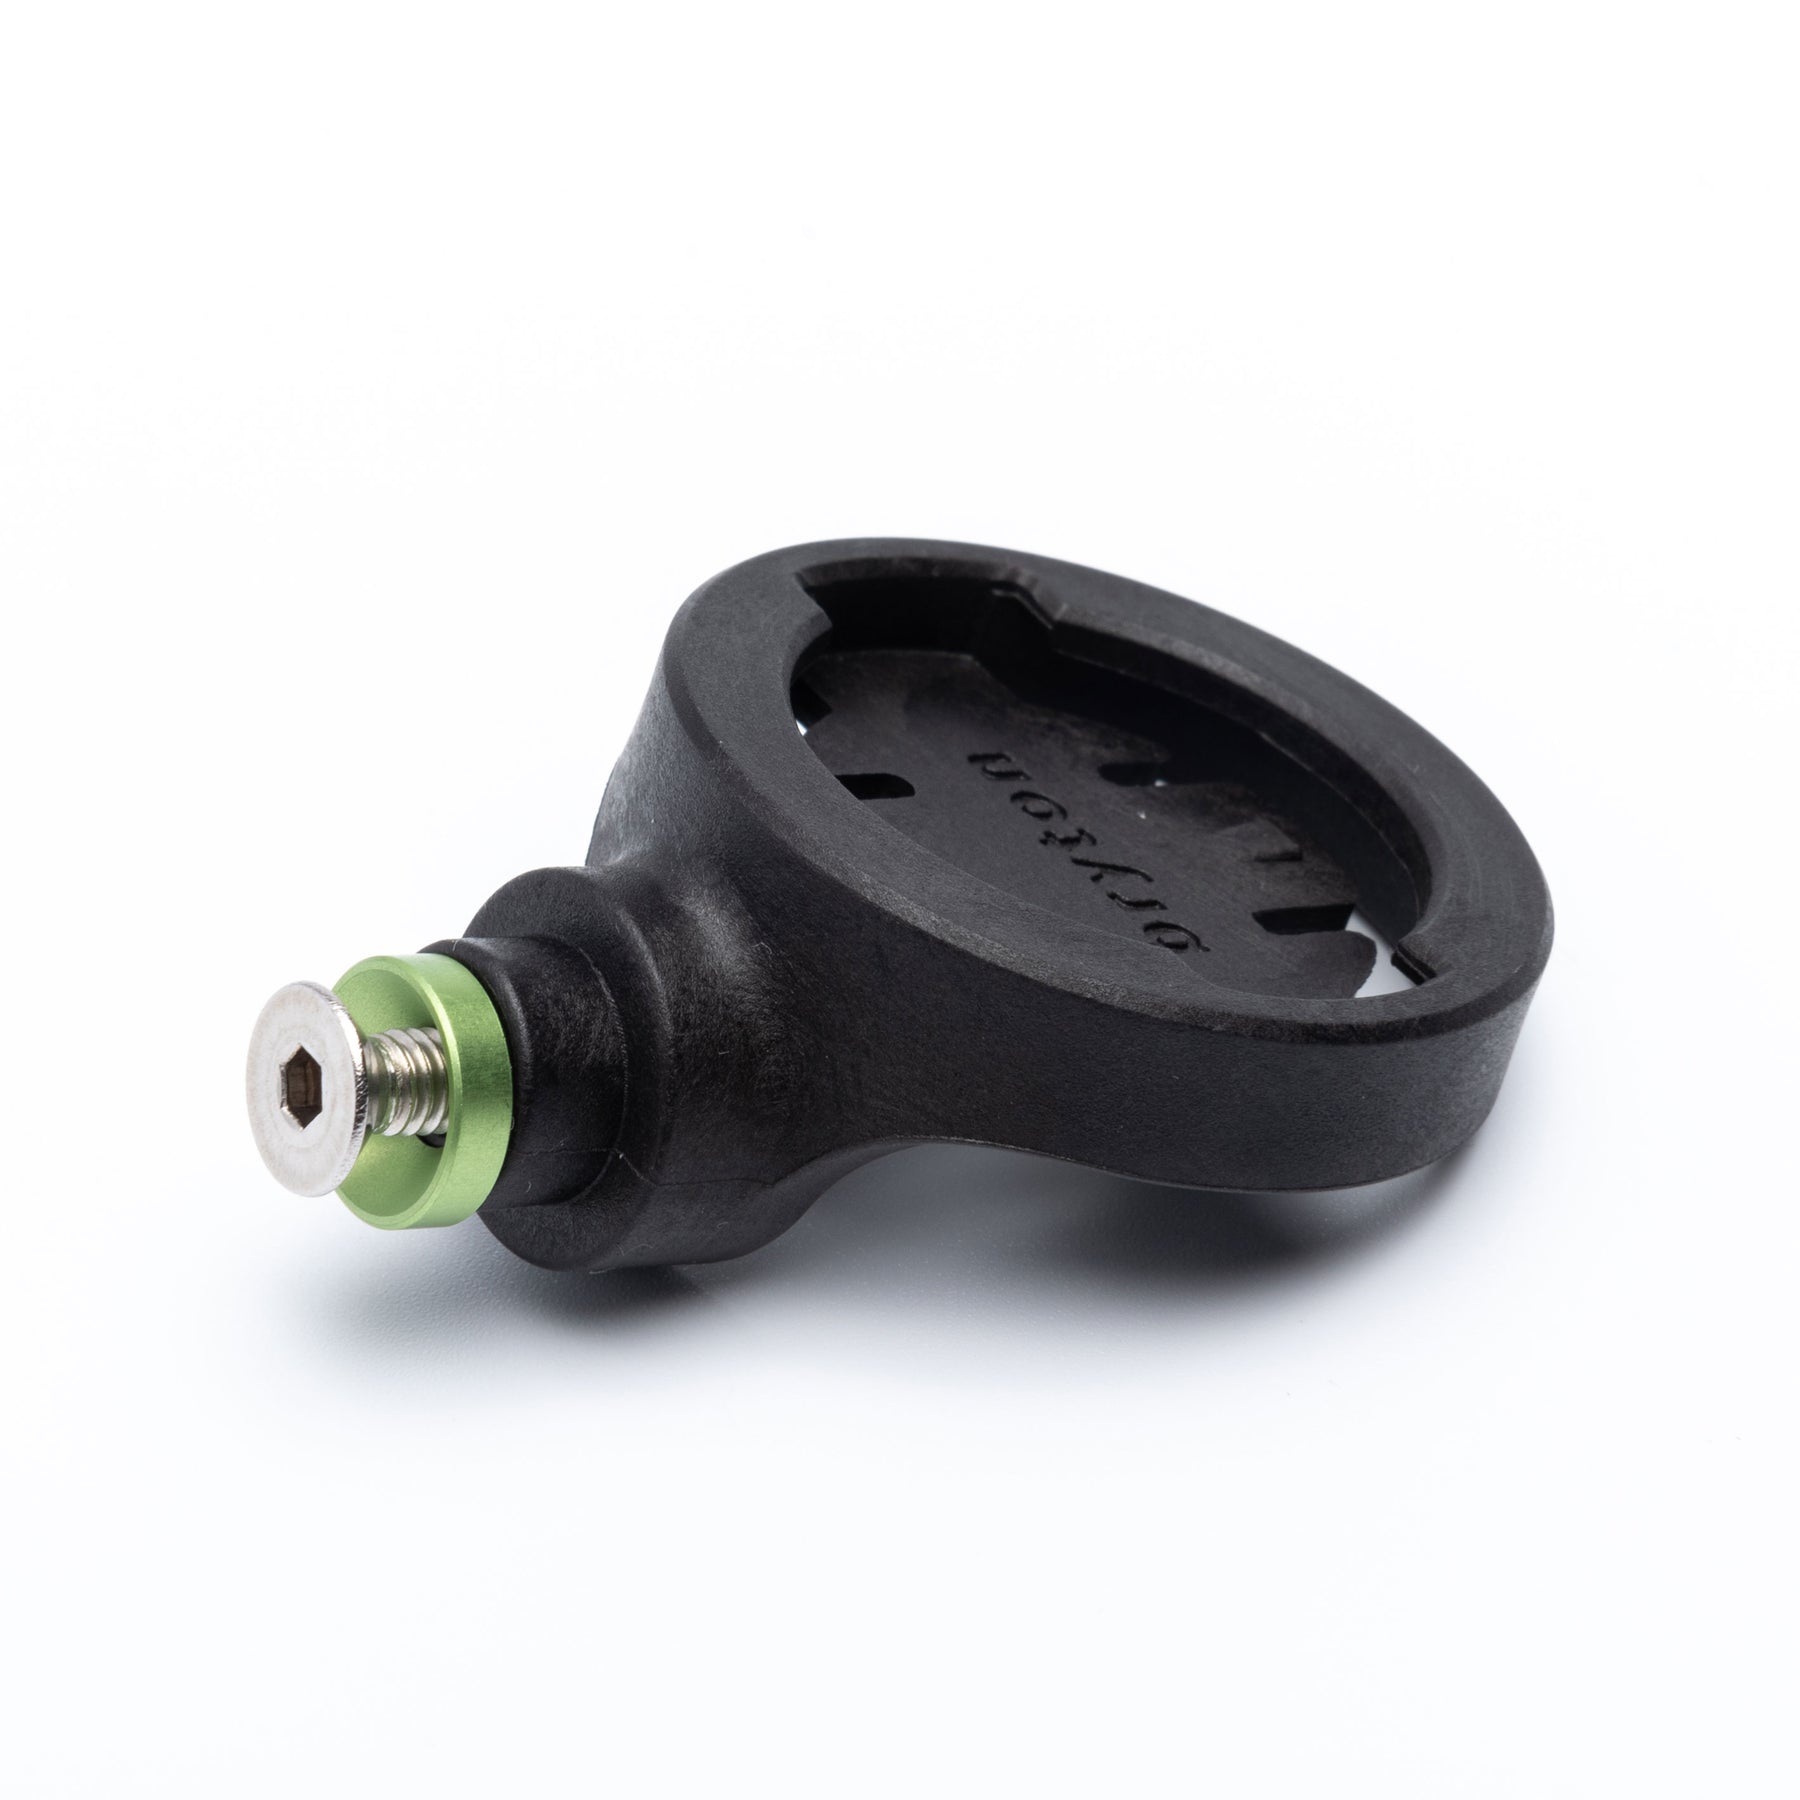
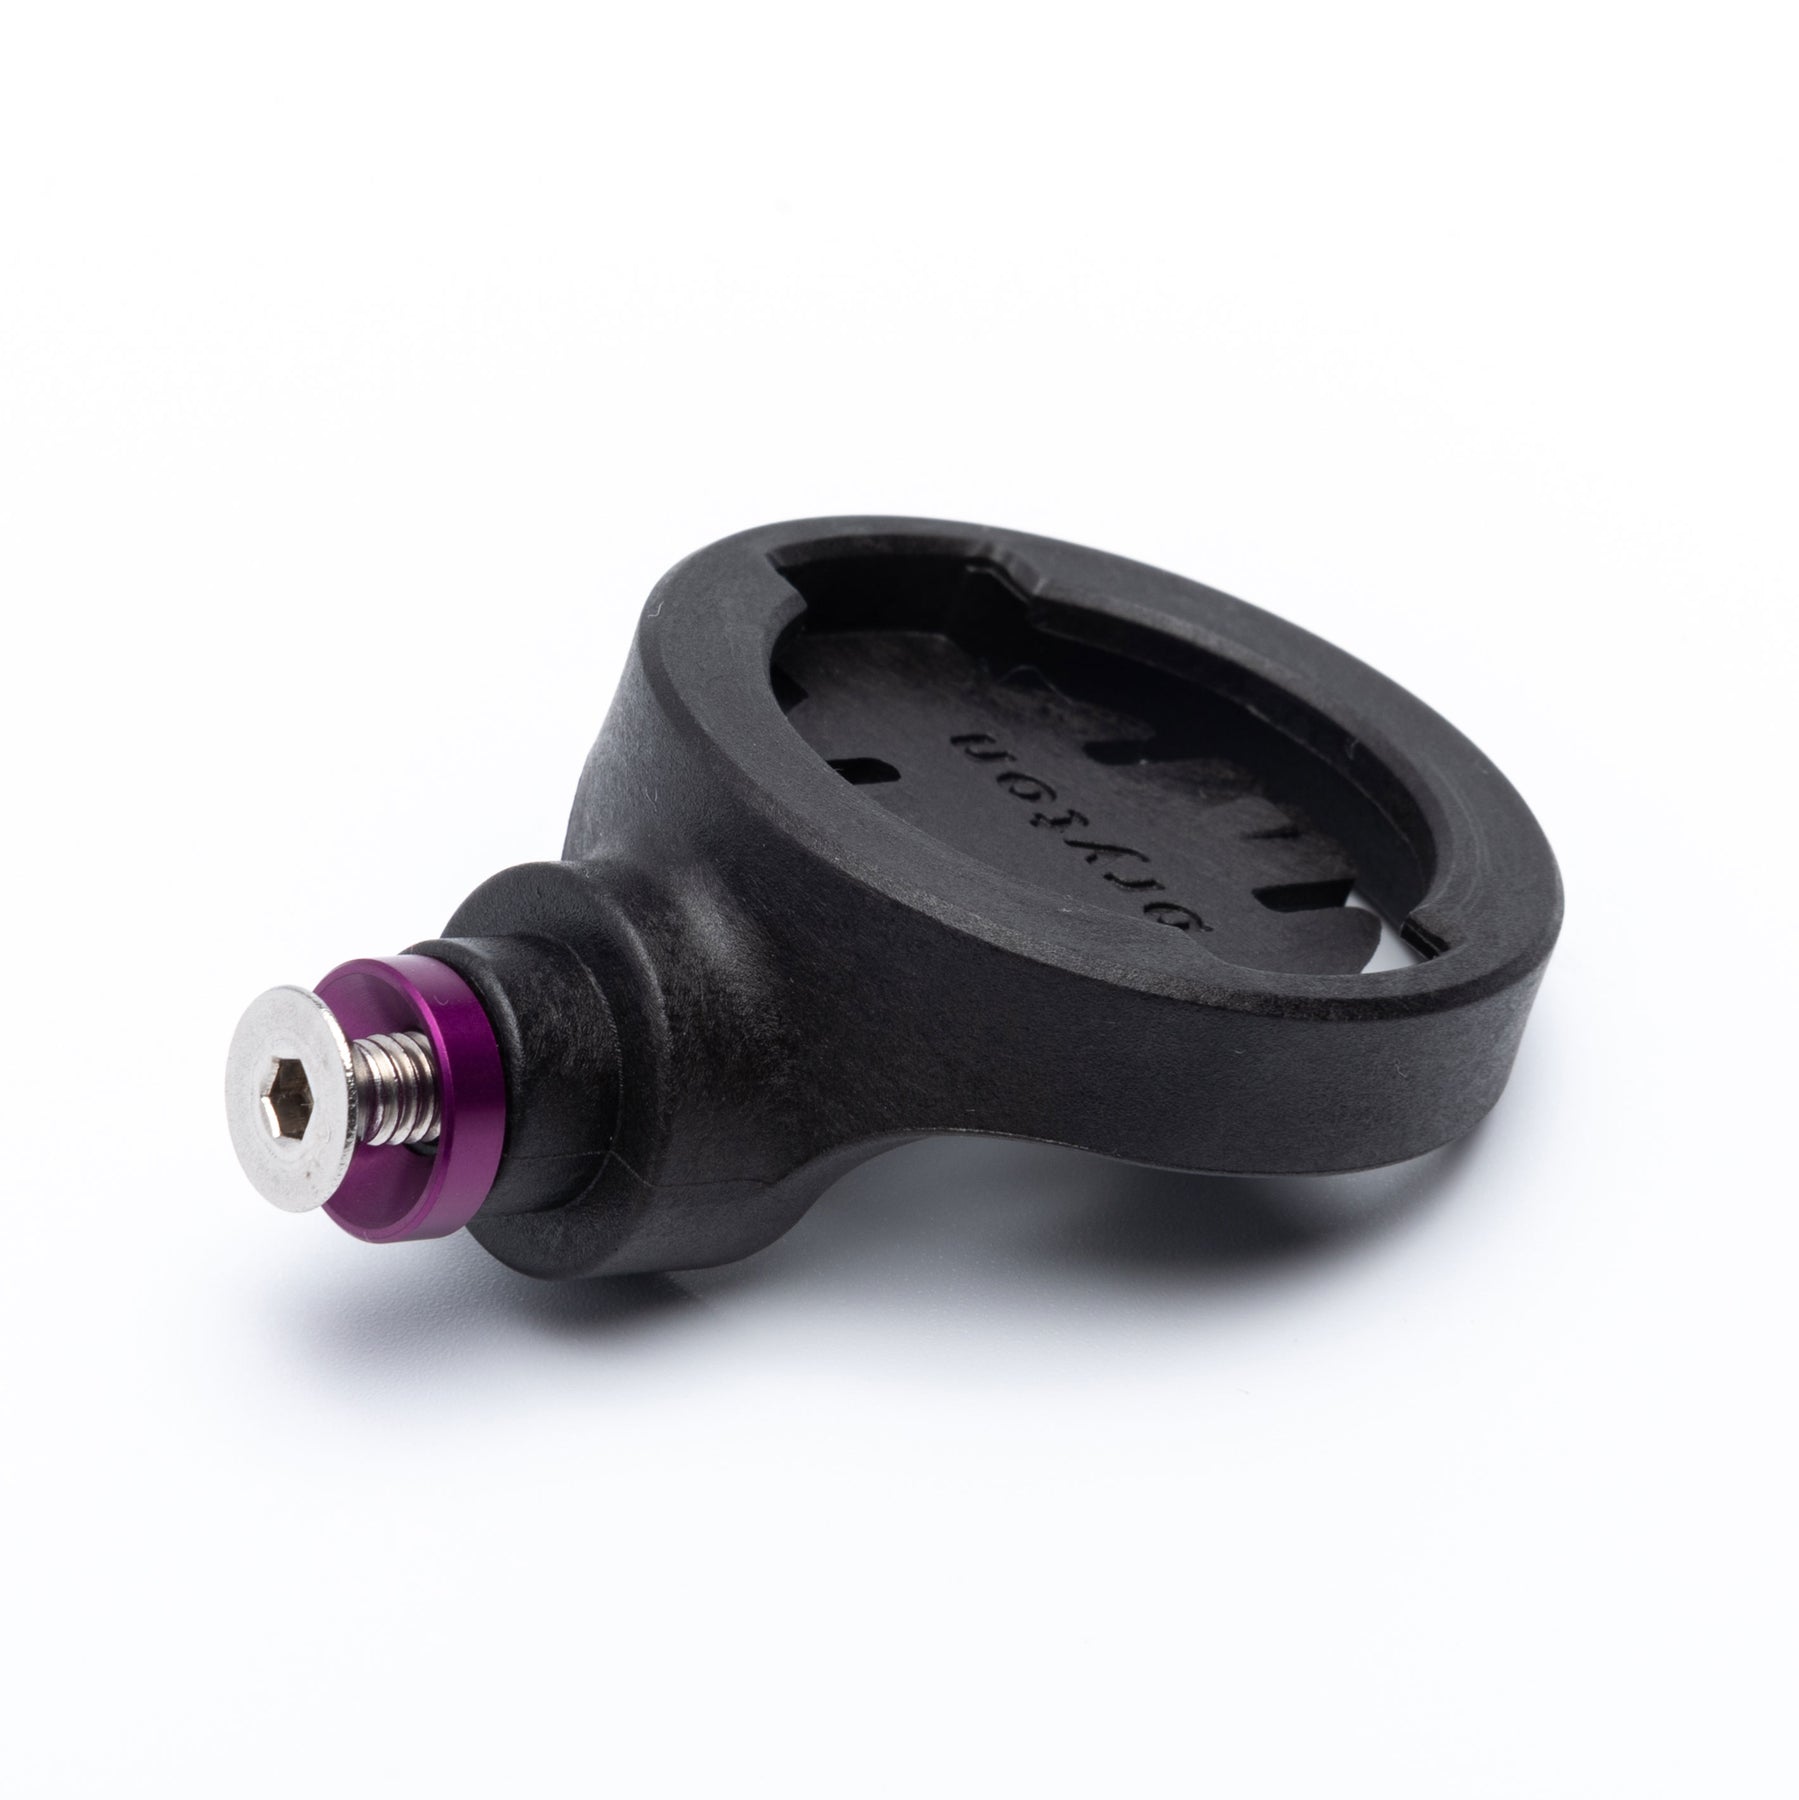
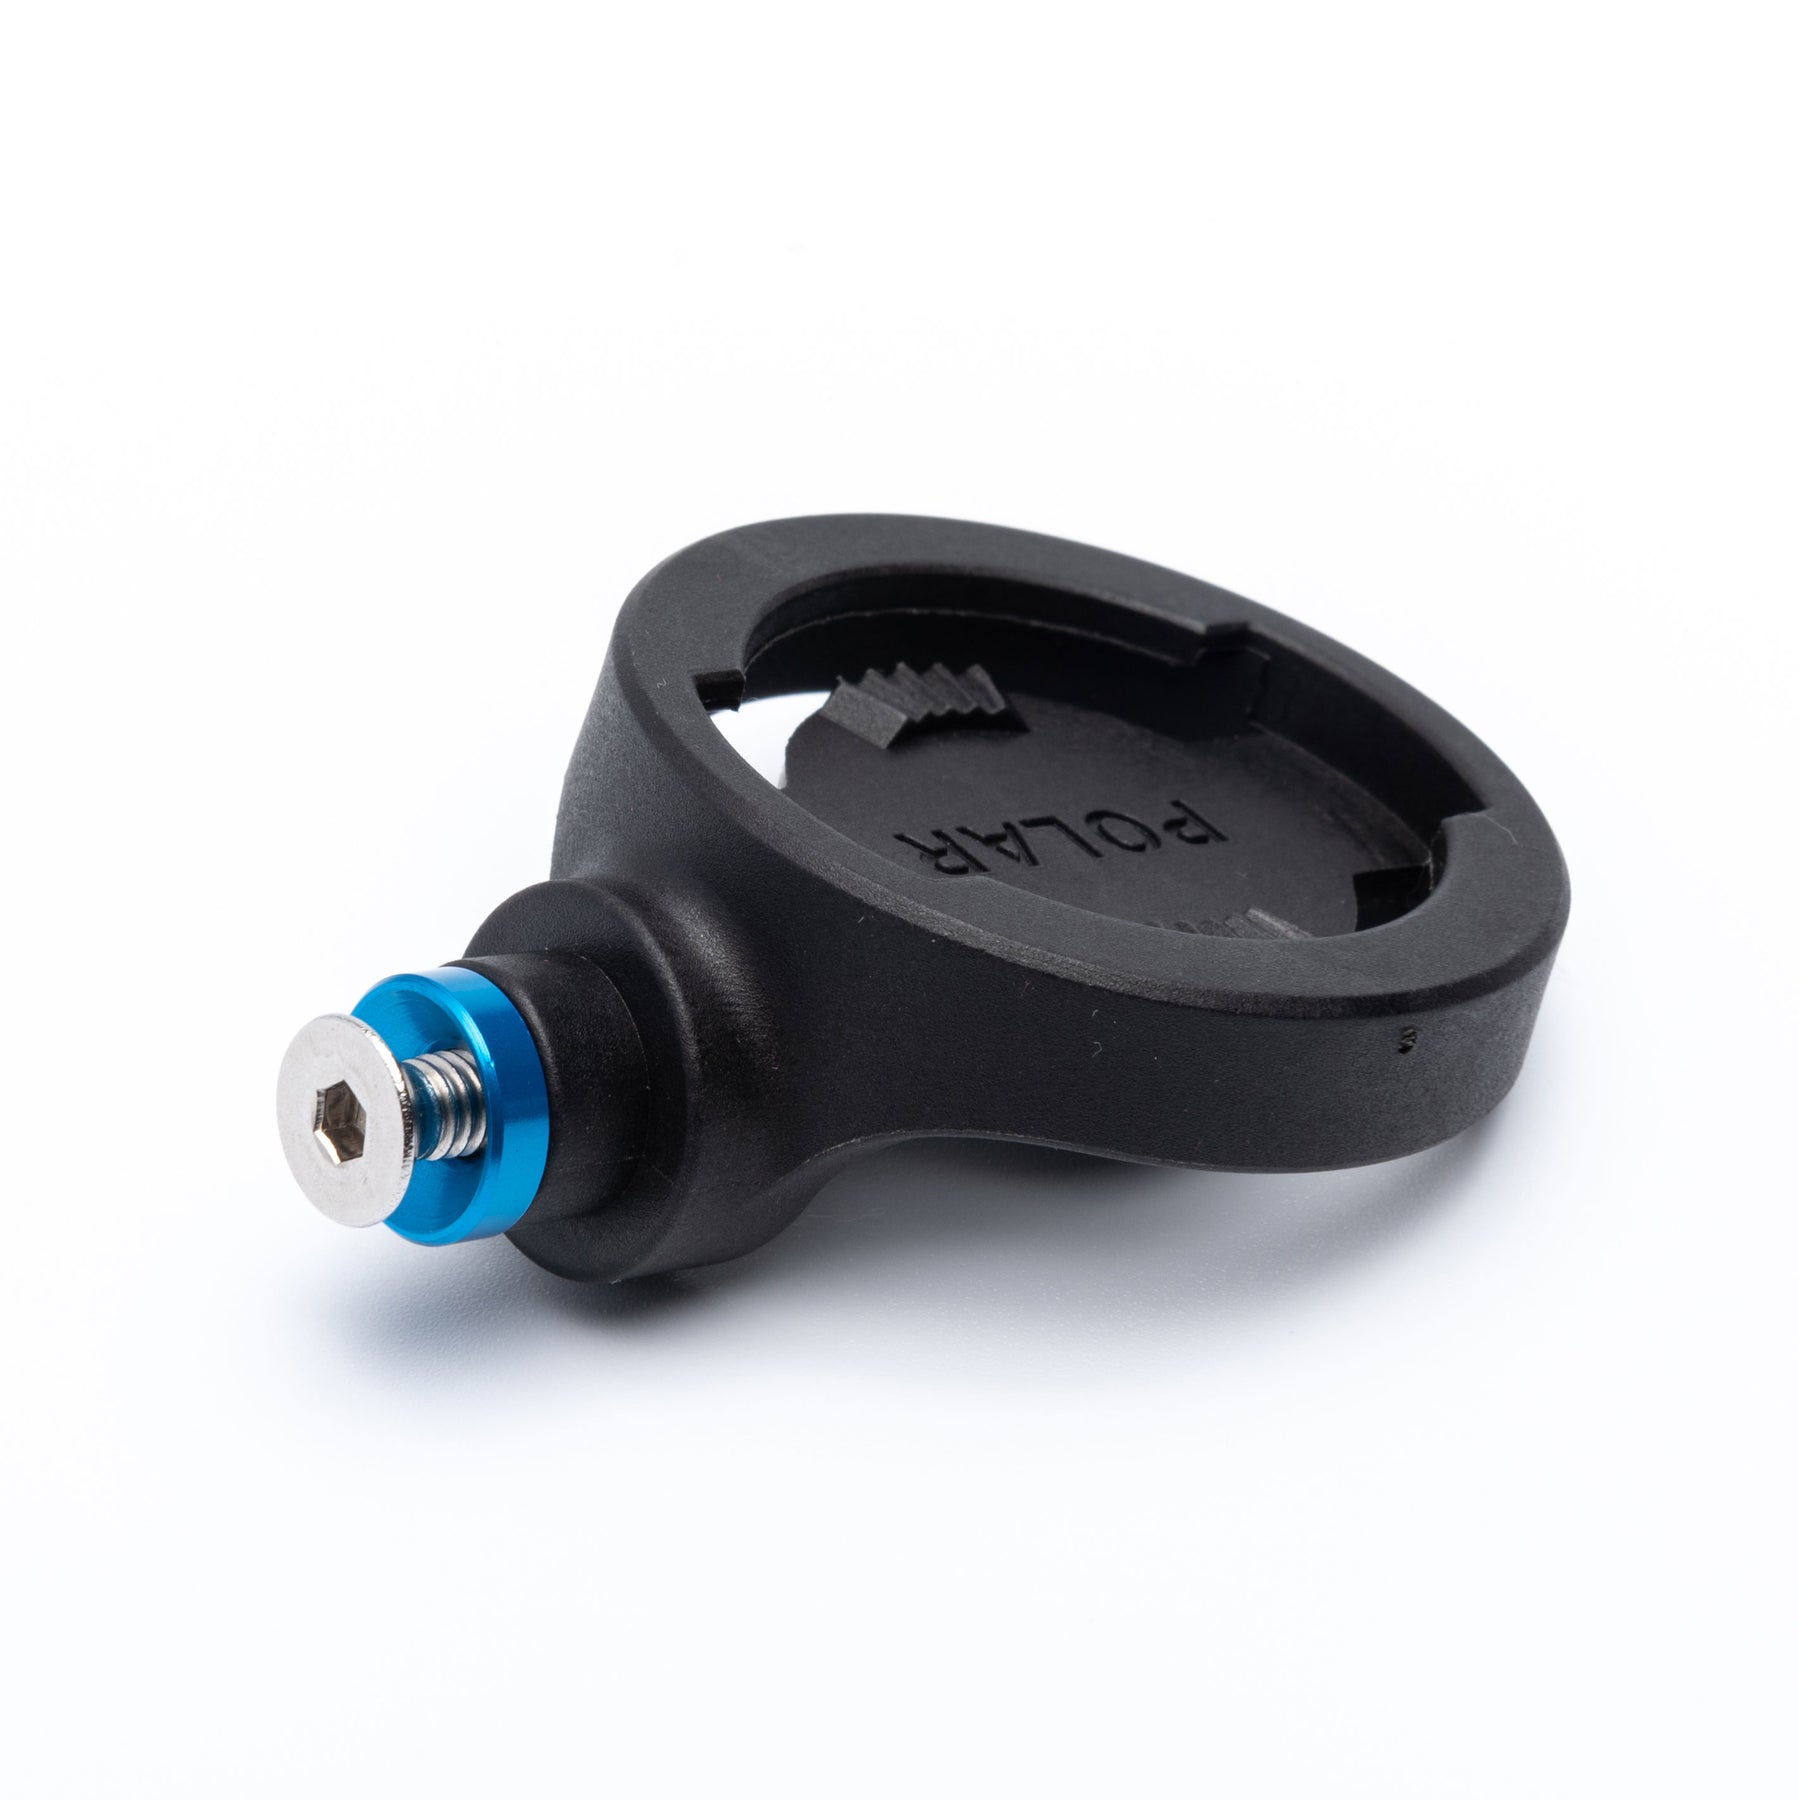
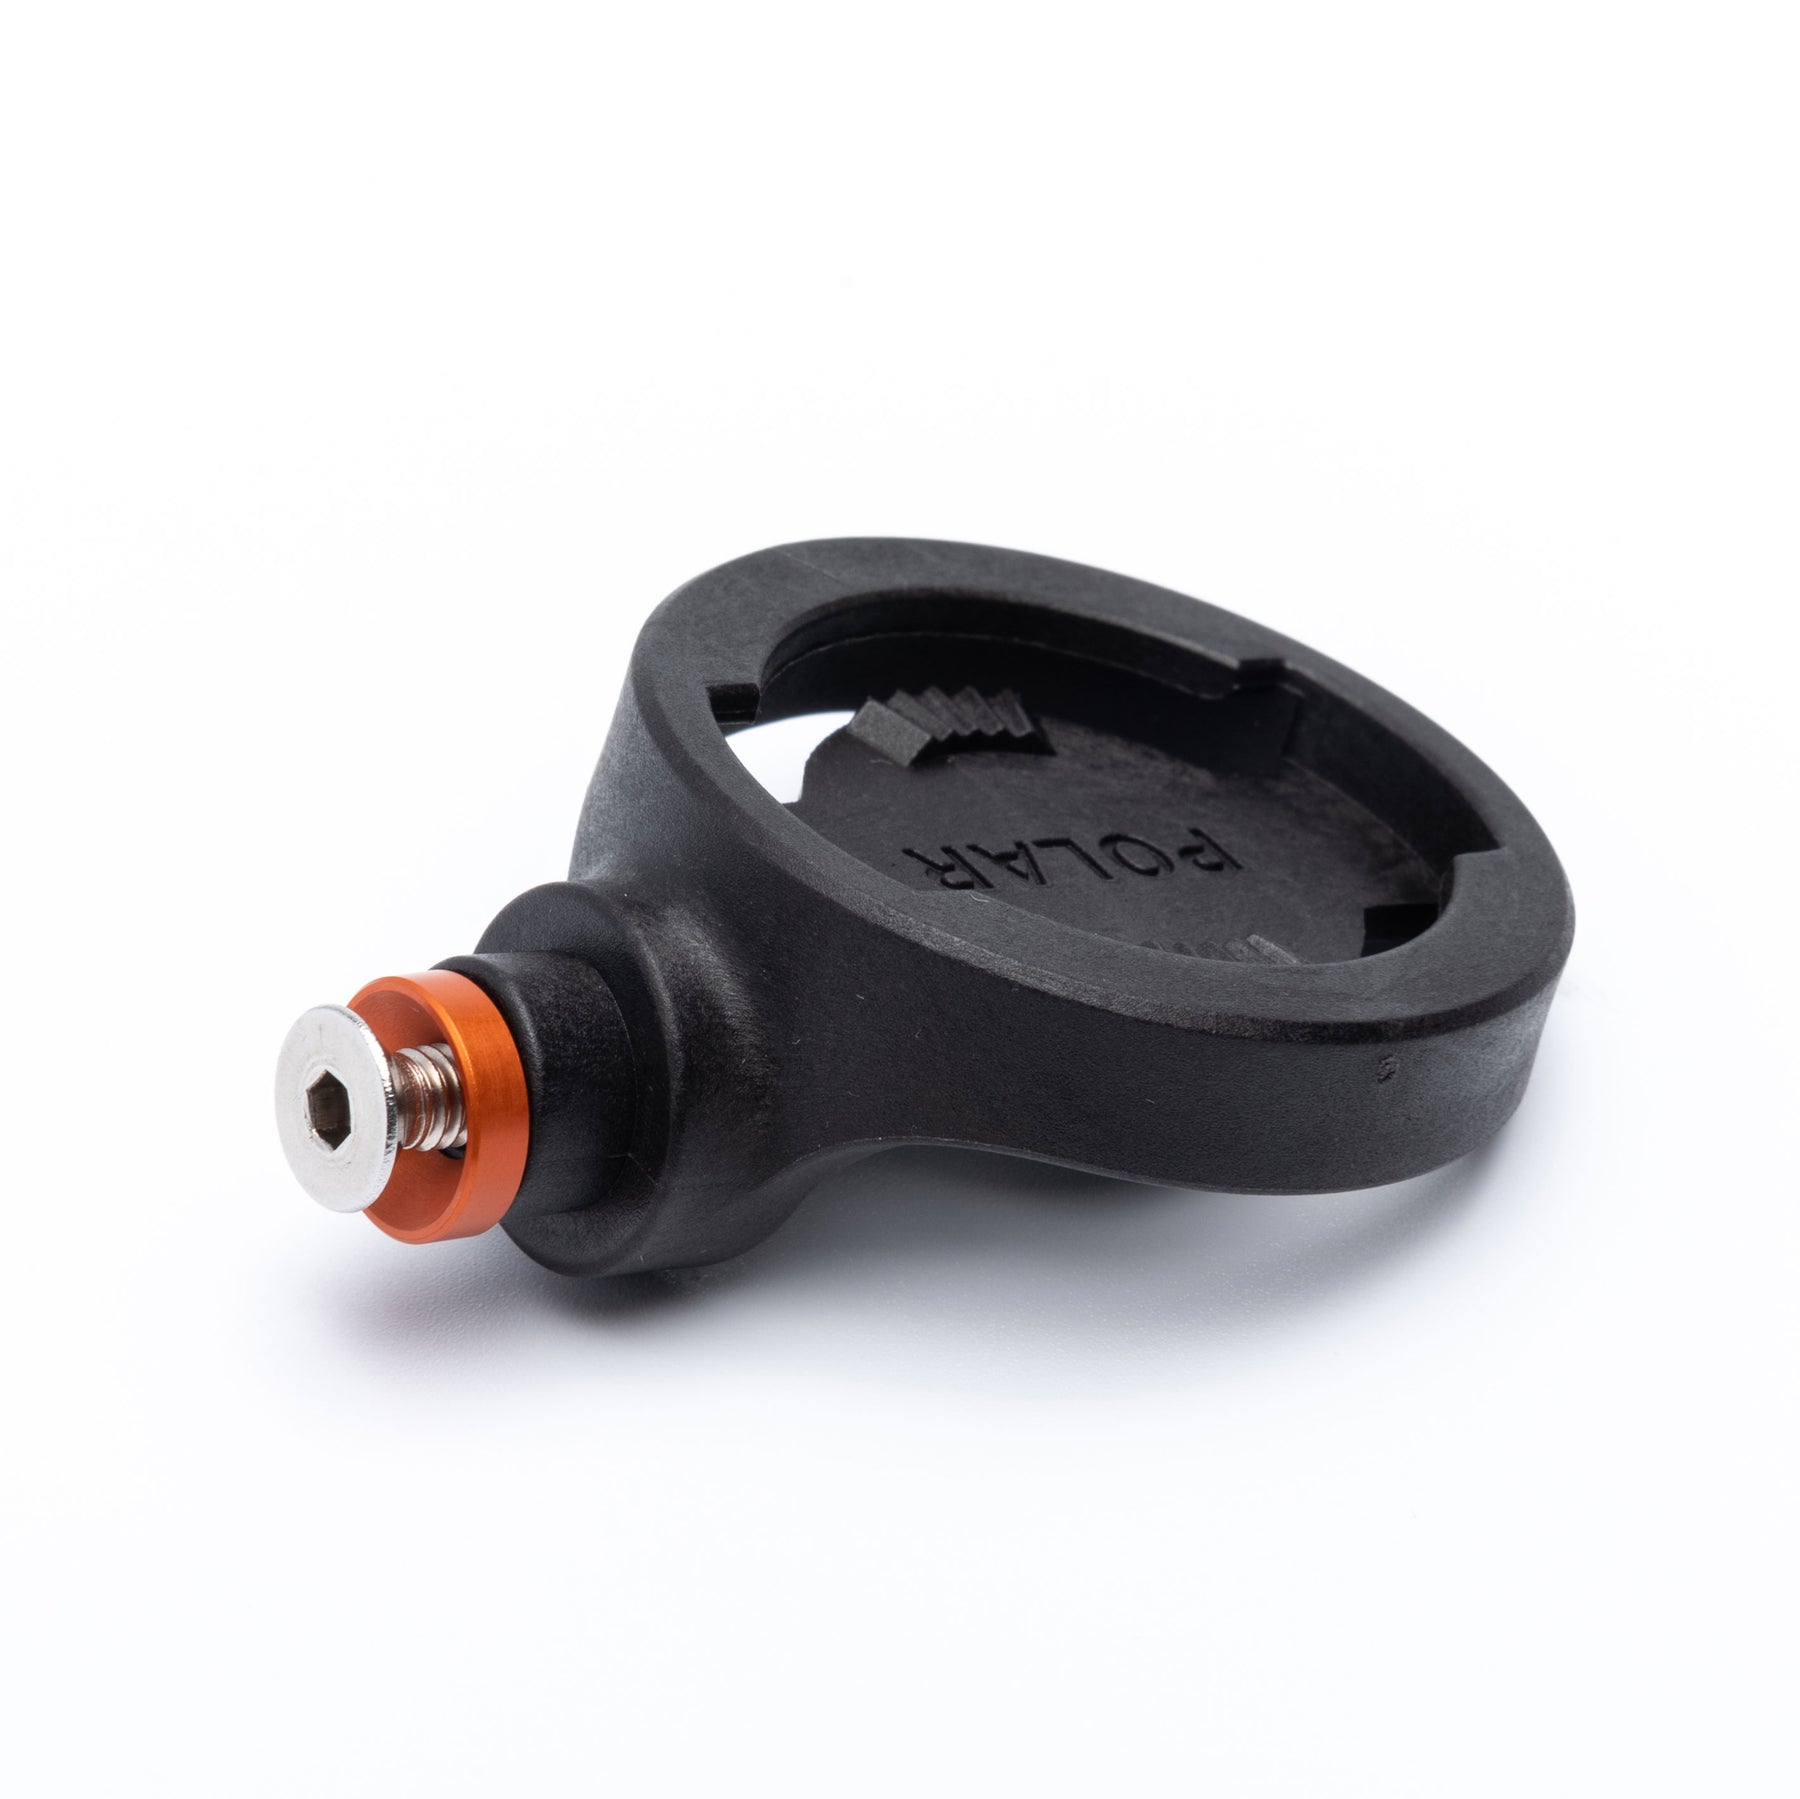
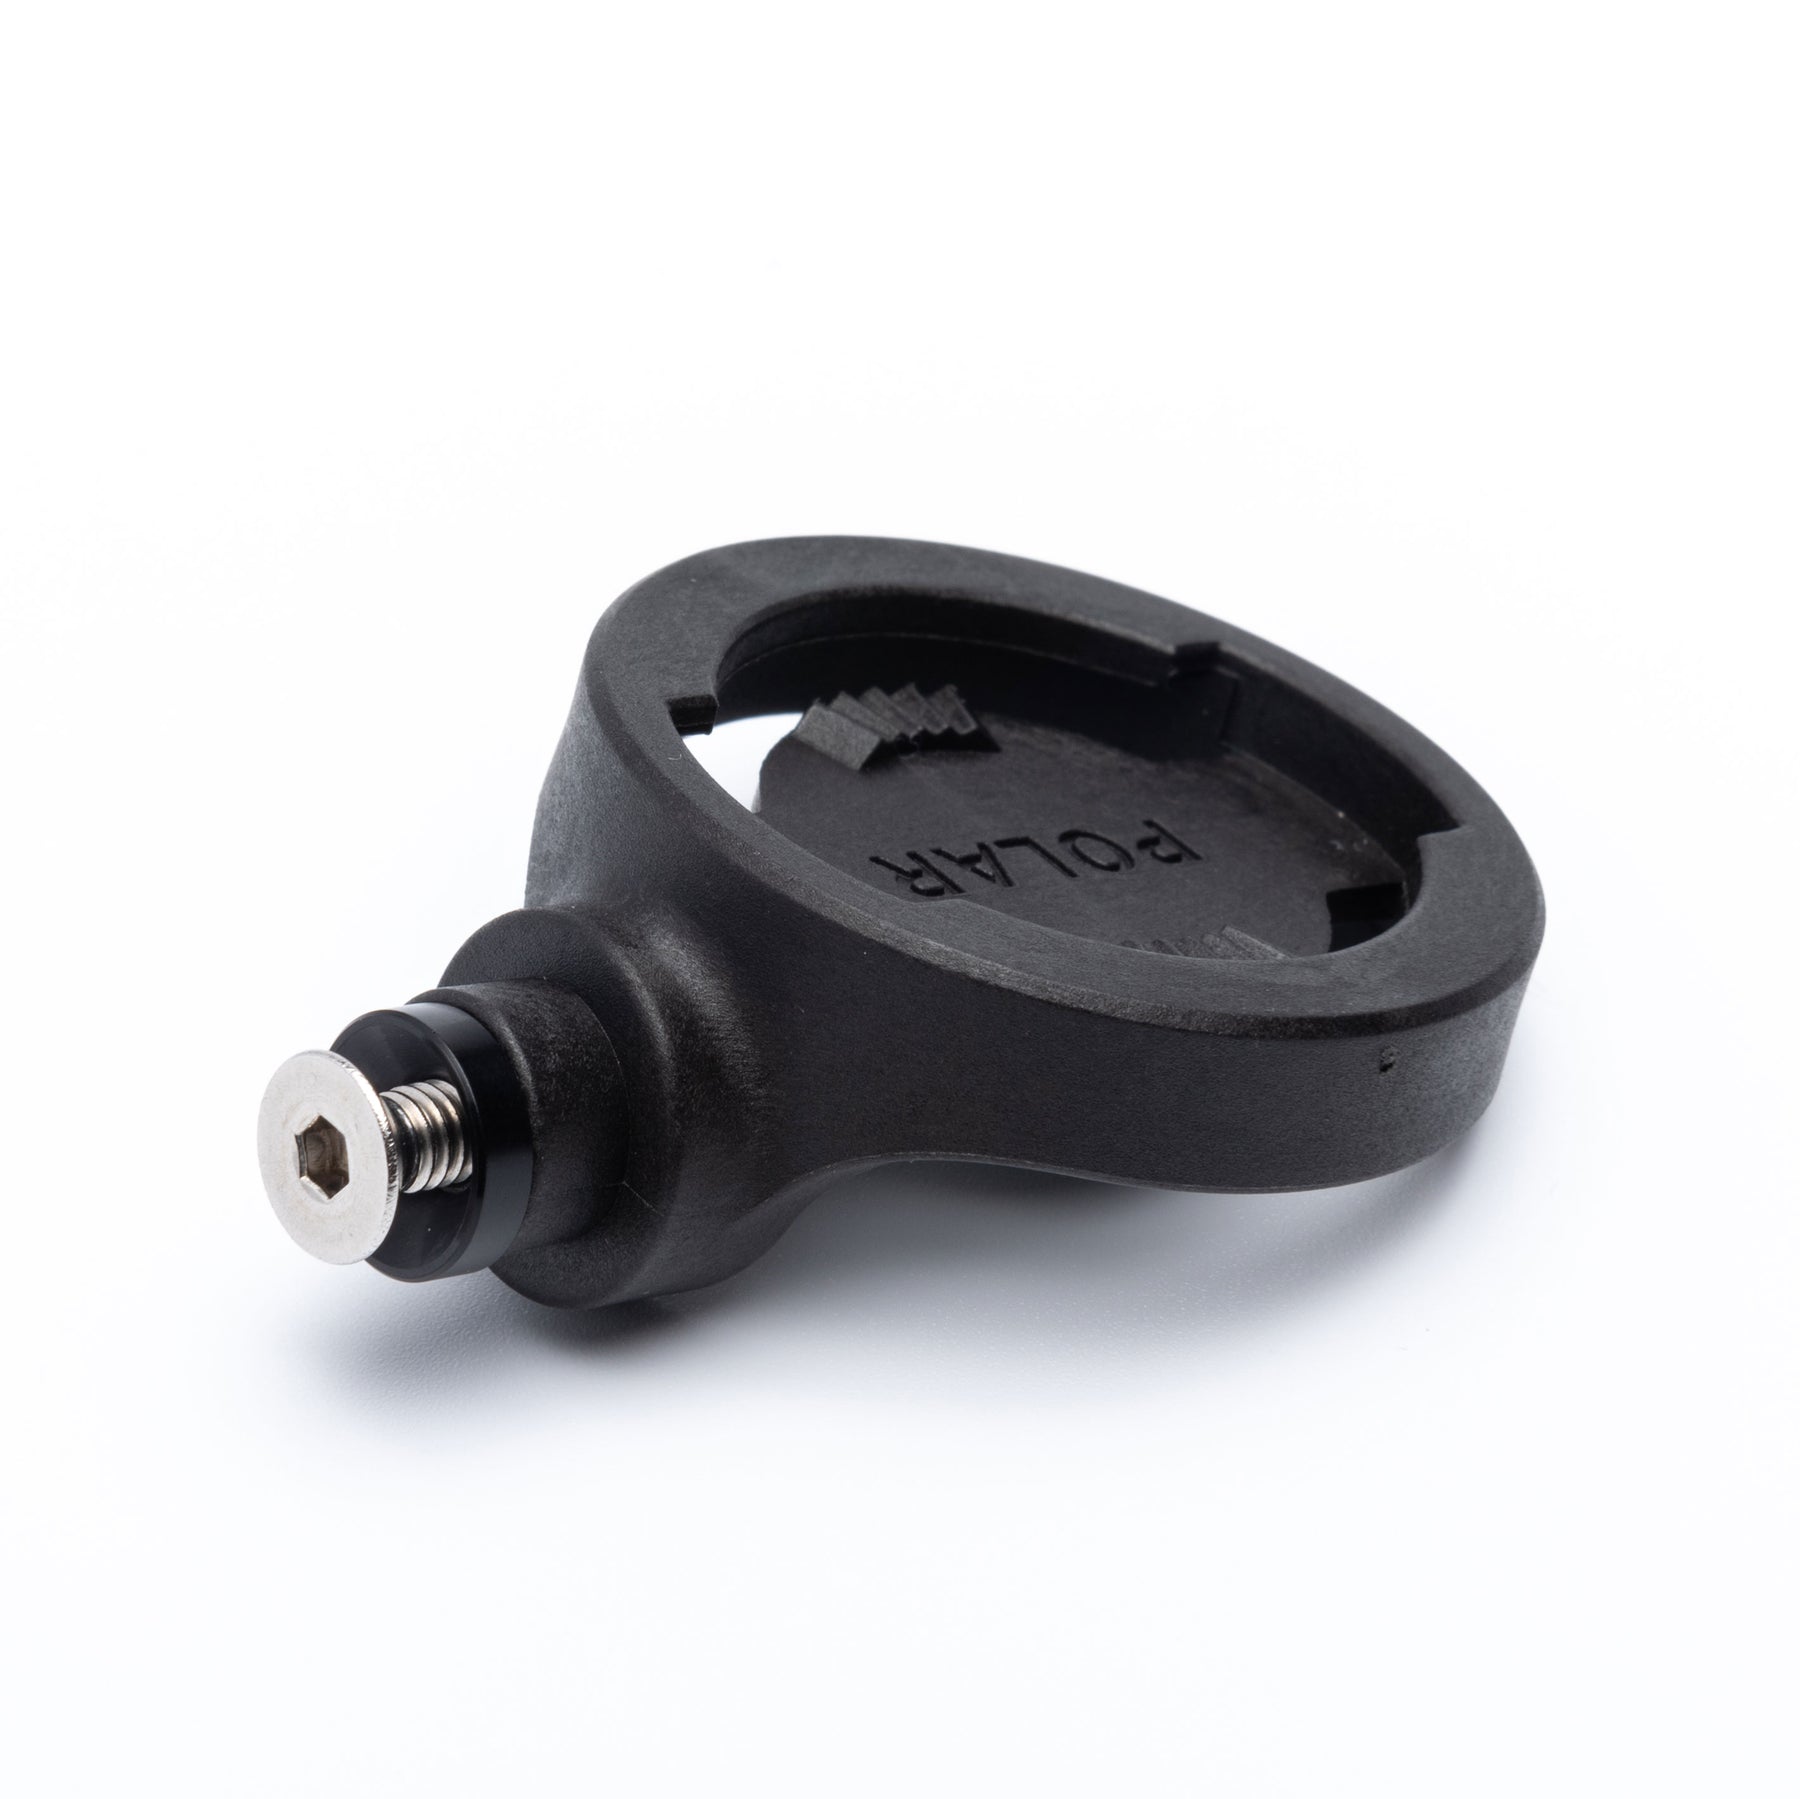
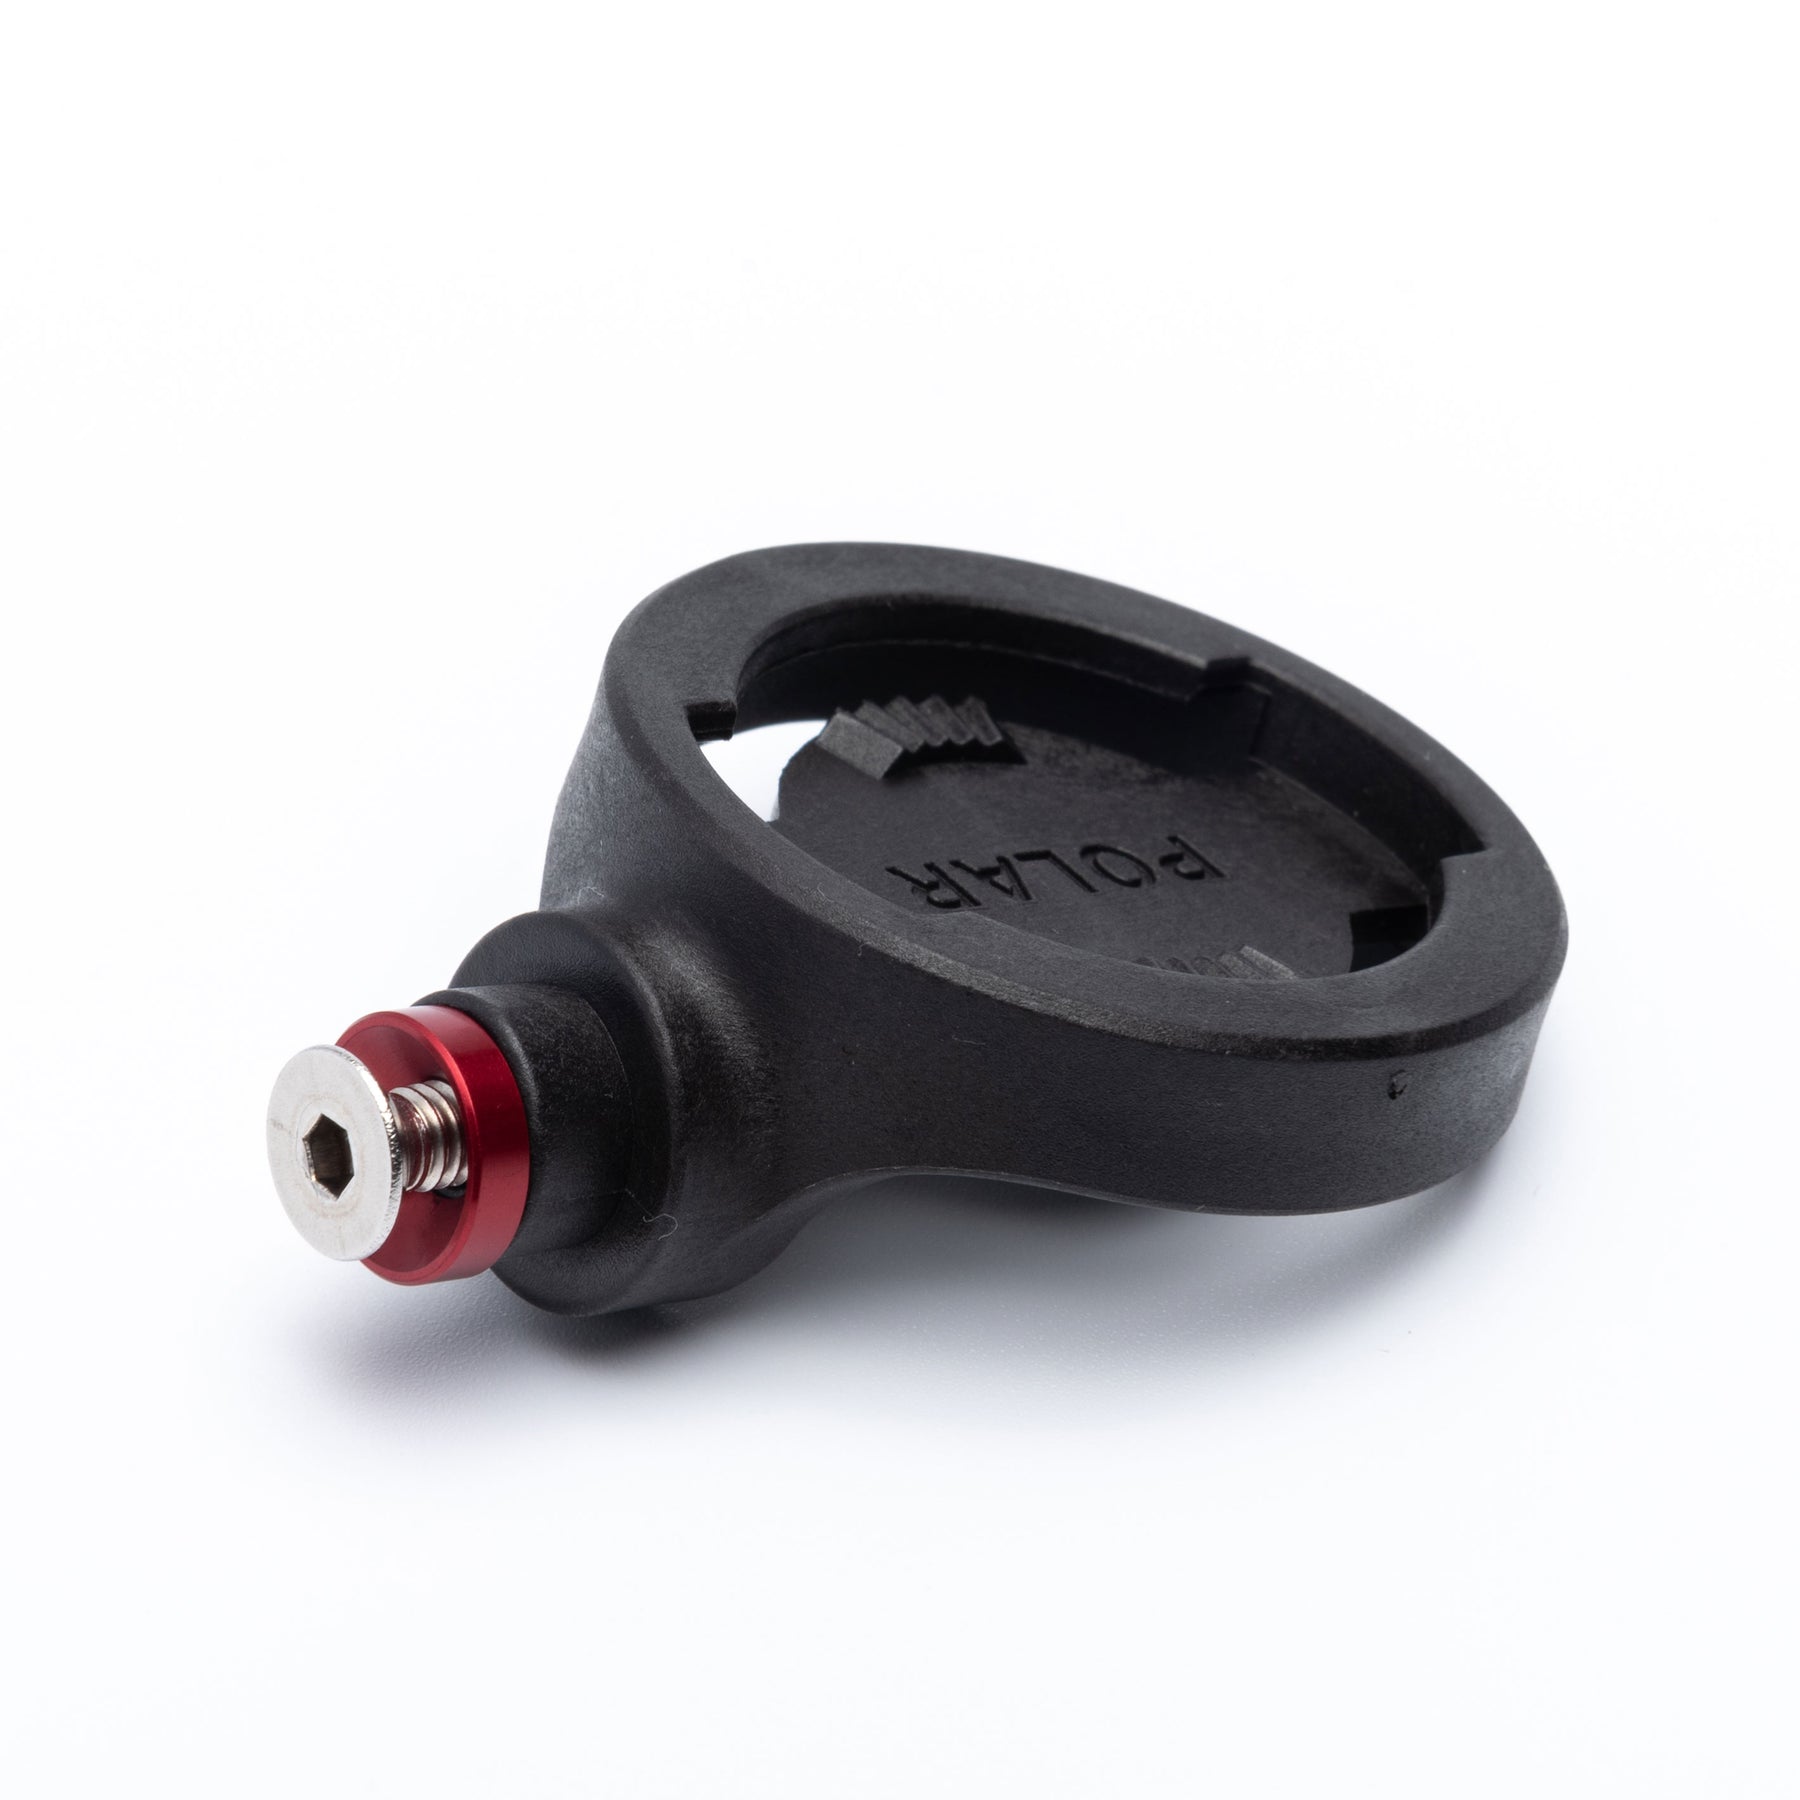
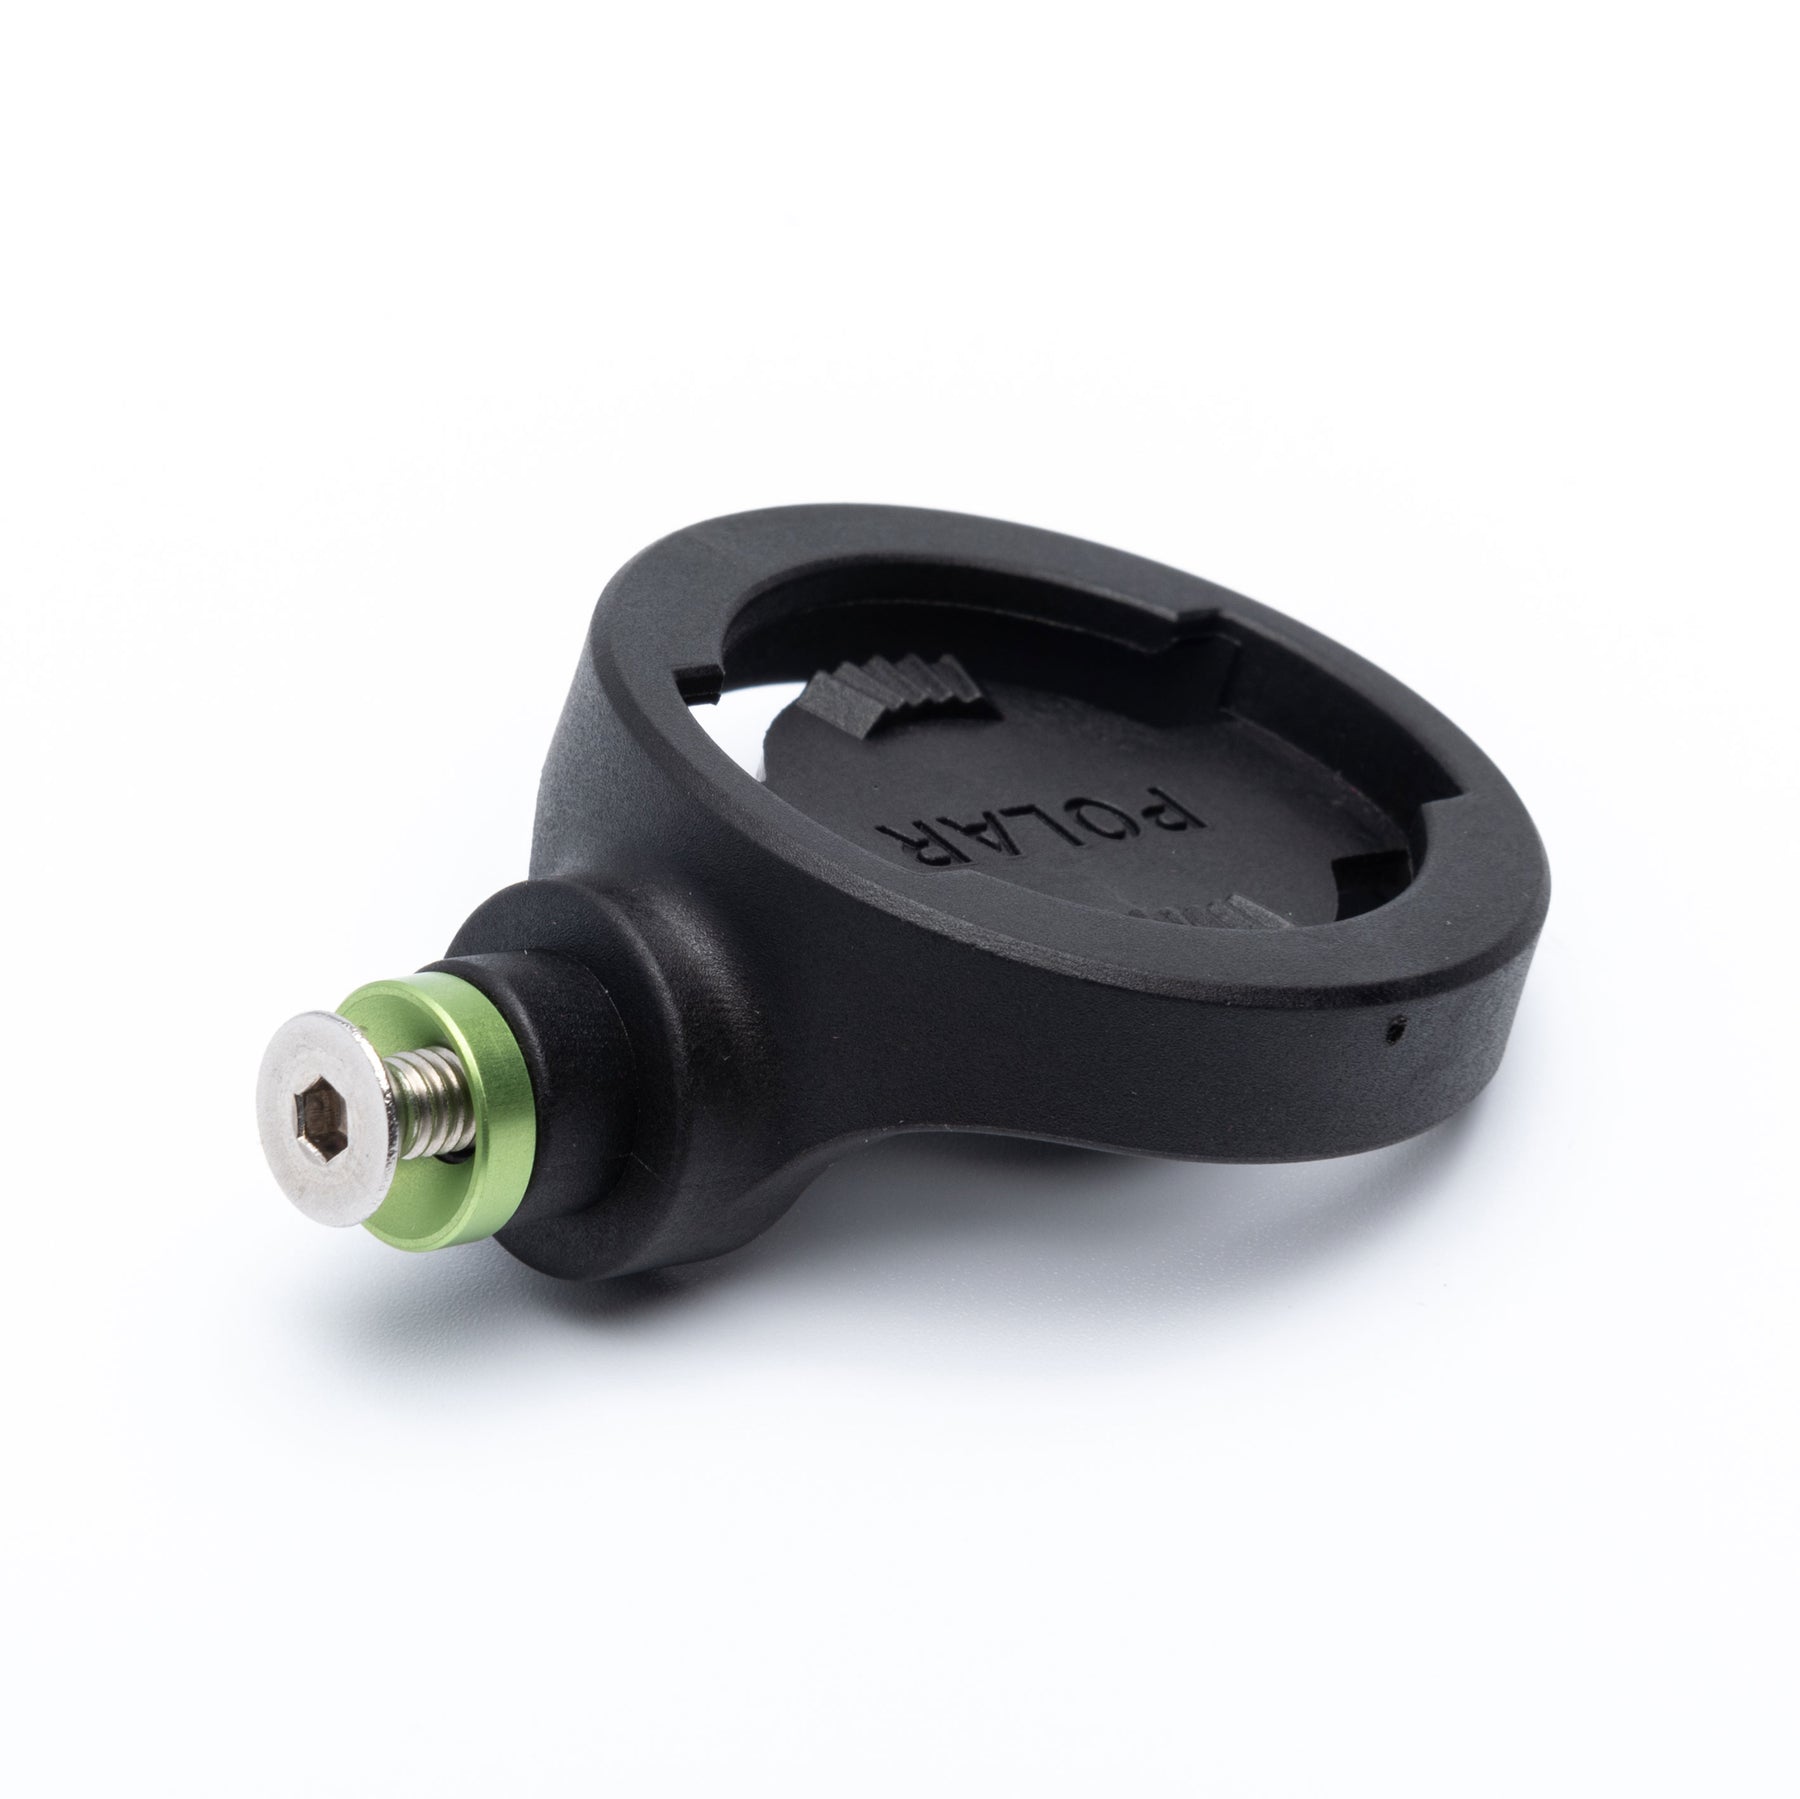
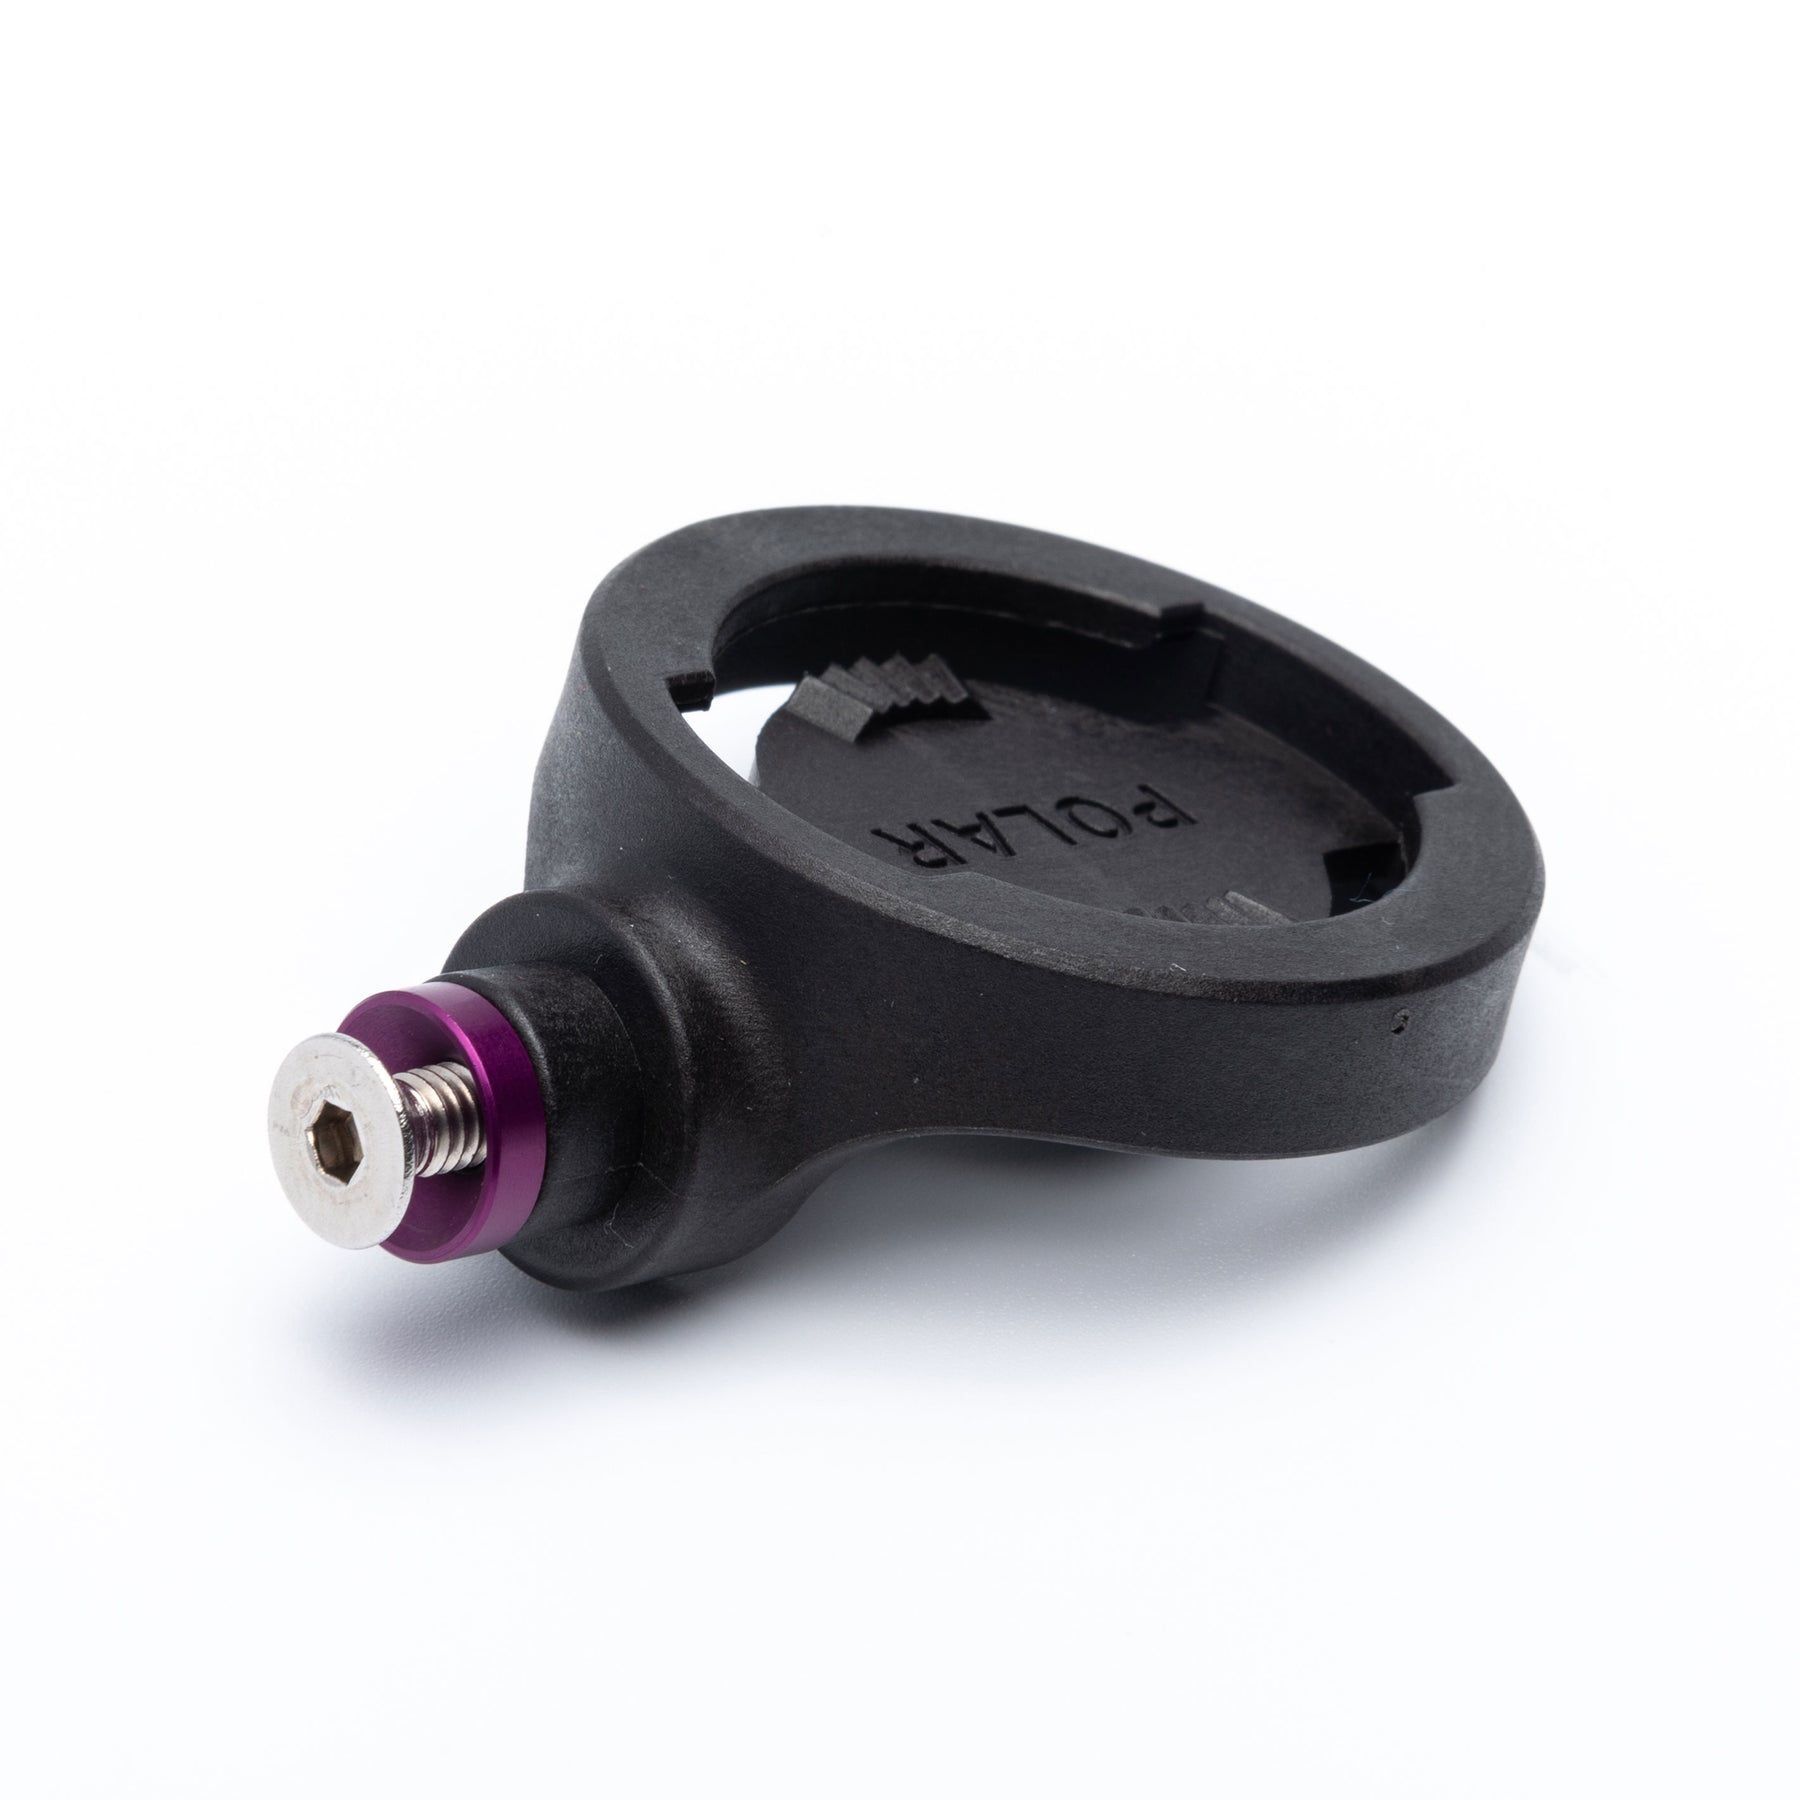
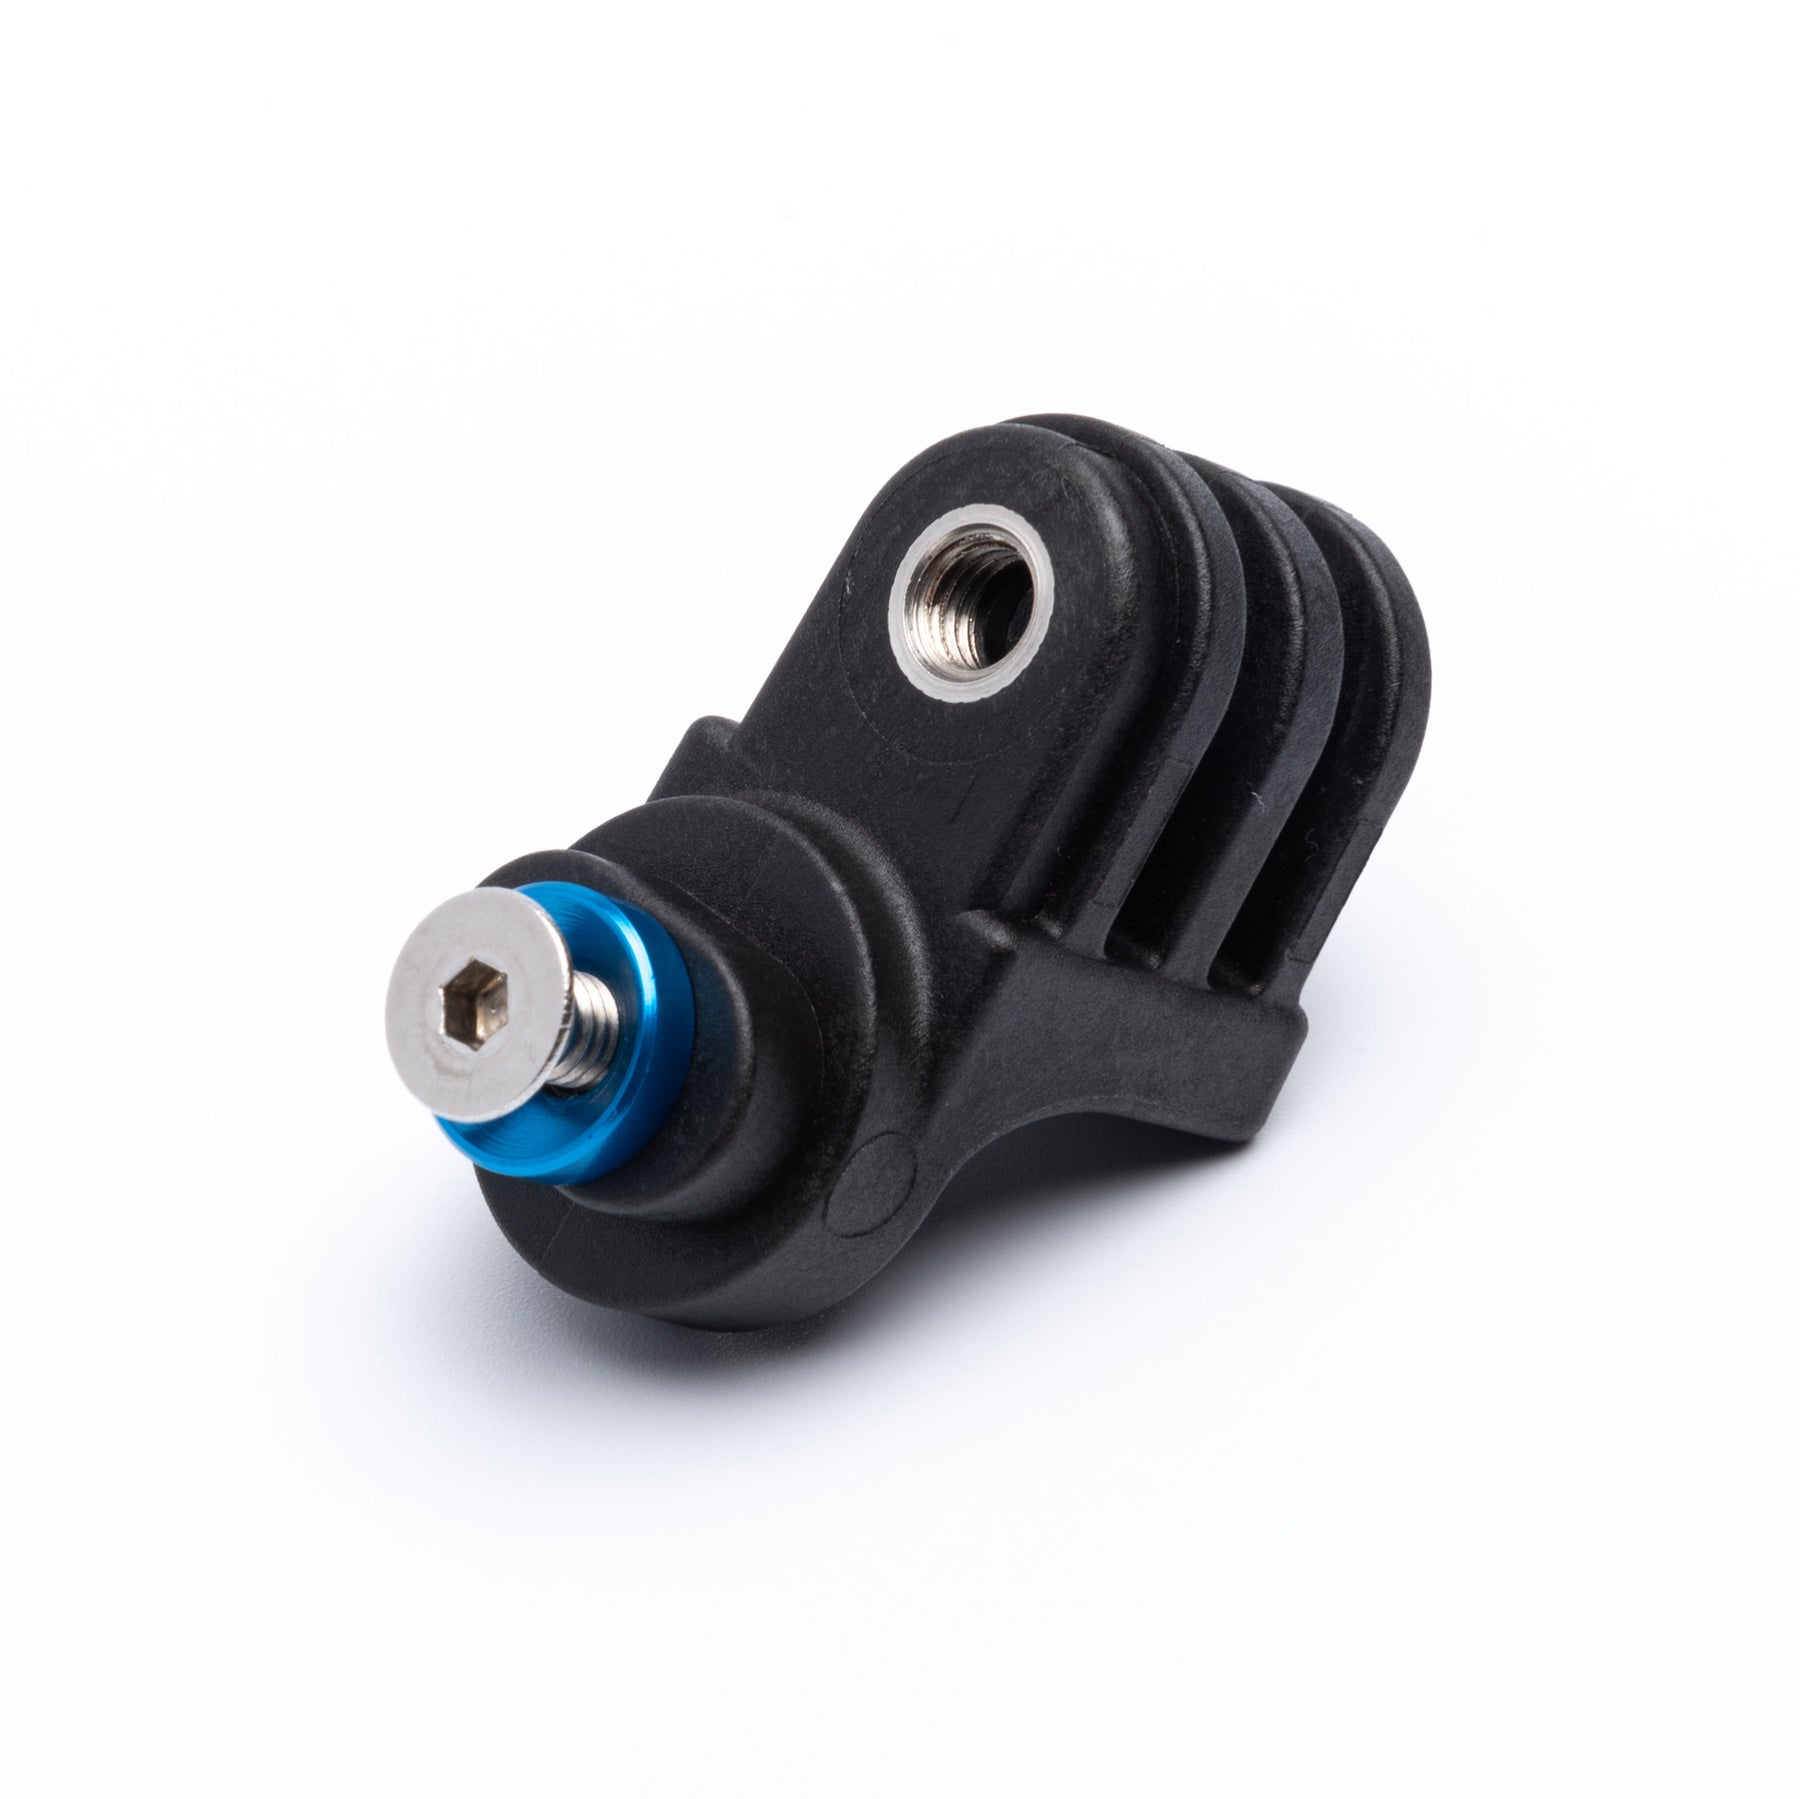
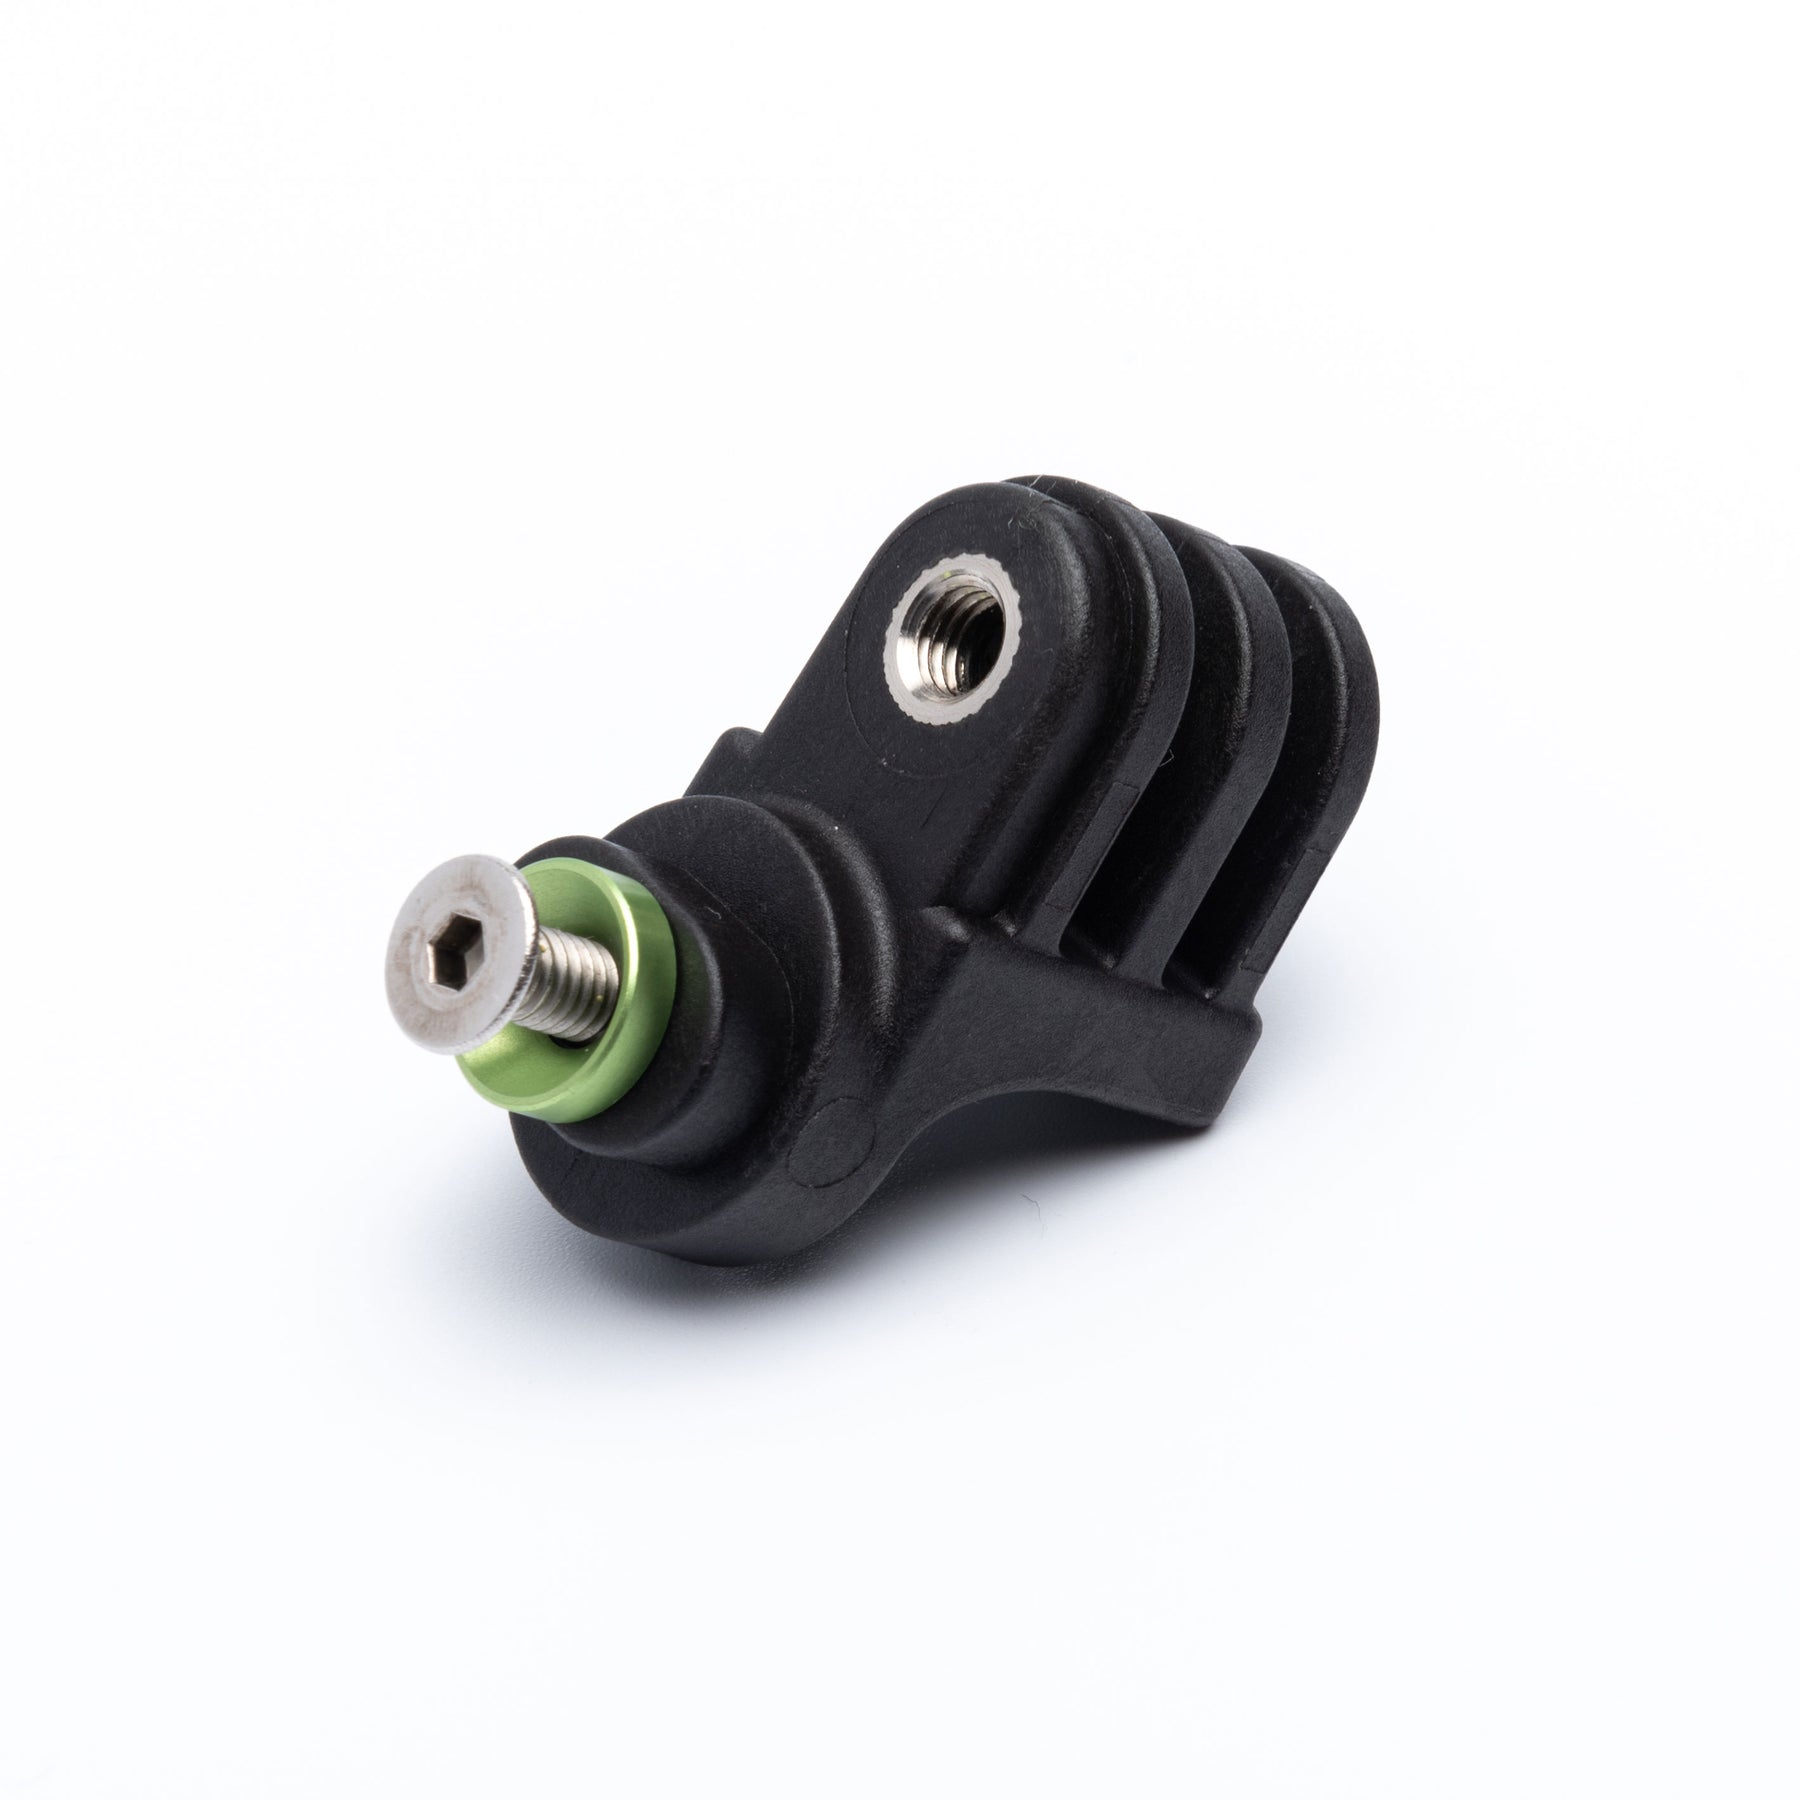
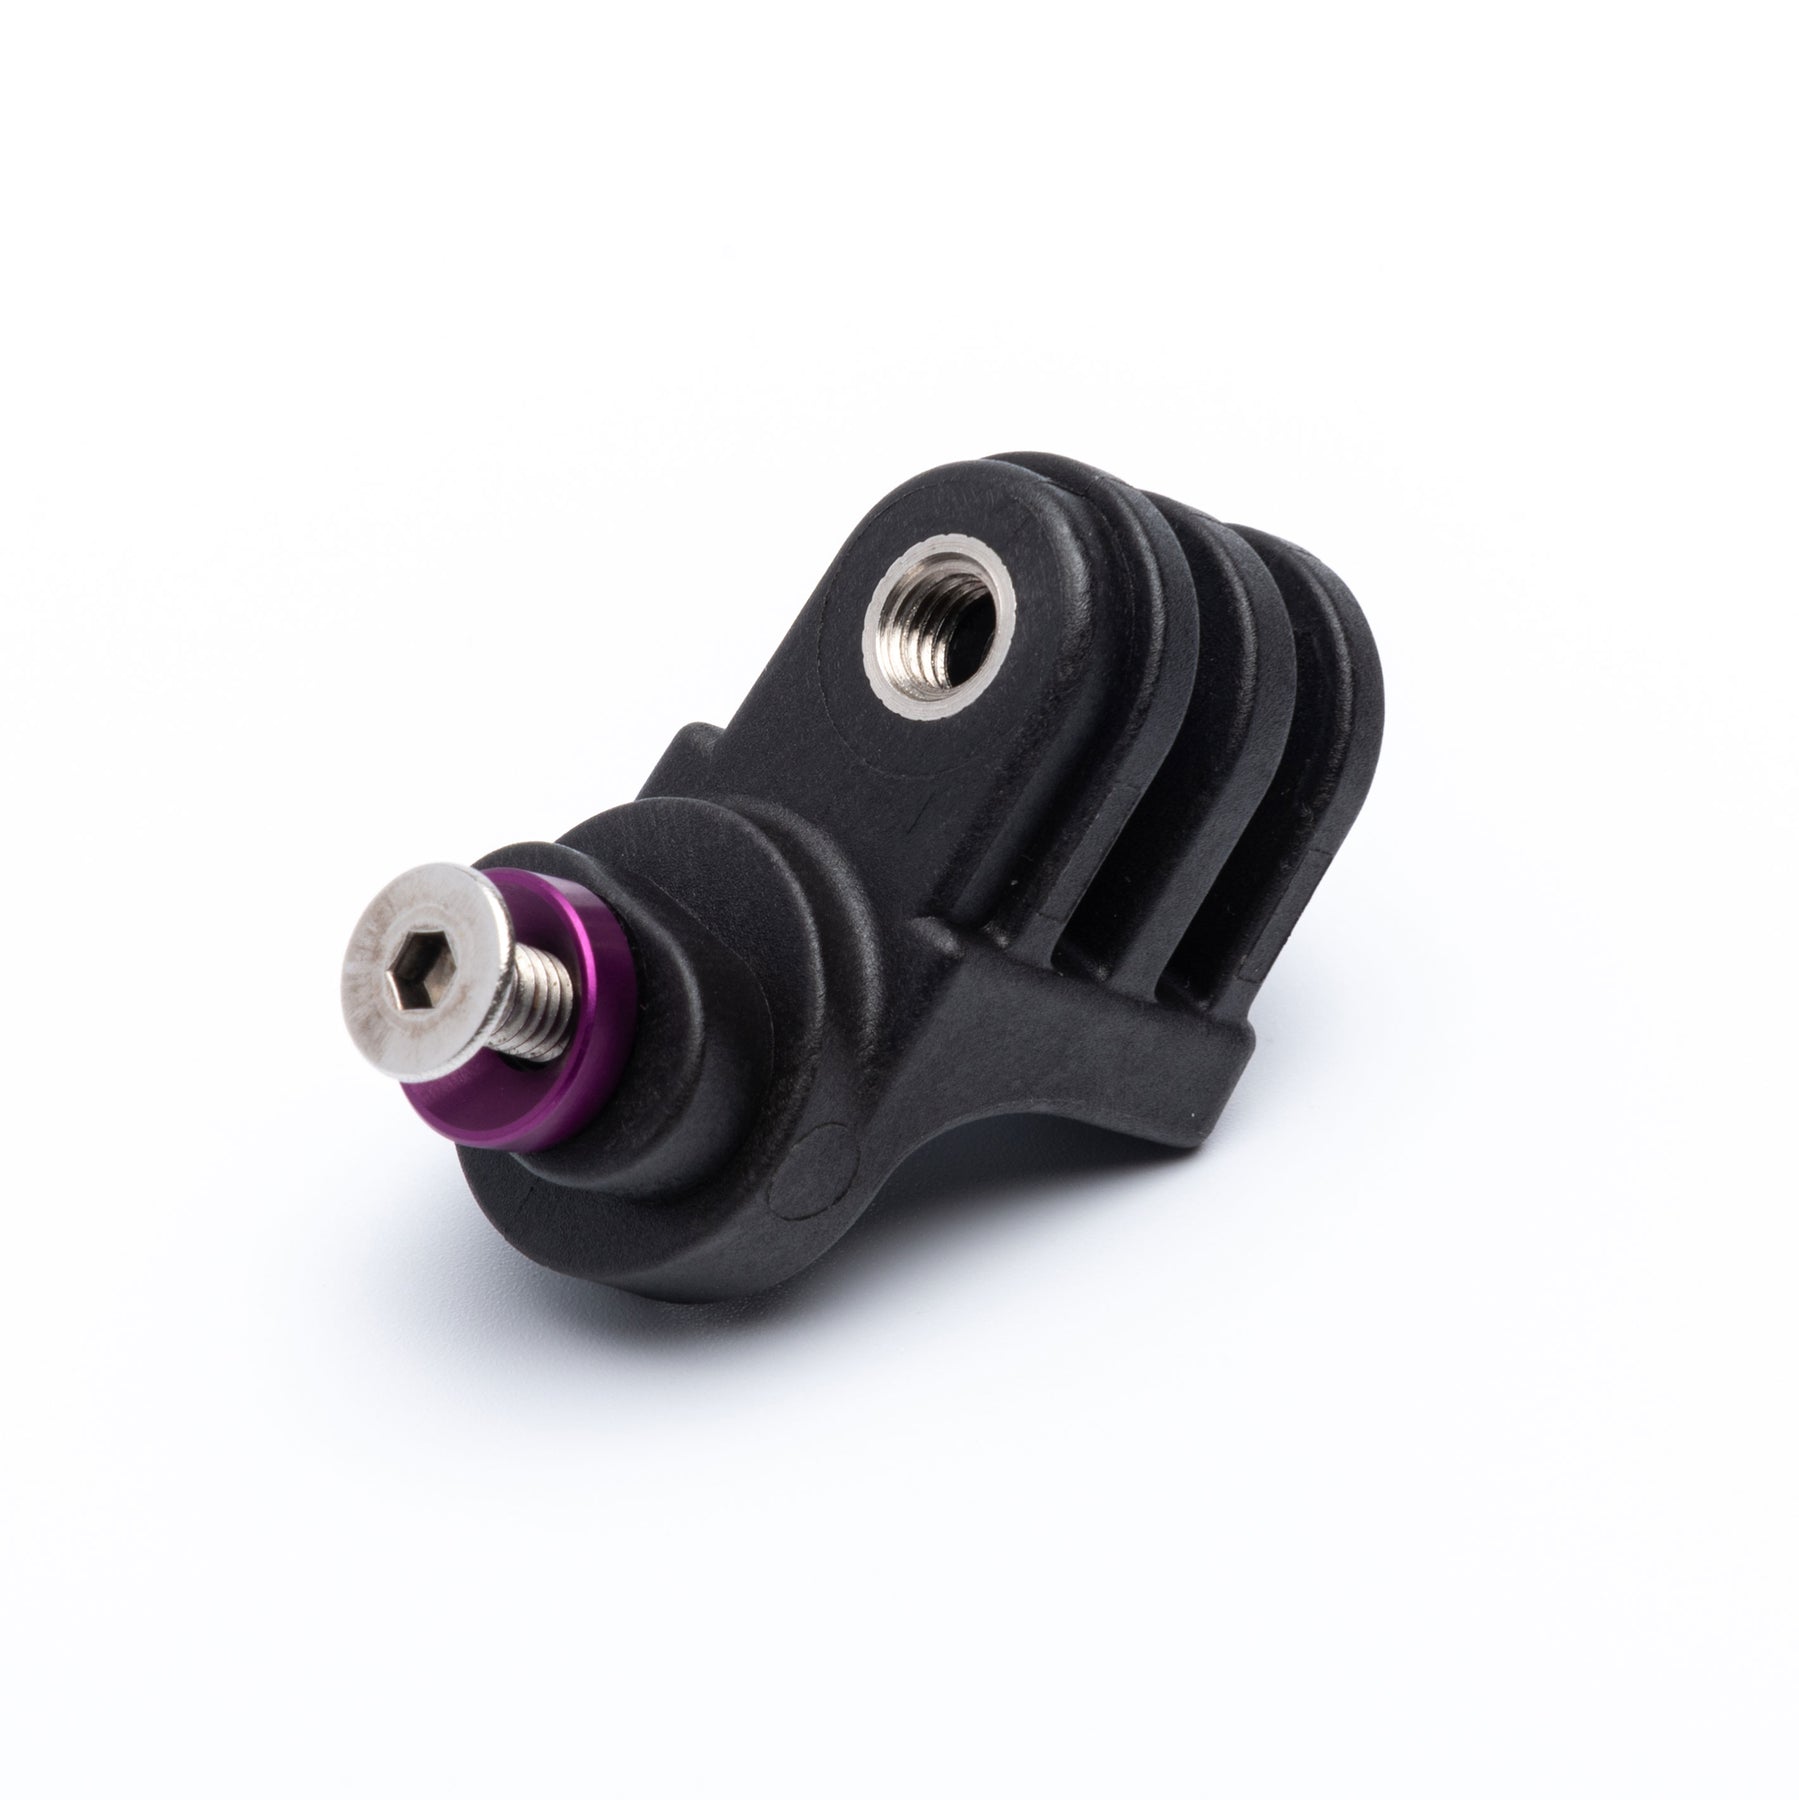
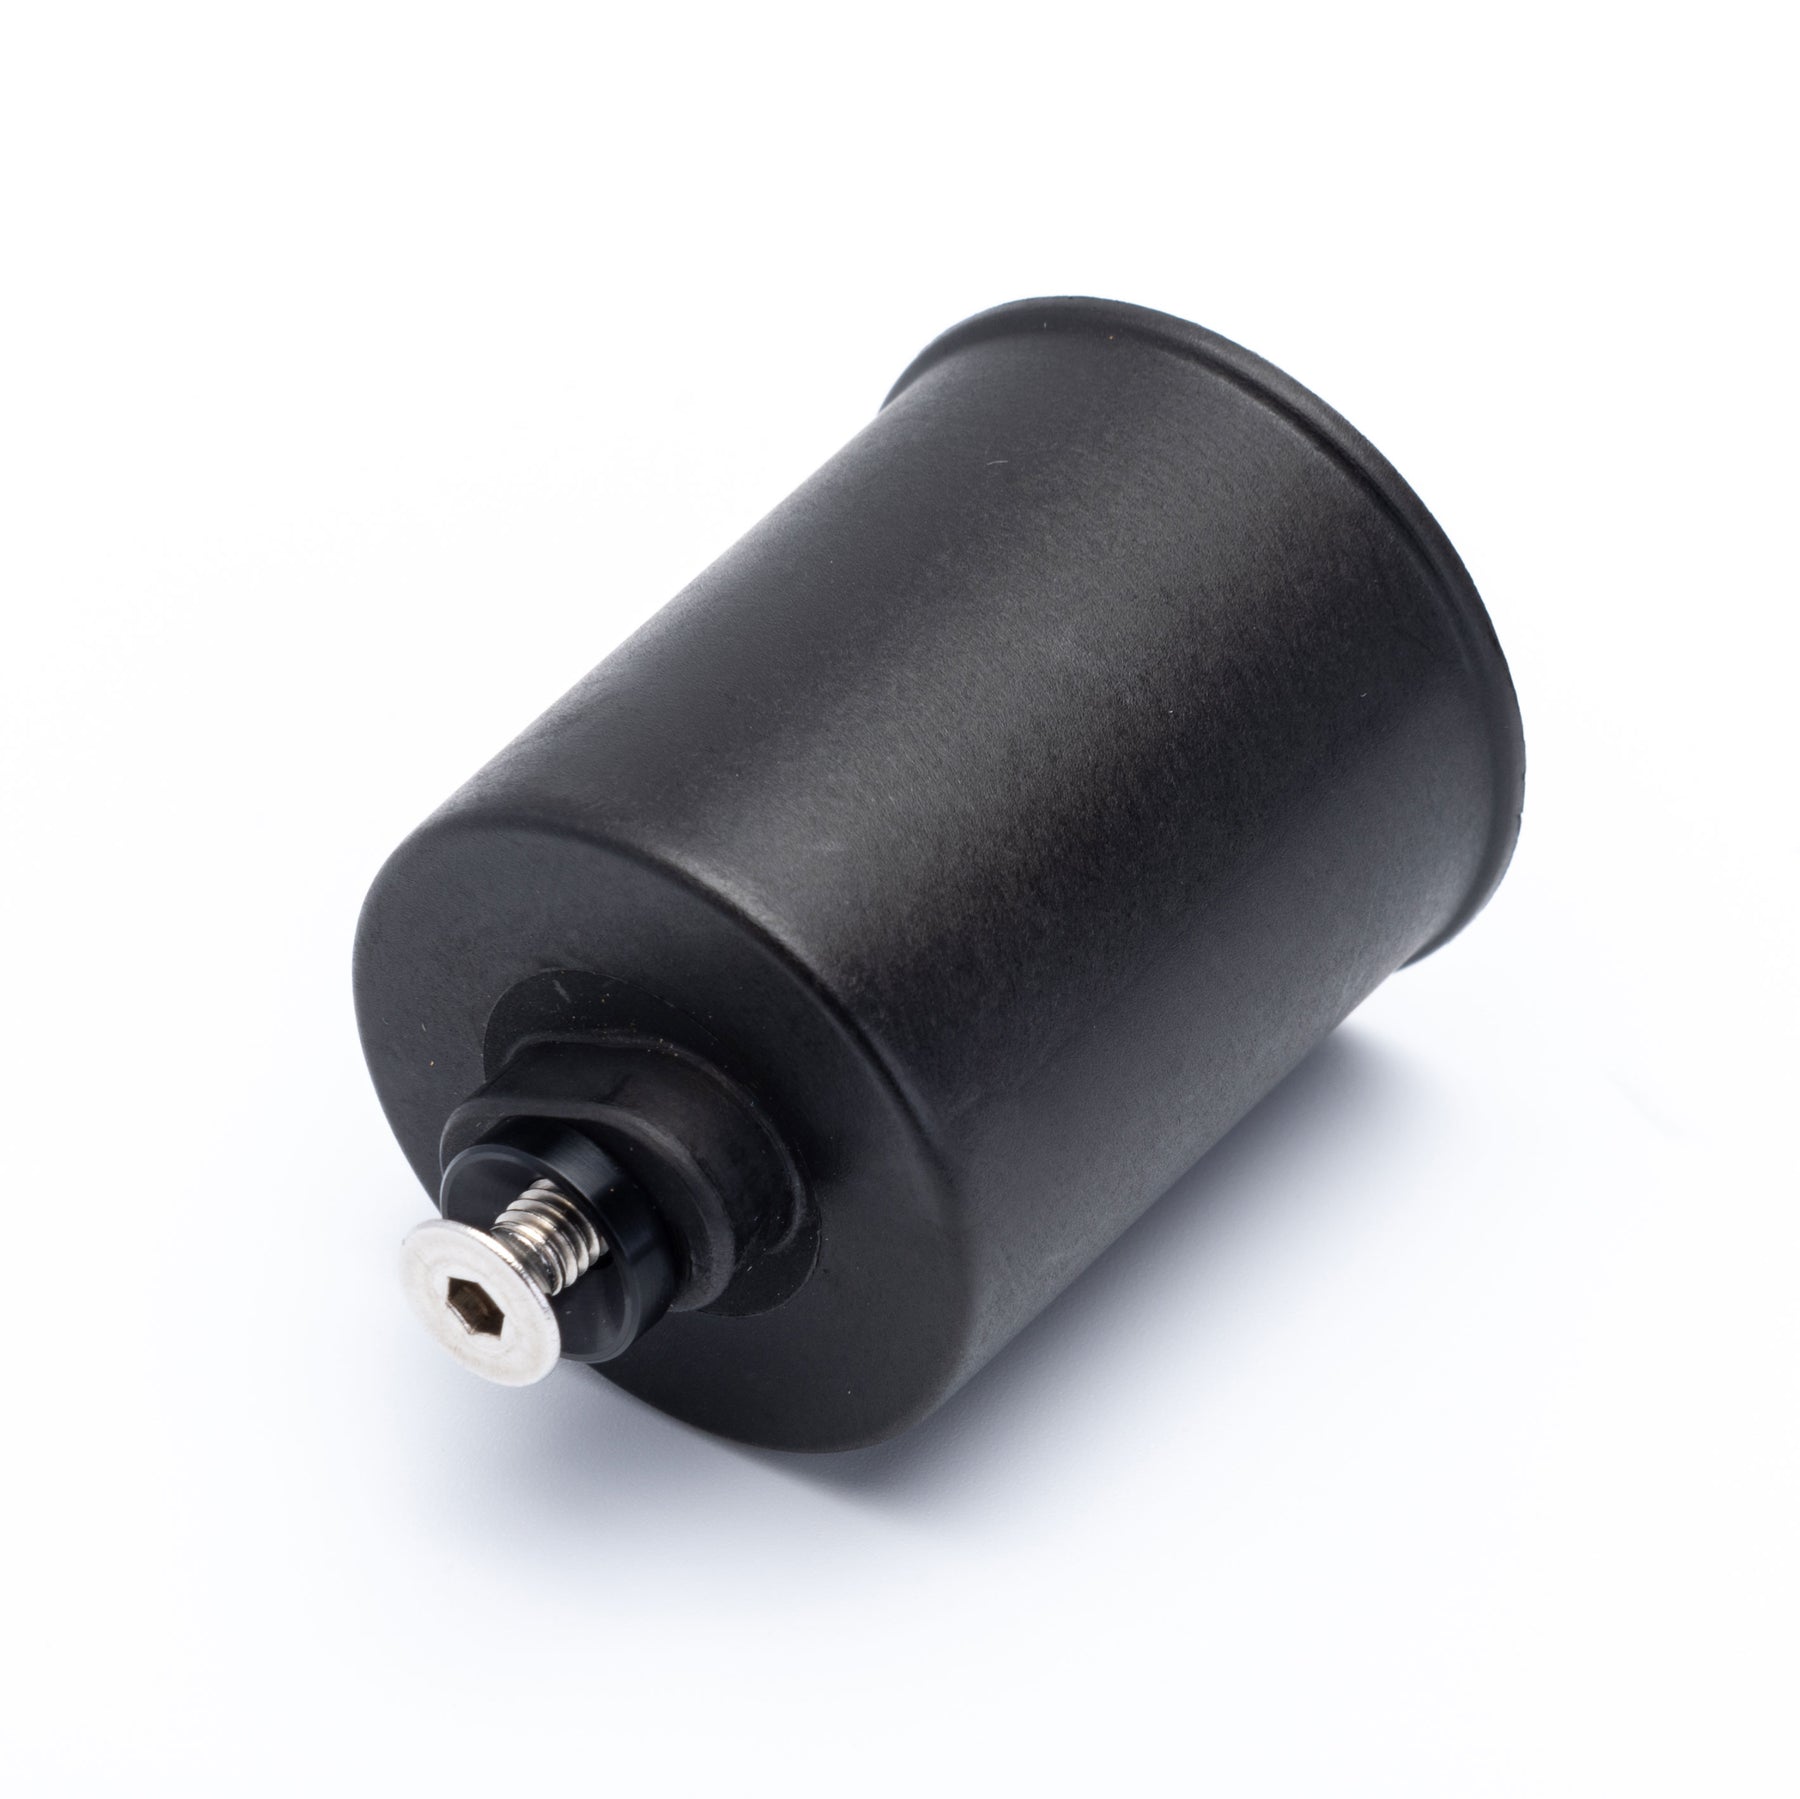
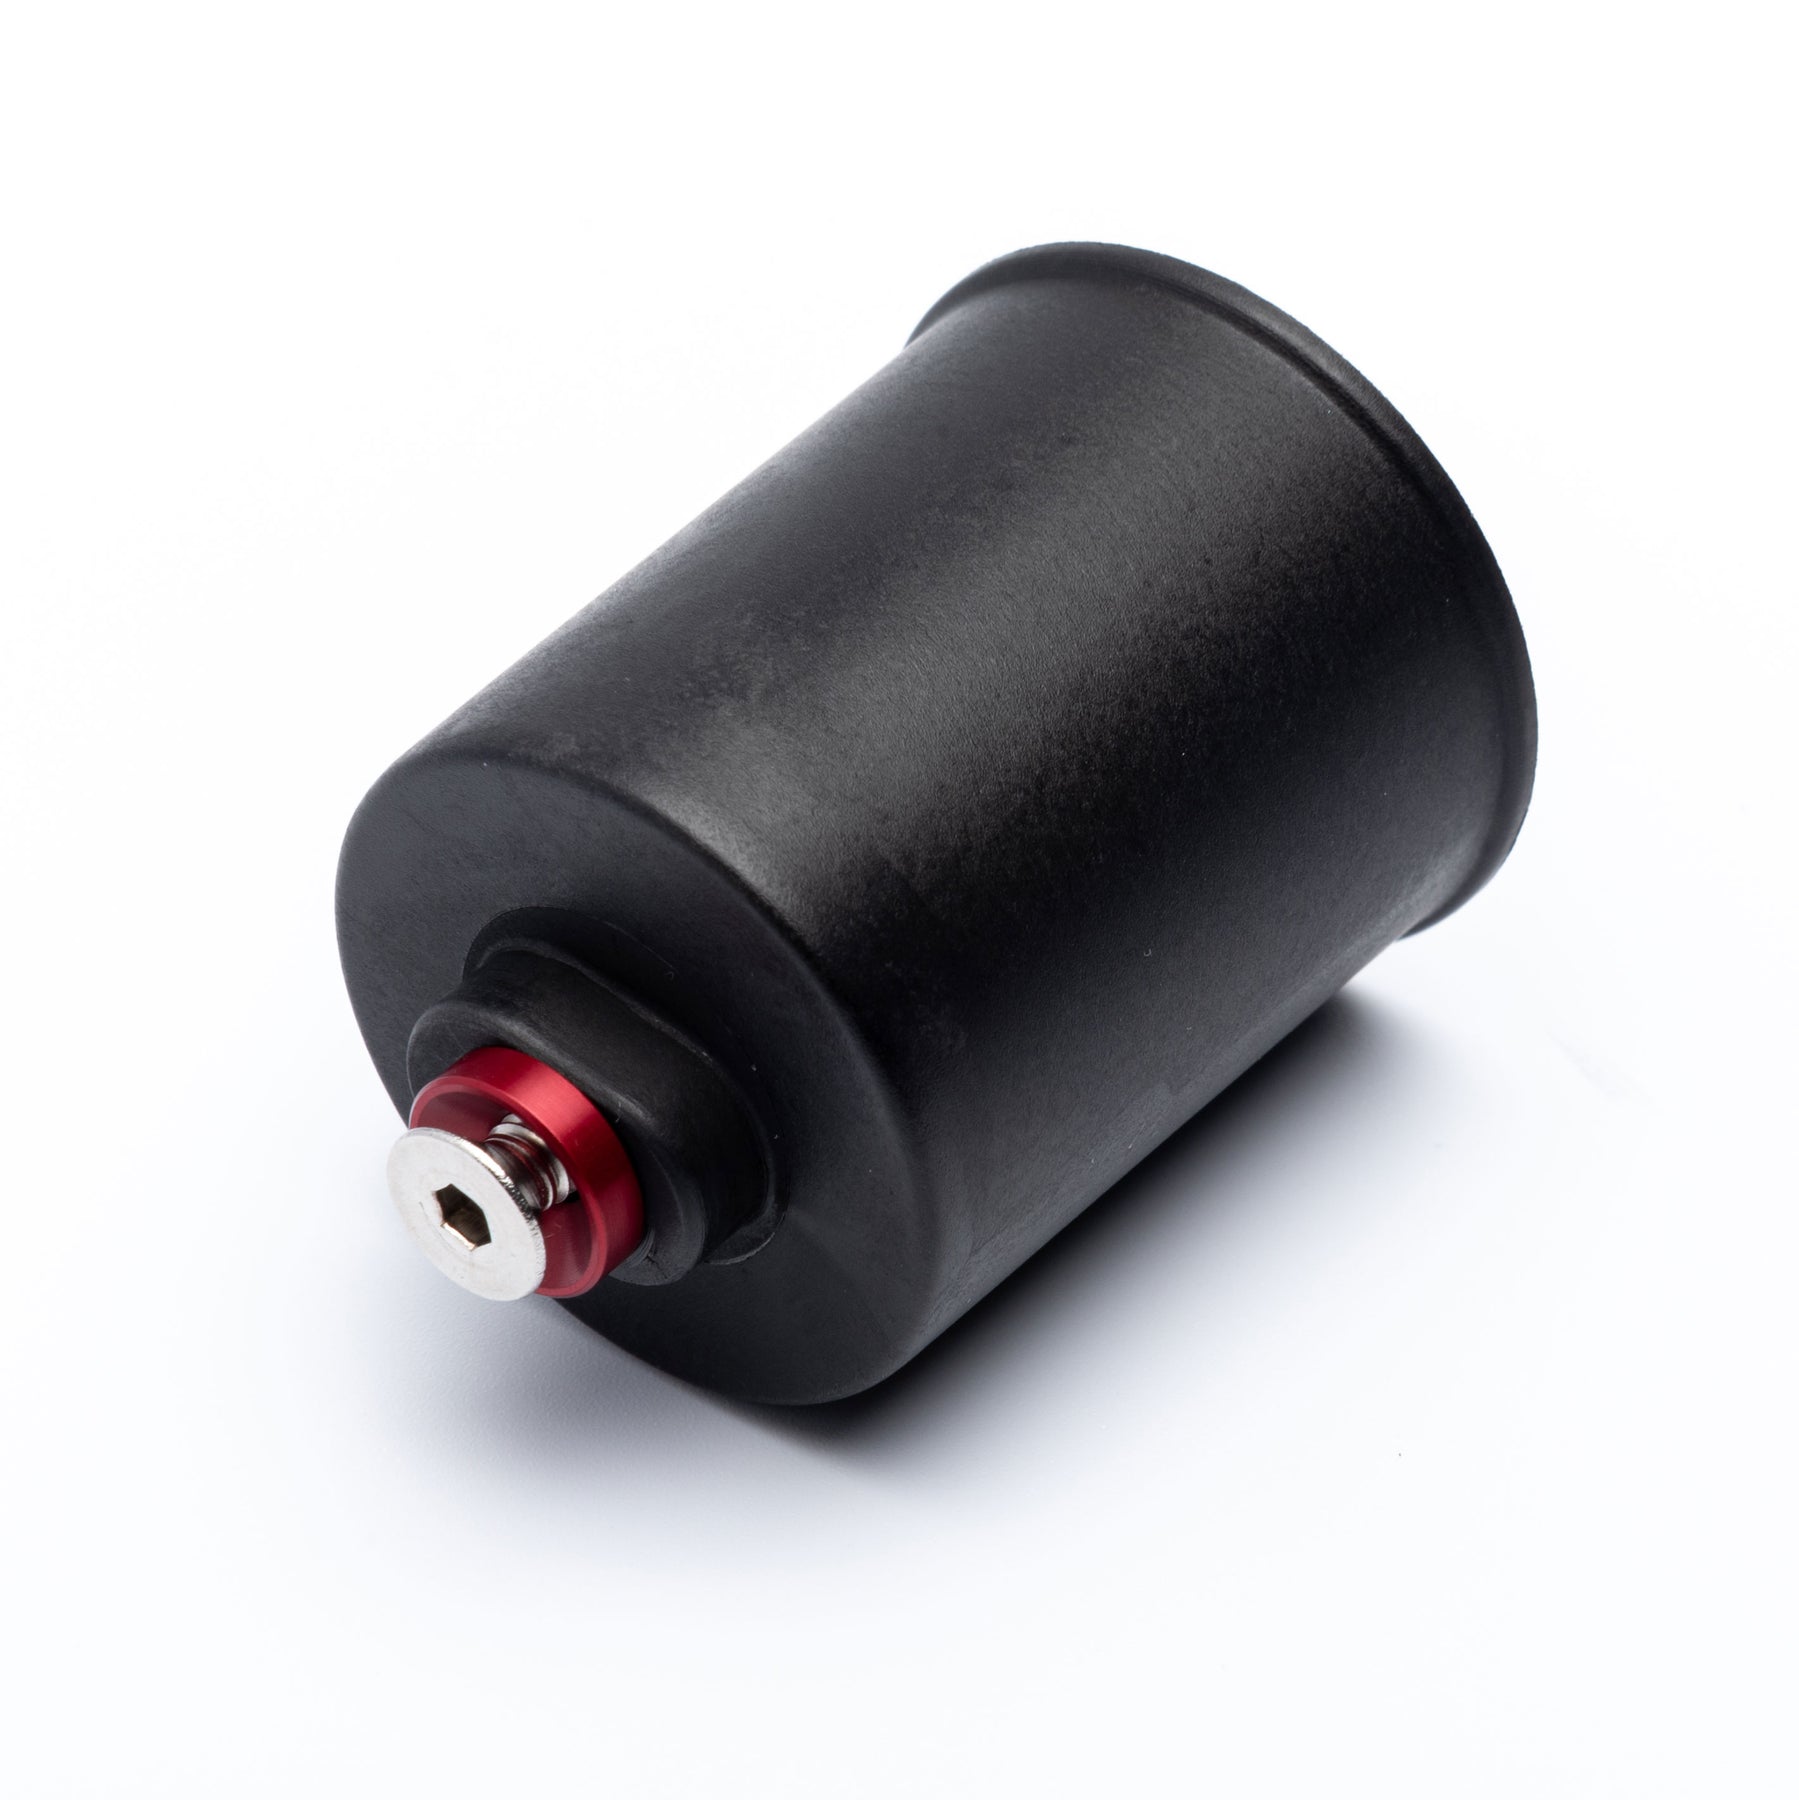
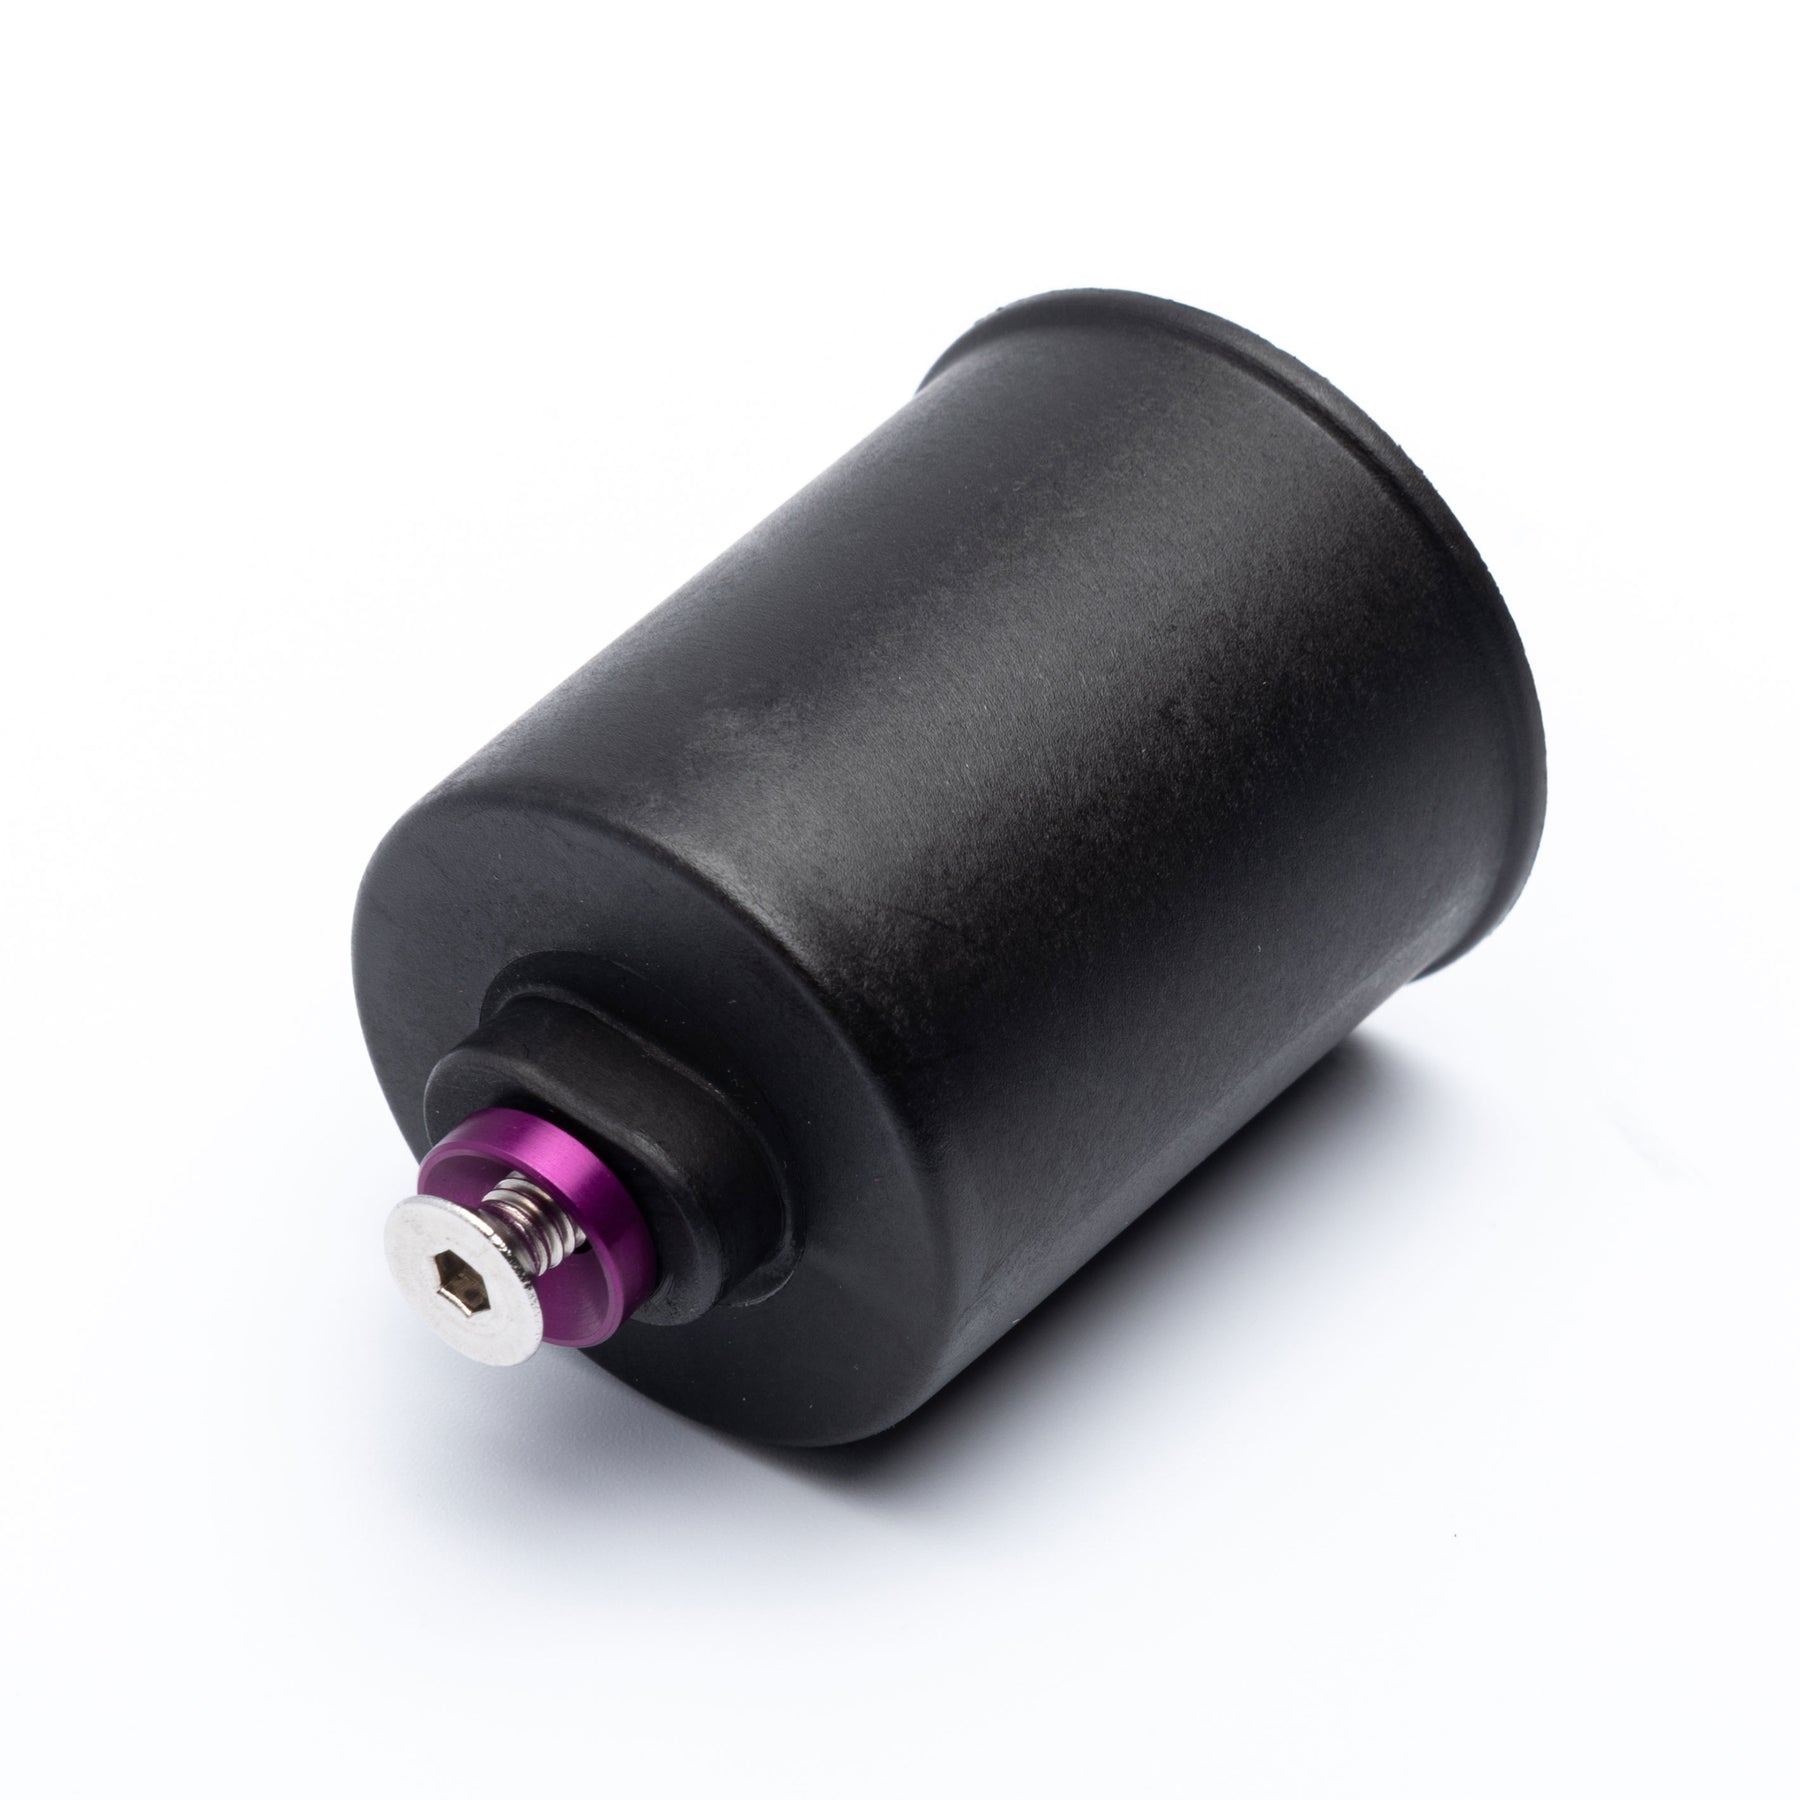
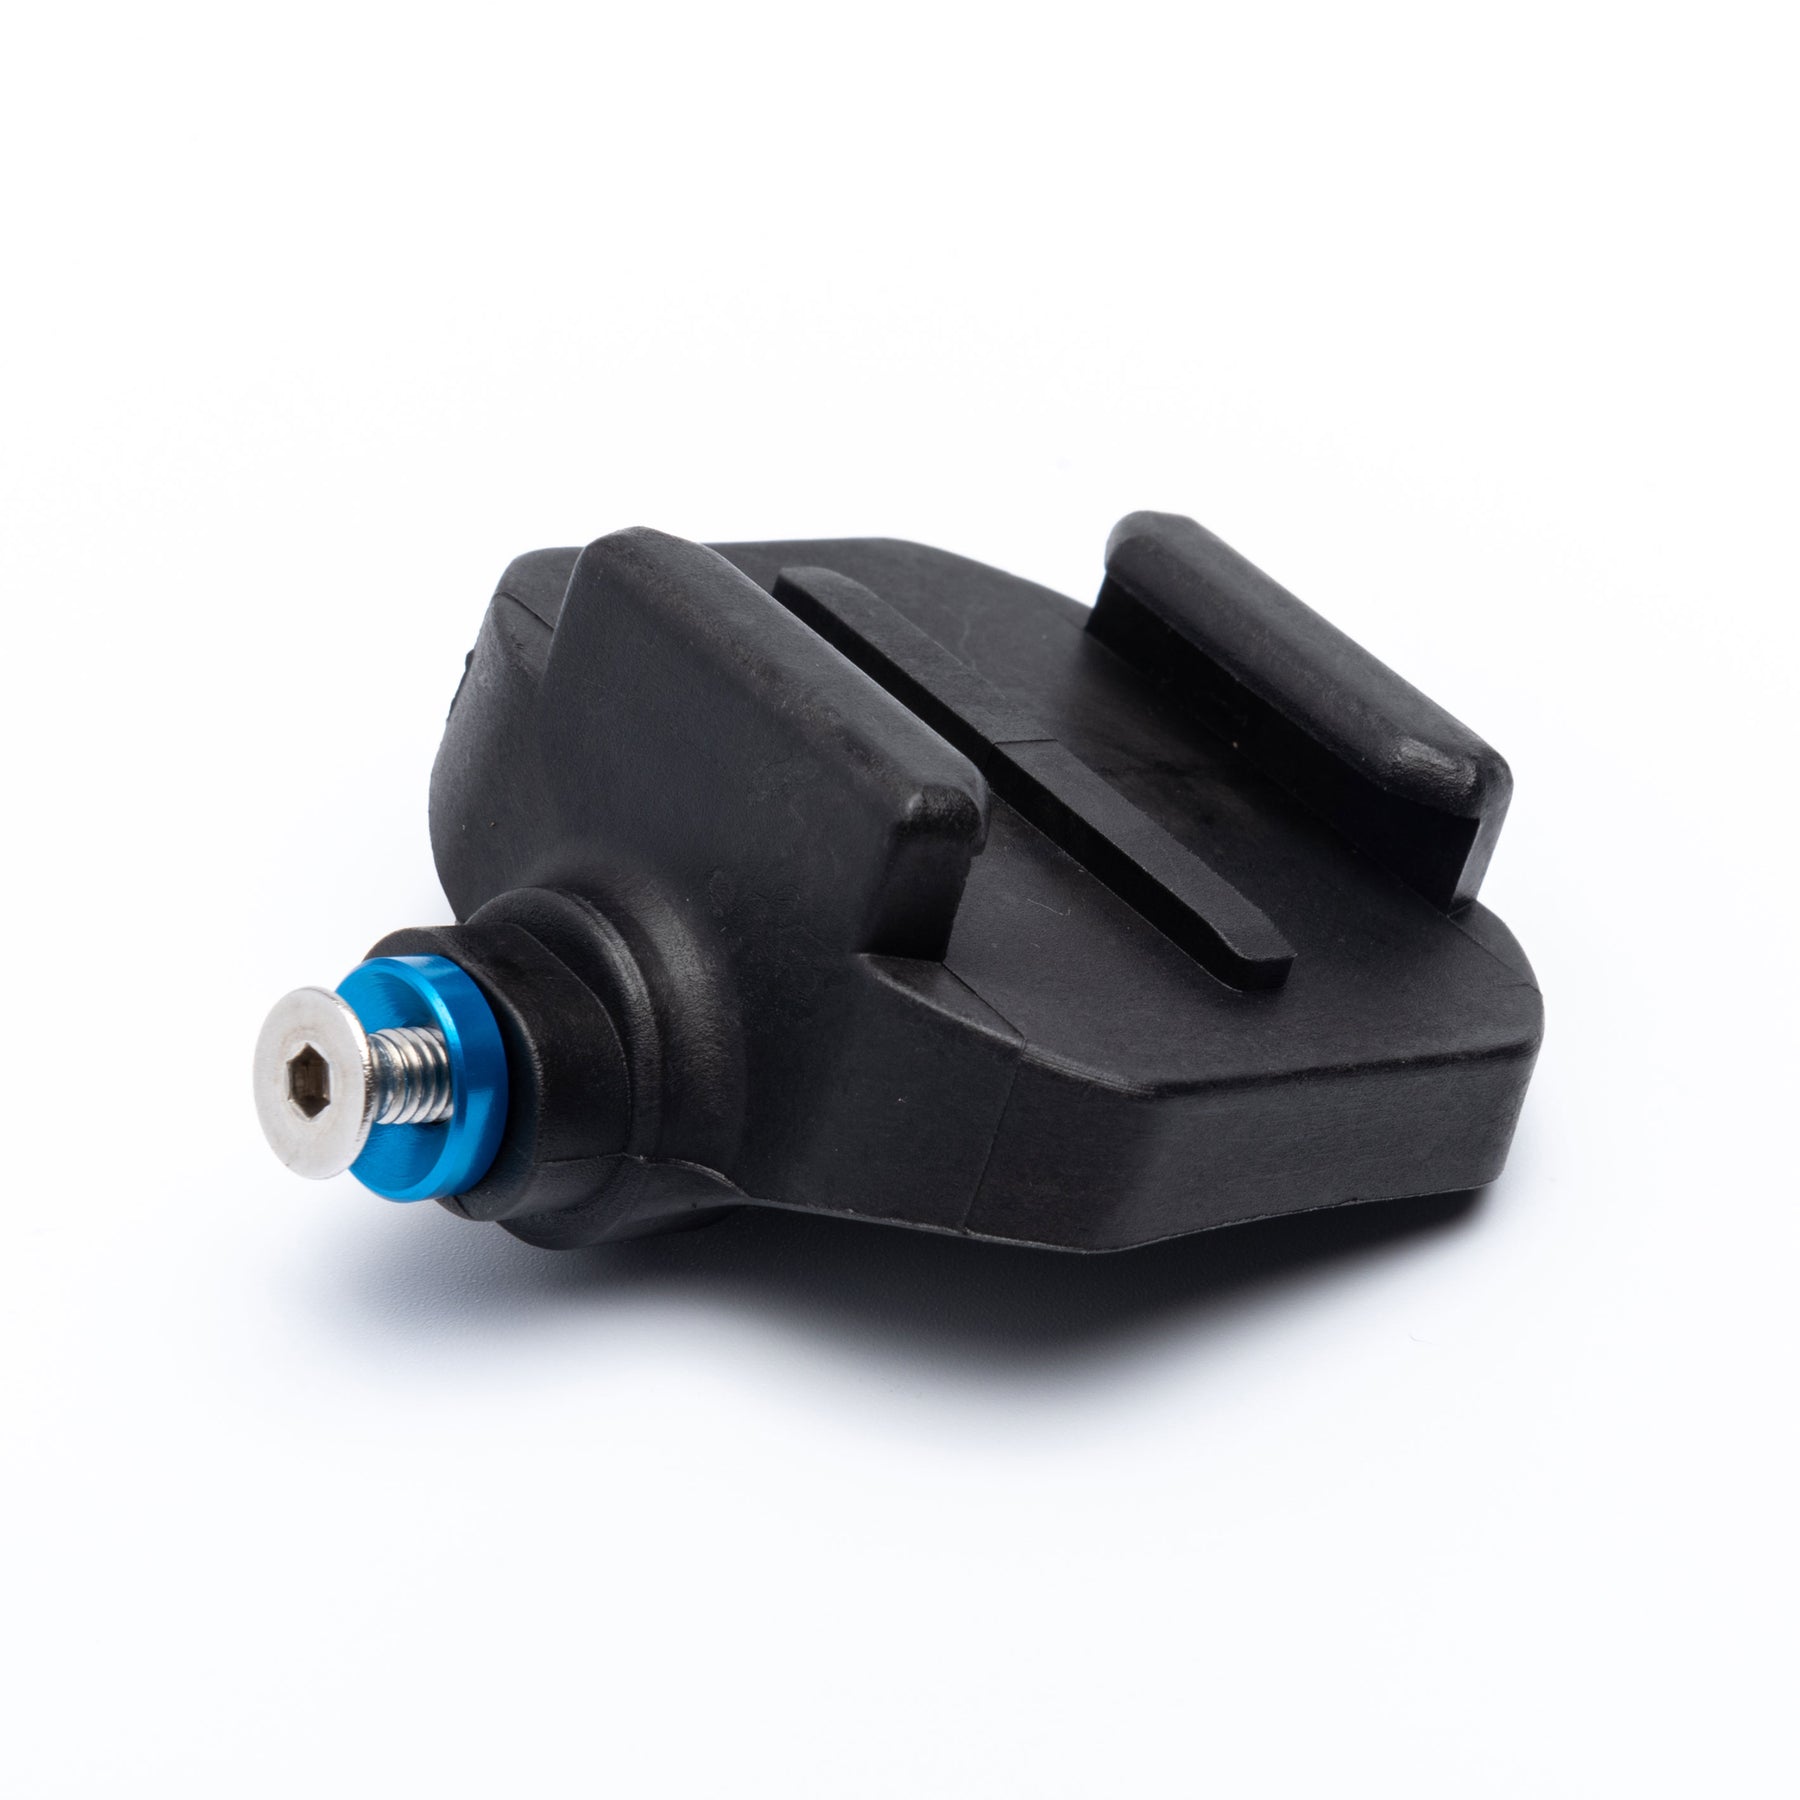
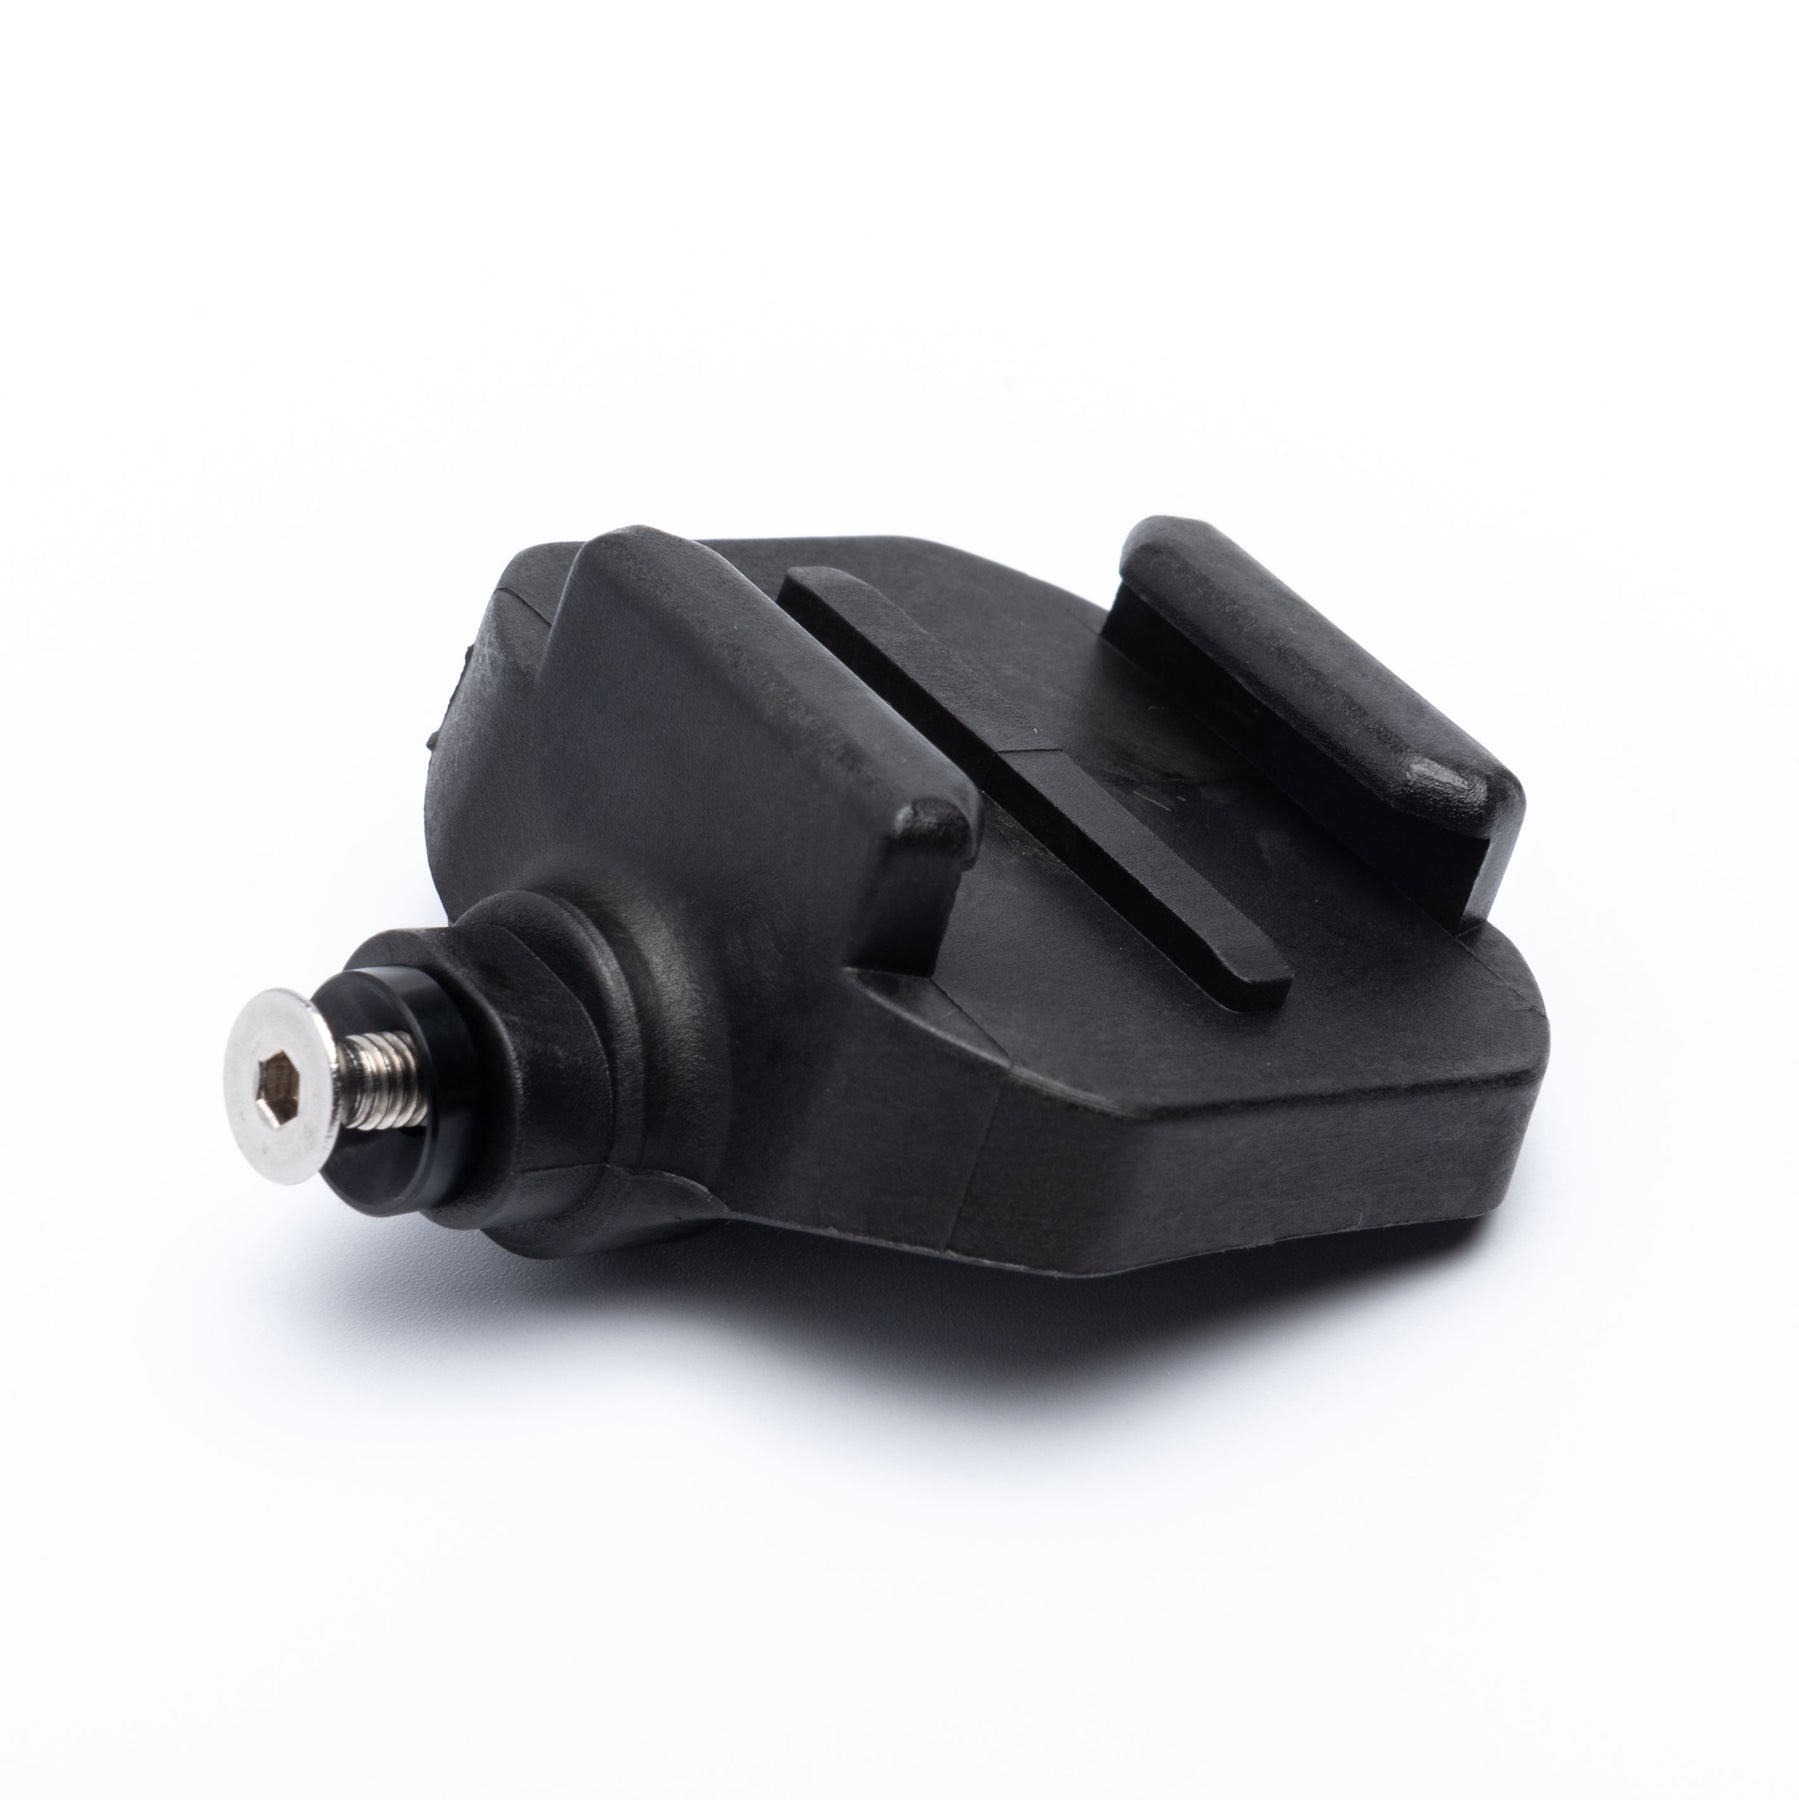
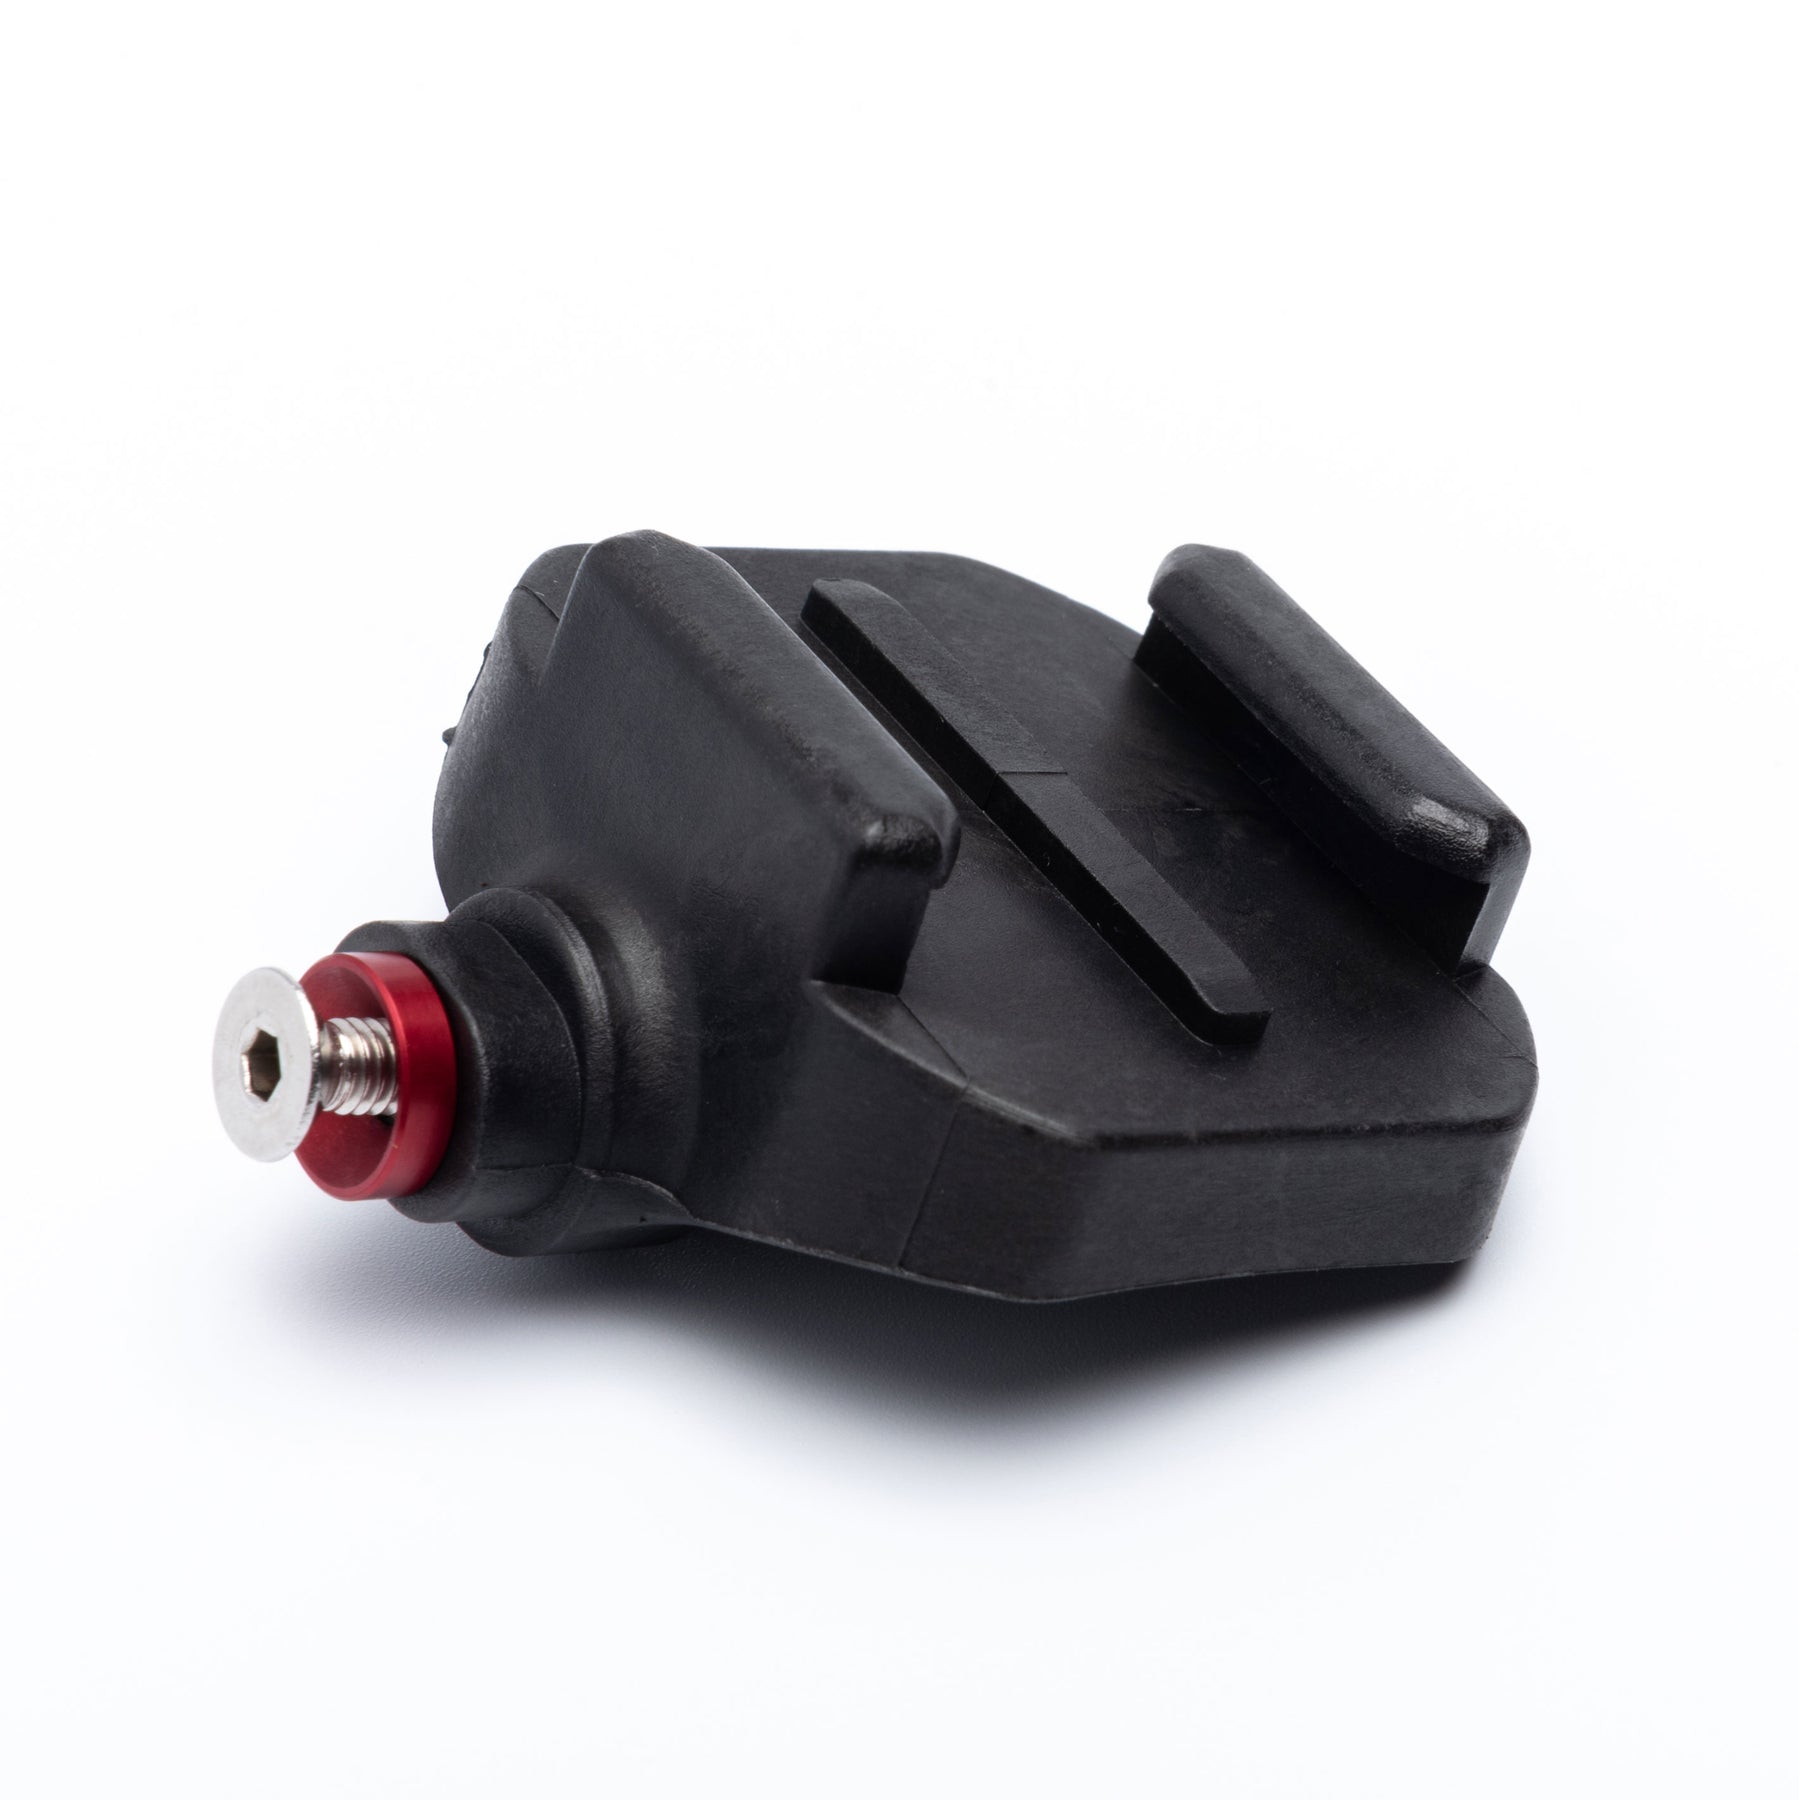
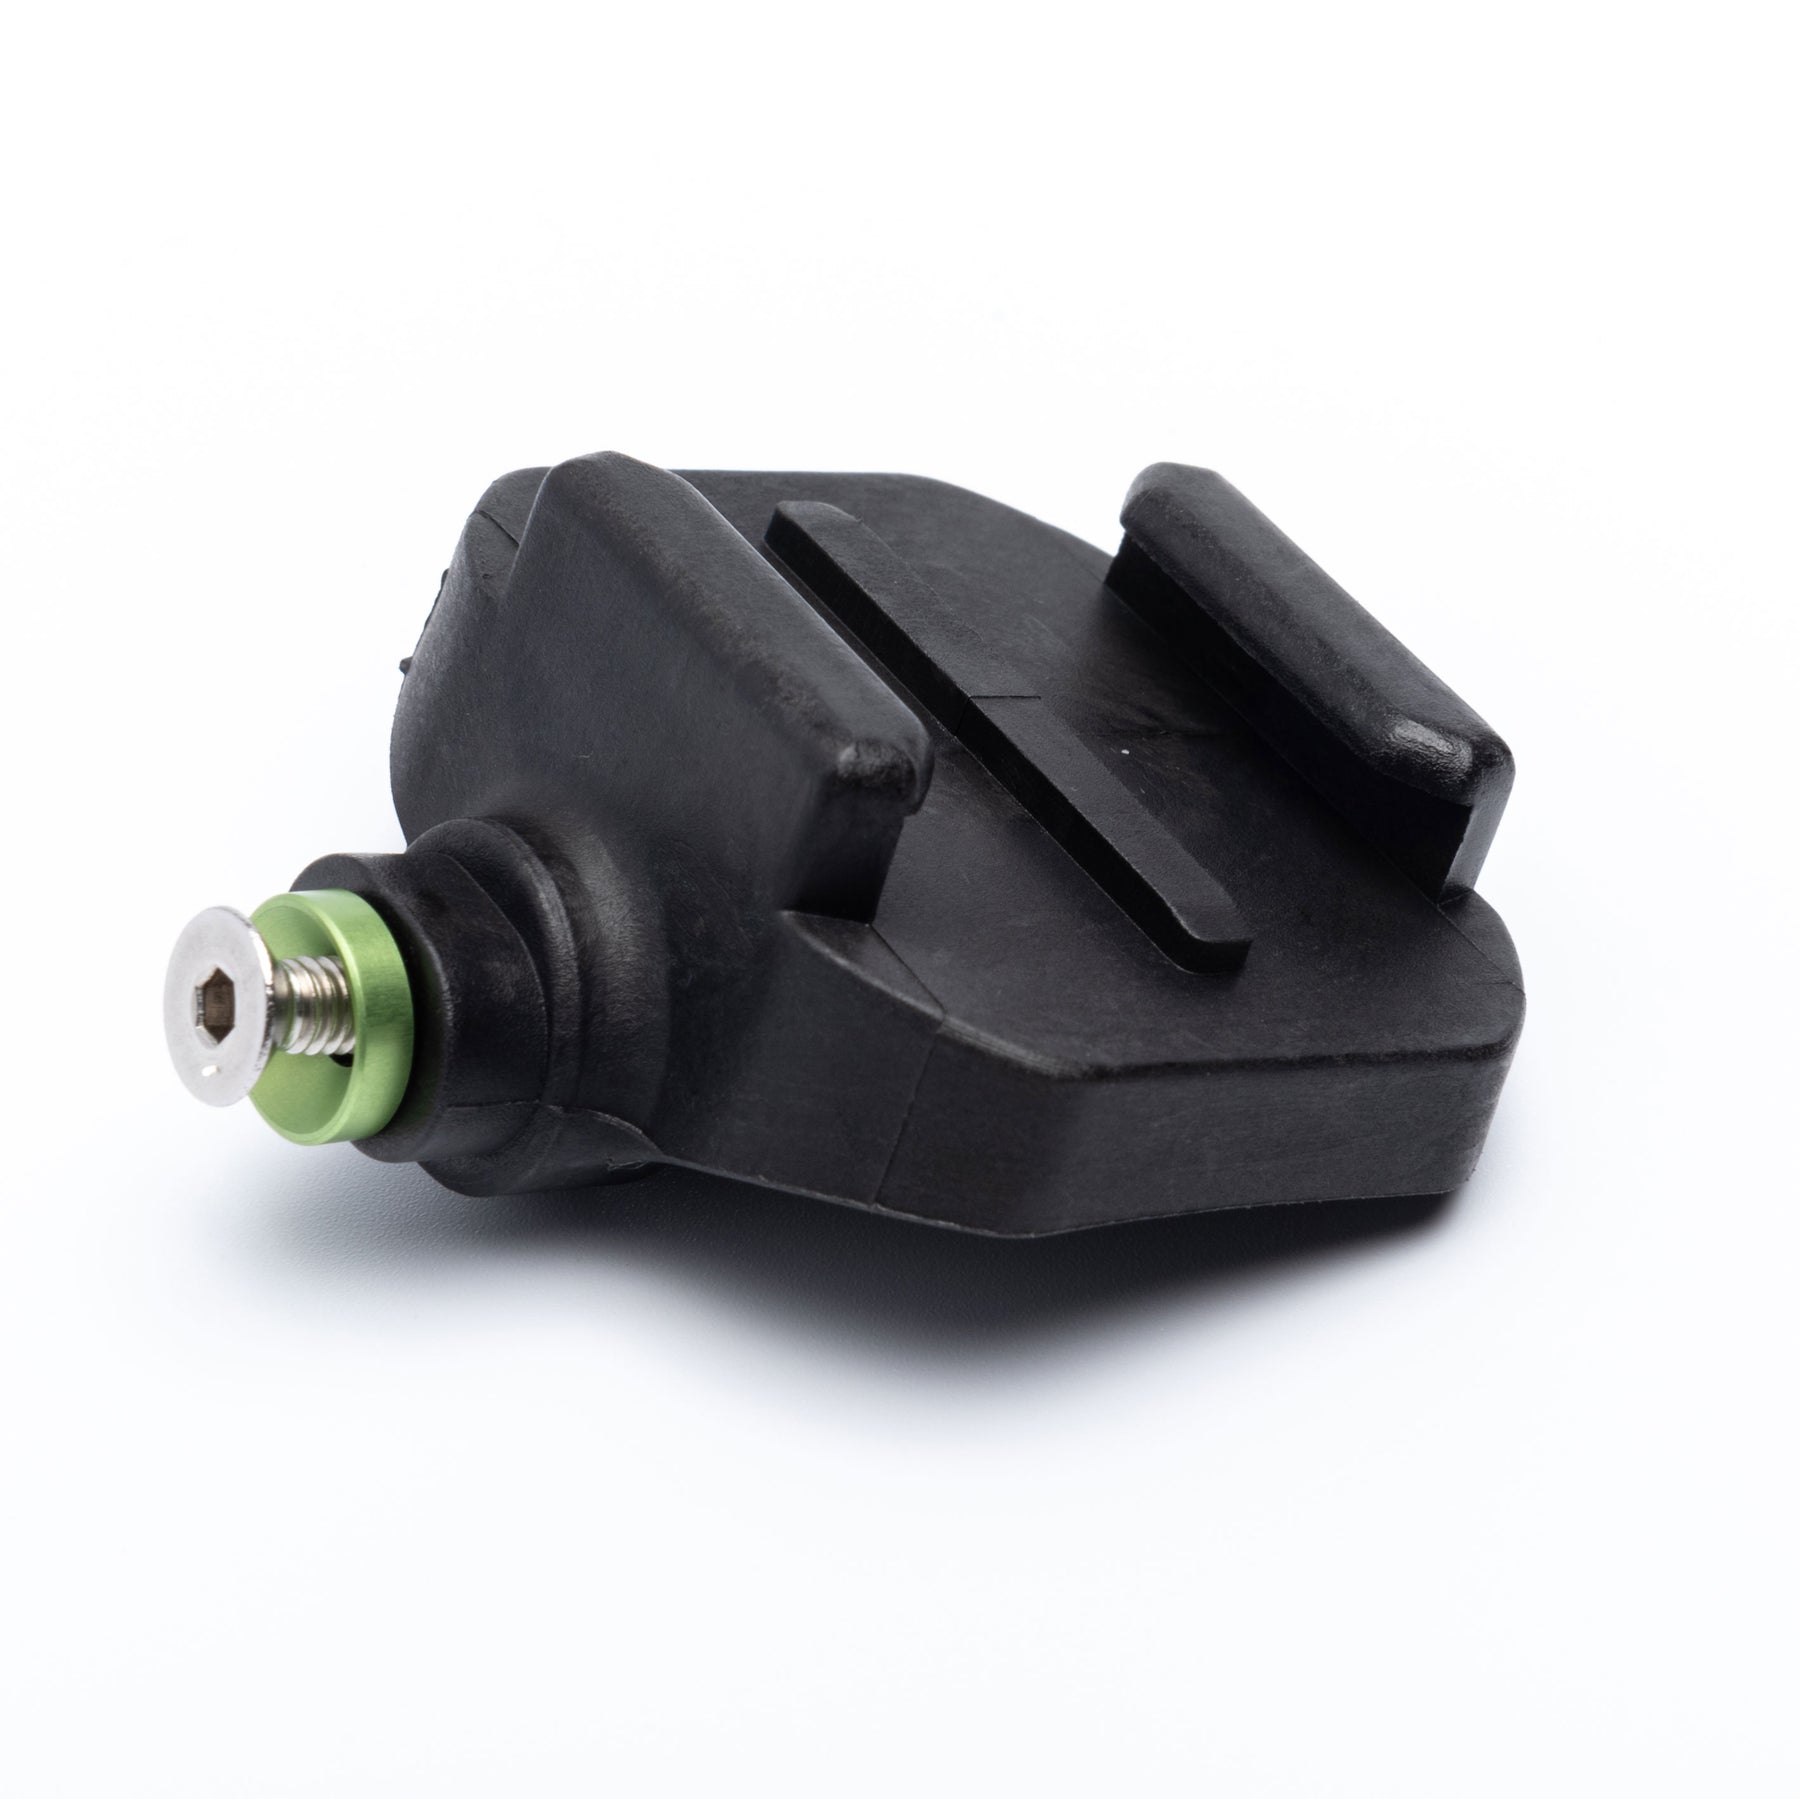
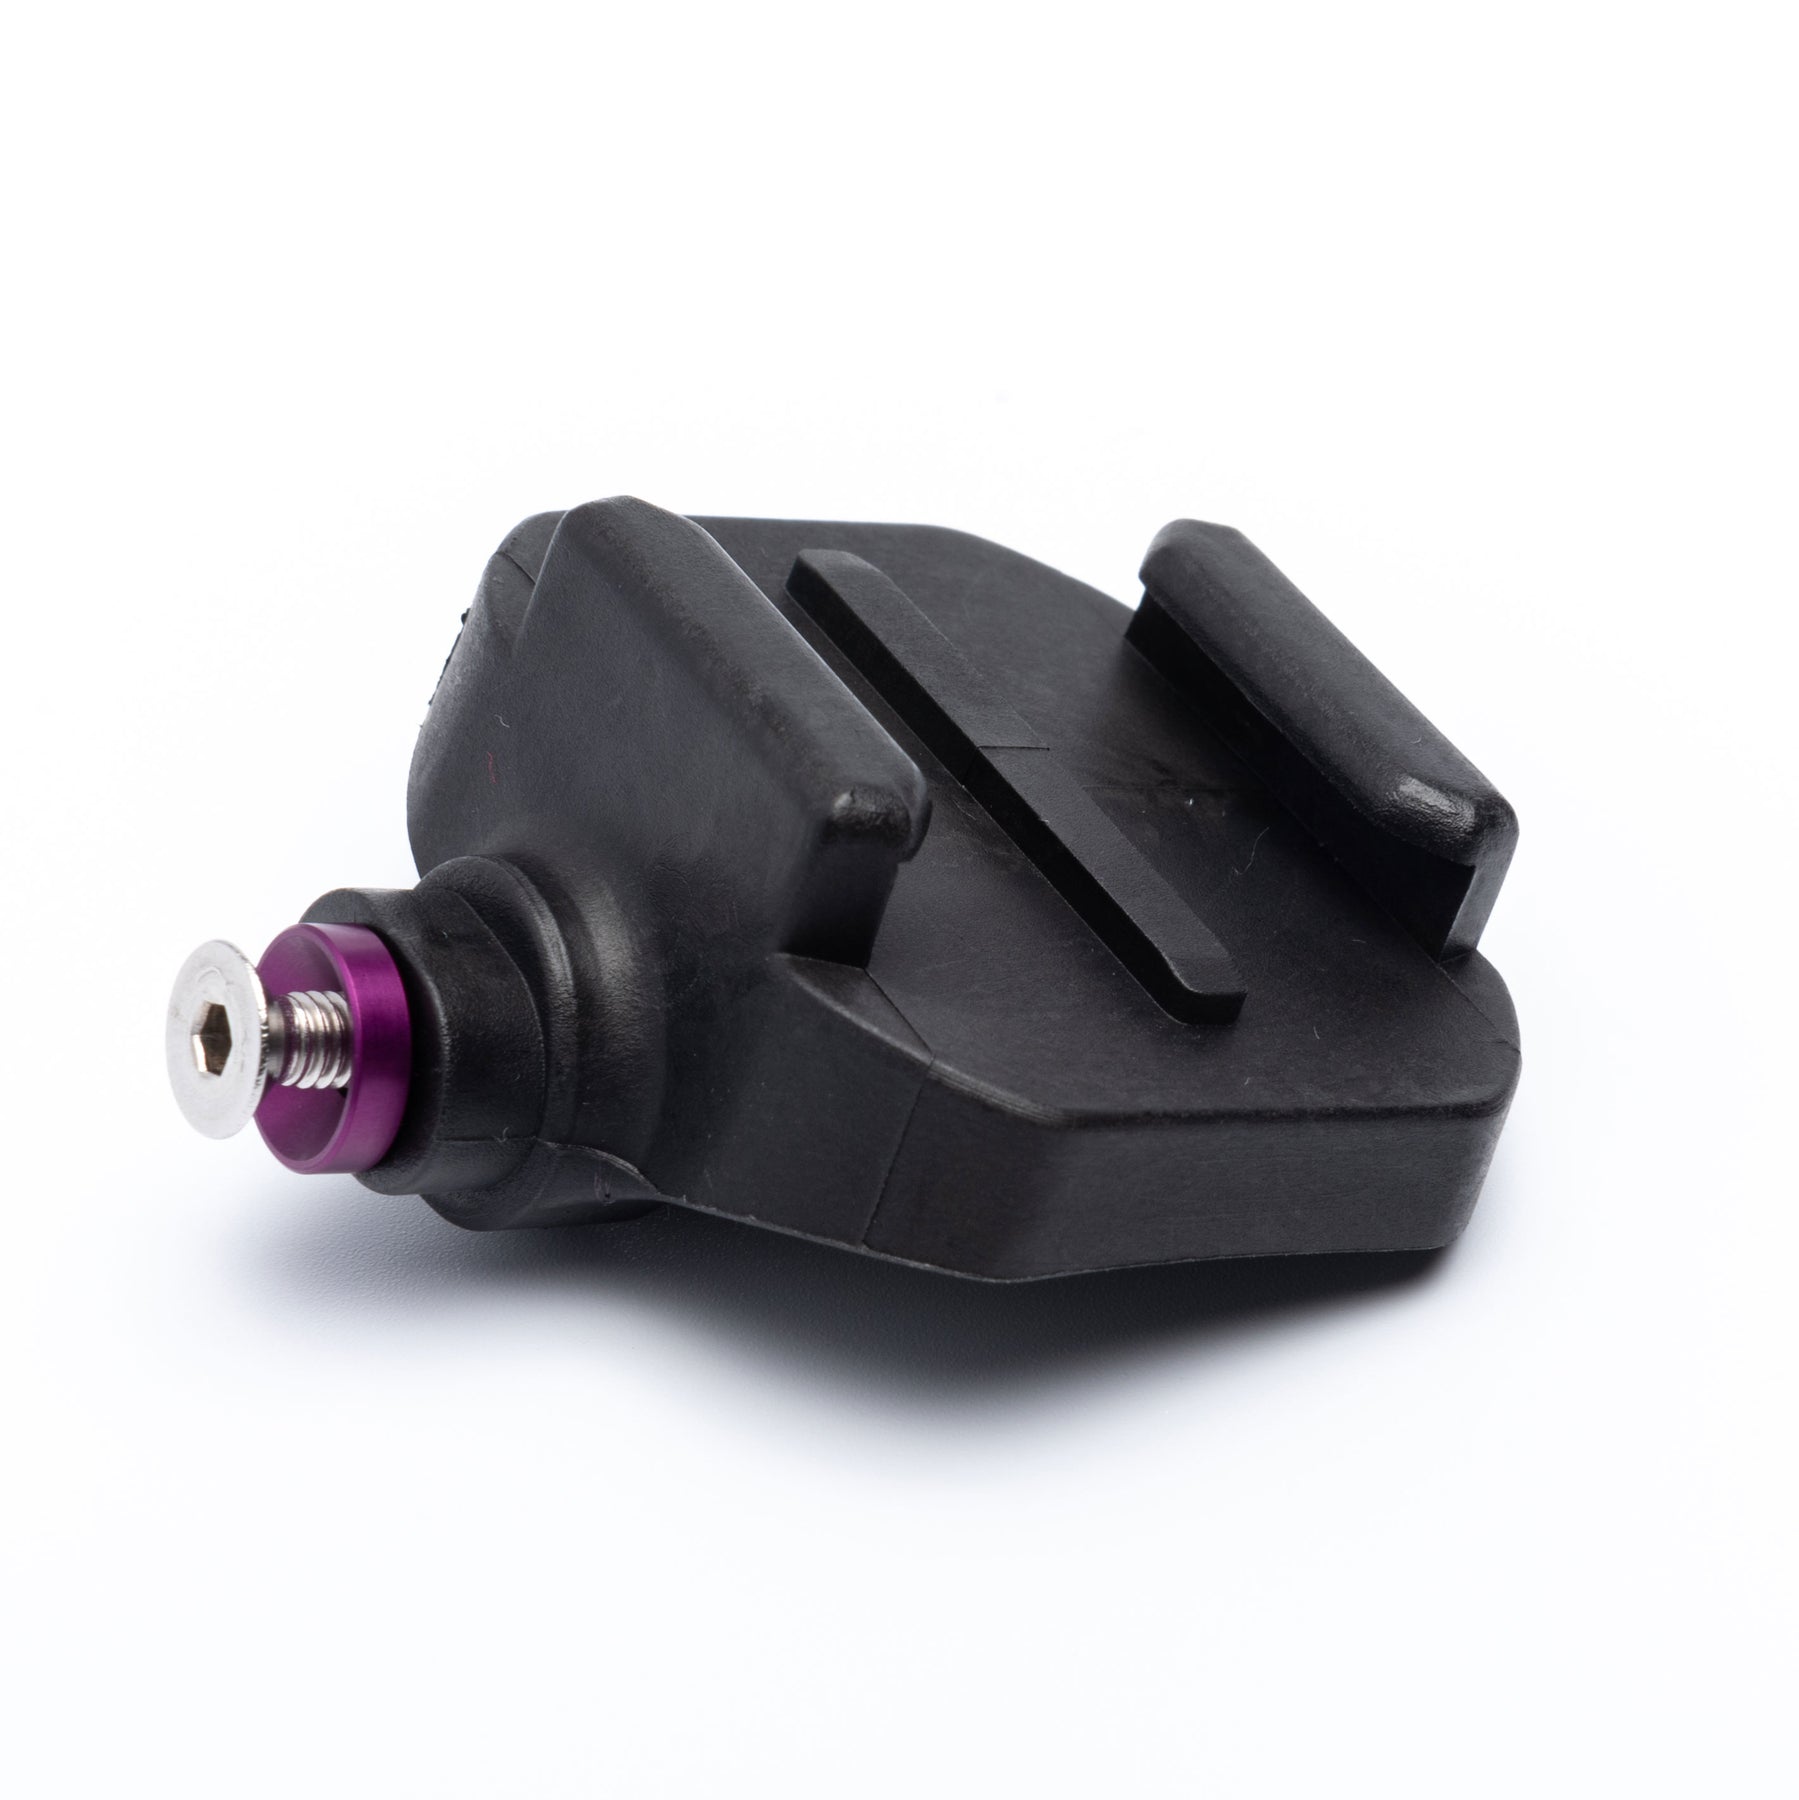
Cycling Computer Adapter
- Works with BRYTON® Ryder 10, 15, 320, 420, 530, 860series computers.
- Slide and Rotate: Slide and Rotate your computer to most positions.
- Eliminate Glare: Rotate your computer to Eliminate Glare.
- Optimize the Viewing Angle: Rotate and Slide the computer to your Optimum-Viewing Angle.
- Torque not to exceed 1.6Nm/14inlbs
Weight 37g
Designed, engineered, and manufactured in the U.S.A
Instructions
Mounting Arm
- Mount onto the handle bar to the left or right of the stem and tighten with a 3mm Hex wrench.
- Torque not to exceed 1.6Nm/14inlbs.
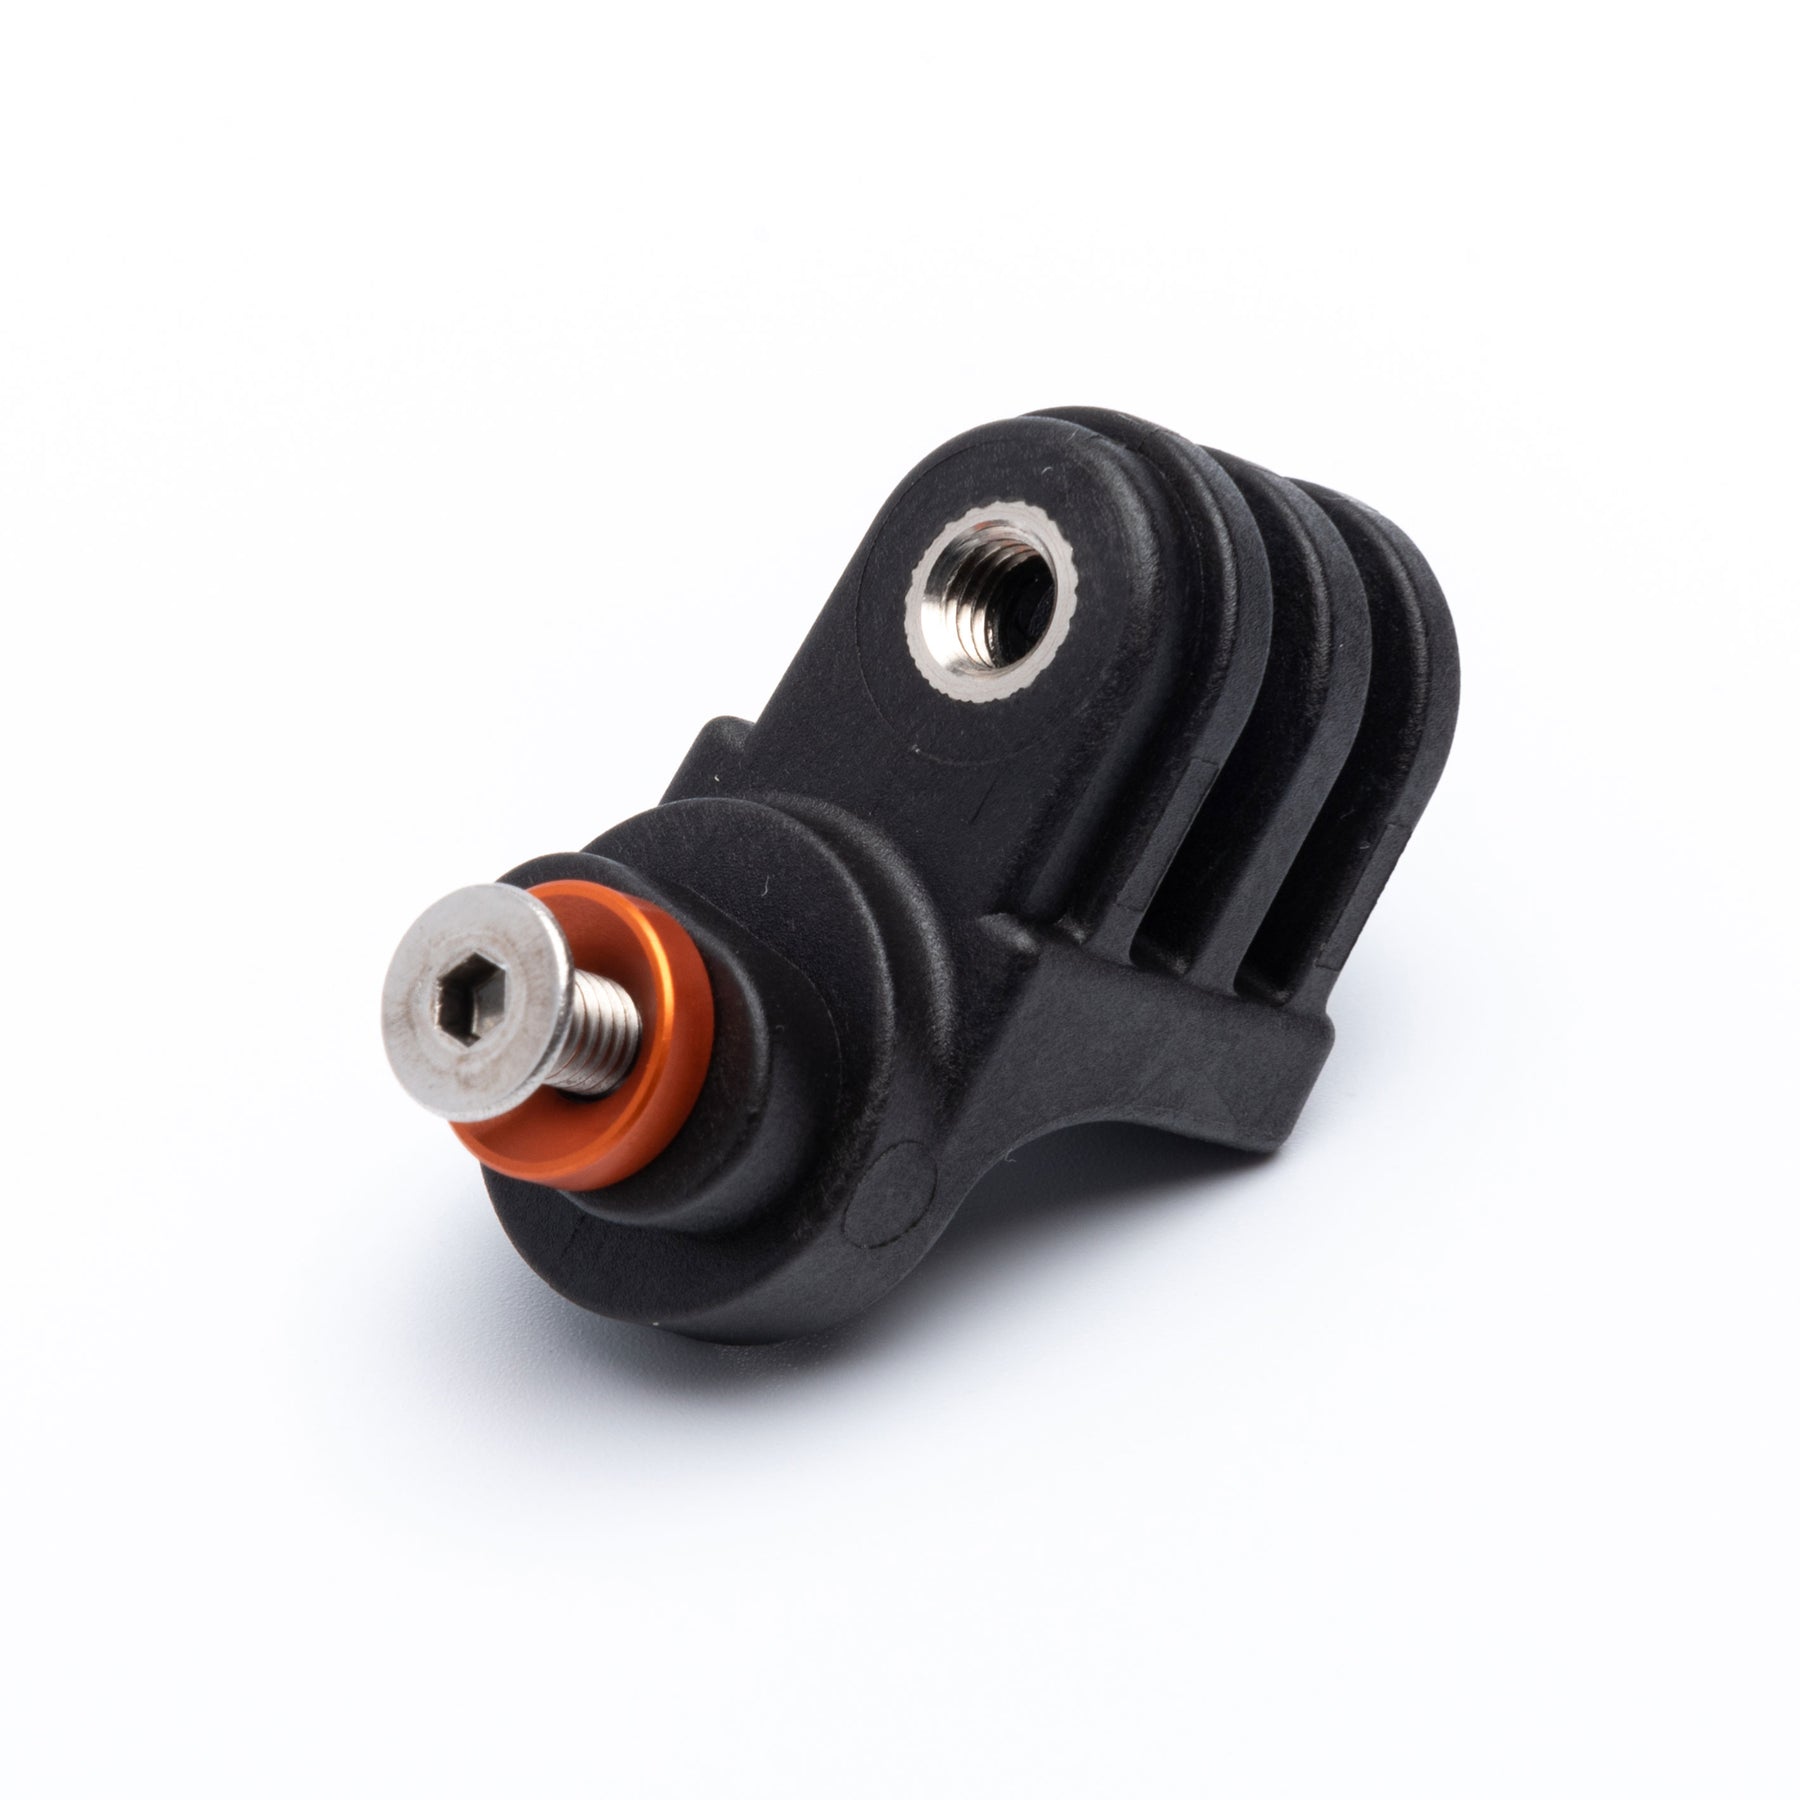
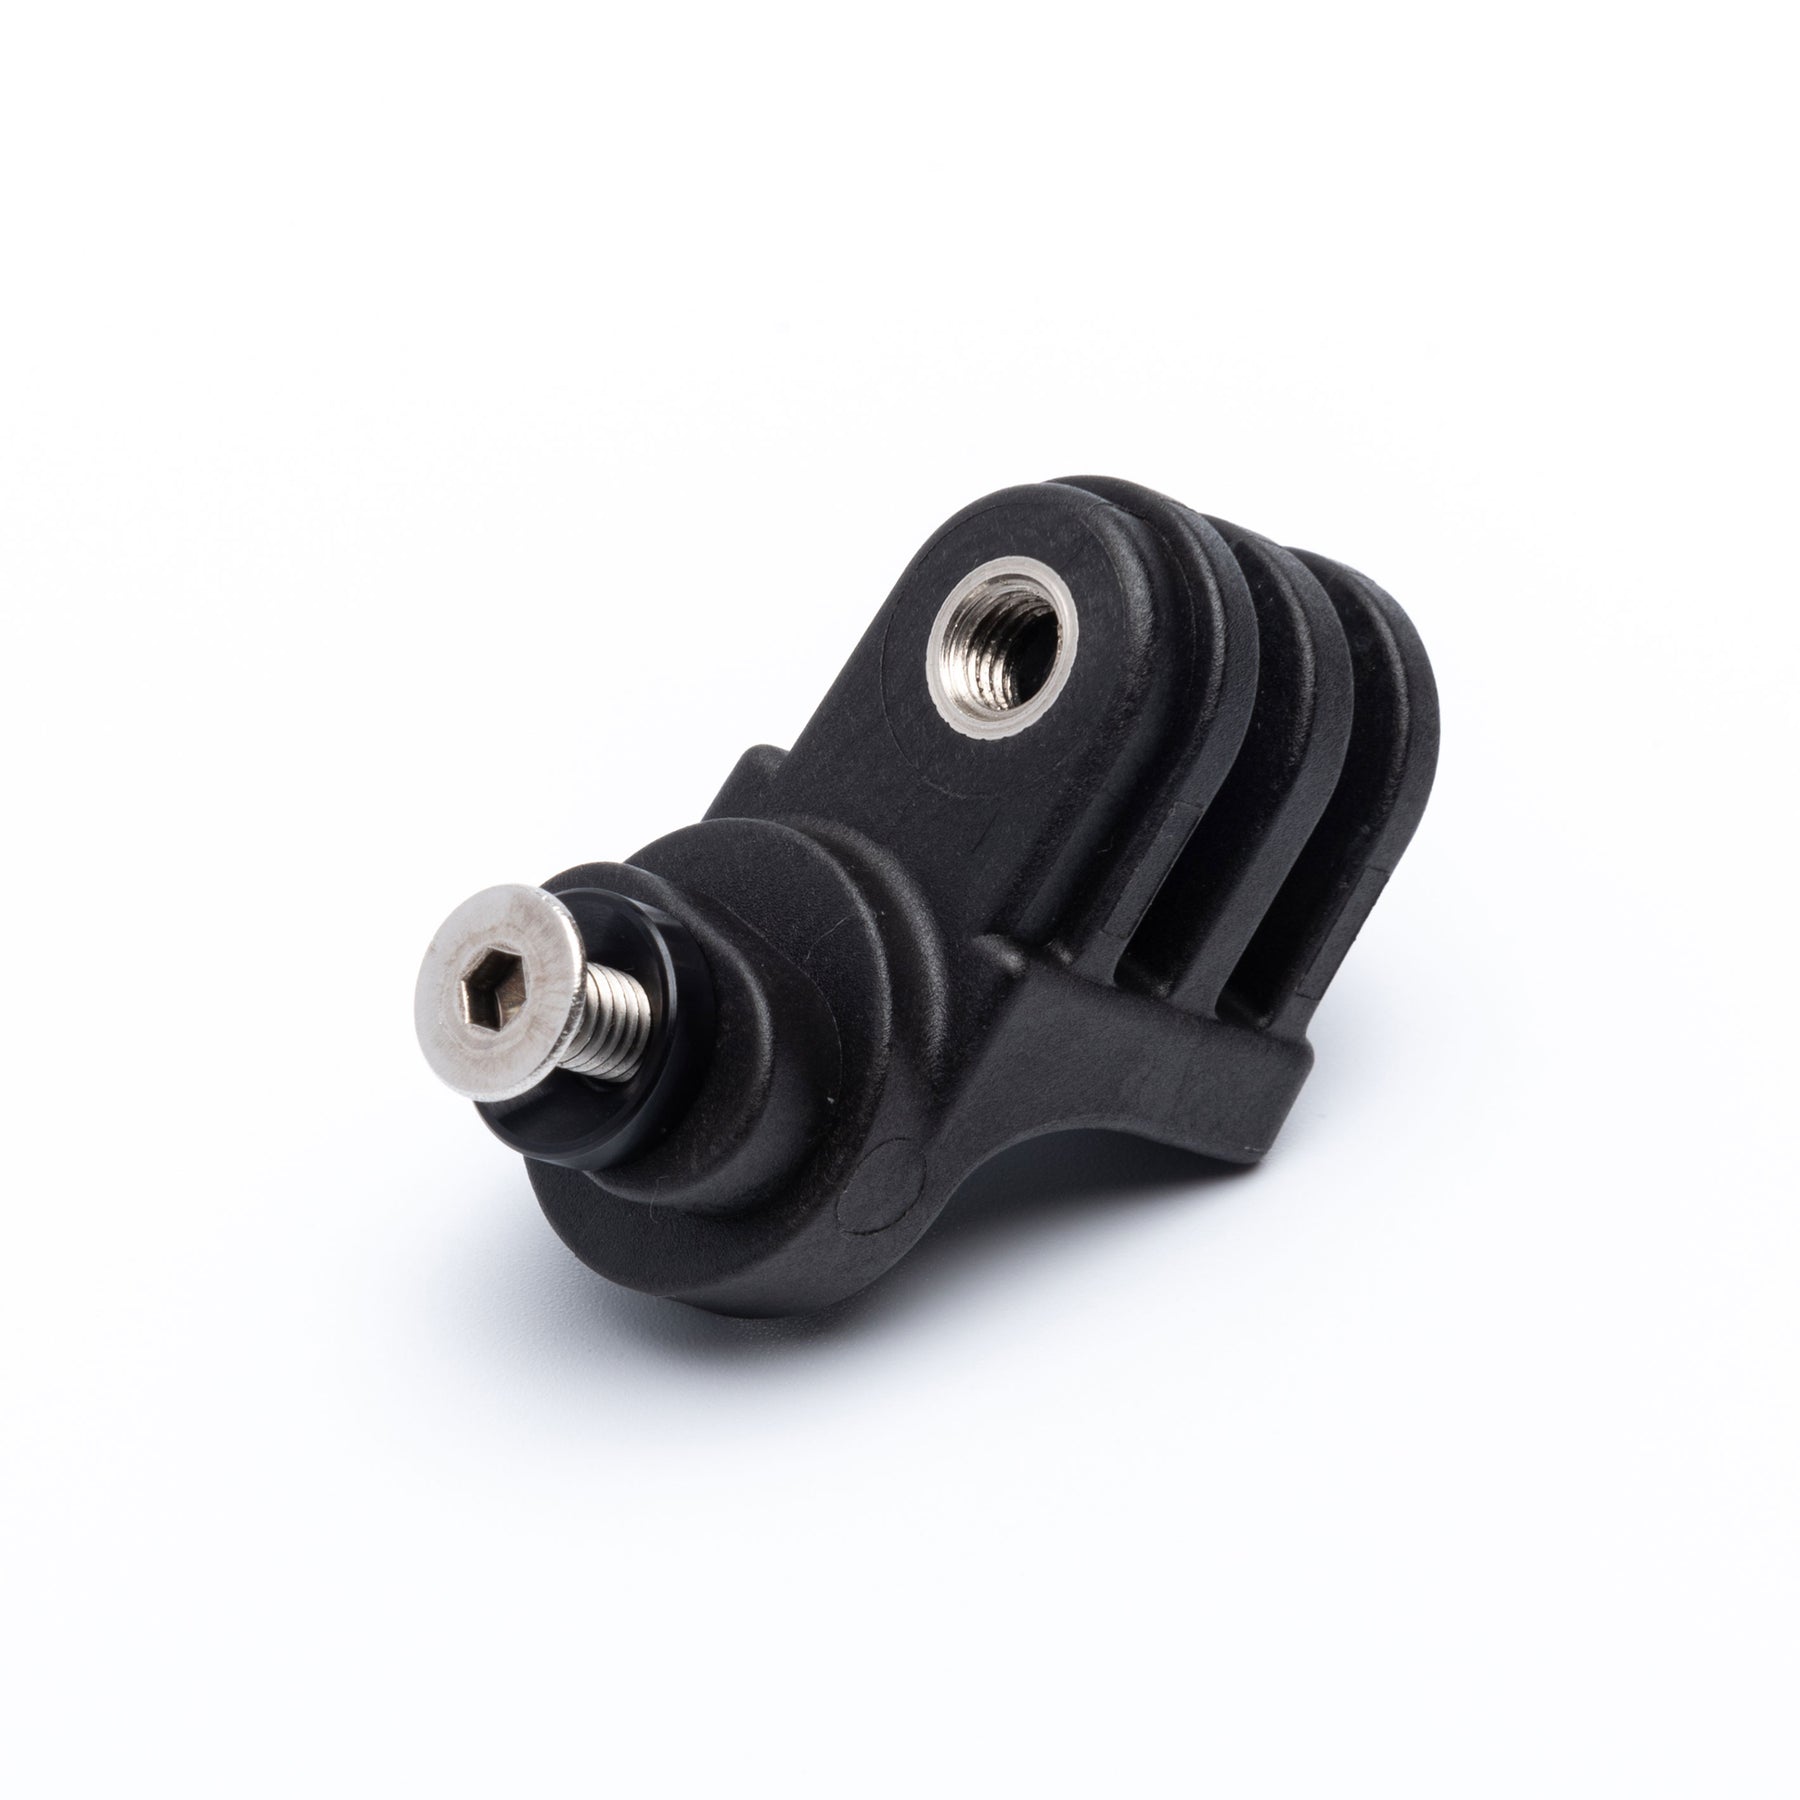
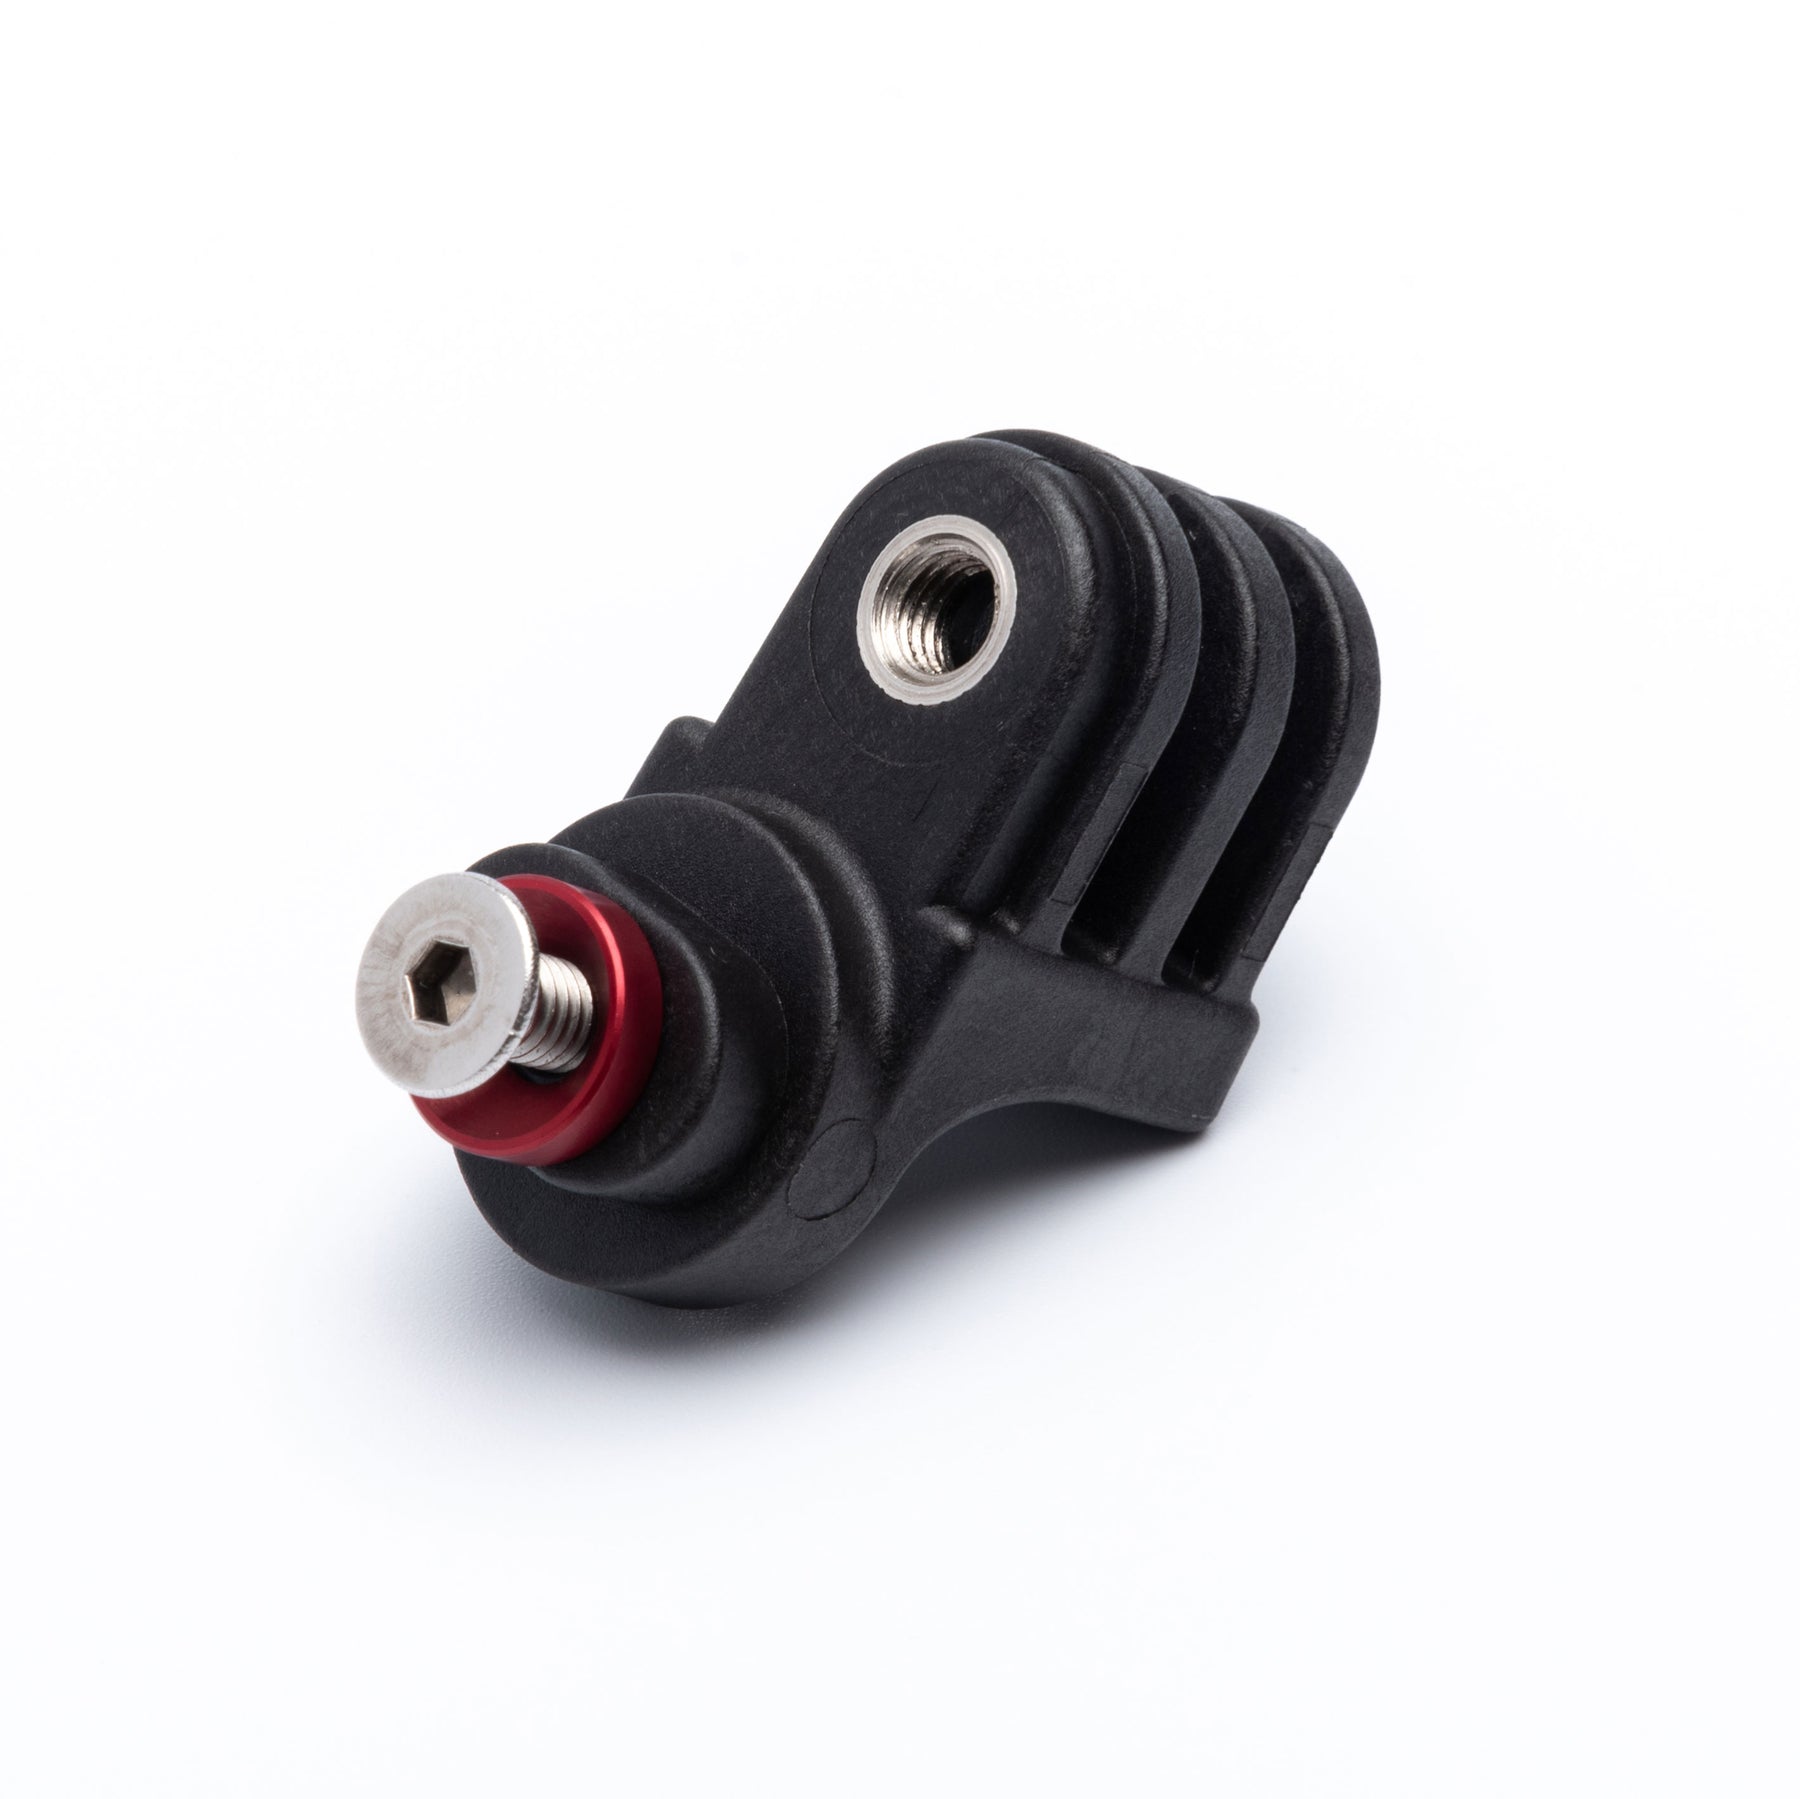
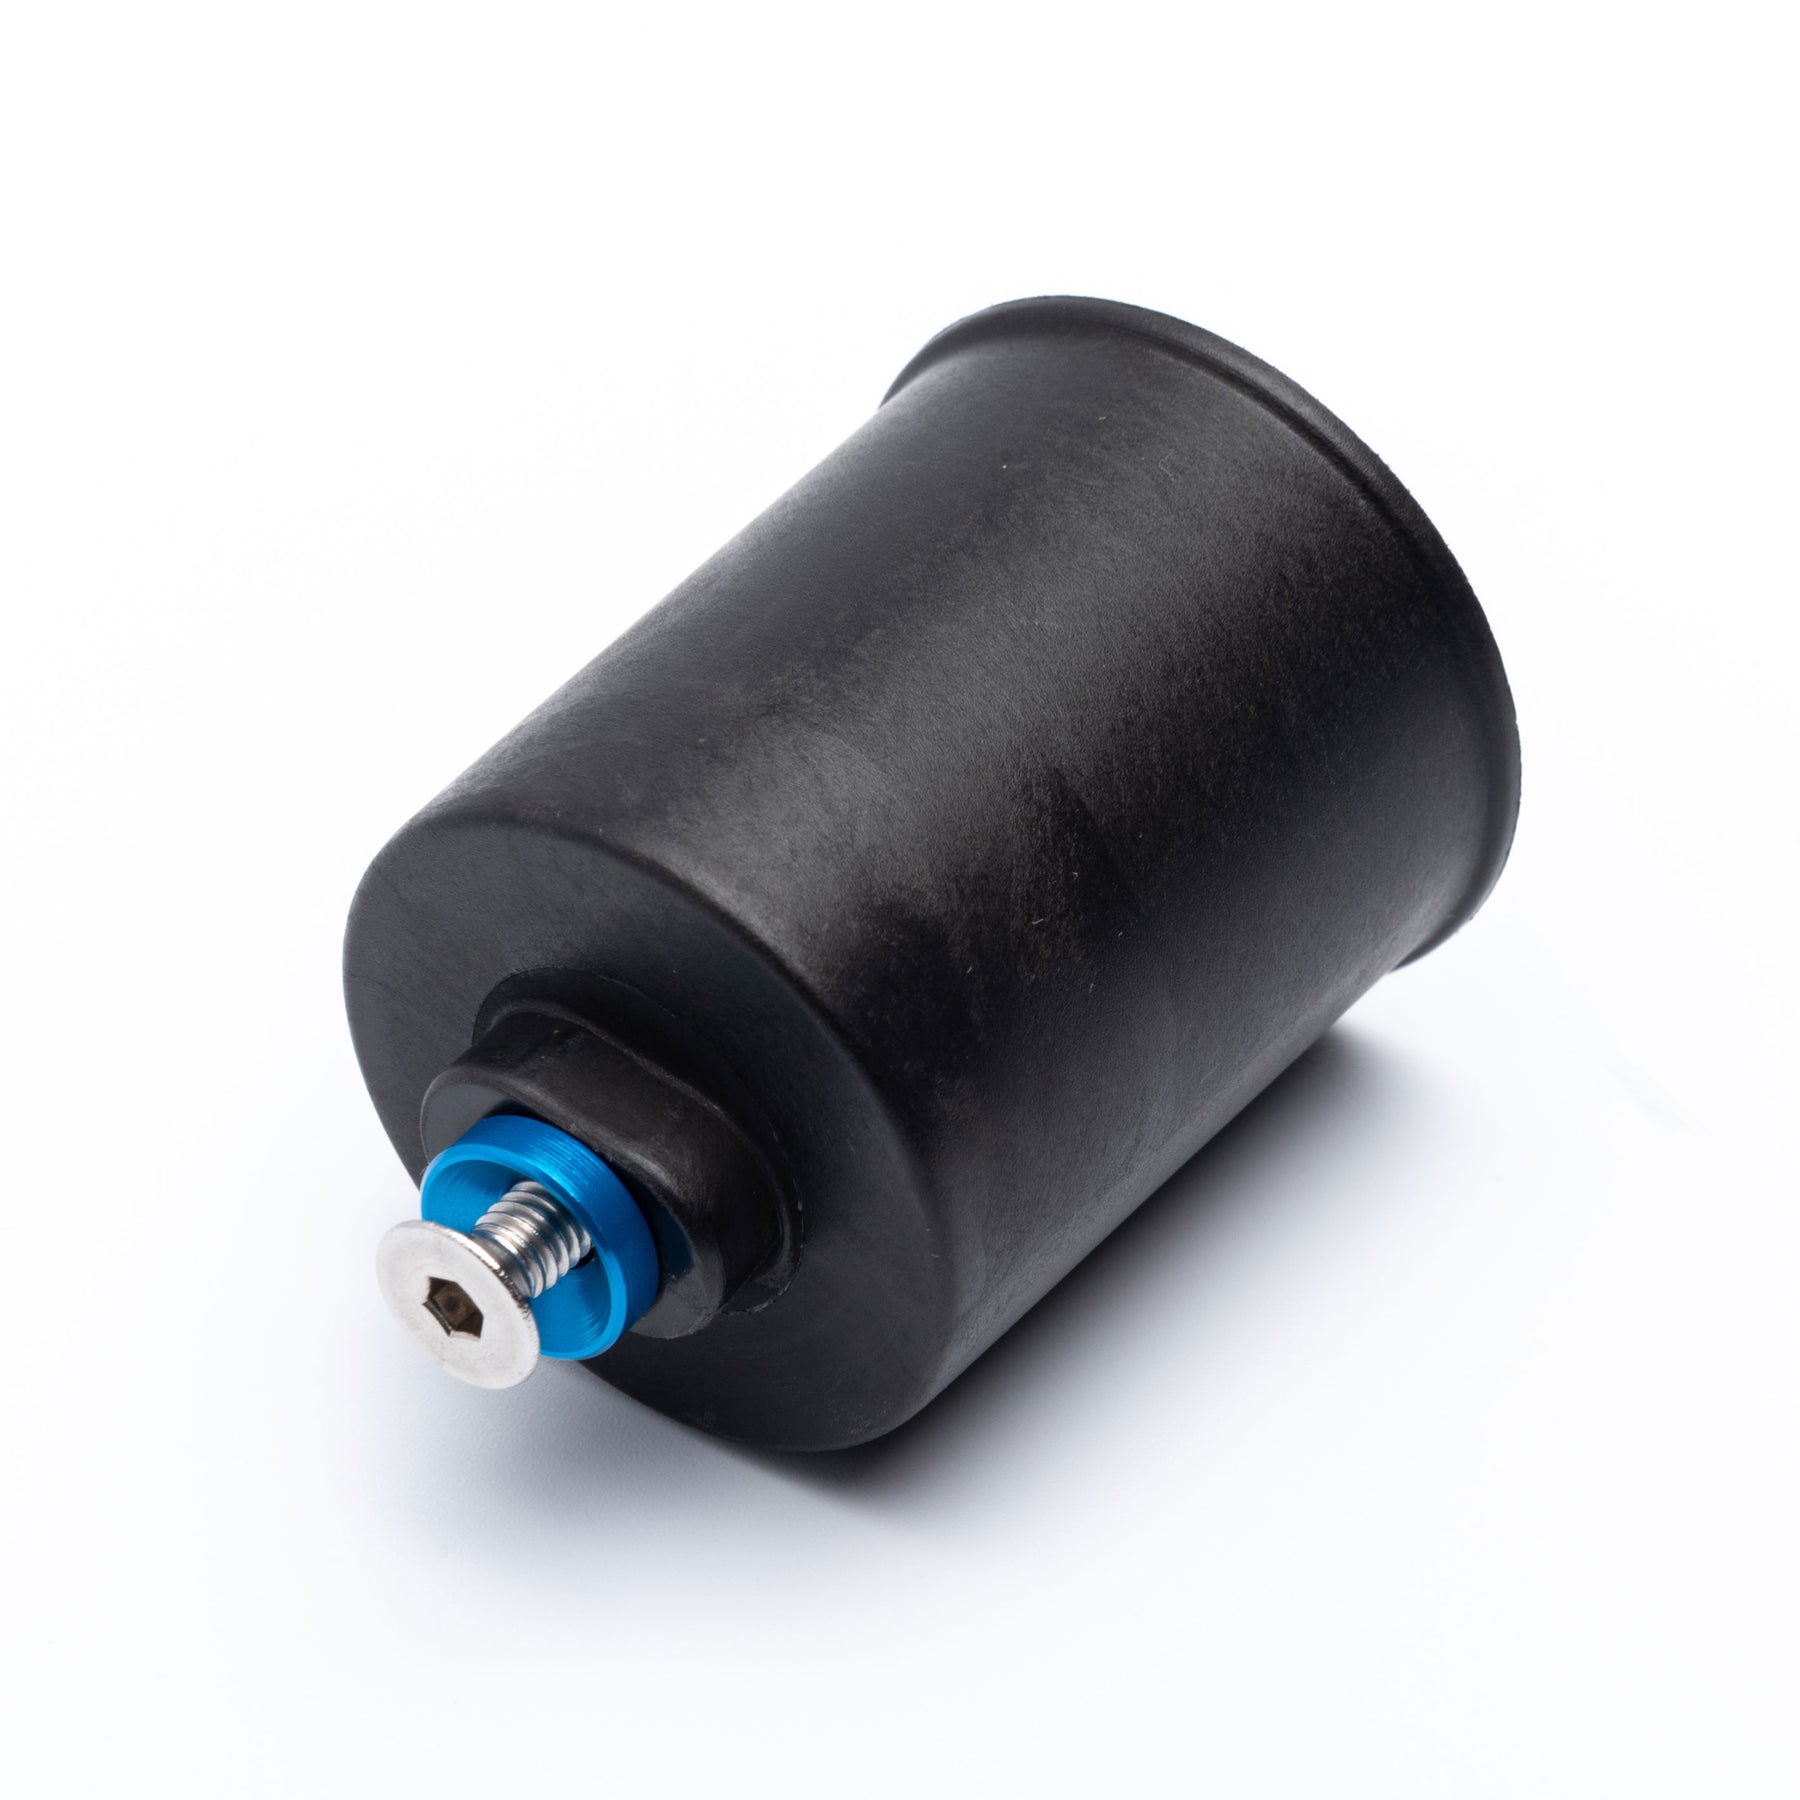
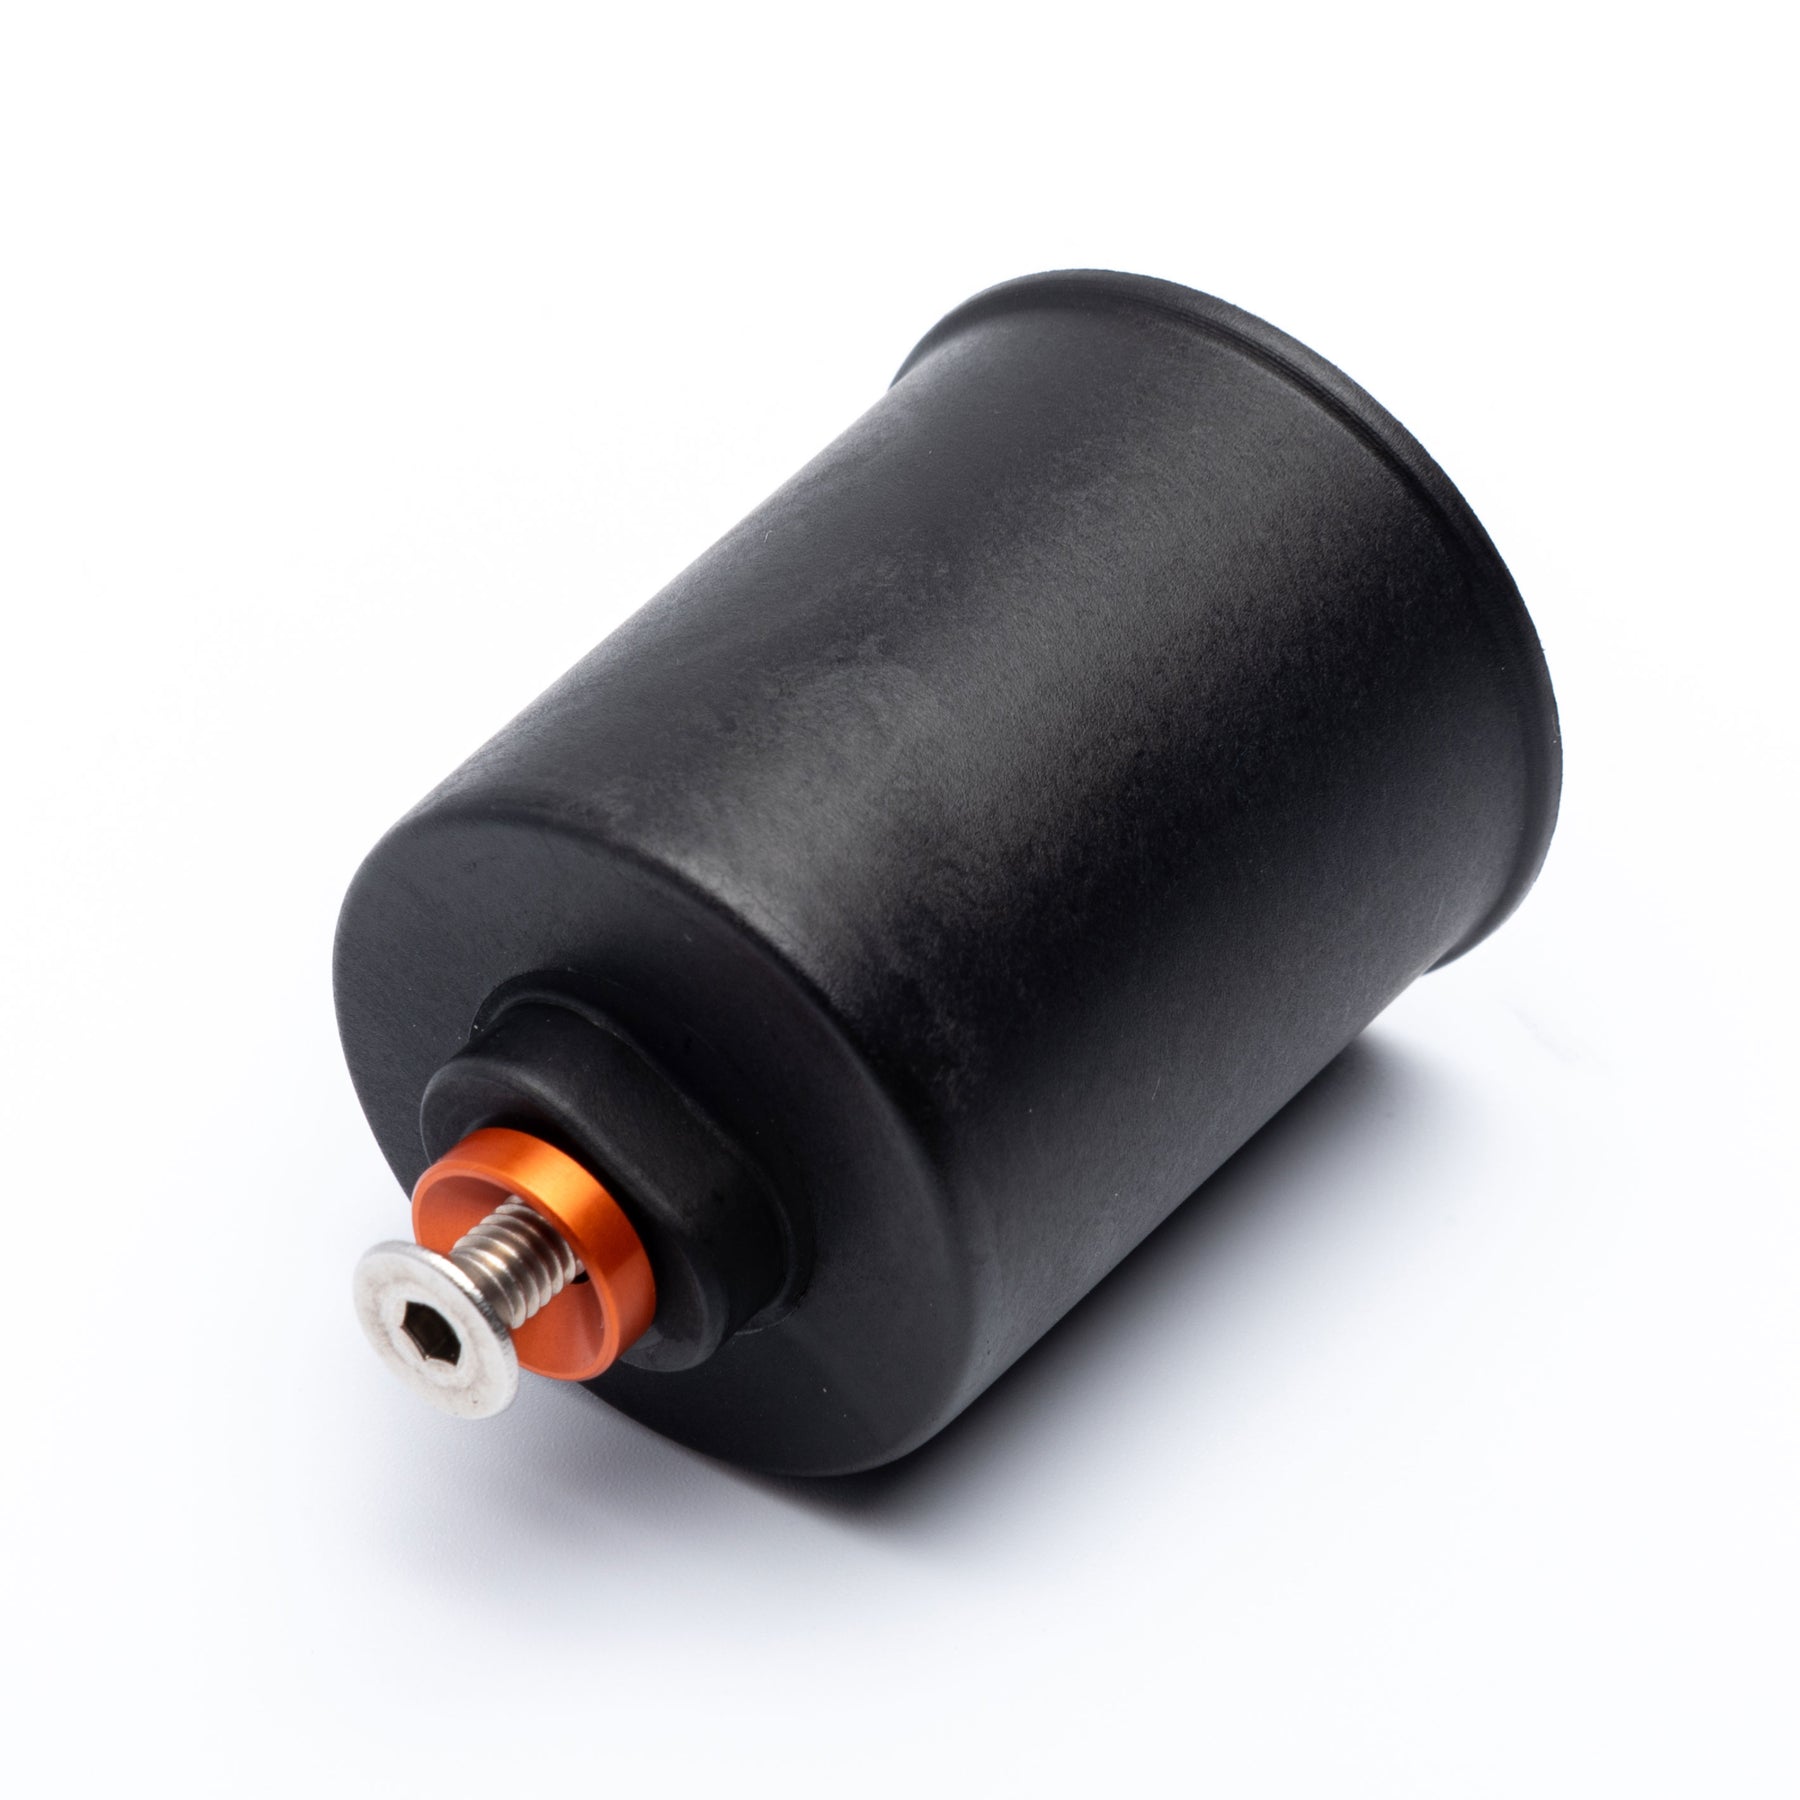
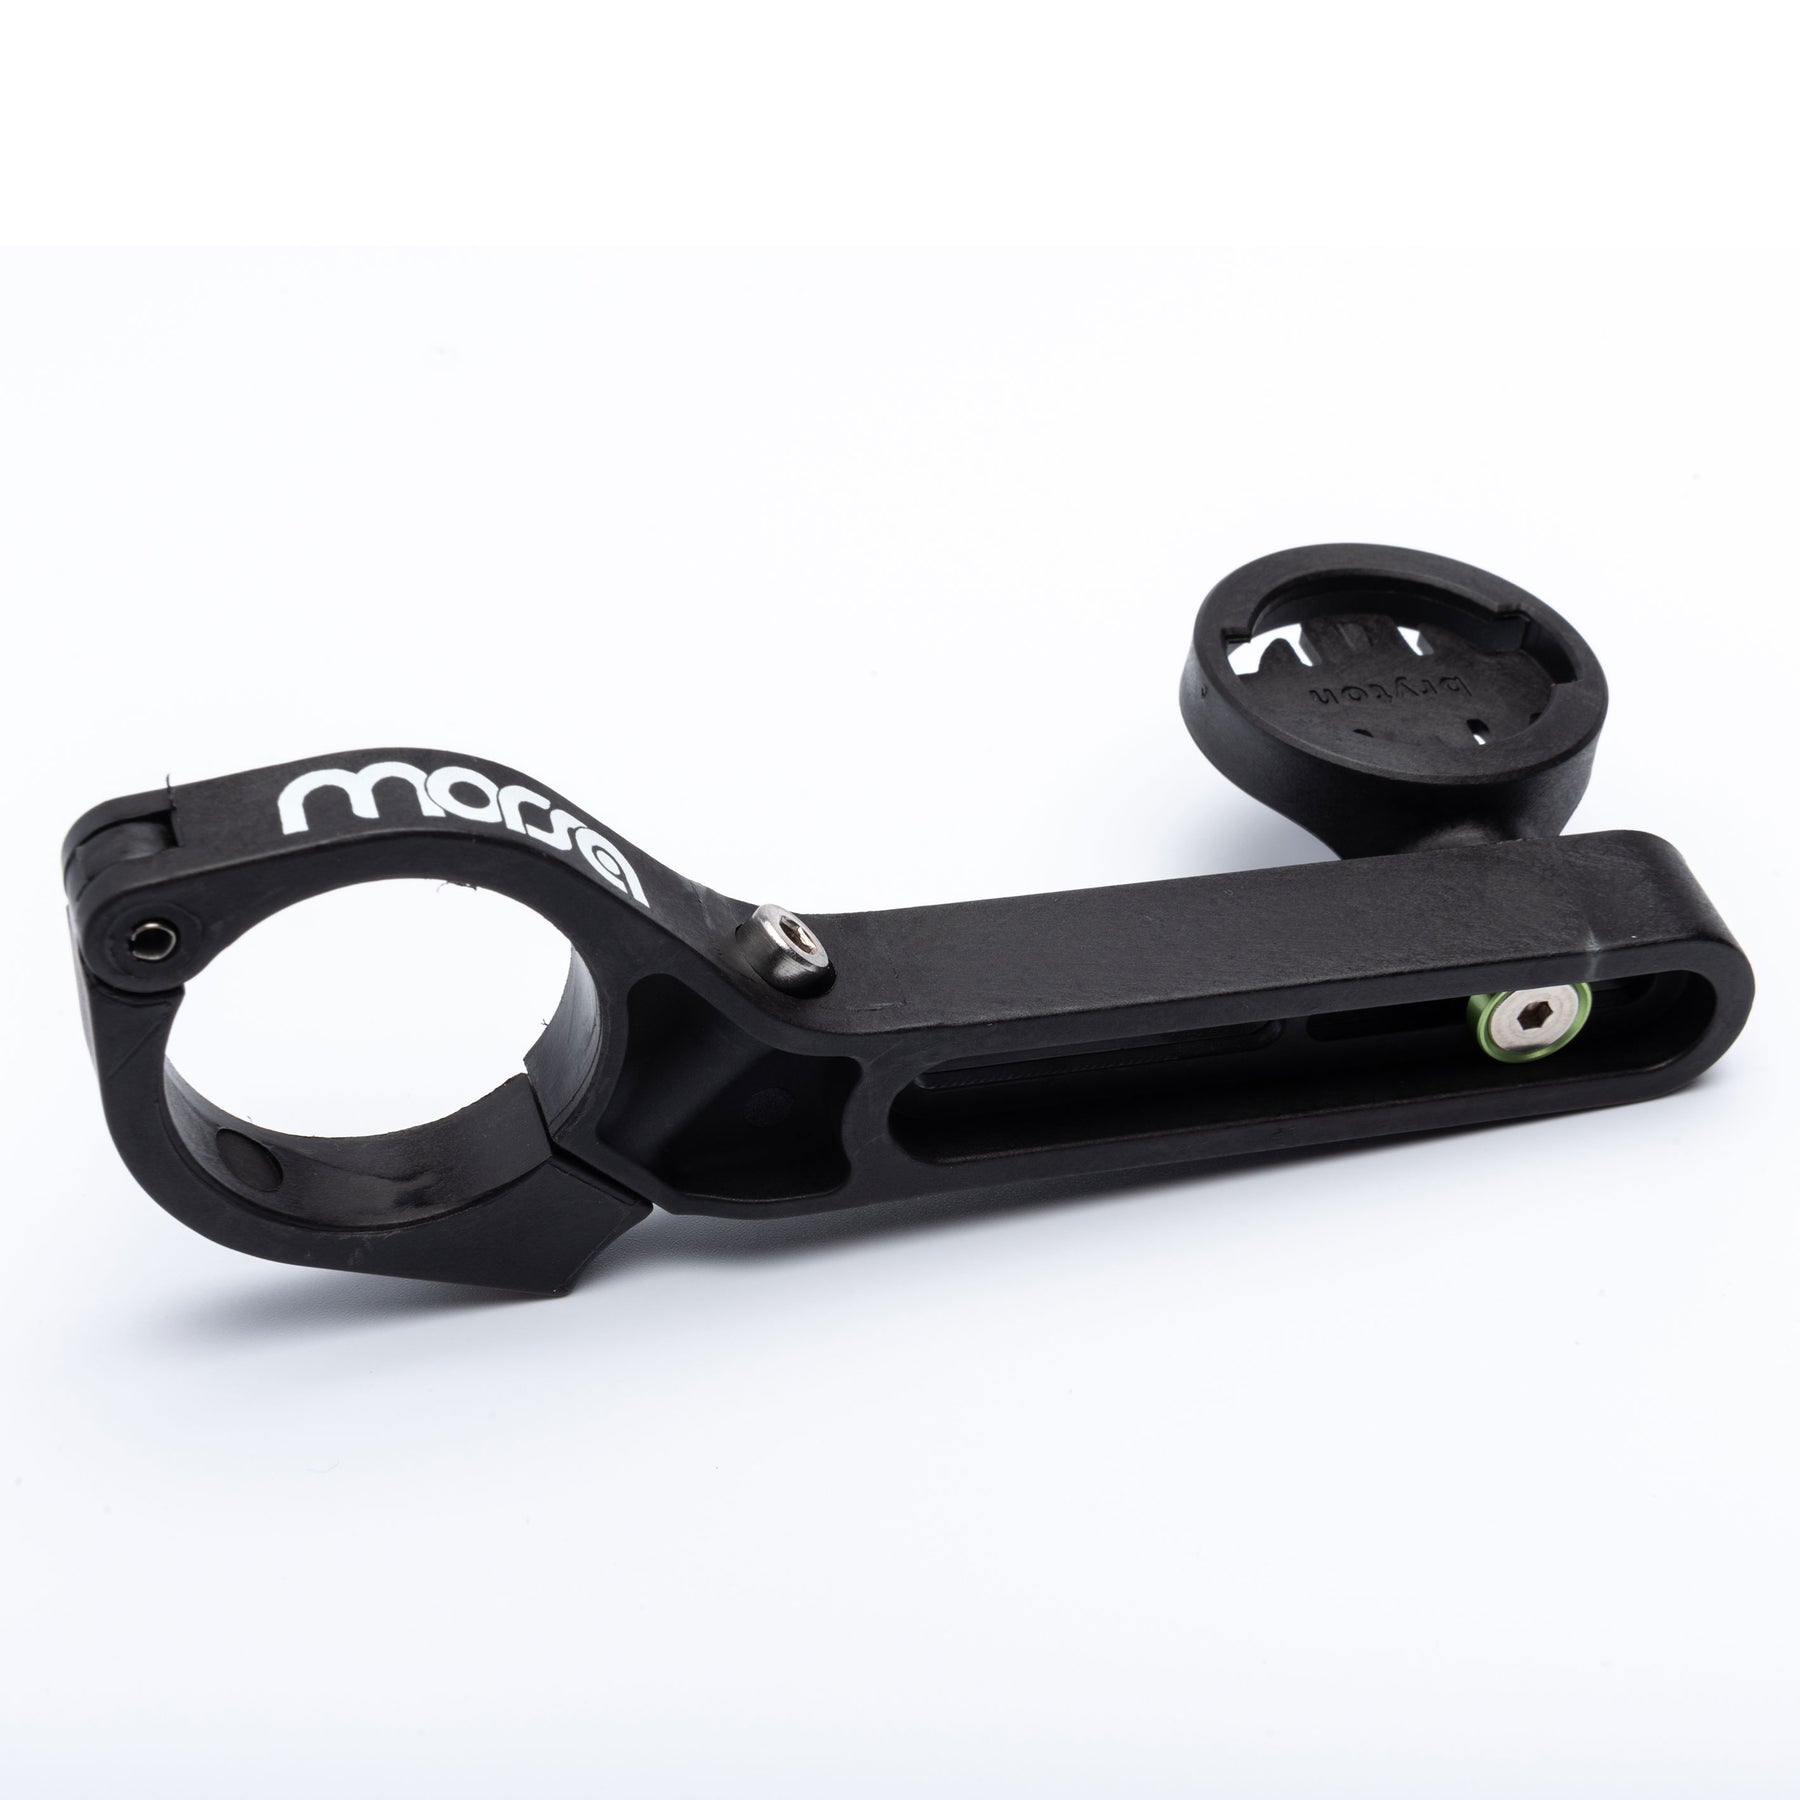
Adapters
- Remove the bolt and washer from the adapter and install into the mounting arm slot.
- Thread on the adapter with the washer on the opposite side flush against the bolt head.
- Torque to no more than 1.6Nm/14inlbs using a Hex wrench.
- Apply a small amount of Blue LOCTITE® #242 to the threads of the adapter bolt if needed to keep it from coming loose.
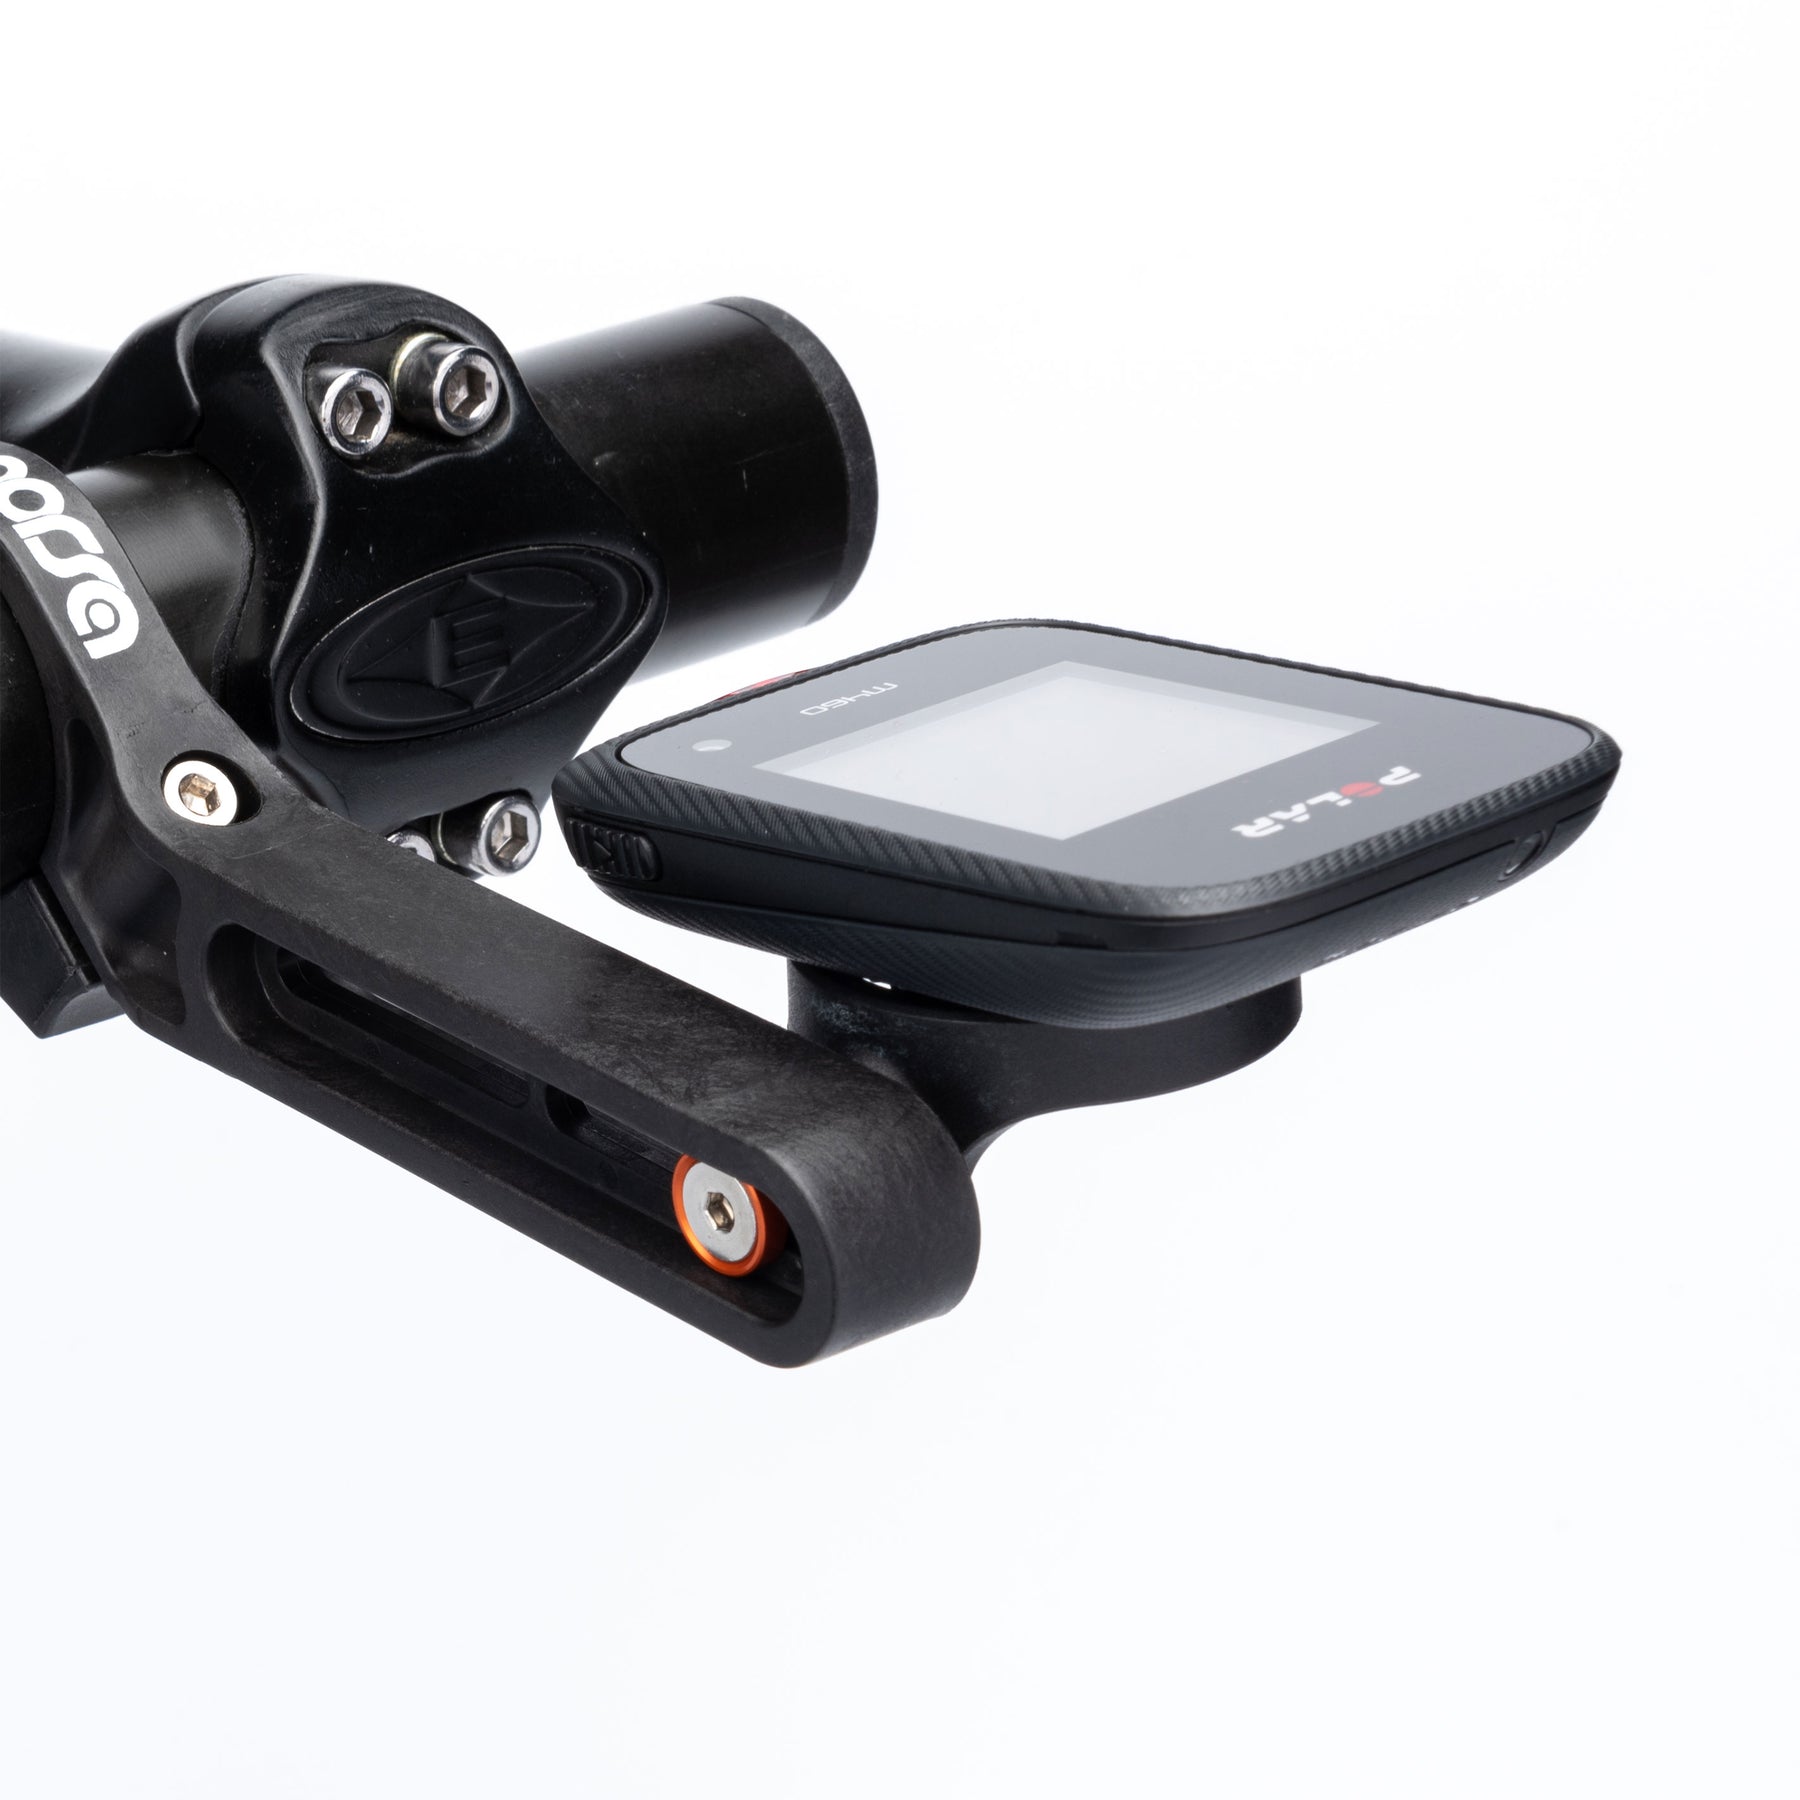
Carbon Fiber Stem Mount
- Replace the stem’s screws (the bottom left and right), by inserting the spacer first, then the mount, washer and finally the long black Titanium screws.
- Don’t use excessive force it may break the product and void the warranty.
- Tighten the screws using the torque suggested by your stem manufacturer approx. 2 to 3Nm and lube the bolt with anti-seize grease.
- Check holes for alignment between front clamp & stem. If there is an alignment mismatch top to bottom, the screw can undergo abnormal stresses and could break.
- Before tightening make sure that the titanium screw penetrates the stem with full thread engagement. If screws don’t fully engage, please contact us.